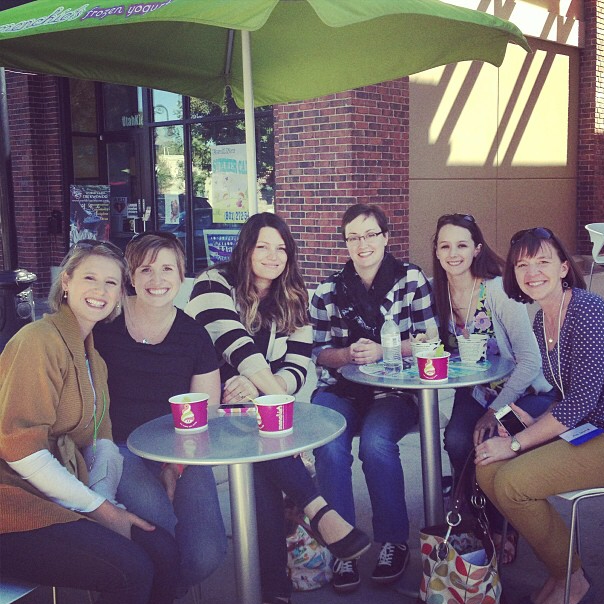
At the end of June, I had the chance to spend some quality sewing time with friends. Holly, Jeni, Jacey, Anna, Faith and I met up in Wisconsin at the most amazing vacation house.

We talked about everything, we ate giant pretzels and amazing belgian frites, we checked out Madison (including a chance to meet George), we dyed fabric, we even managed to fit in a whole lot of stitching.
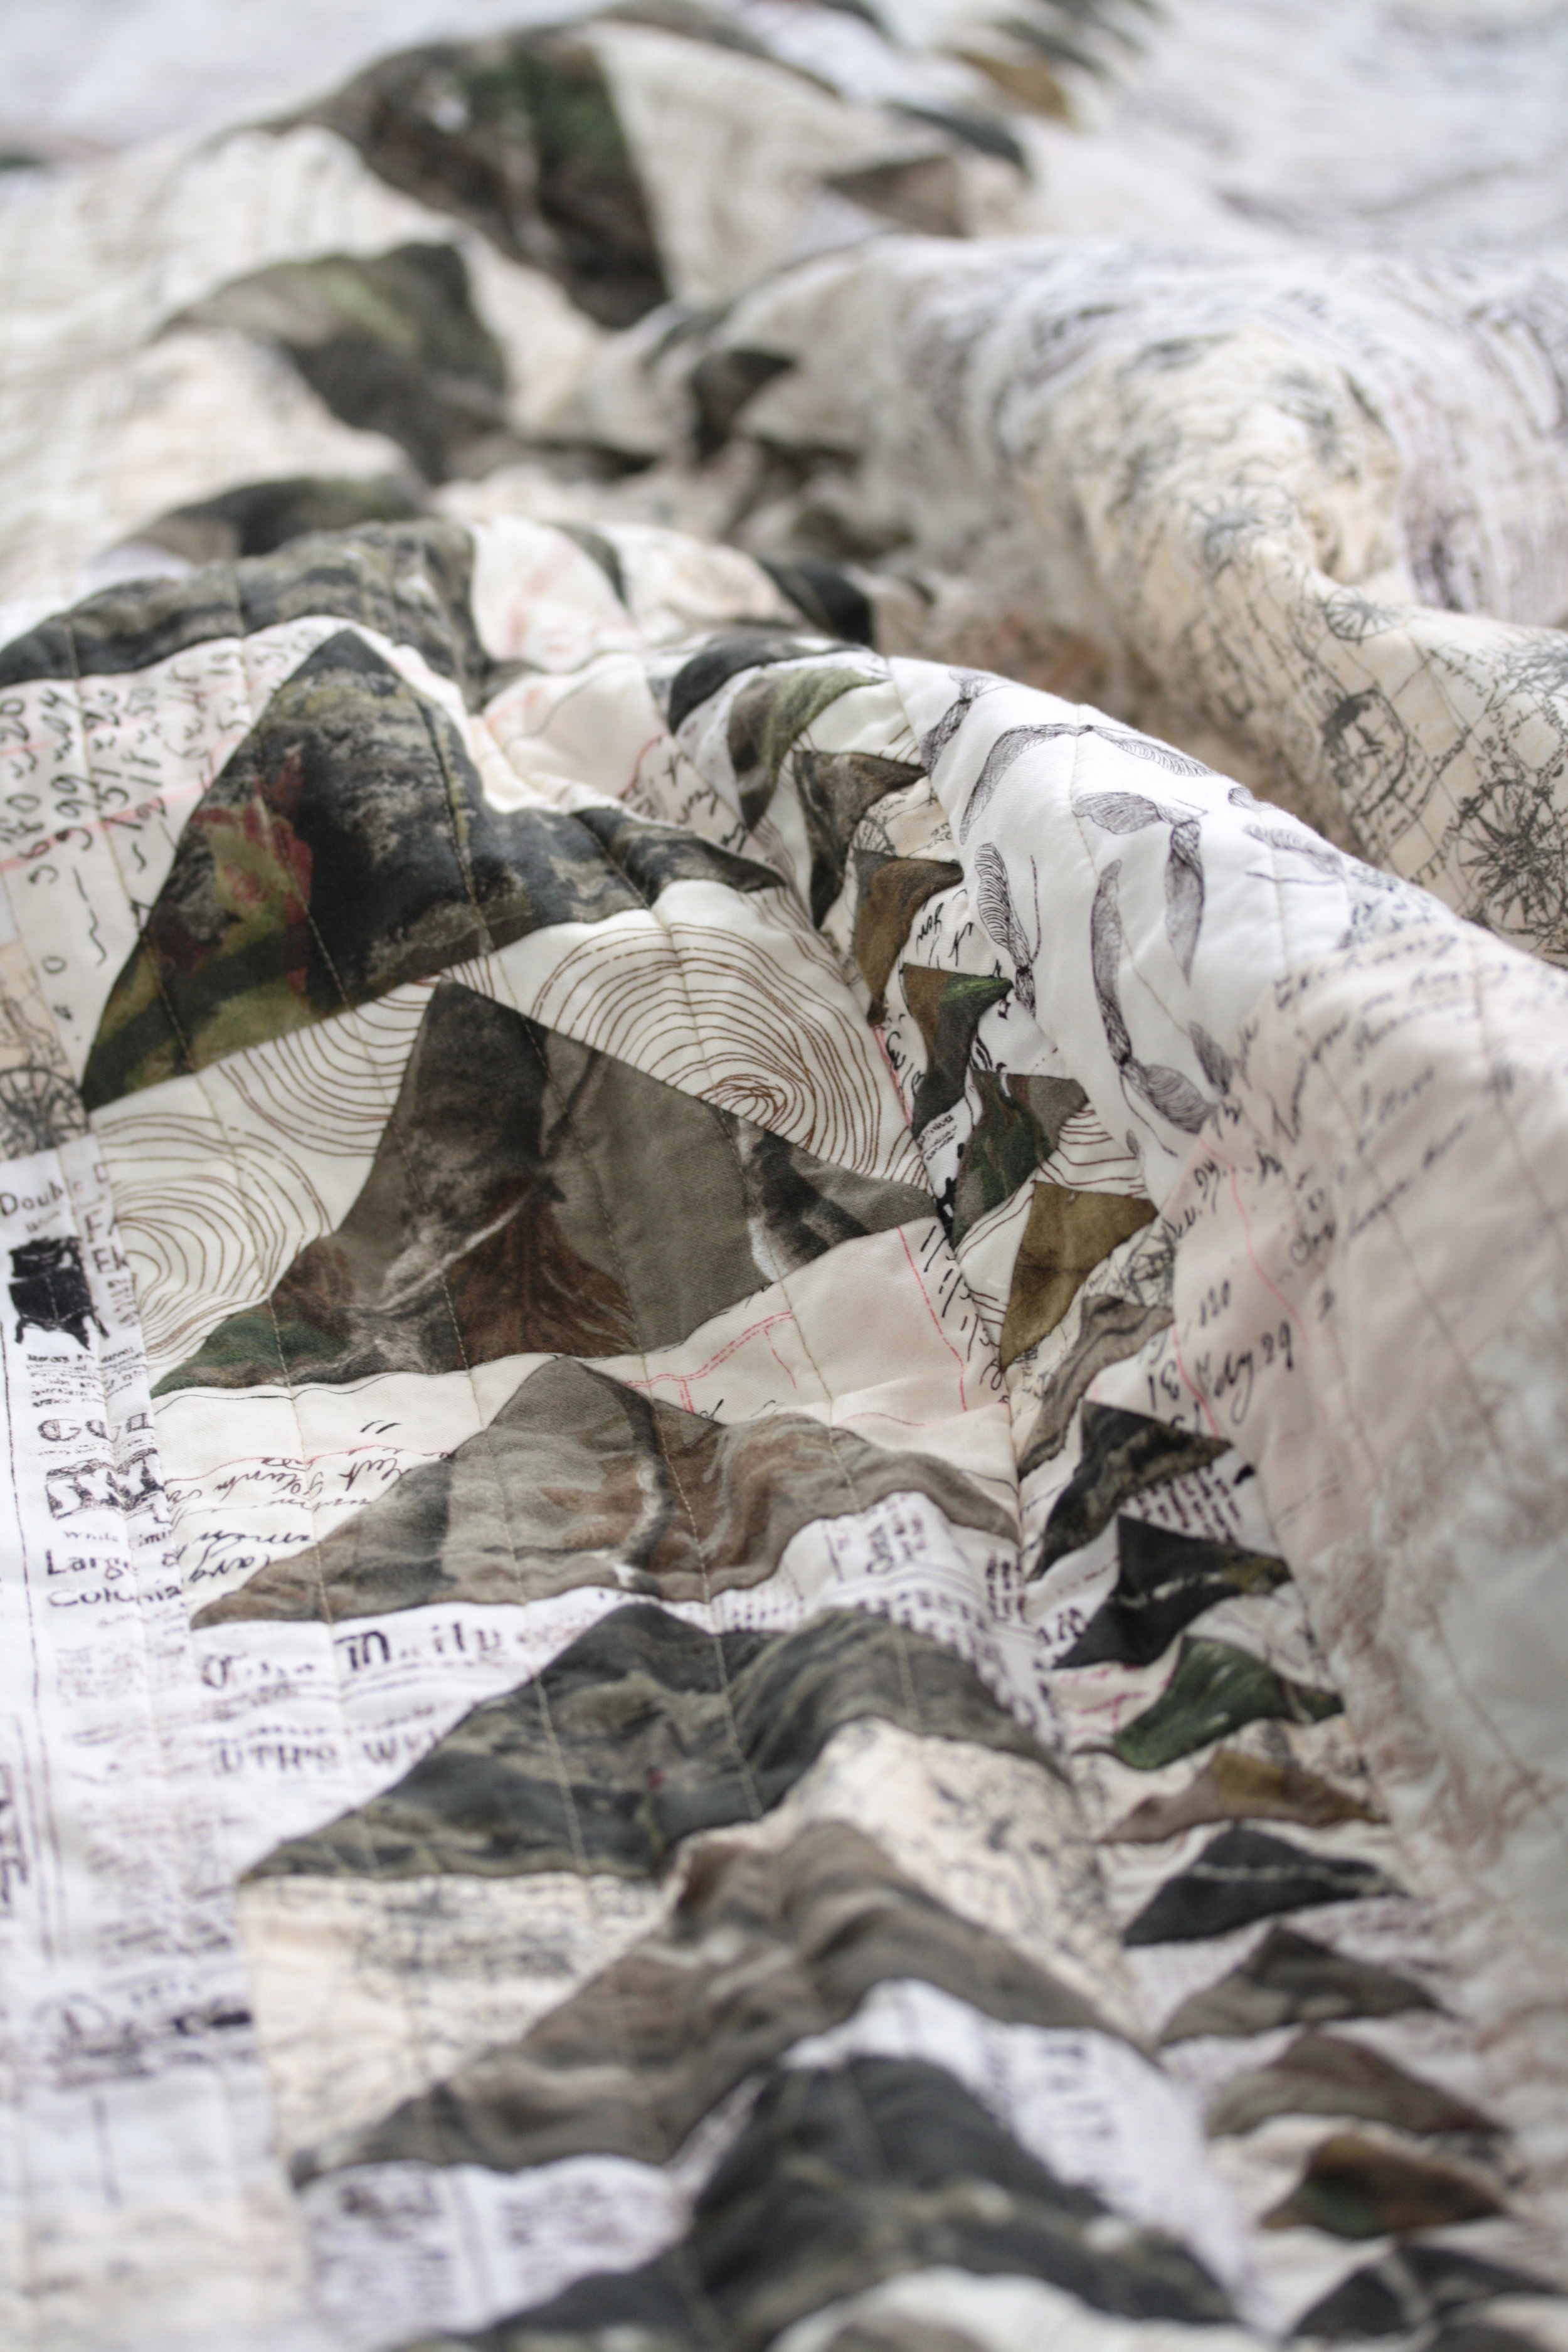
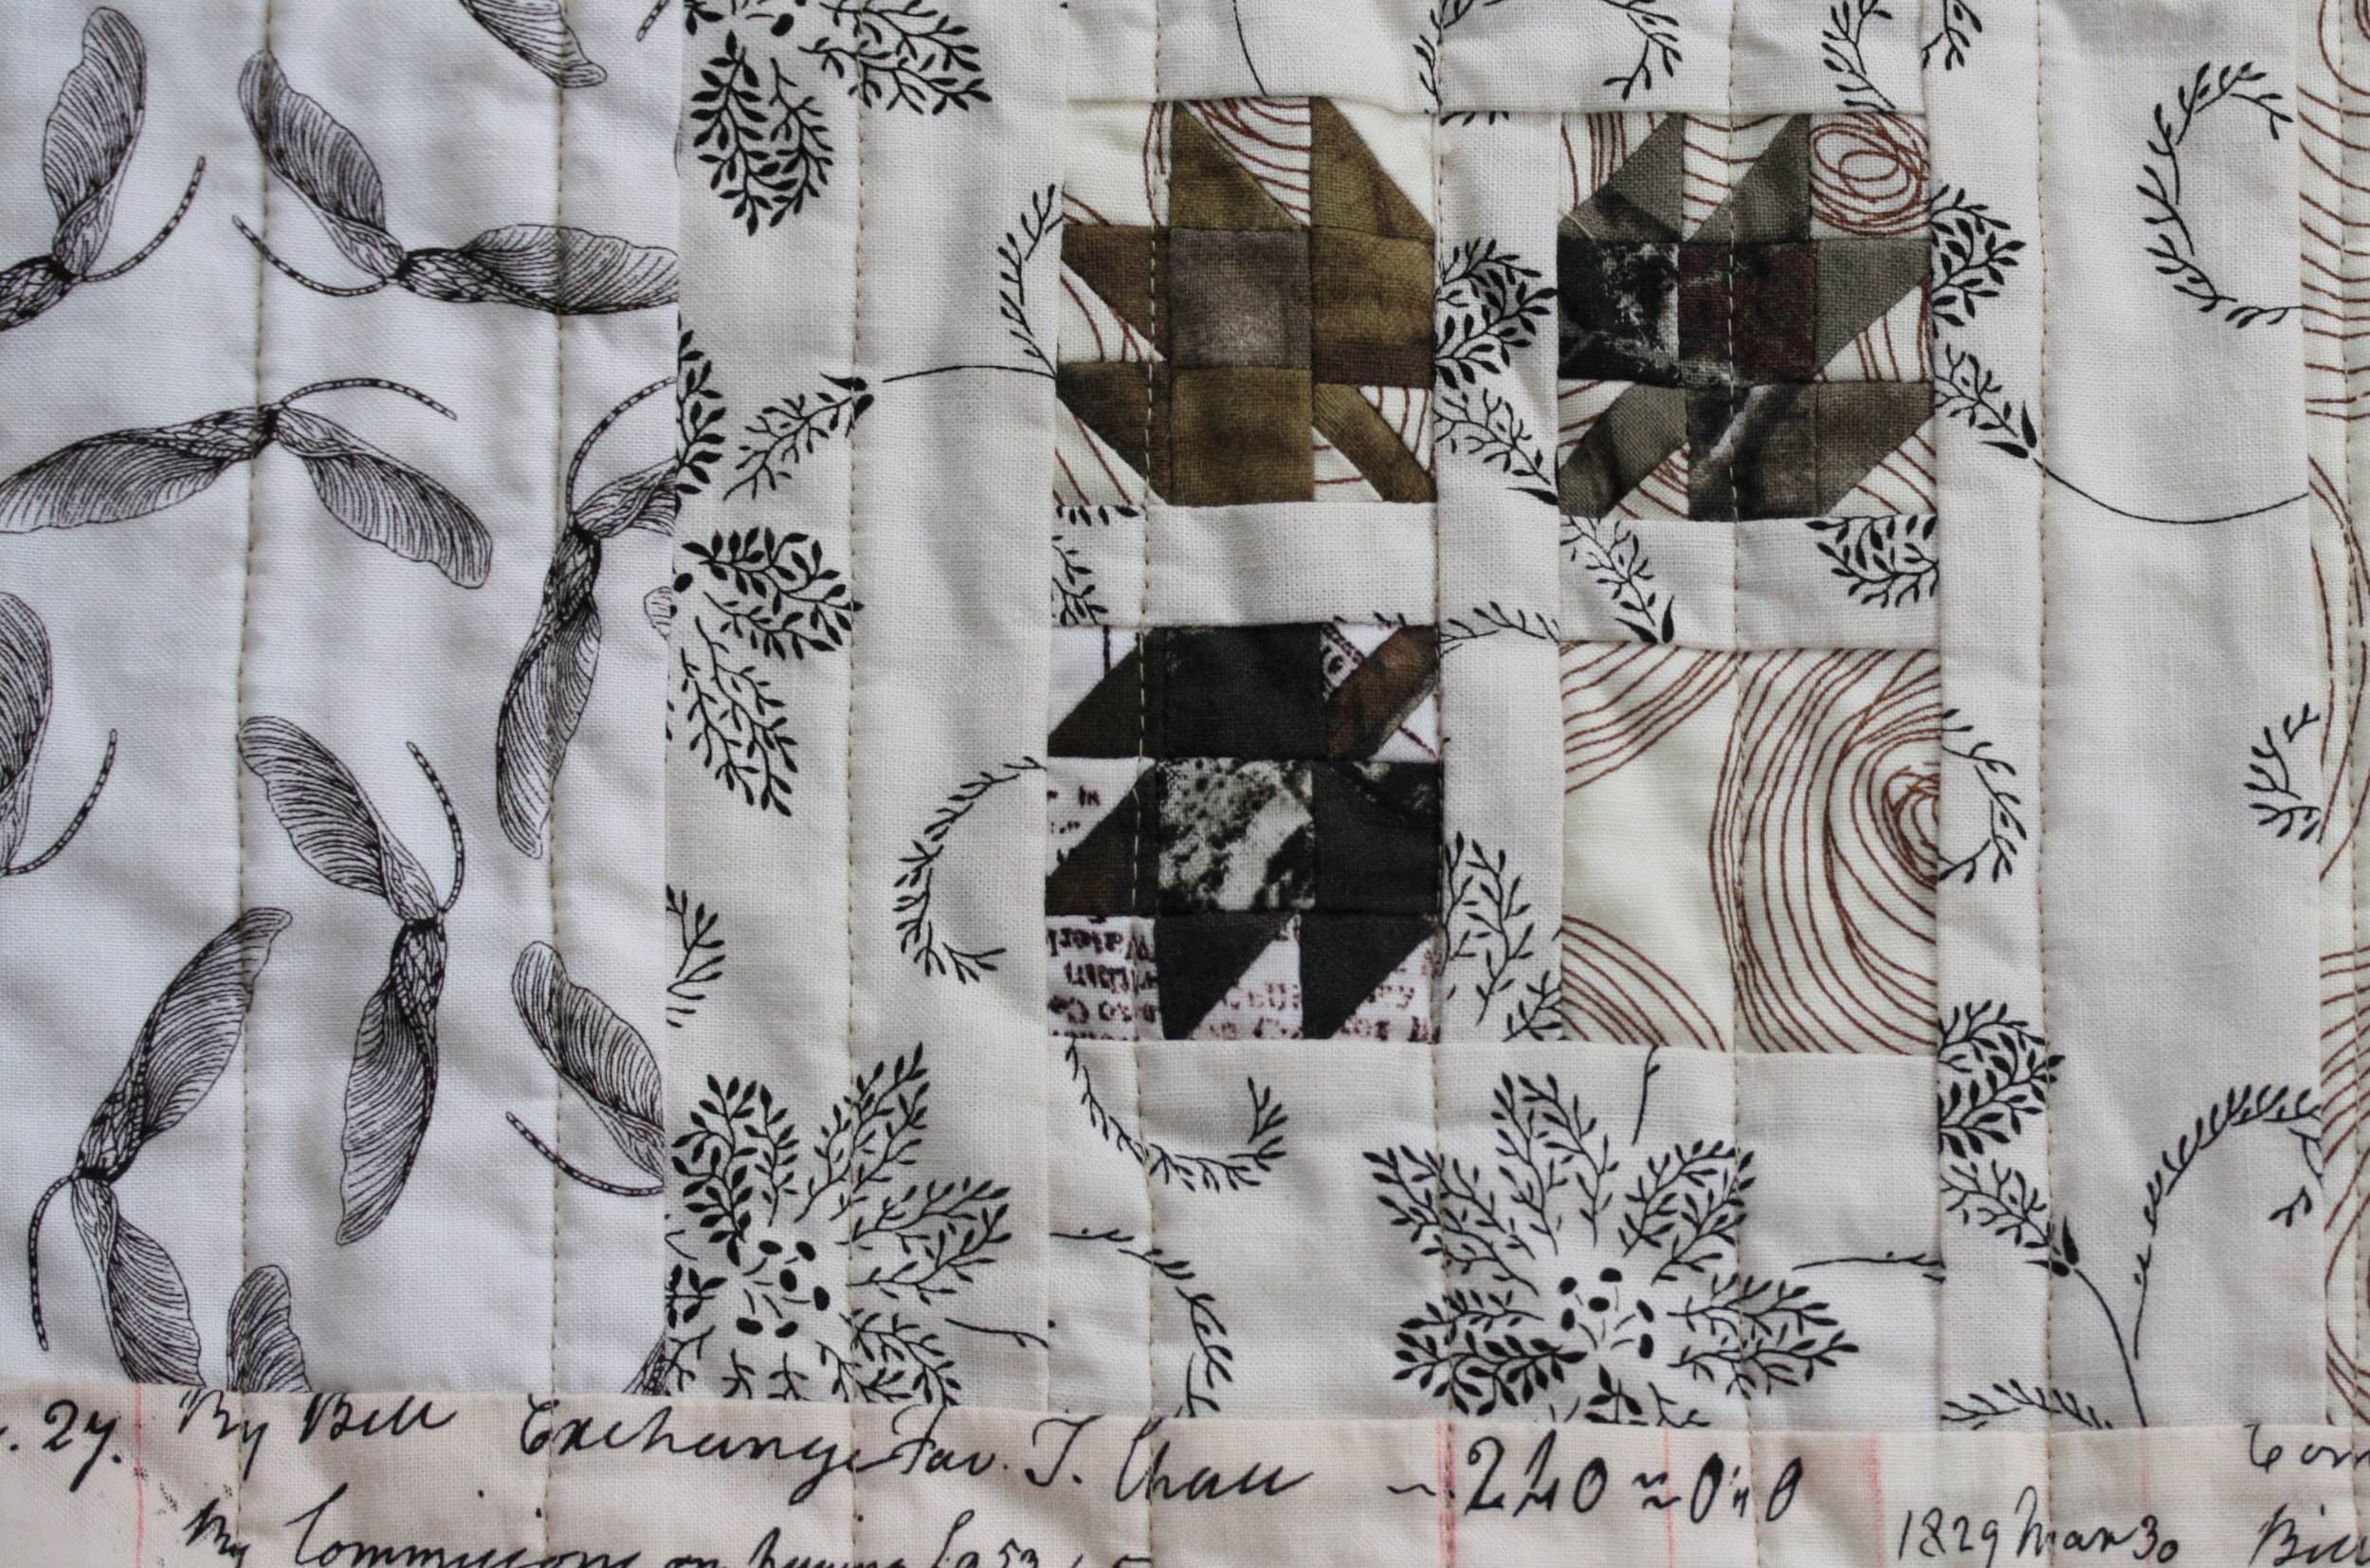
I finished up a new york beauty that will soon be shipped off to someone special.
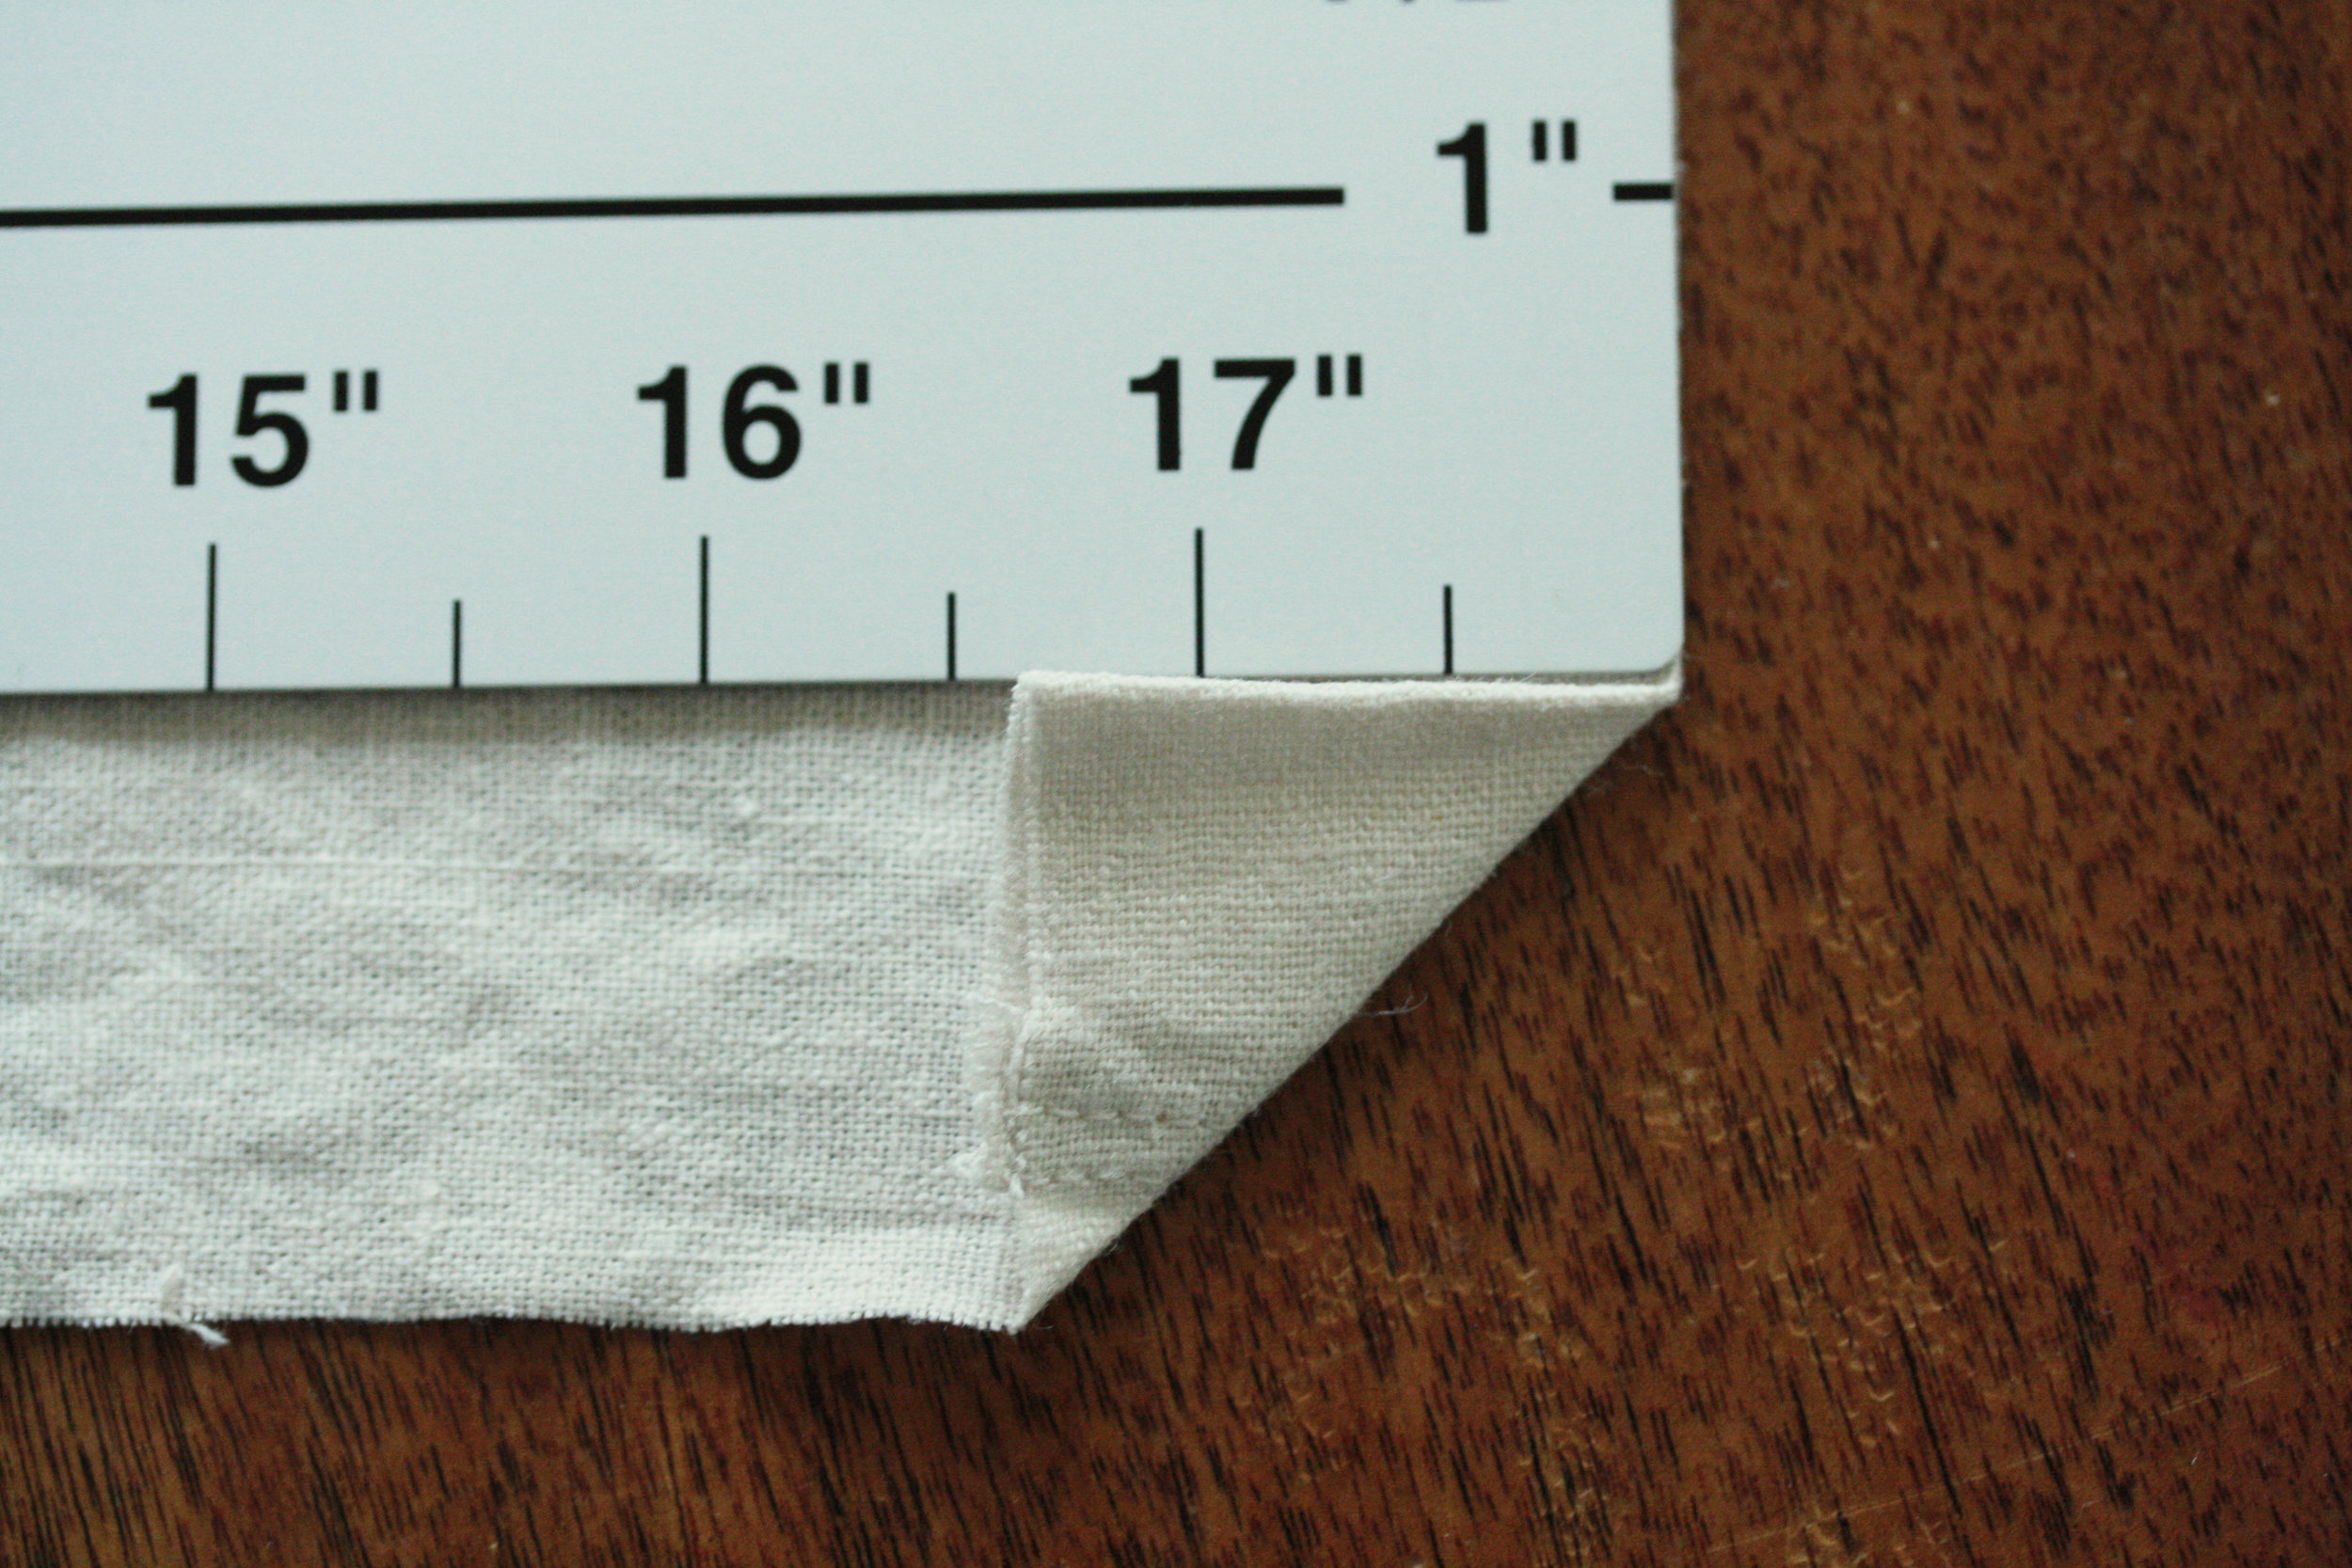
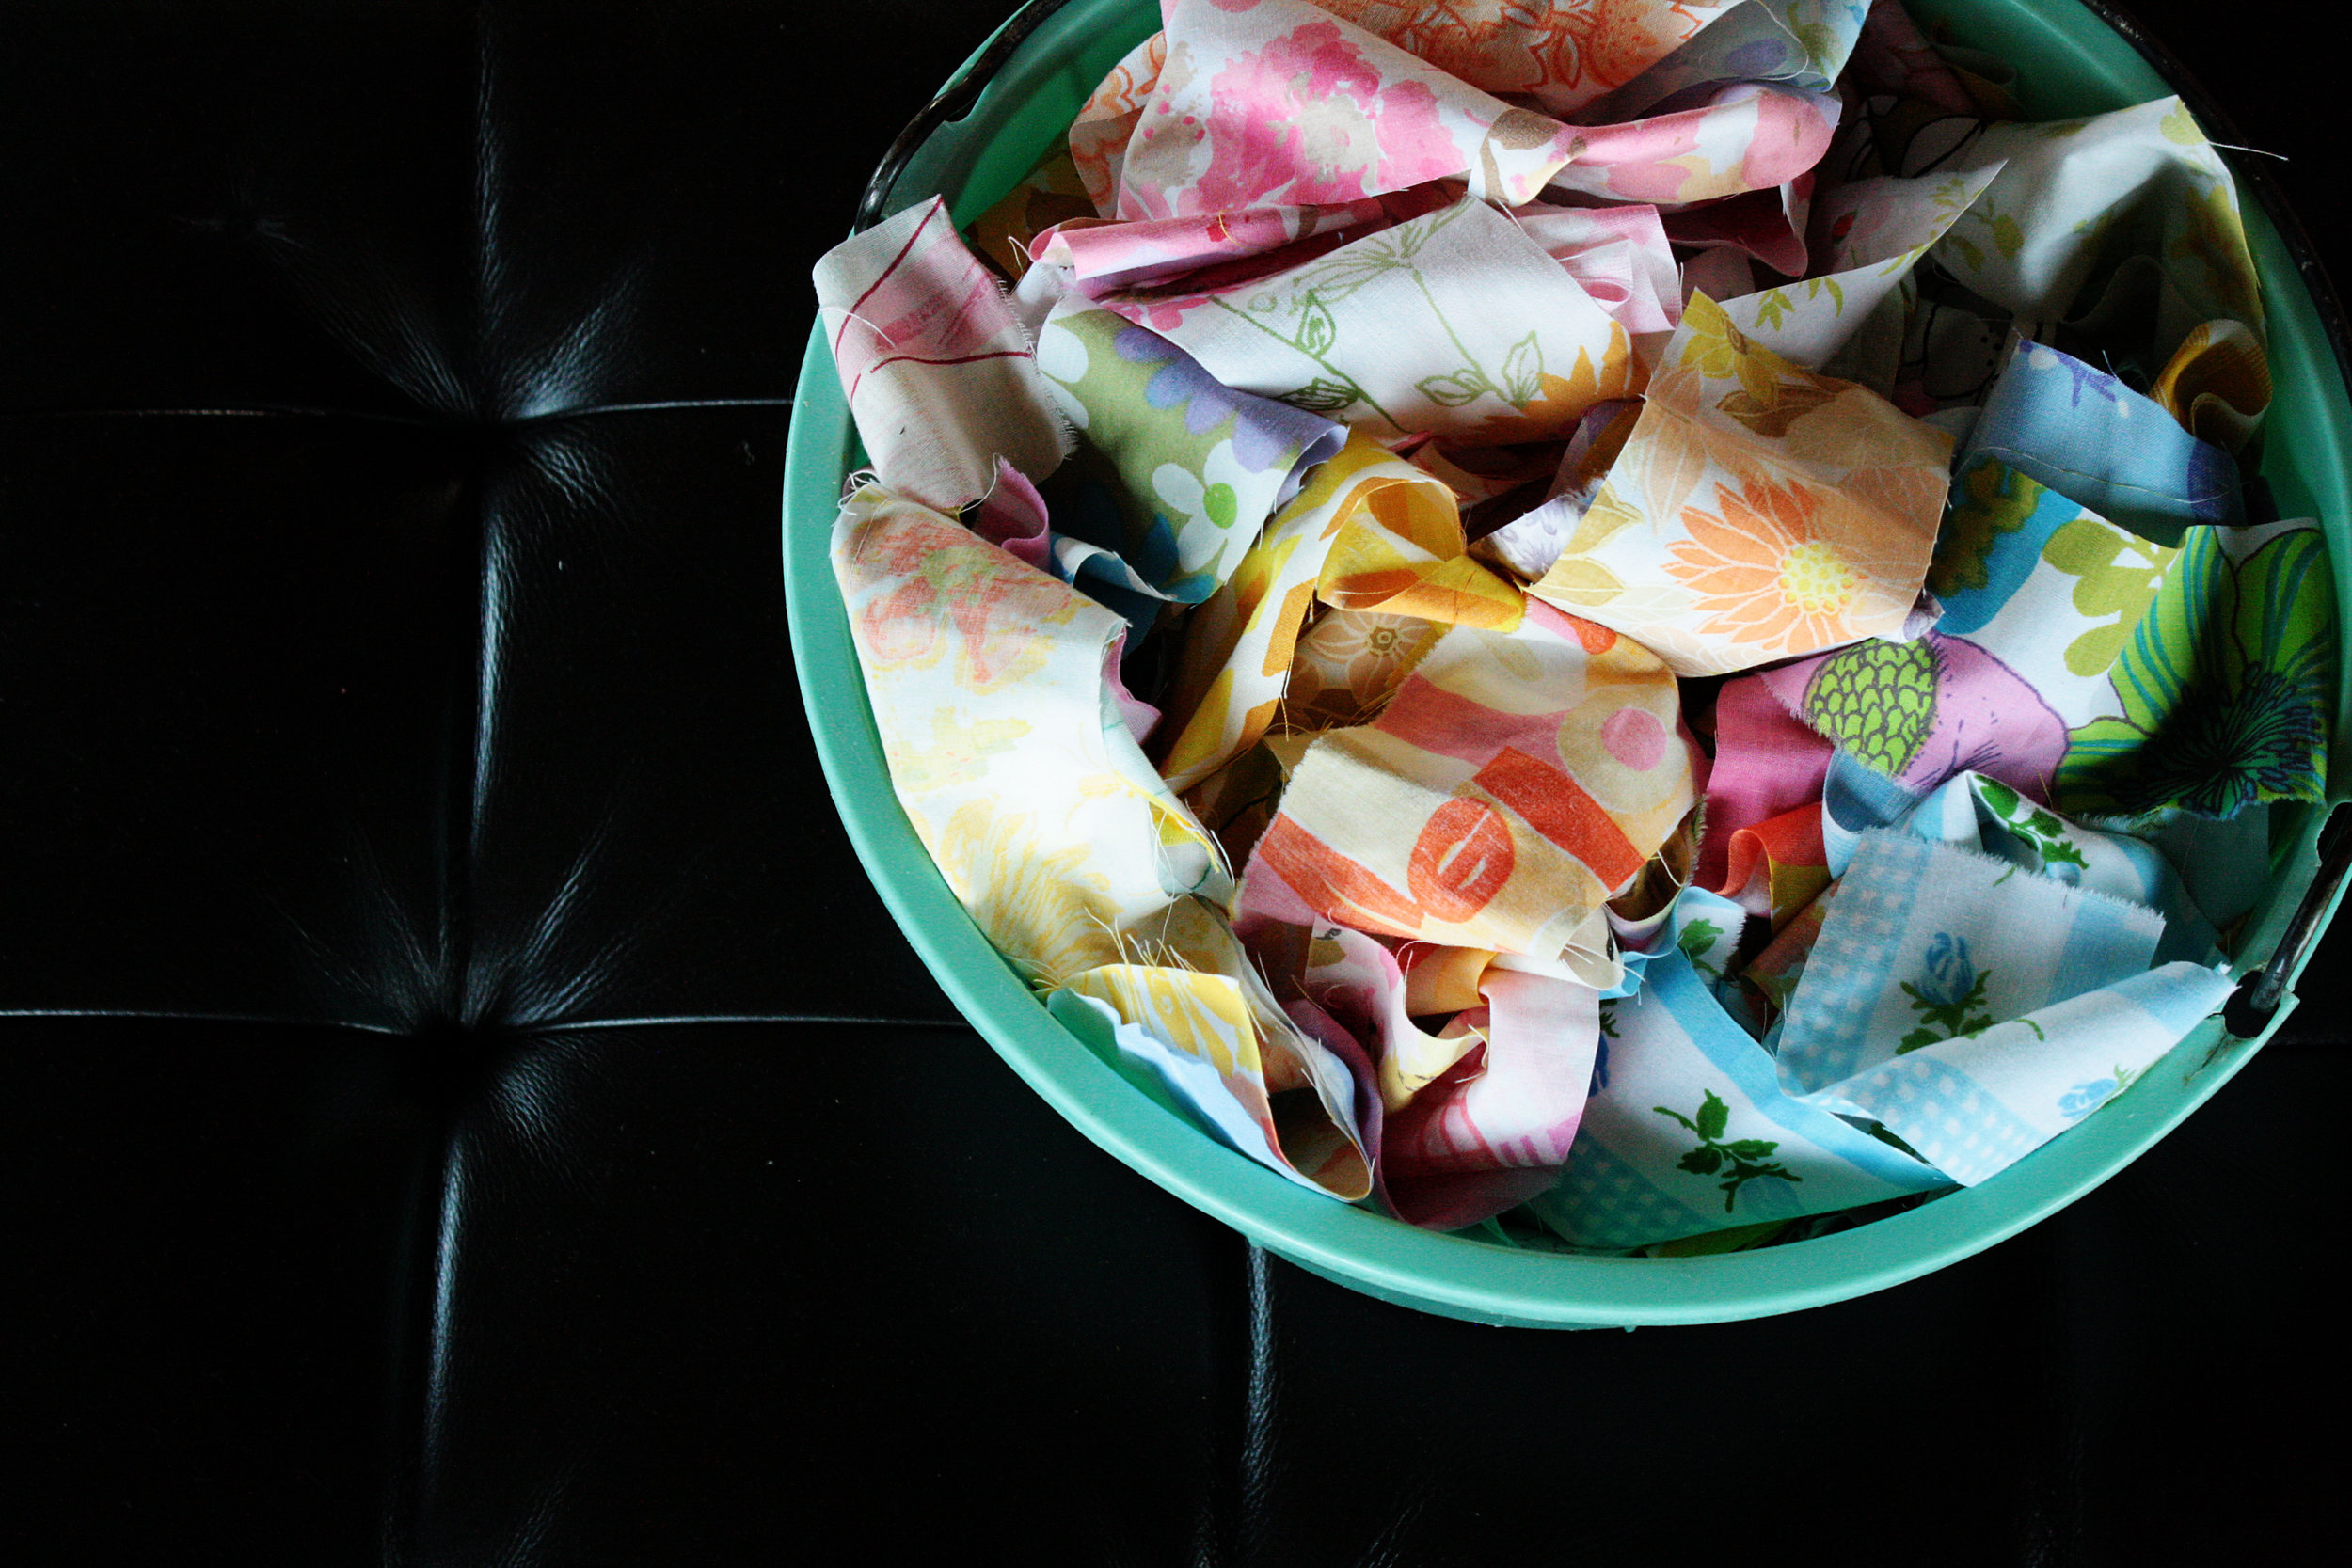
I tried fabric dying for the first time. We used an indigo kit and learned a lot about what works well and what doesn't. These are my pieces before the dye bath.

Here's the top piece after dying. I will most definitely be doing more with this technique.

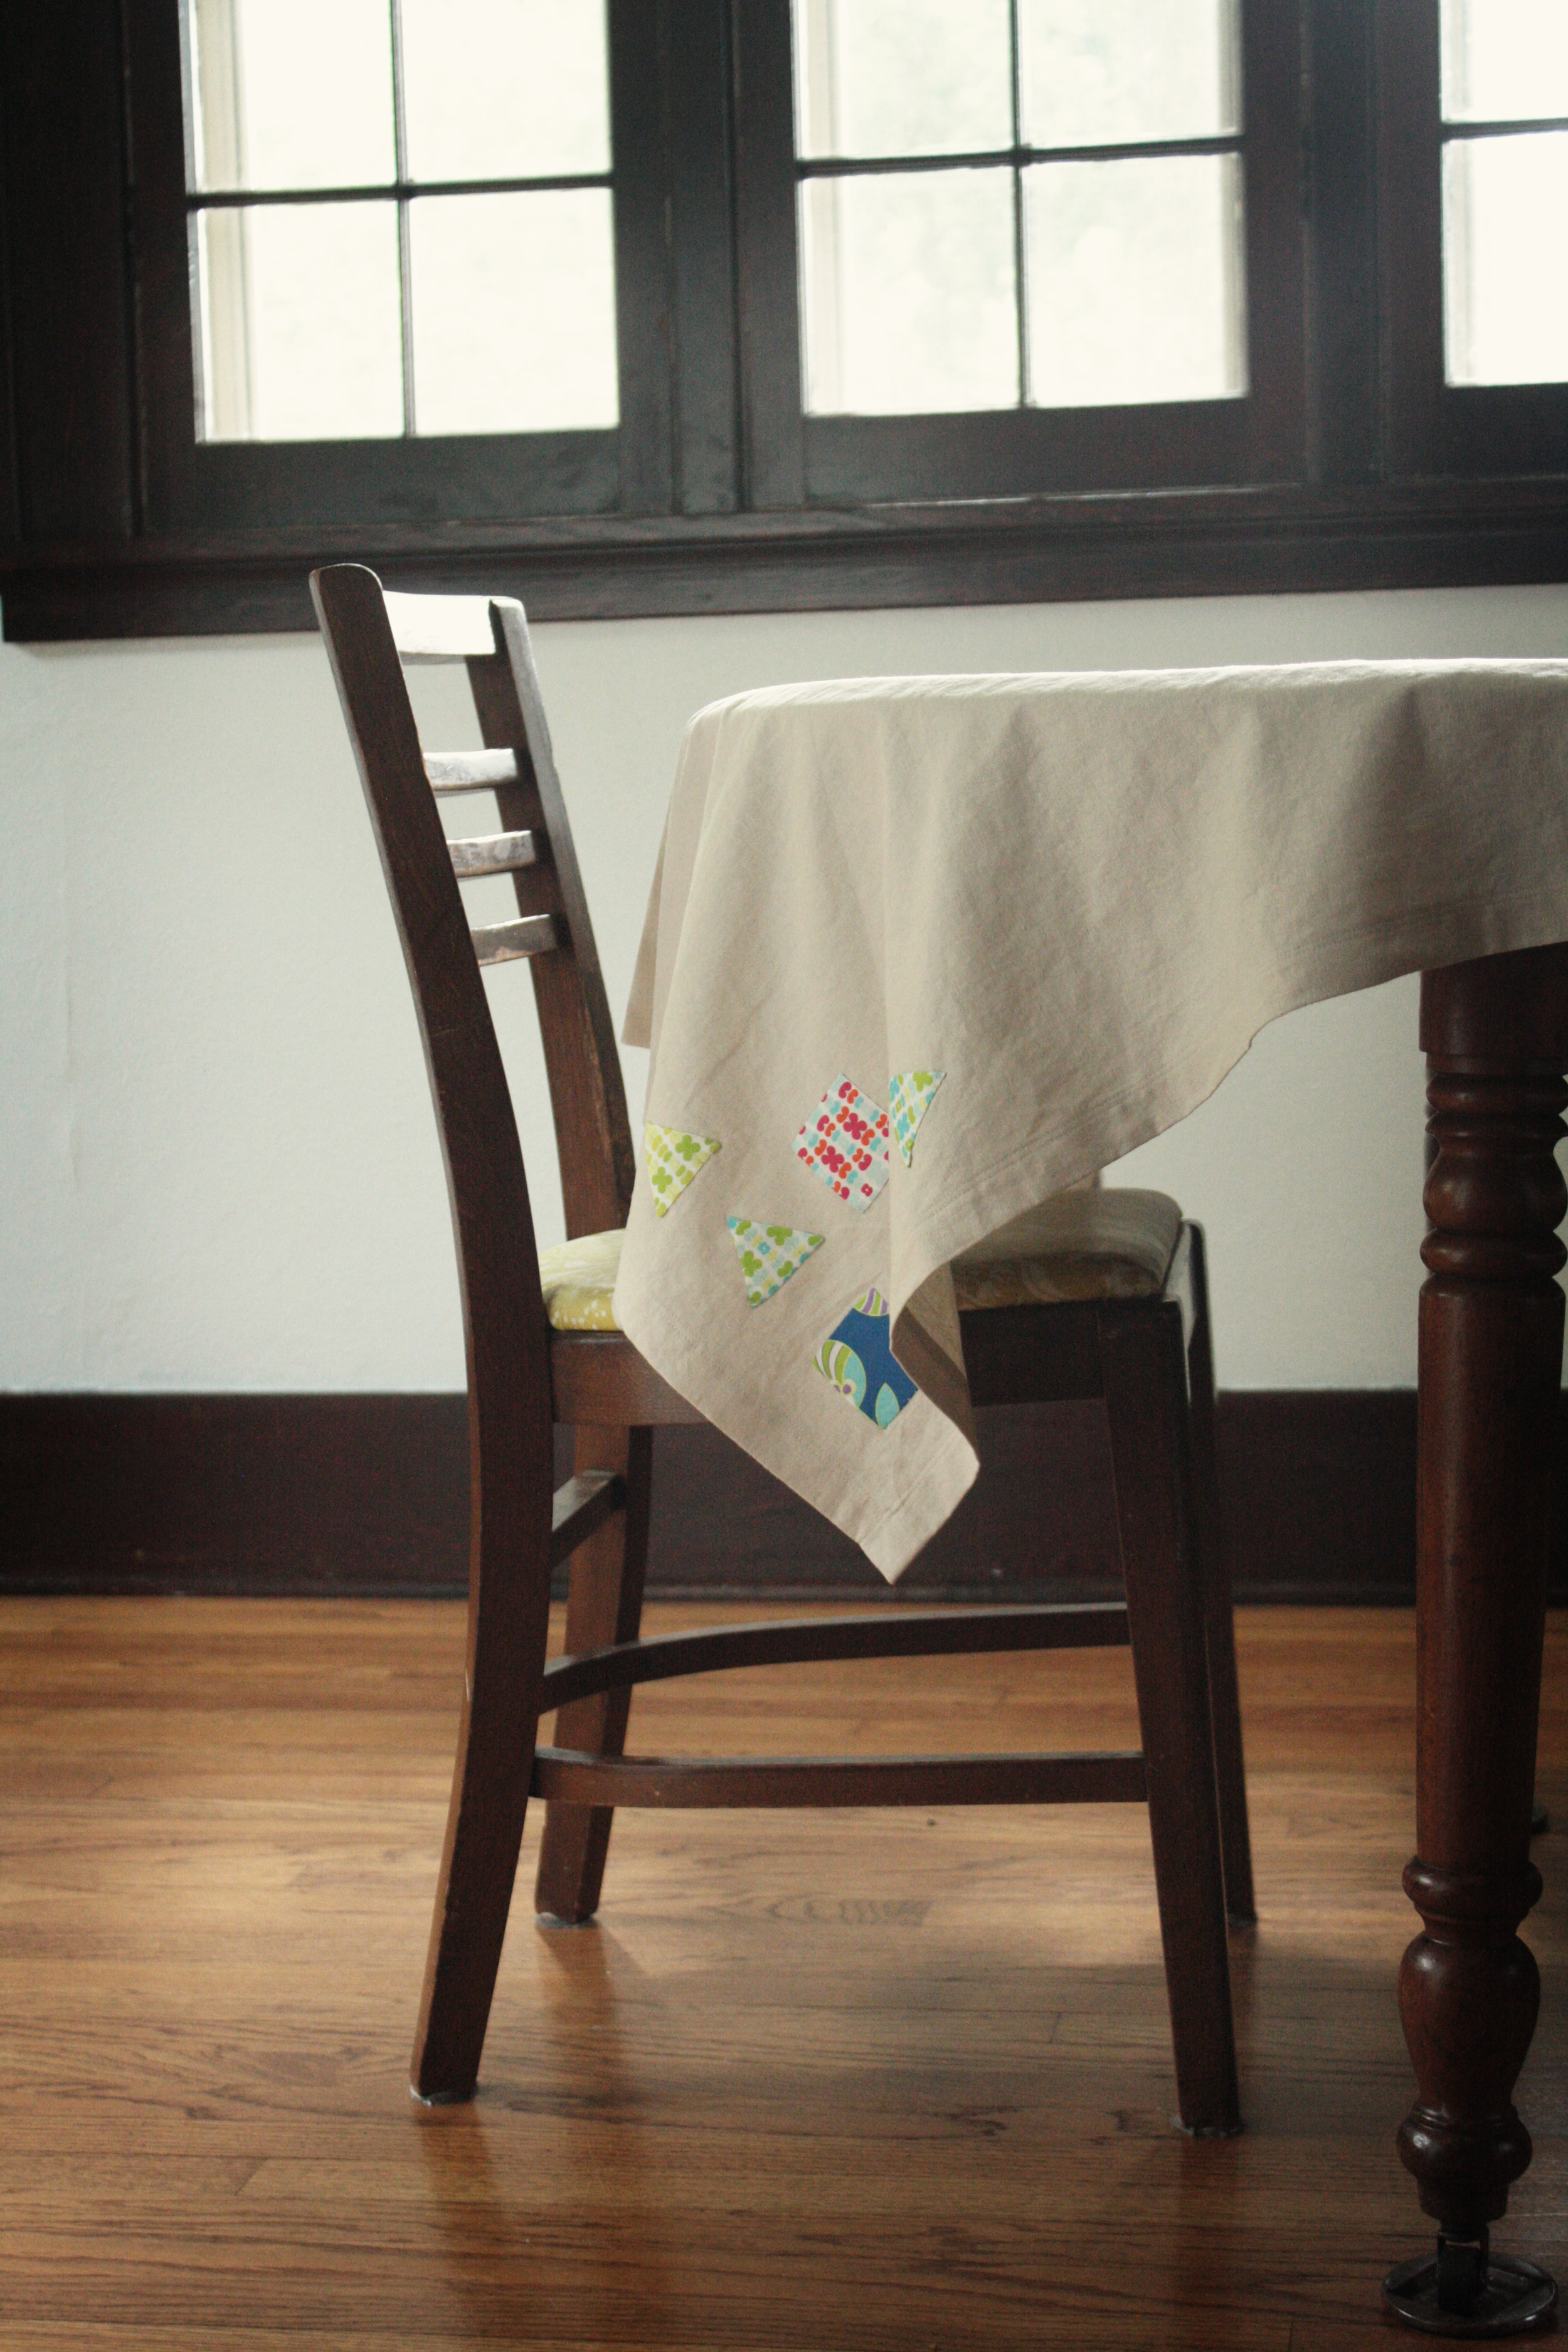
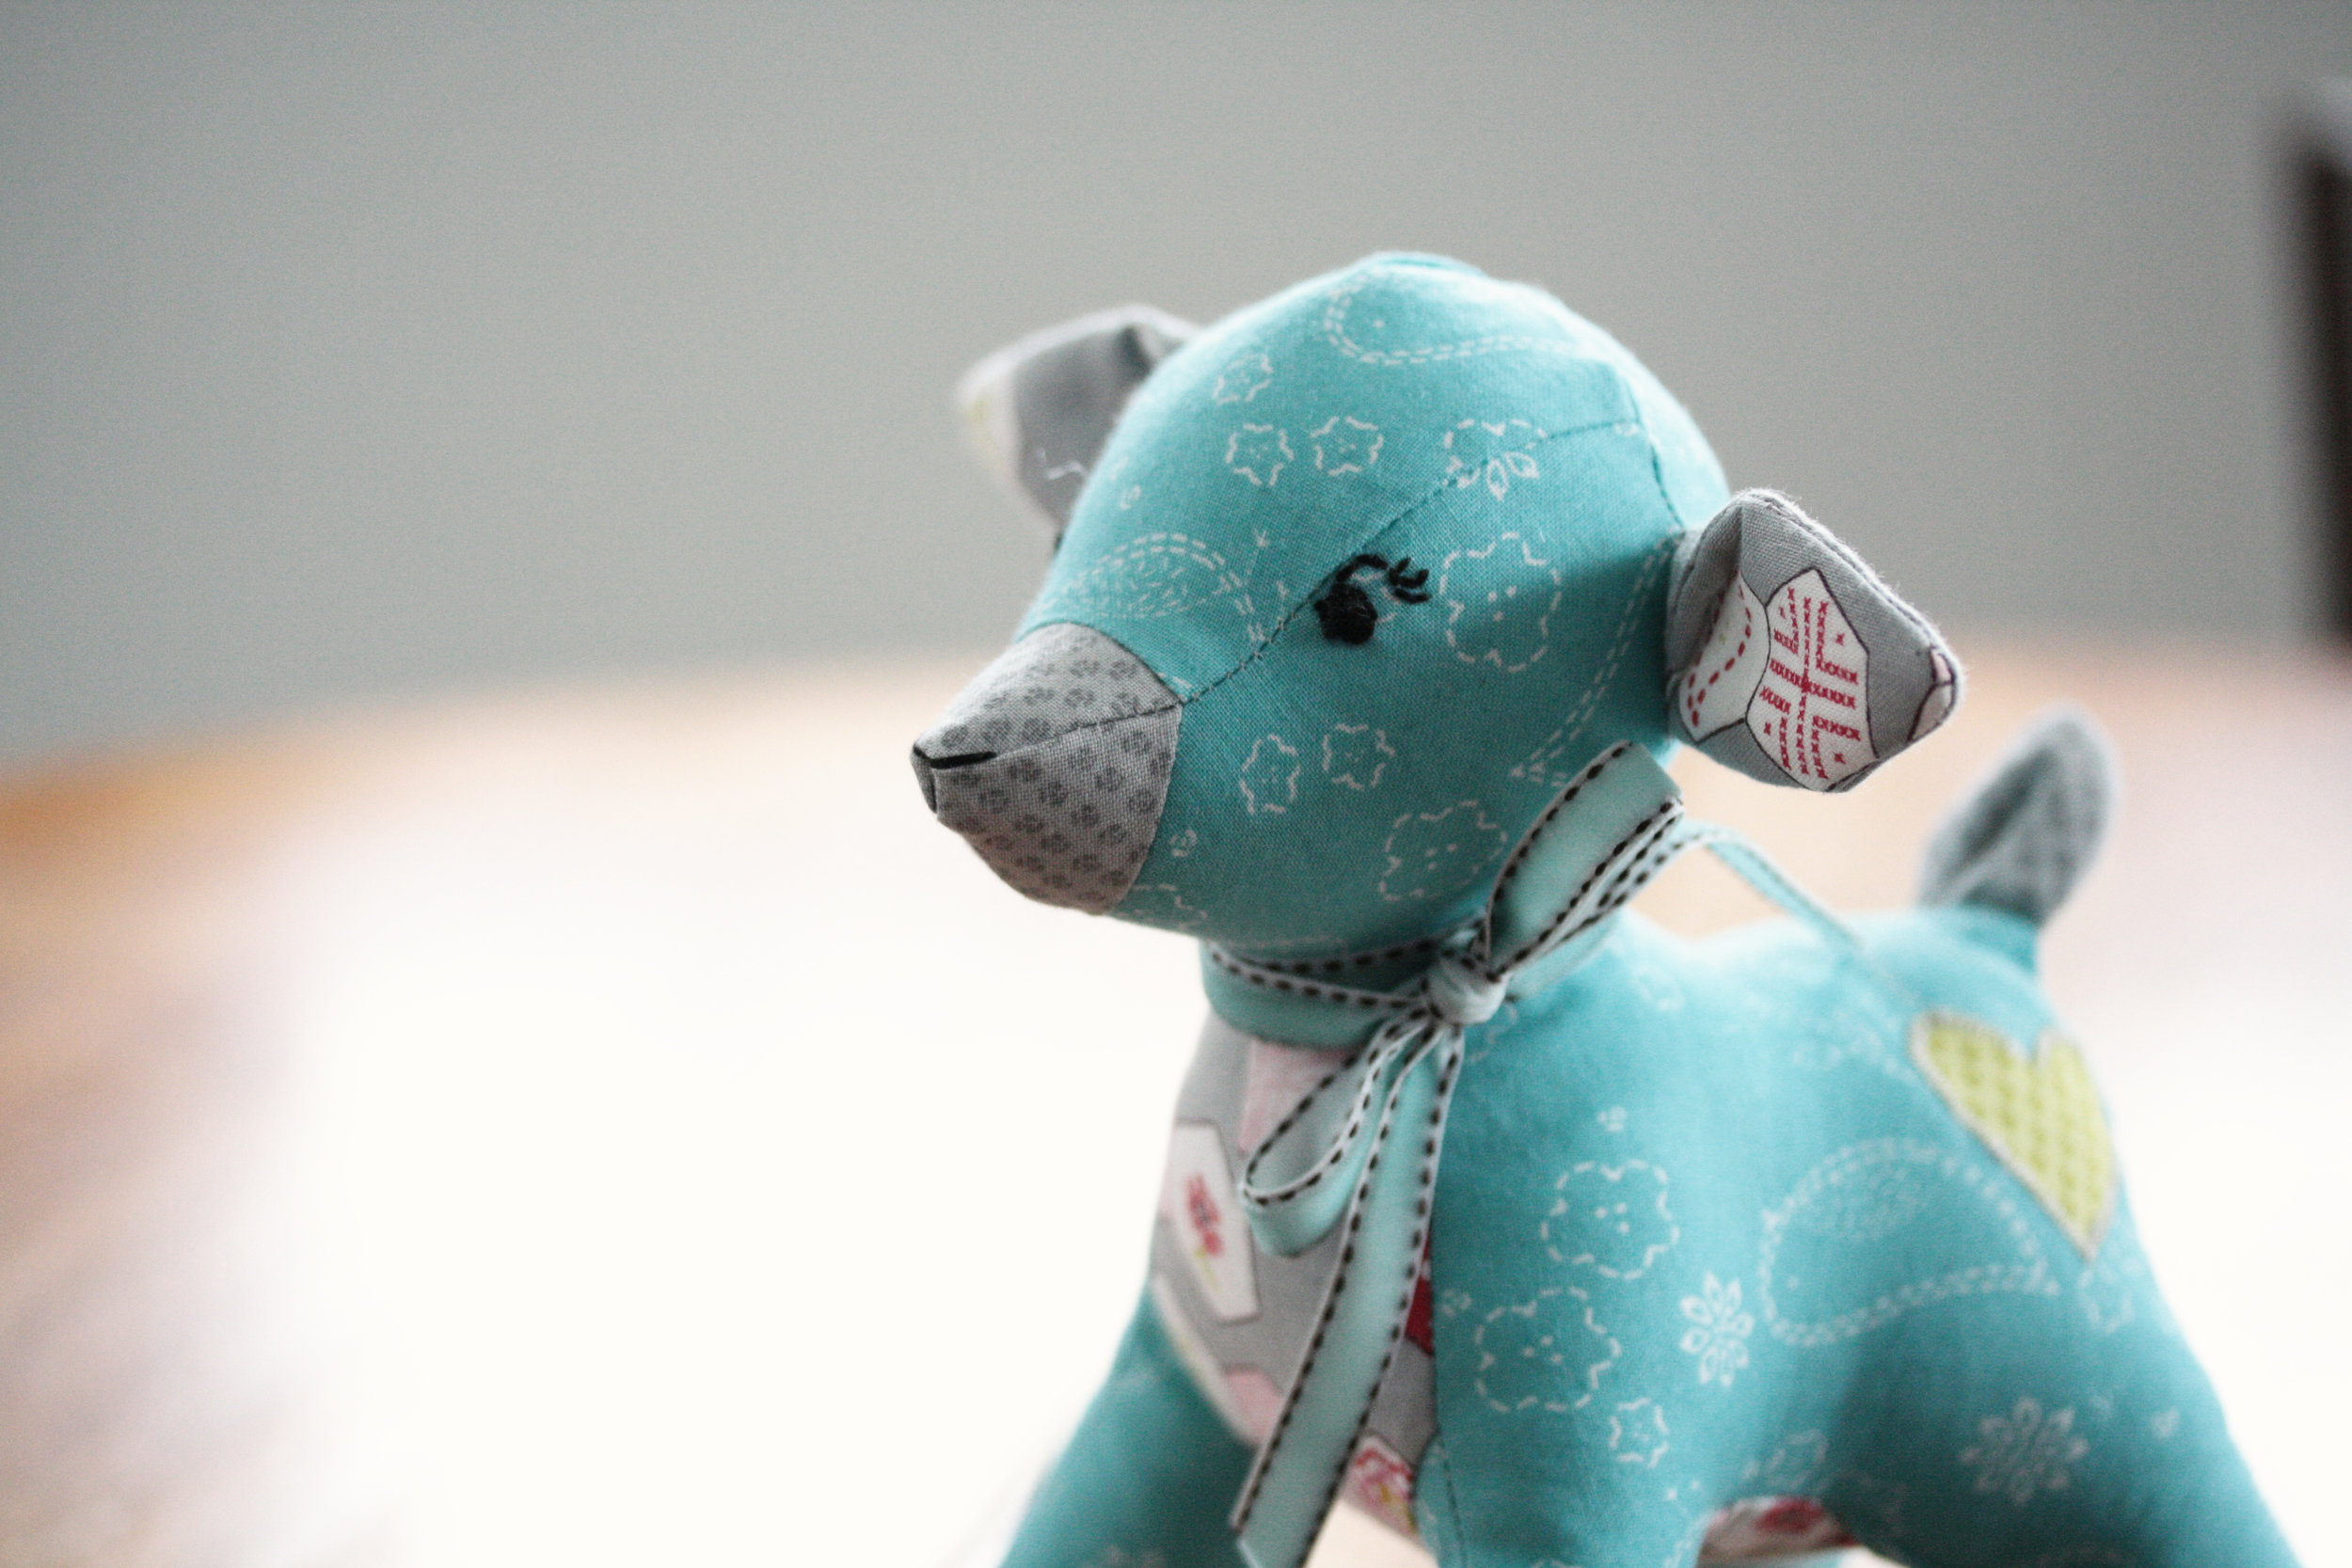
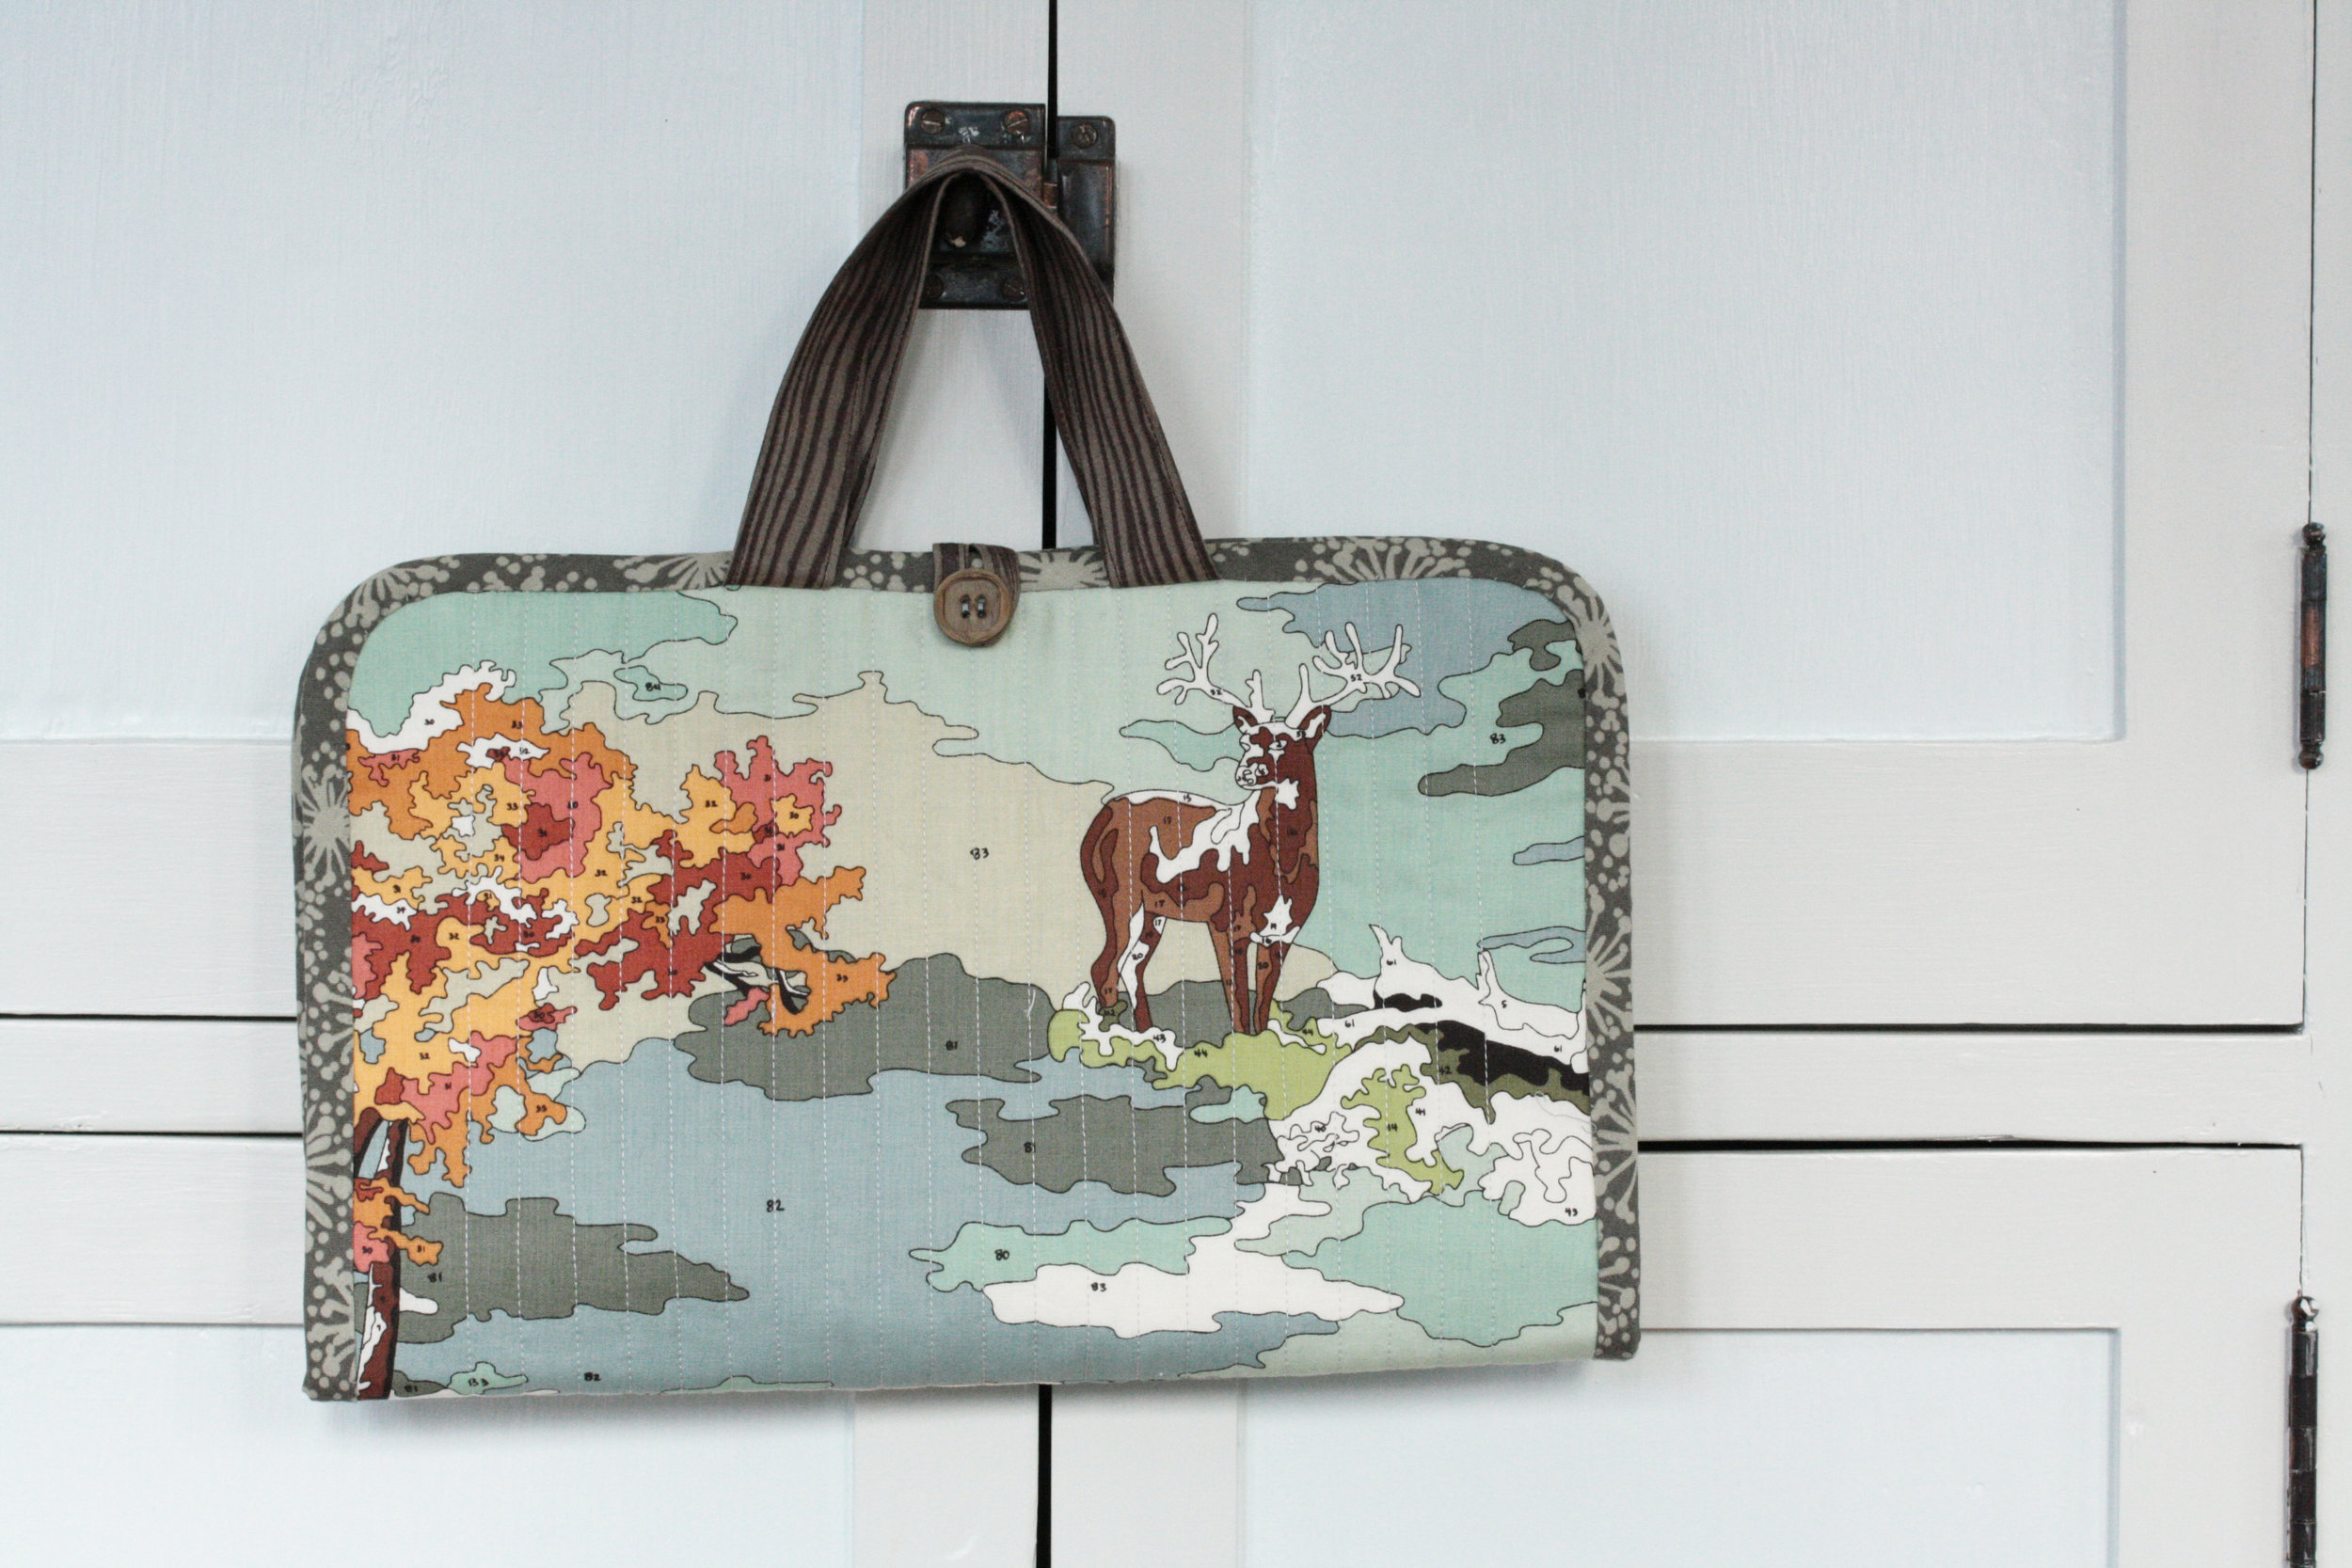
It was fun to see what everyone was working on. There were a lot of secret projects that I'm sure you will see popping up soon.
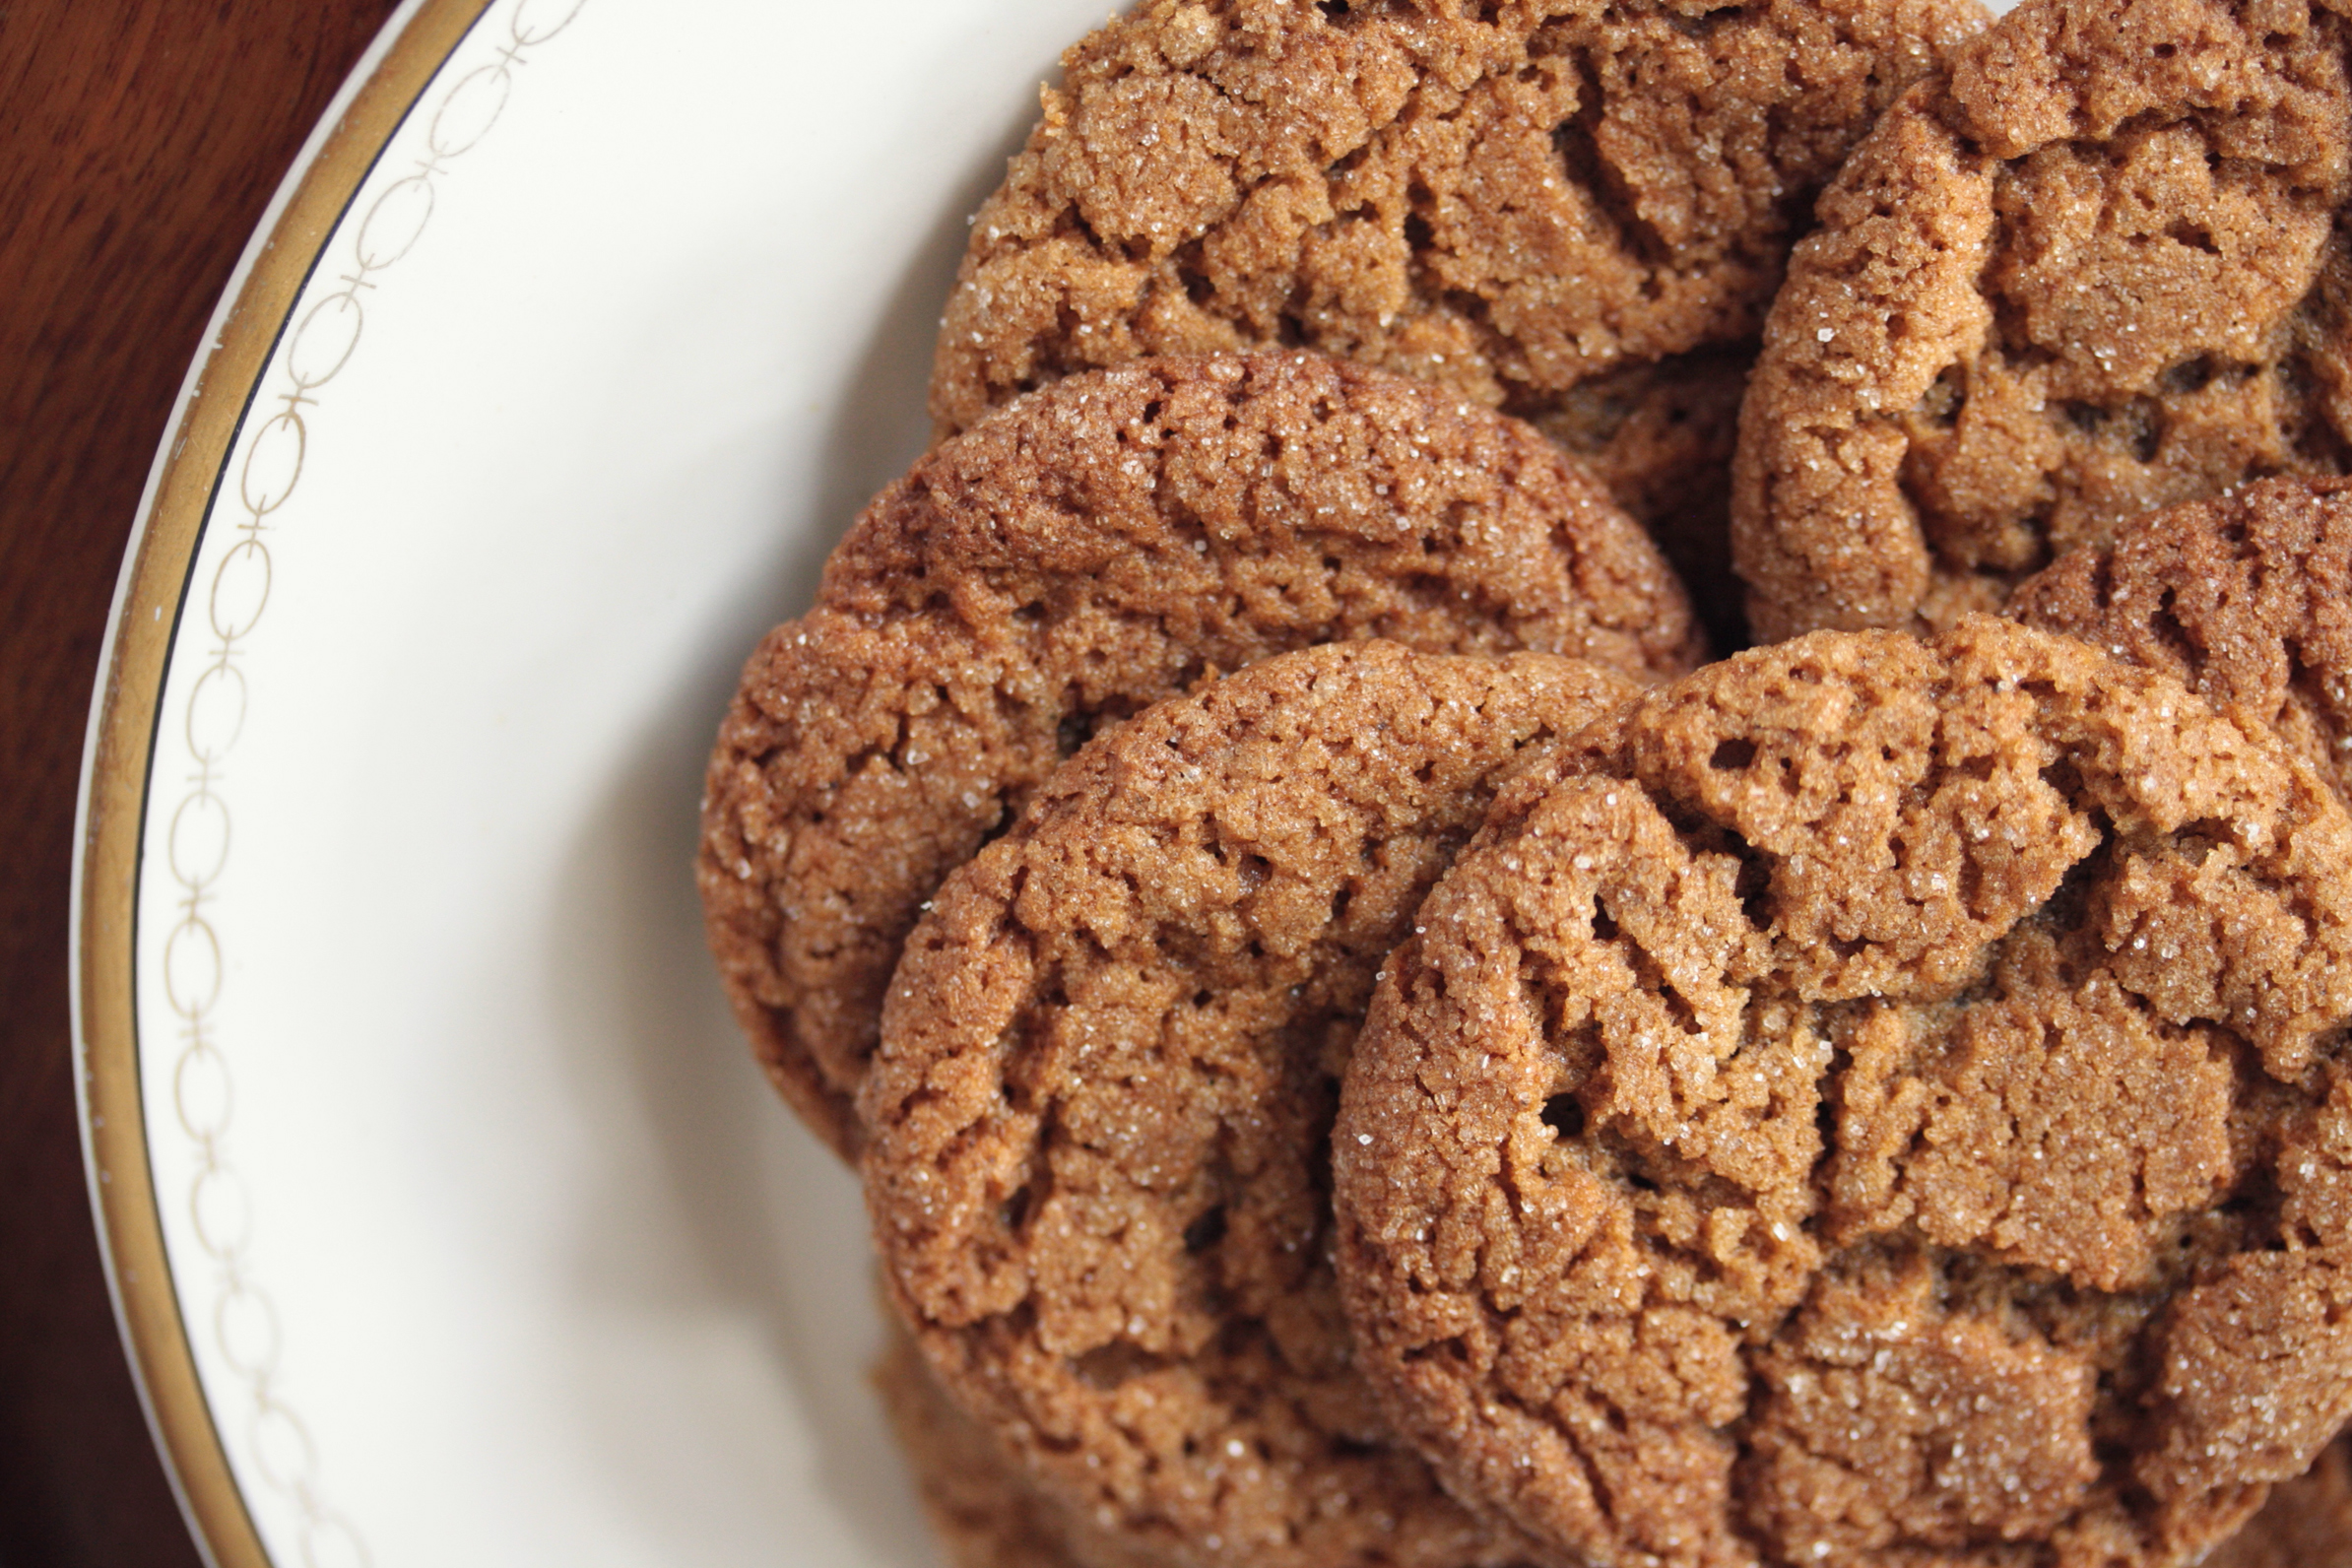
I brought along a cheesecake. I didn't want us to go without sweets while we were sewing in the middle of nowhere.
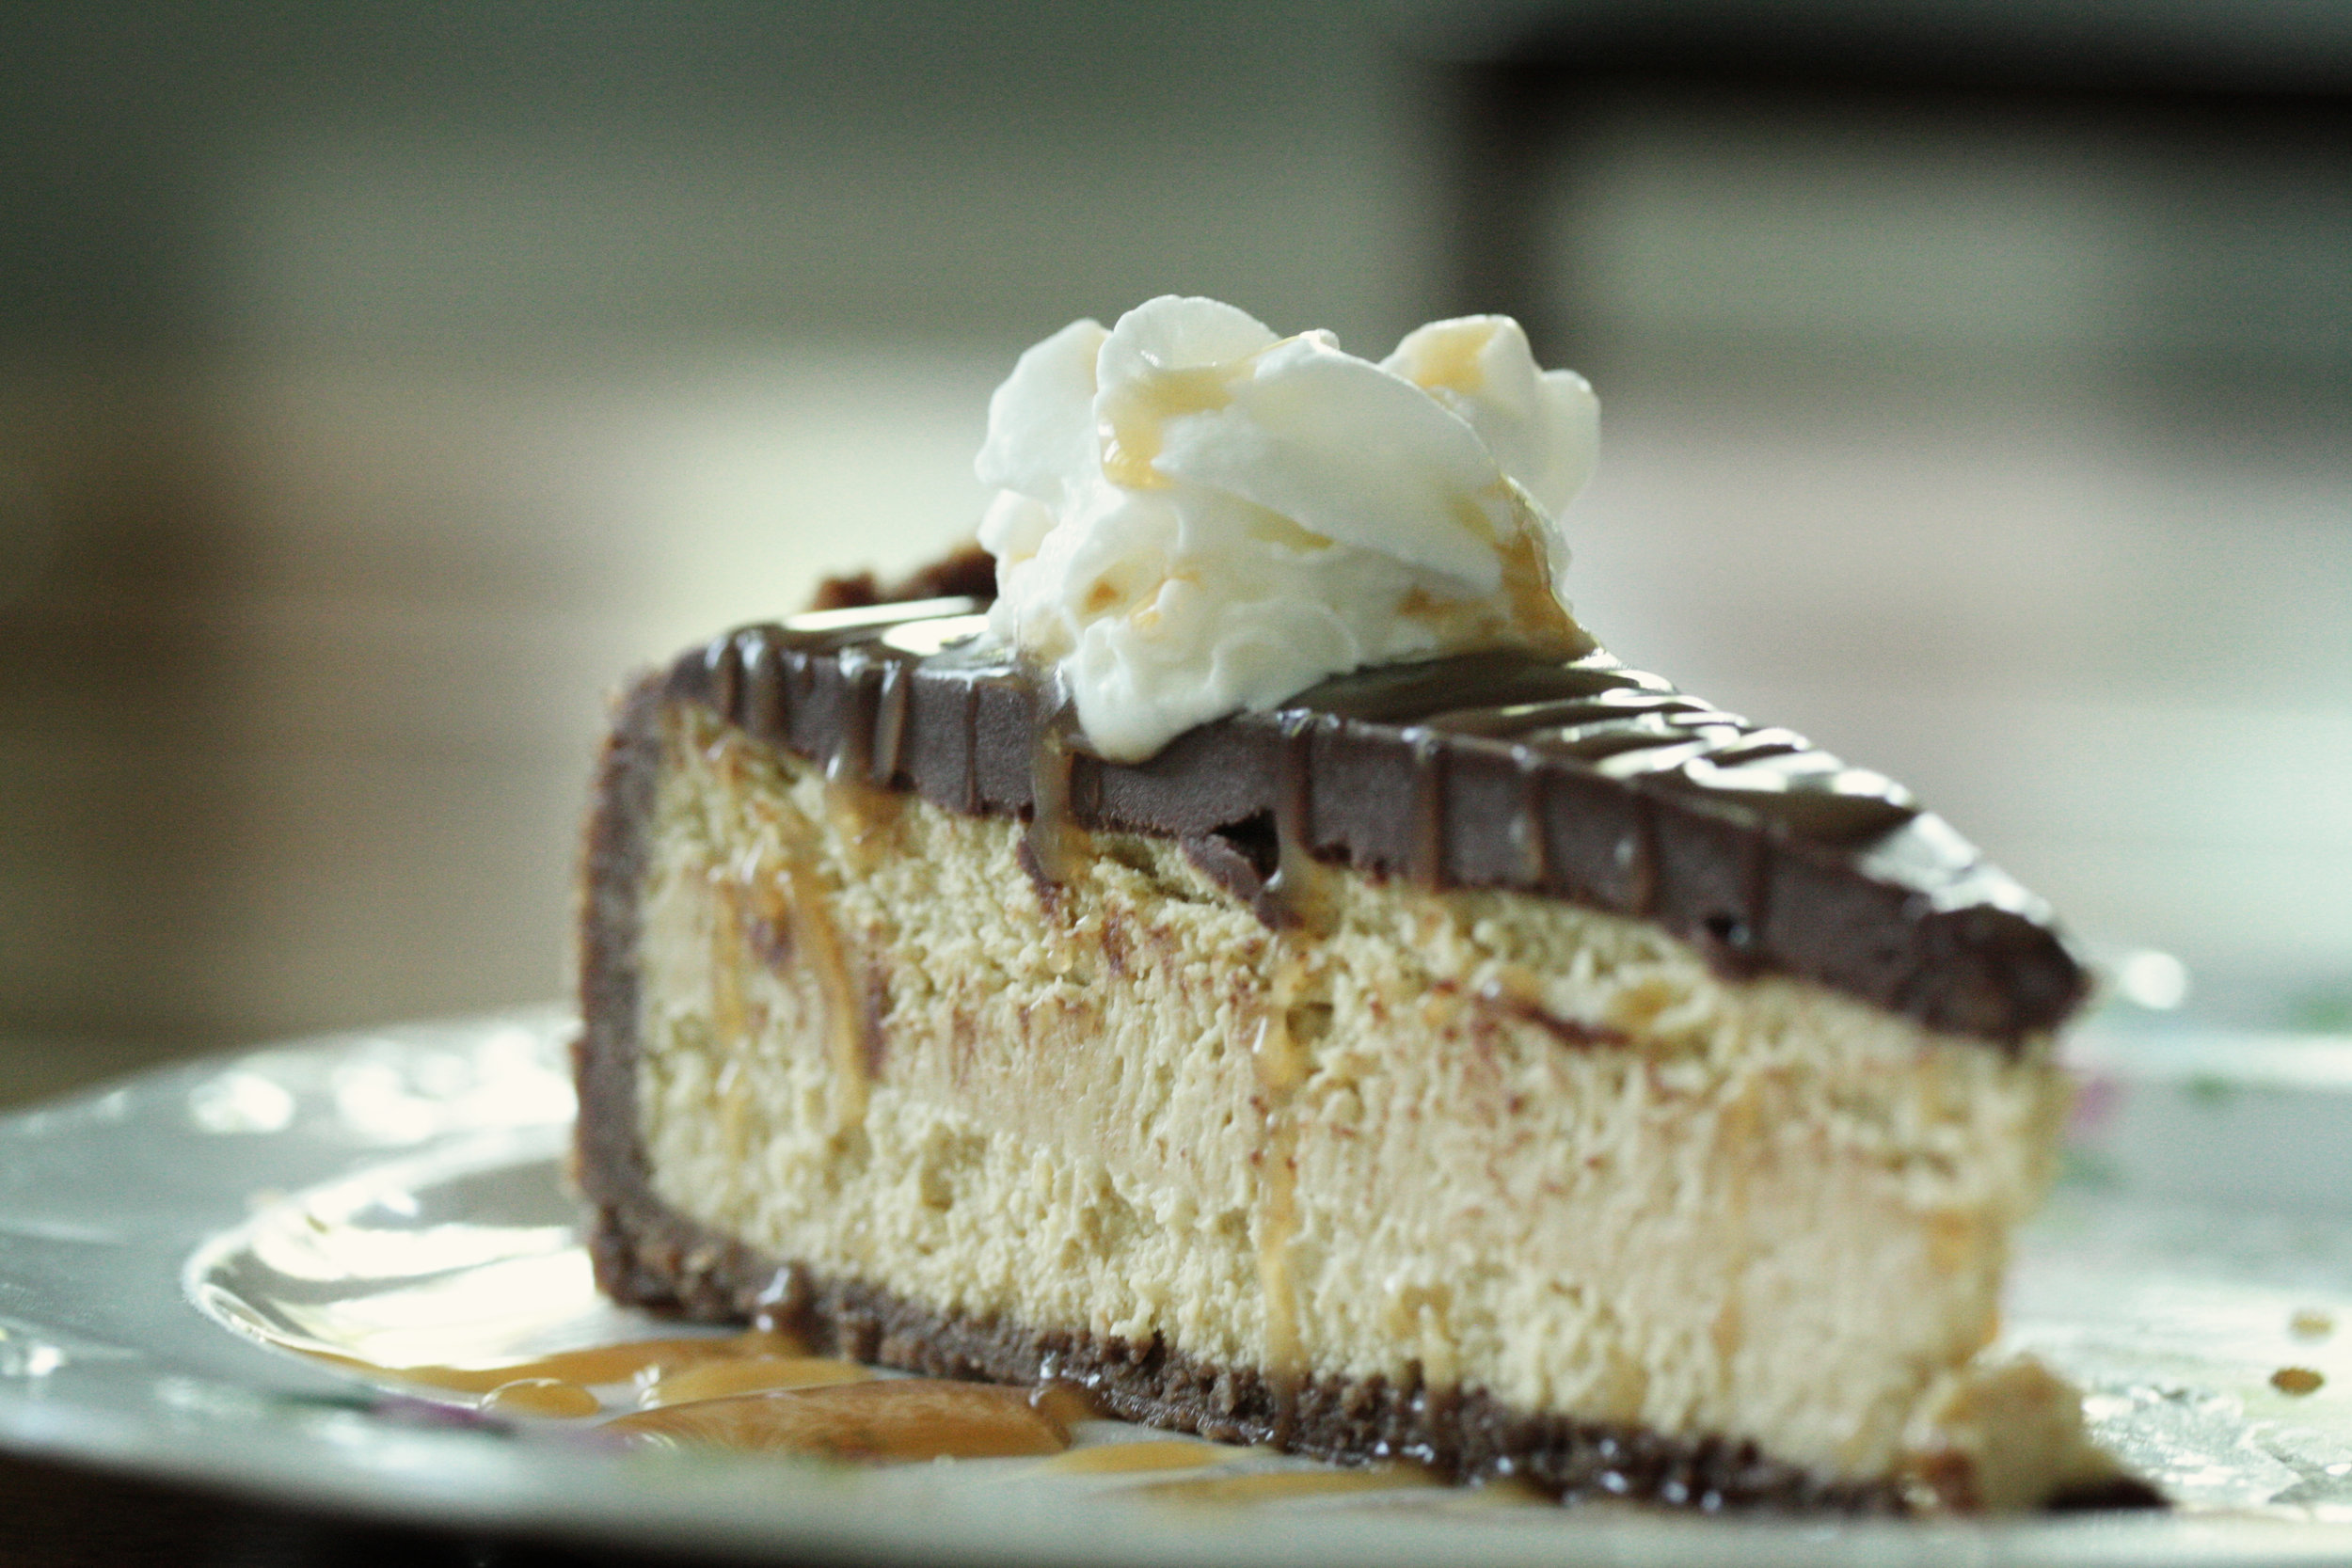
iced mocha cheesecake
crust
1 cup graham cracker crumbs
1 cup chocolate wafer crumbs
1 teaspoon espresso powder
1 stick butter (softened at room temperature)
1 teaspoon vanilla extract
cheesecake filling
3 bricks (8oz. each) of cream cheese at room temp
1 cup sugar
3 large eggs
1 cup heavy cream
1 Tablespoon vanilla extract
1 Tablespoon coffee extract
ganache
1 1/4 cup heavy cream
7 oz. bittersweet chocolate (chopped)
1/4 teaspoon espresso powder
Preheat oven to 350 degrees. Put a kettle of water on to boil for the water bath.
Mix crust ingredients in bowl of food processor until combined. Use a straight sided glass or measuring cup to press crumb mixture along the bottom and up the side of a springform pan. Chill crust while preparing the filling.
Combine cream cheese and sugar in bowl of food processor or mixer until creamy and smooth. Add eggs, one at a time, fully incorporating each before adding the next. Make sure to scrape down the sides of the bowl between each egg. Add heavy cream, vanilla, and coffee extract and blend until smooth and creamy.
Wrap pan tightly in multiple layers of aluminum foil to make water tight for water bath. Pour batter into prepared crust. Place pan in larger pan (I use an oversized skillet) and pour hot water into the larger pan until it comes about half way up the sides of the cheesecake pan.
Bake 45-55 minutes,until almost done - this can be hard to judge, but you're looking for the cake to hold together , but still have a lot of jiggle in the center. You don't want it to be completely firm at this stage. Close the oven door, turn the heat off, and let it rest in the cooling oven for one hour. This lets the cake finish cooking and cool down gently and reduce chances of it cracking on the top. After one hour, removed the cheesecake from the oven and lift it carefully out of the water bath. Let it finish cooling off on a rack on the counter.
Once cooled, cover with ganache.
To make the ganache, mix the espresso powder and cream and bring to a boil.. Pour cream mixture over the chopped chocolate and let sift for 45 seconds then begin to mix. It will become creamy when fully incorporated. Pour in center of cheesecake. Allow ganache to cool, then cover and put in refrigerator to cool overnight.
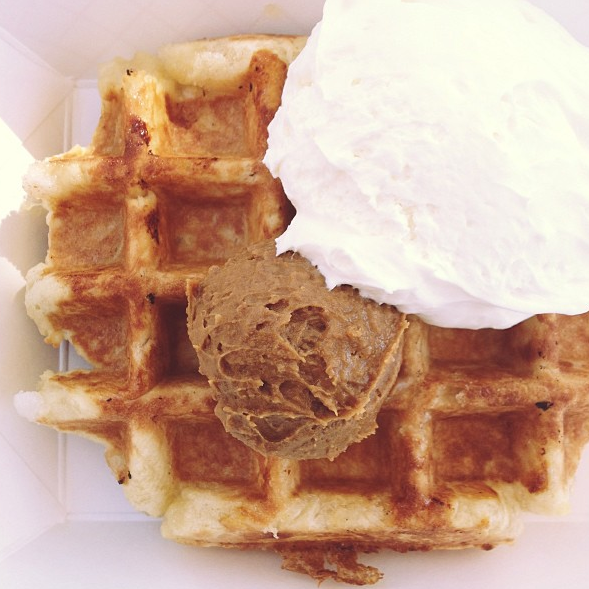
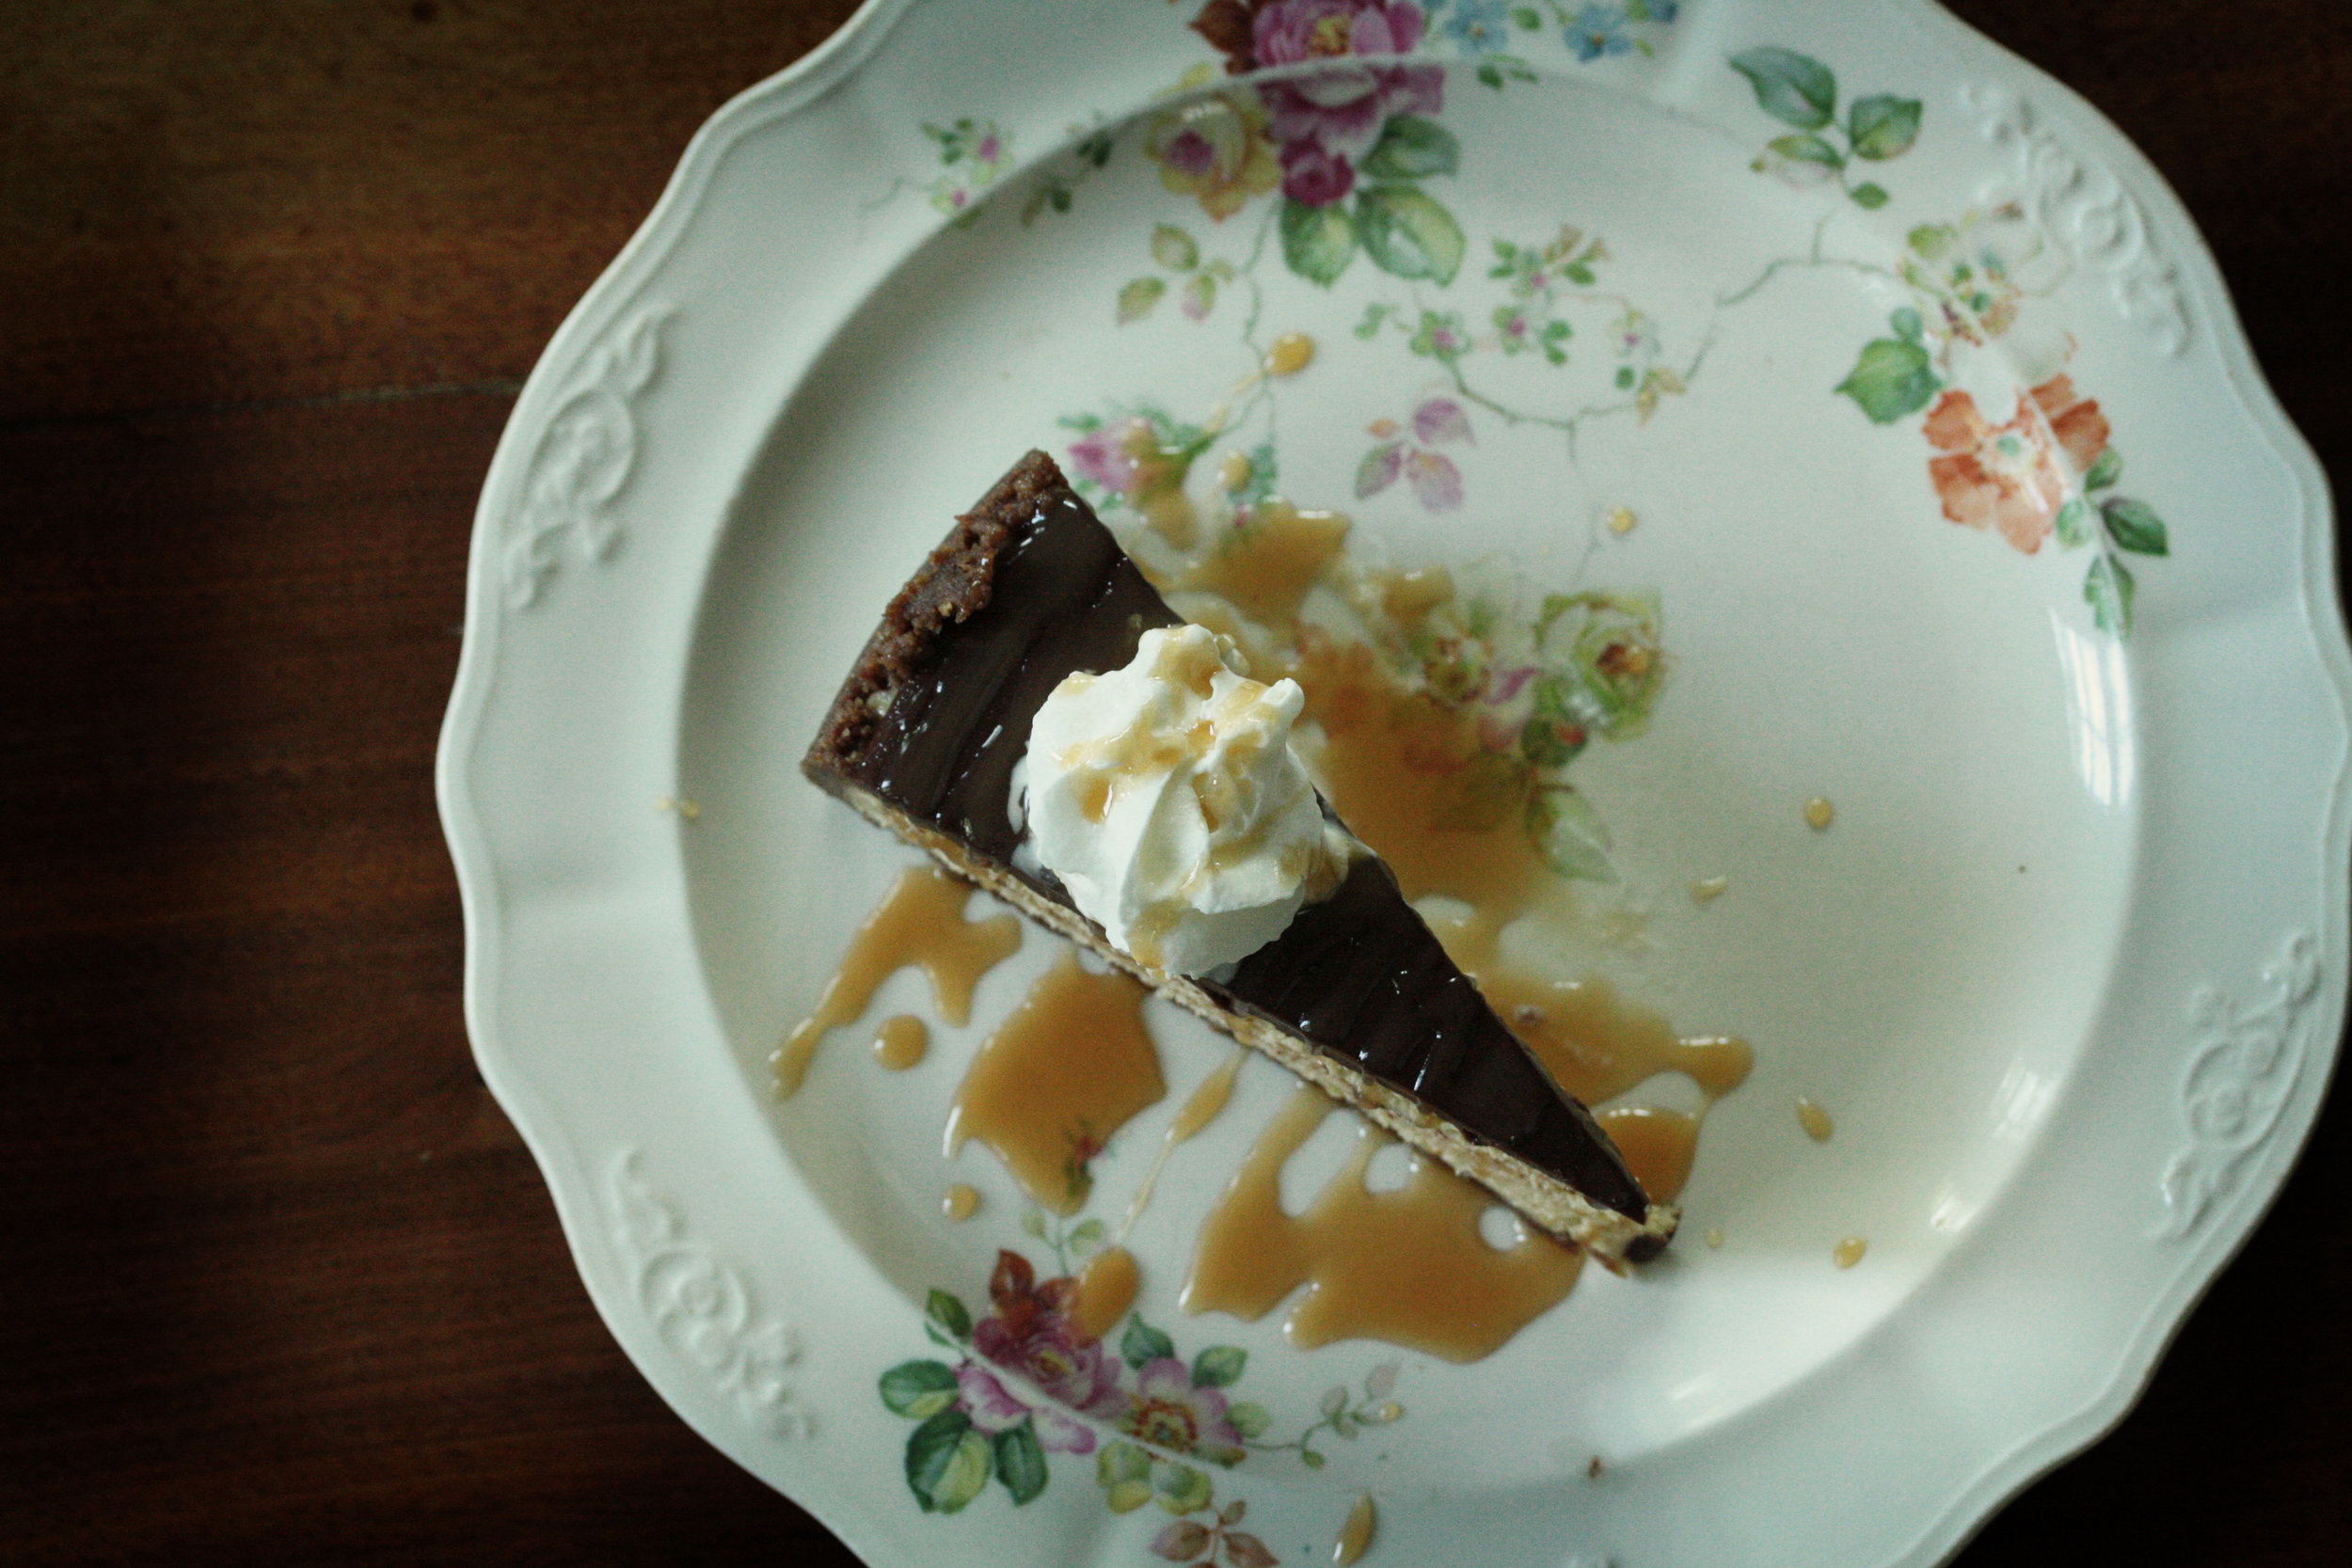 I was thrilled when Jeni mentioned she could bring along some of her homemade salted caramel sauce because this cheesecake is extra delicious topped with whipped cream and caramel sauce.
It was a blast of a weekend that flew by so quickly, so I can't wait to do it again!


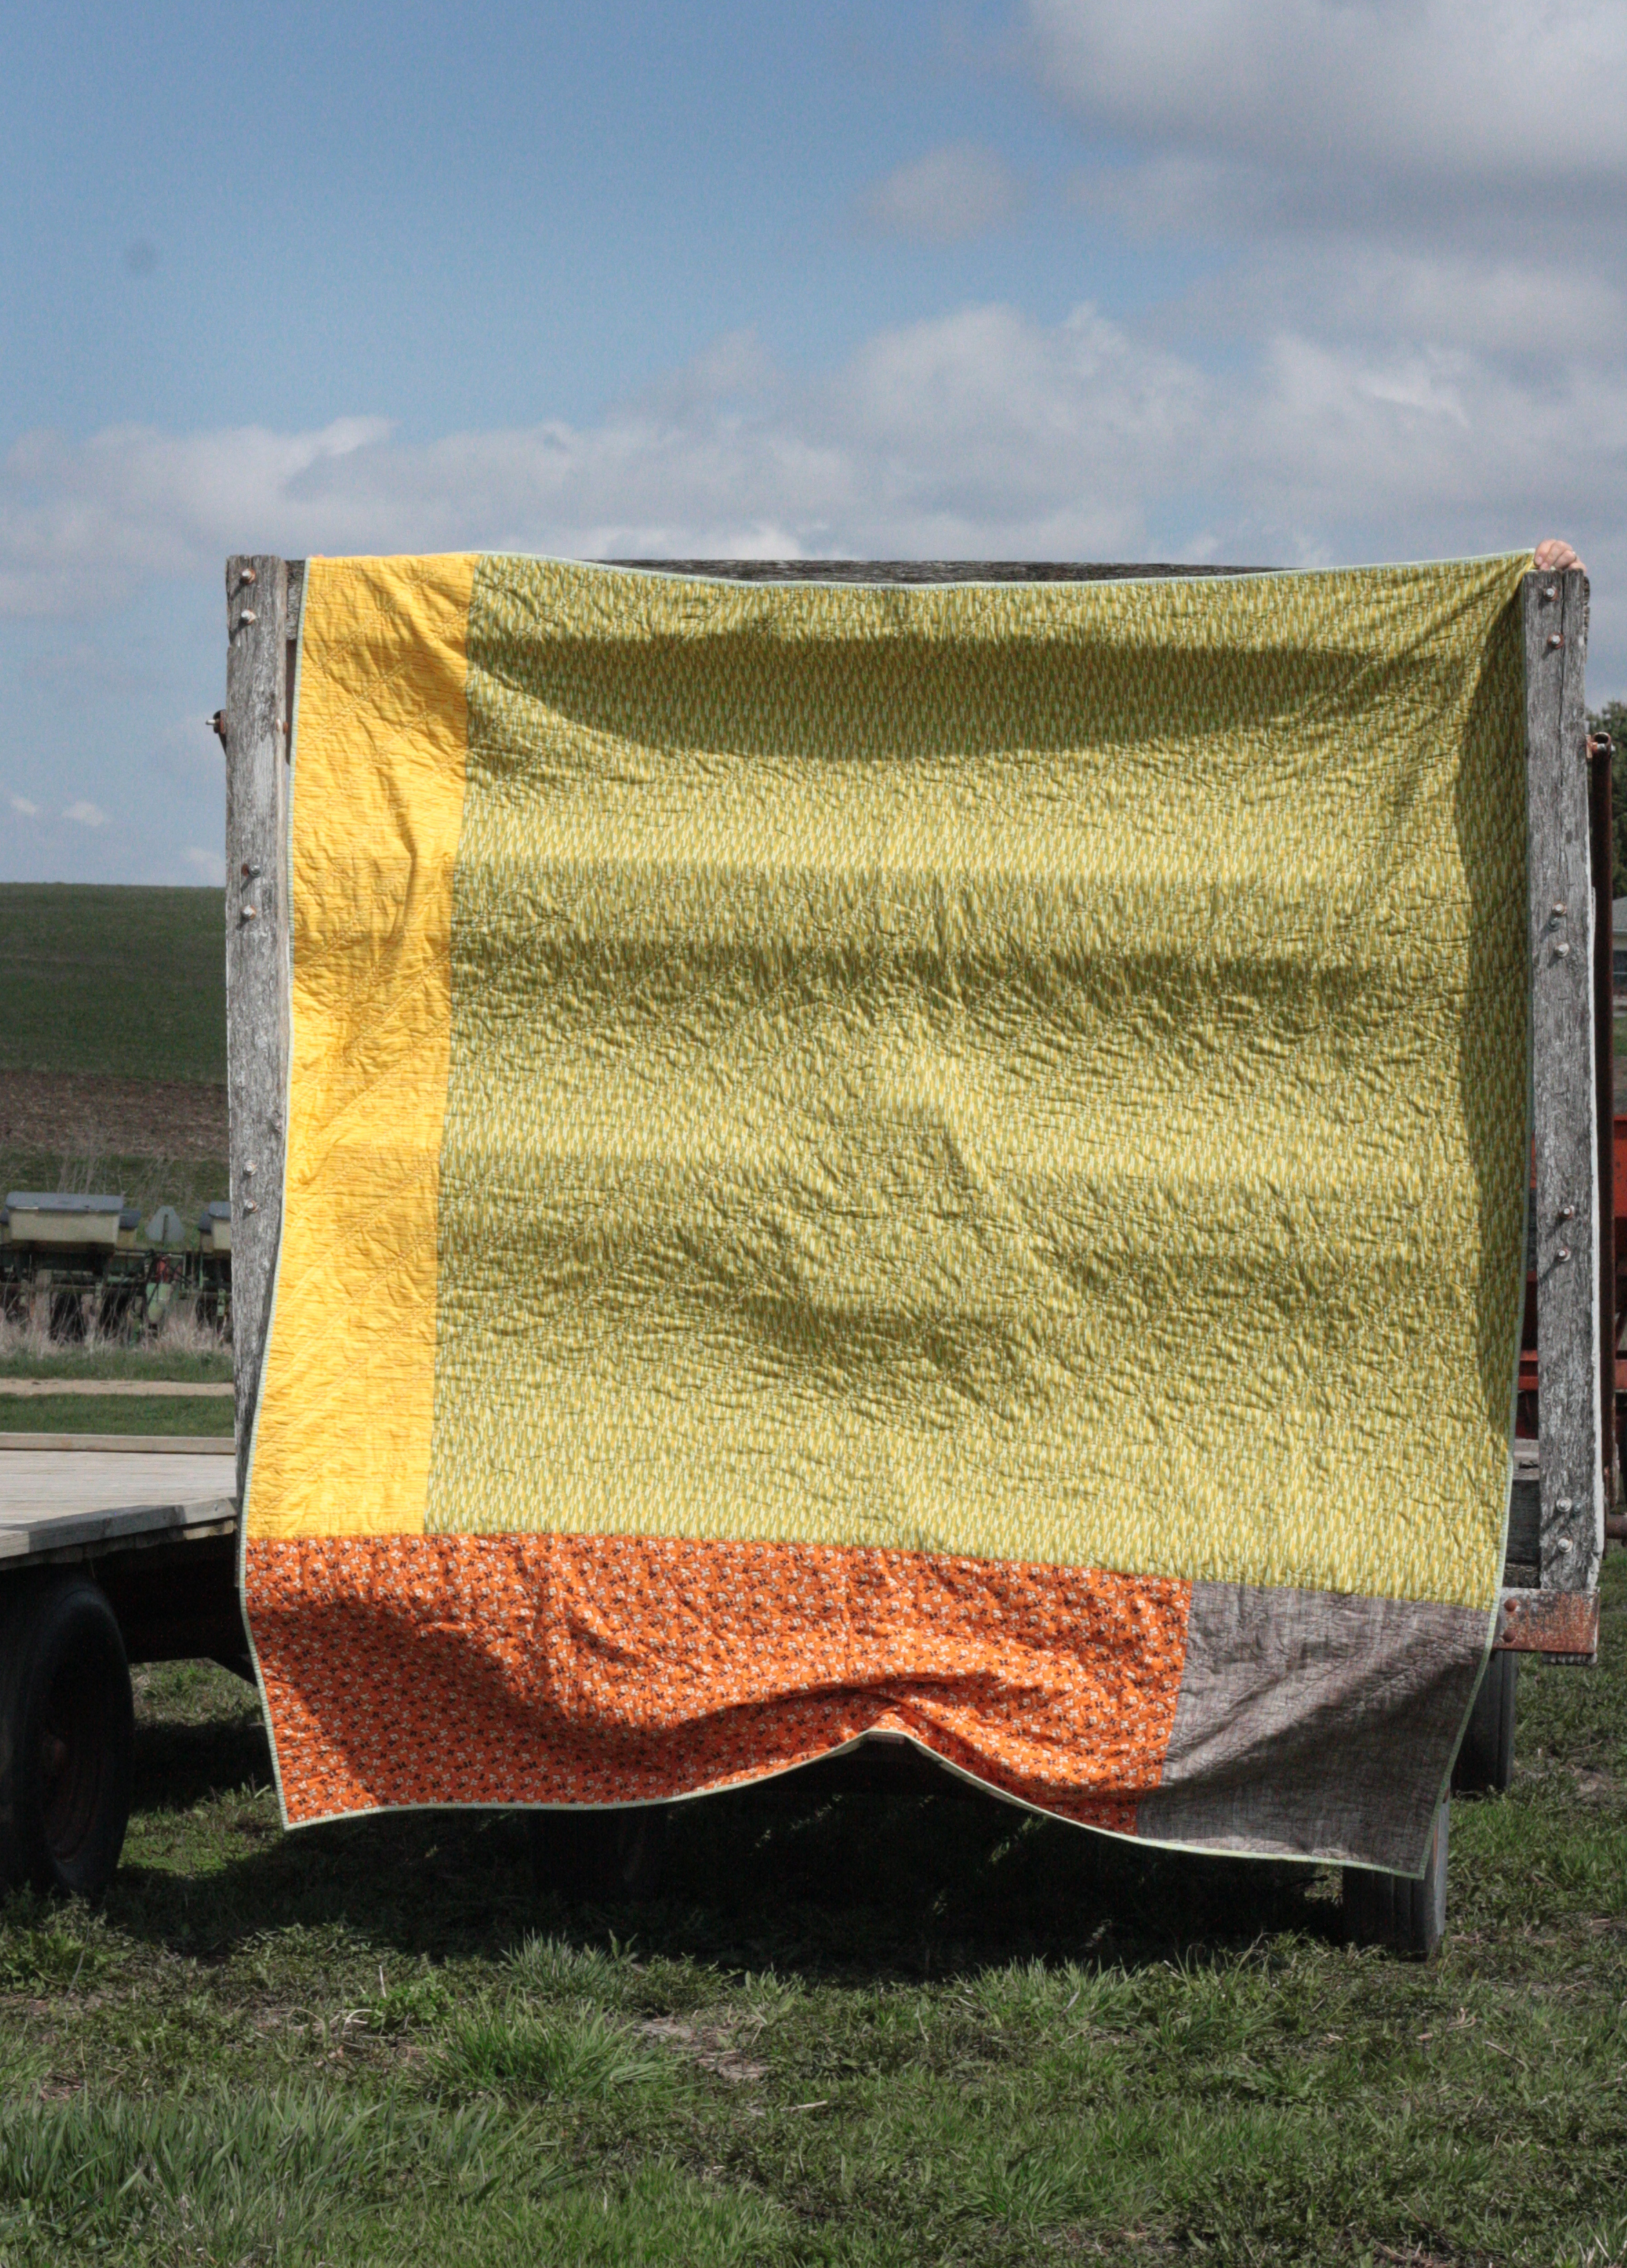
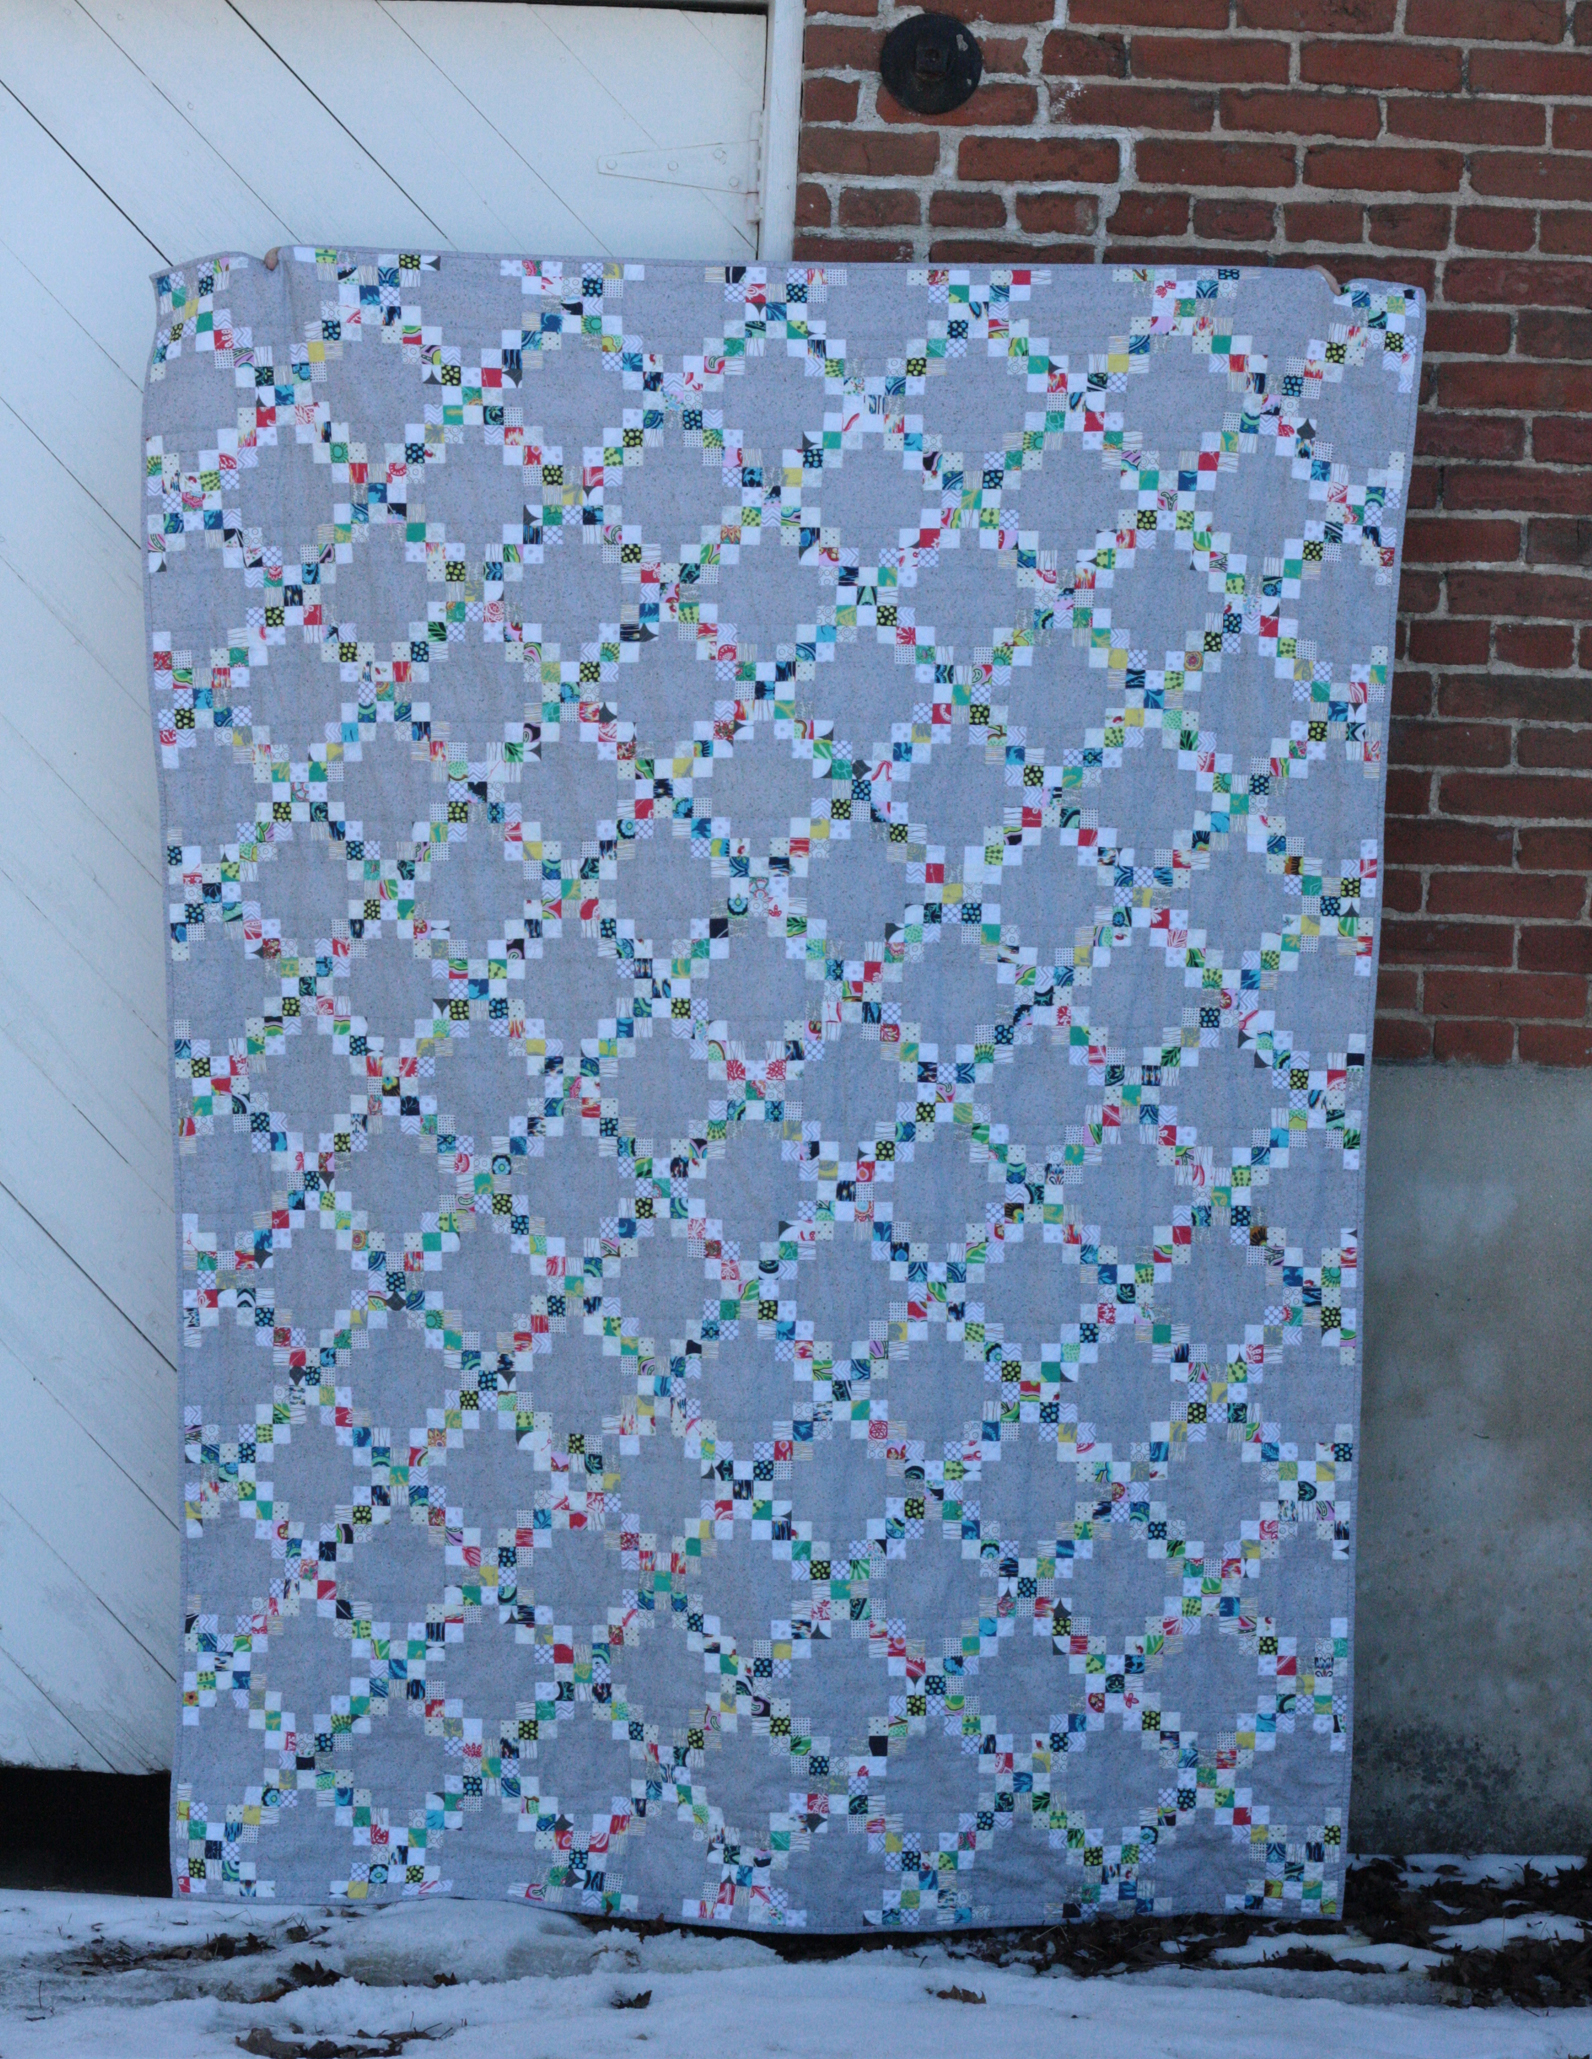
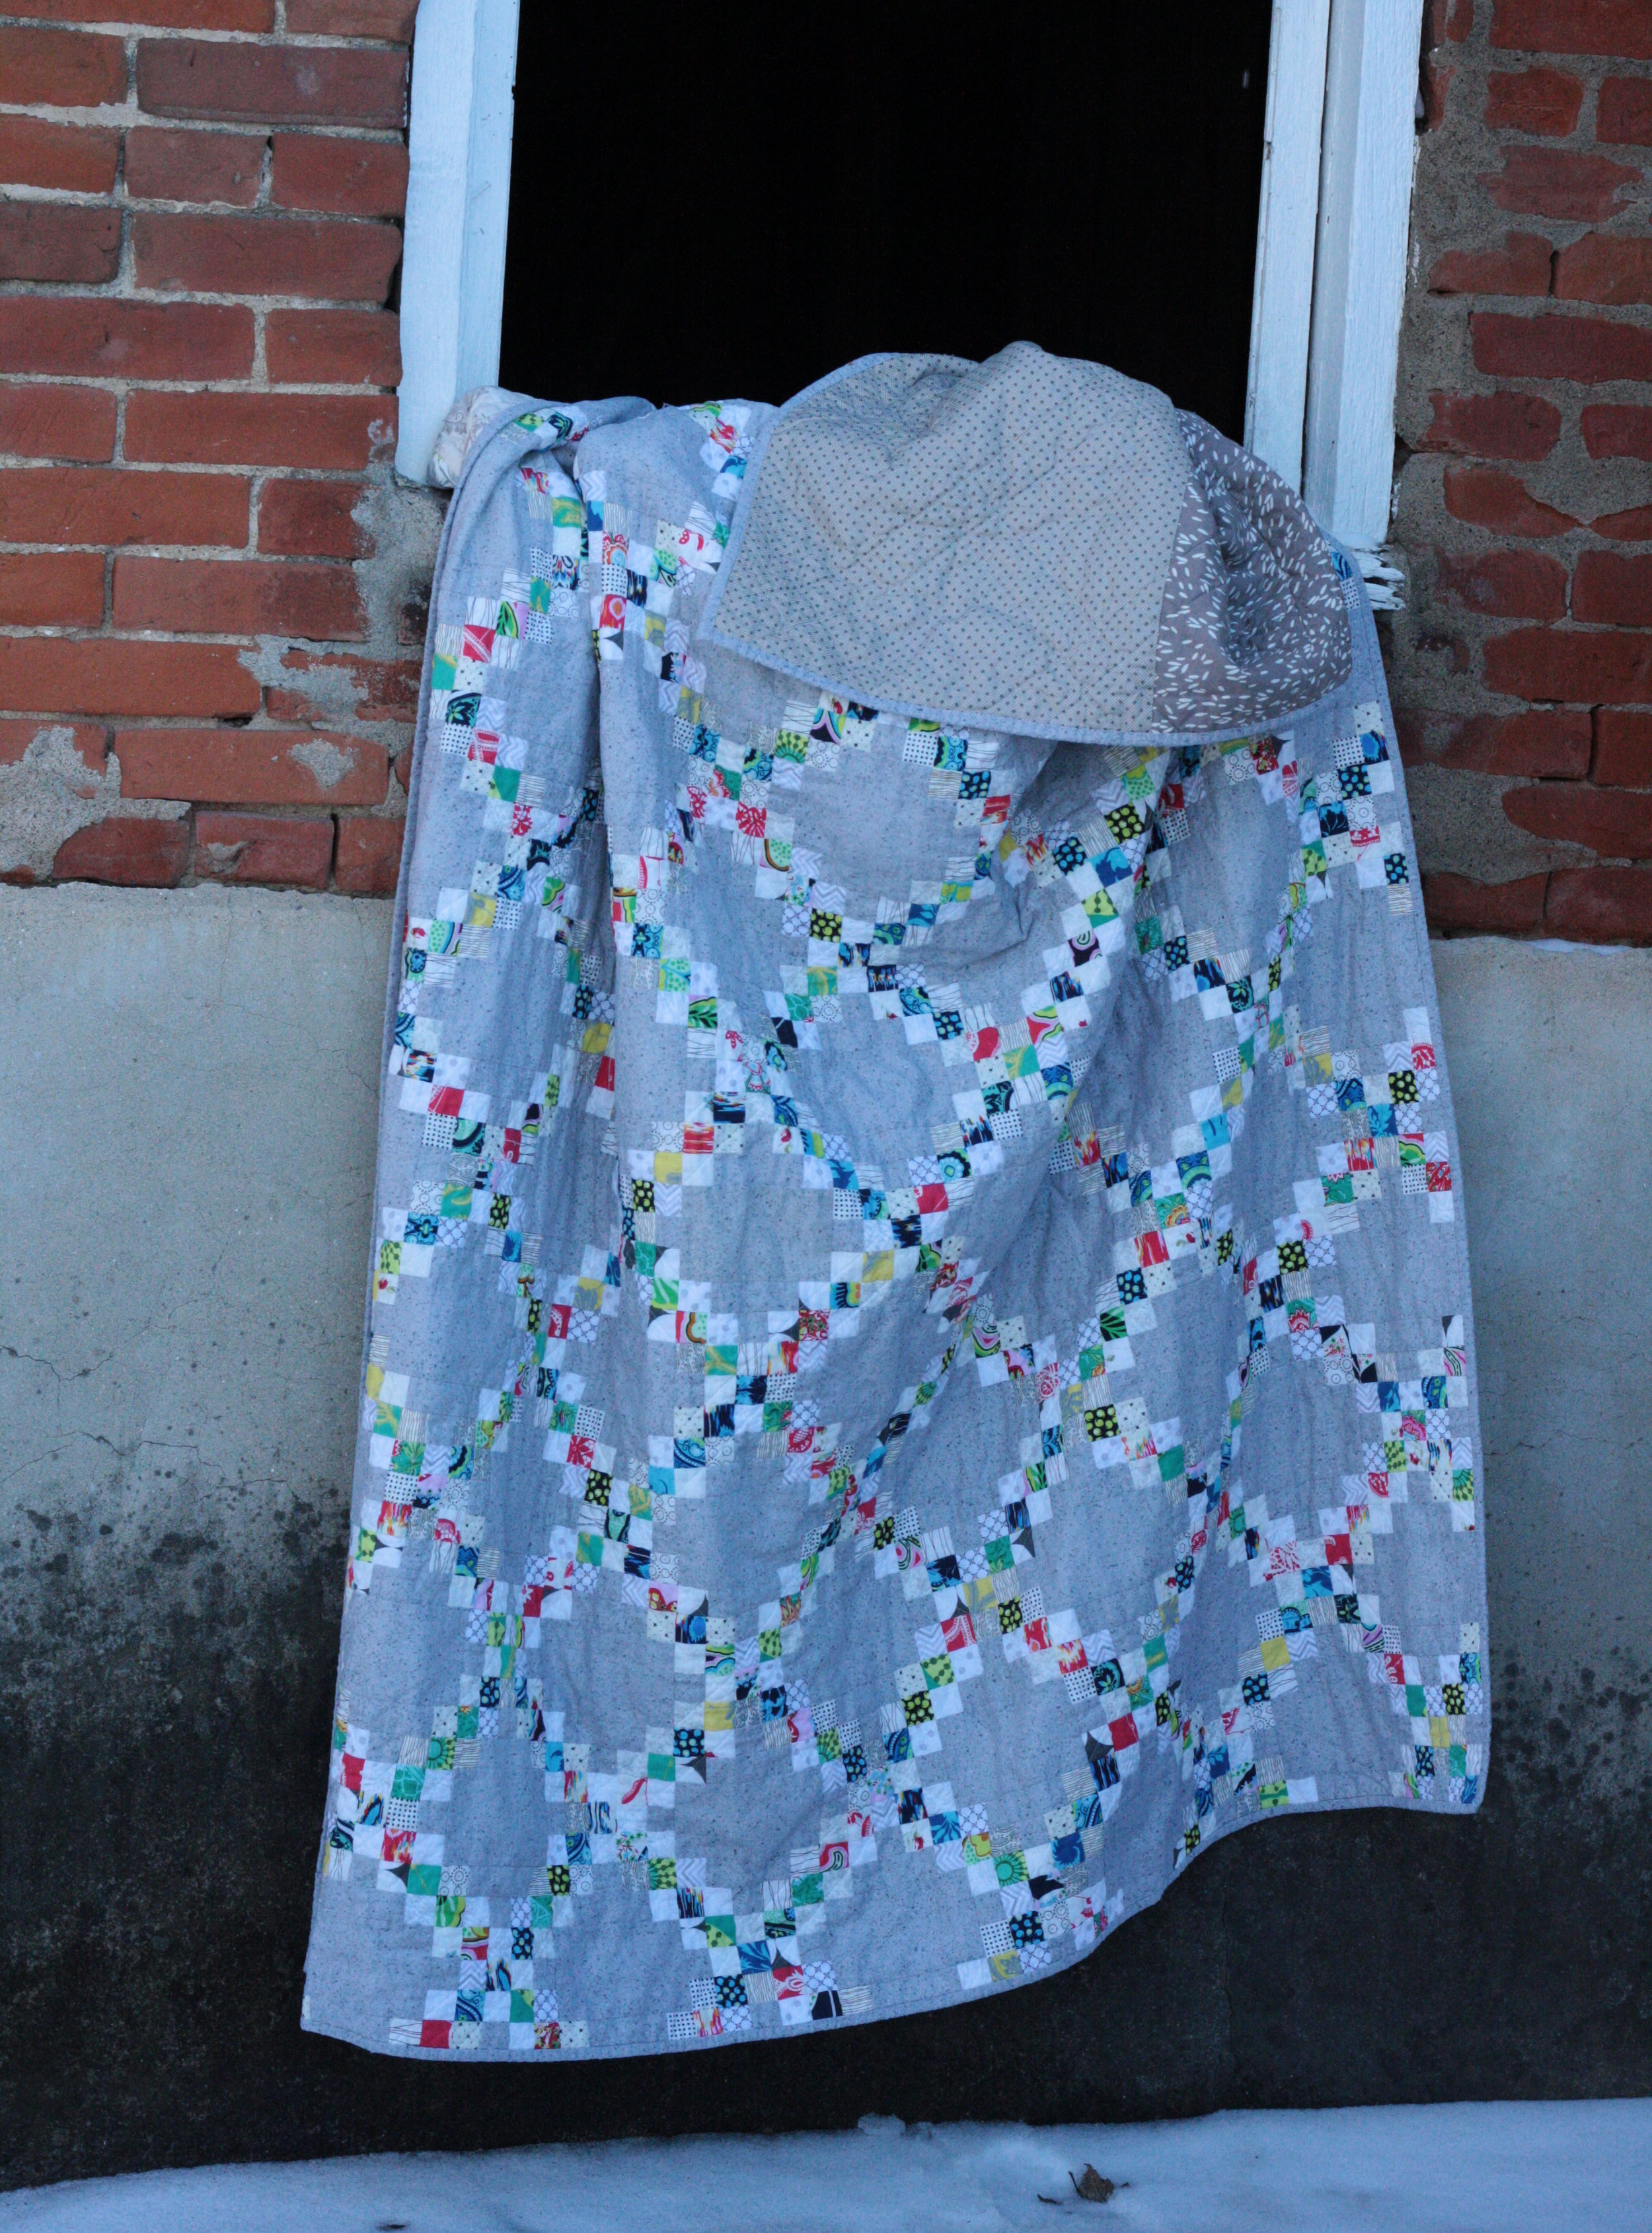
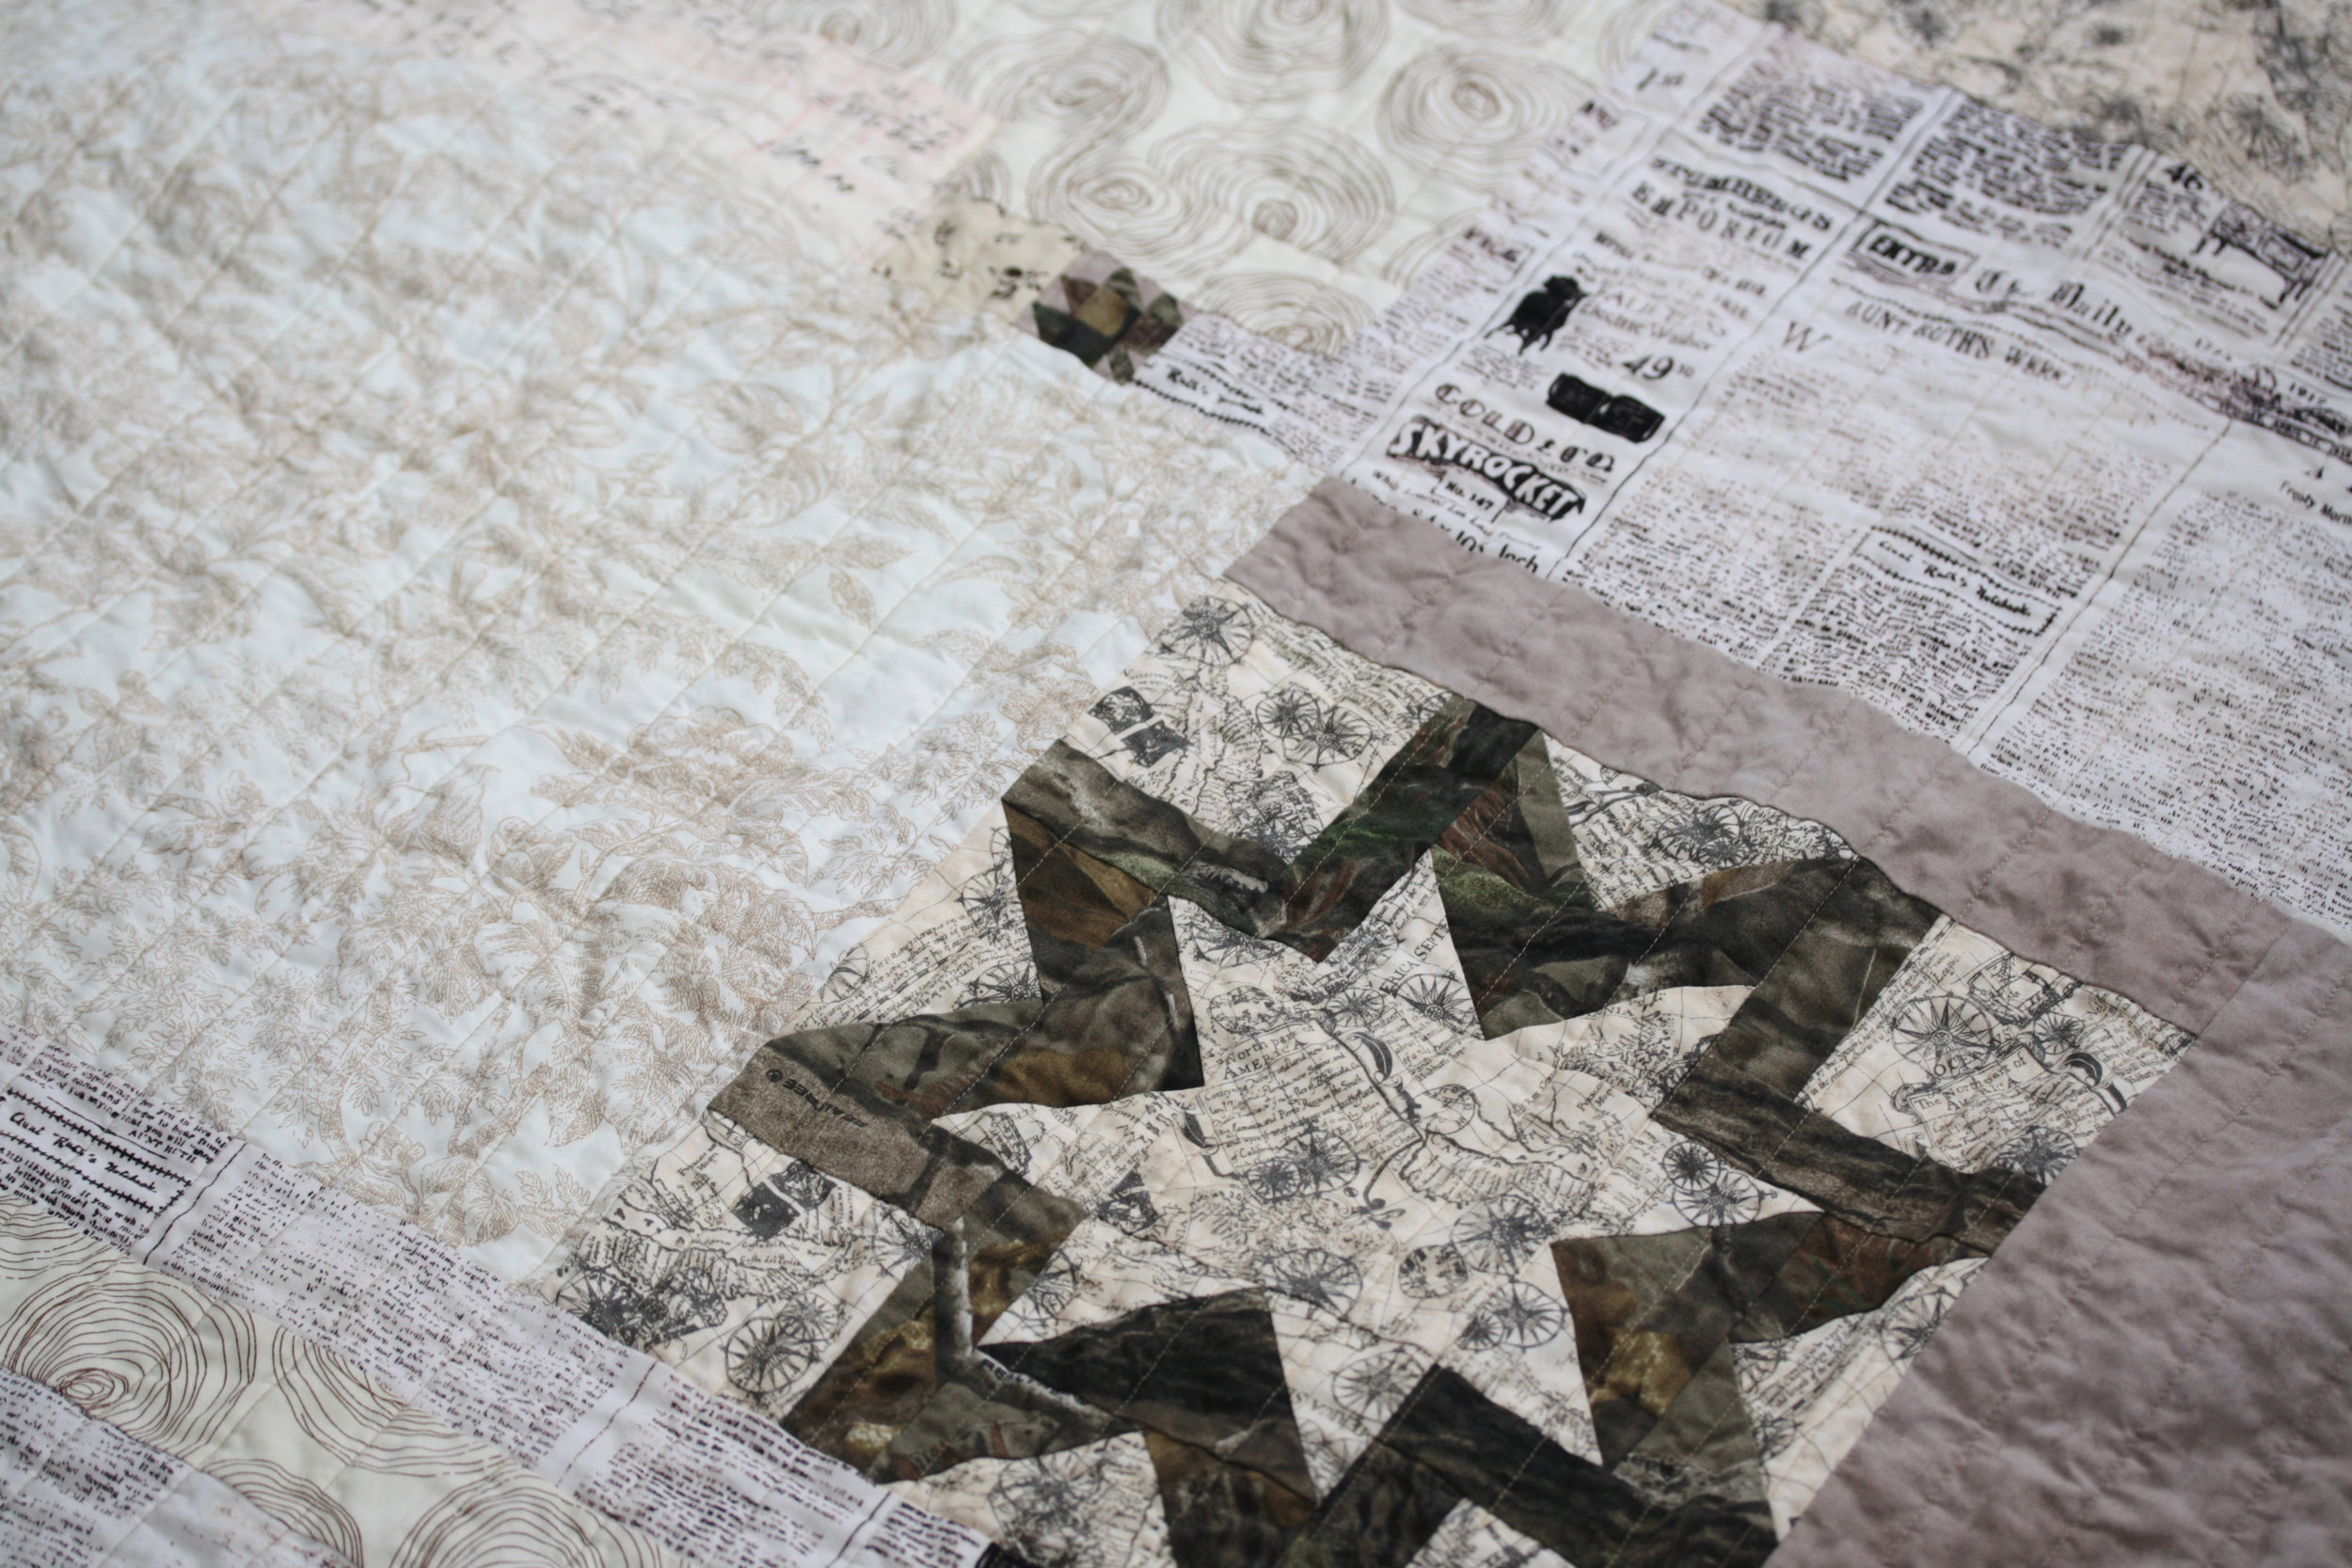
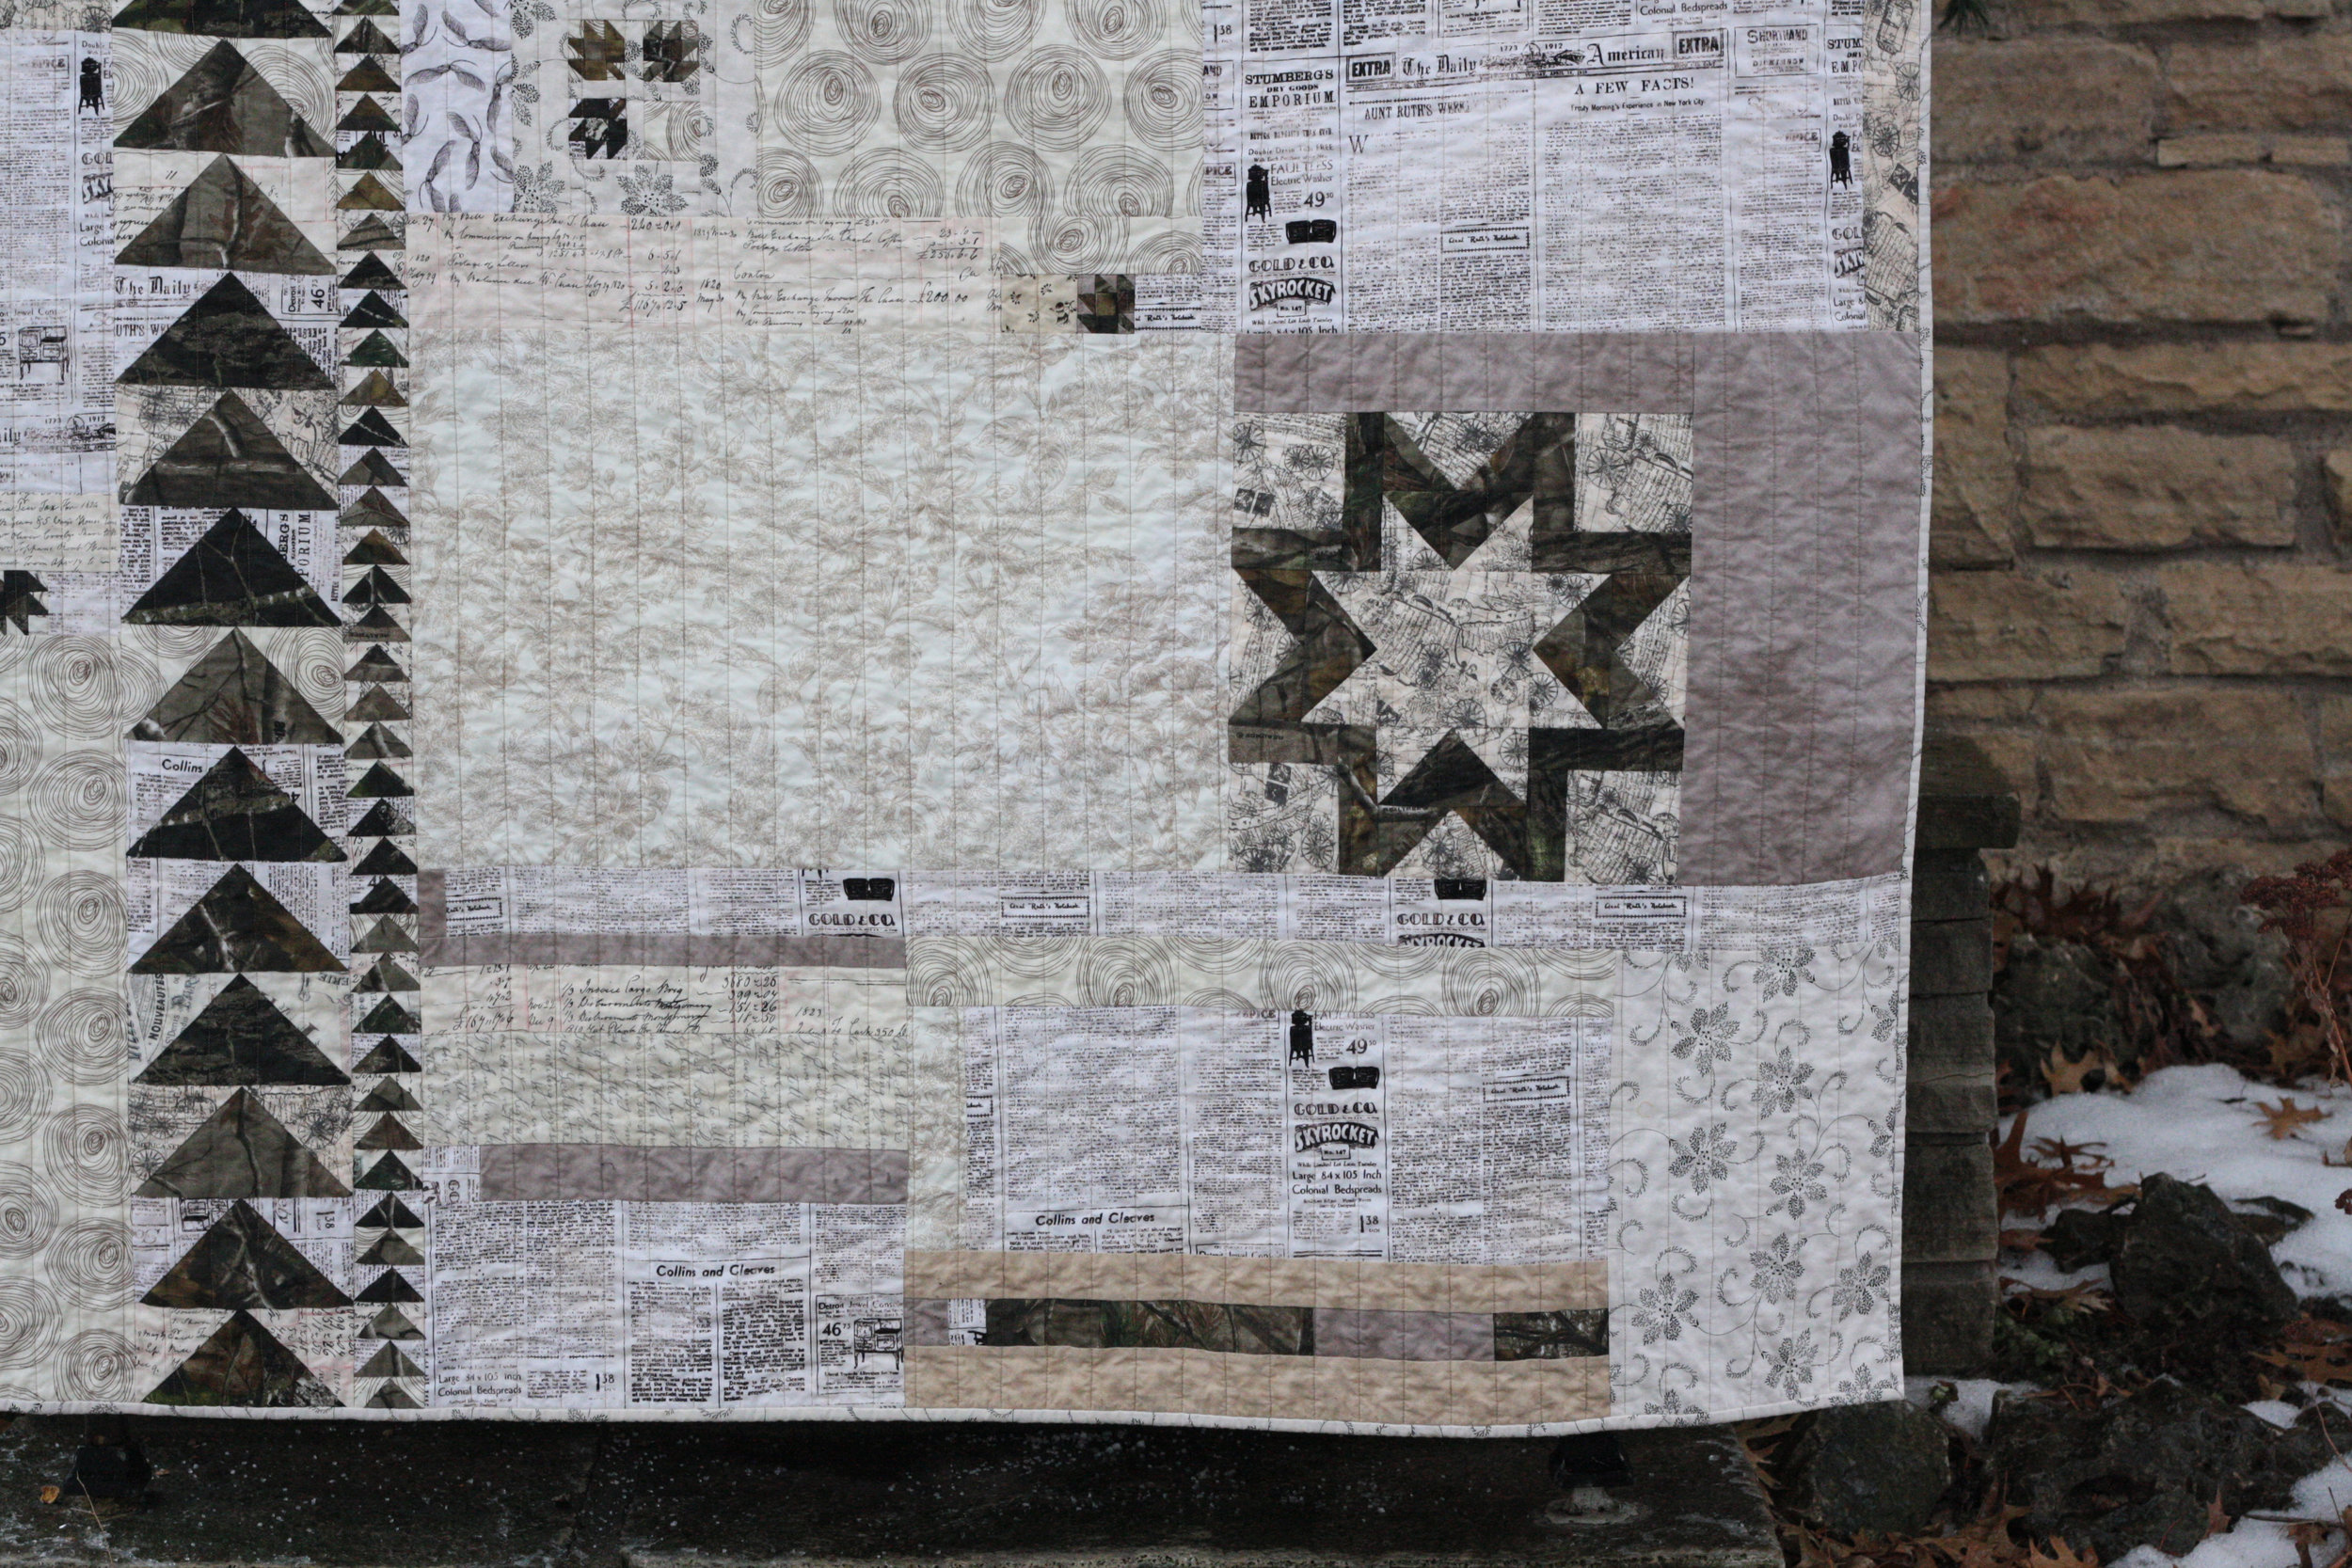
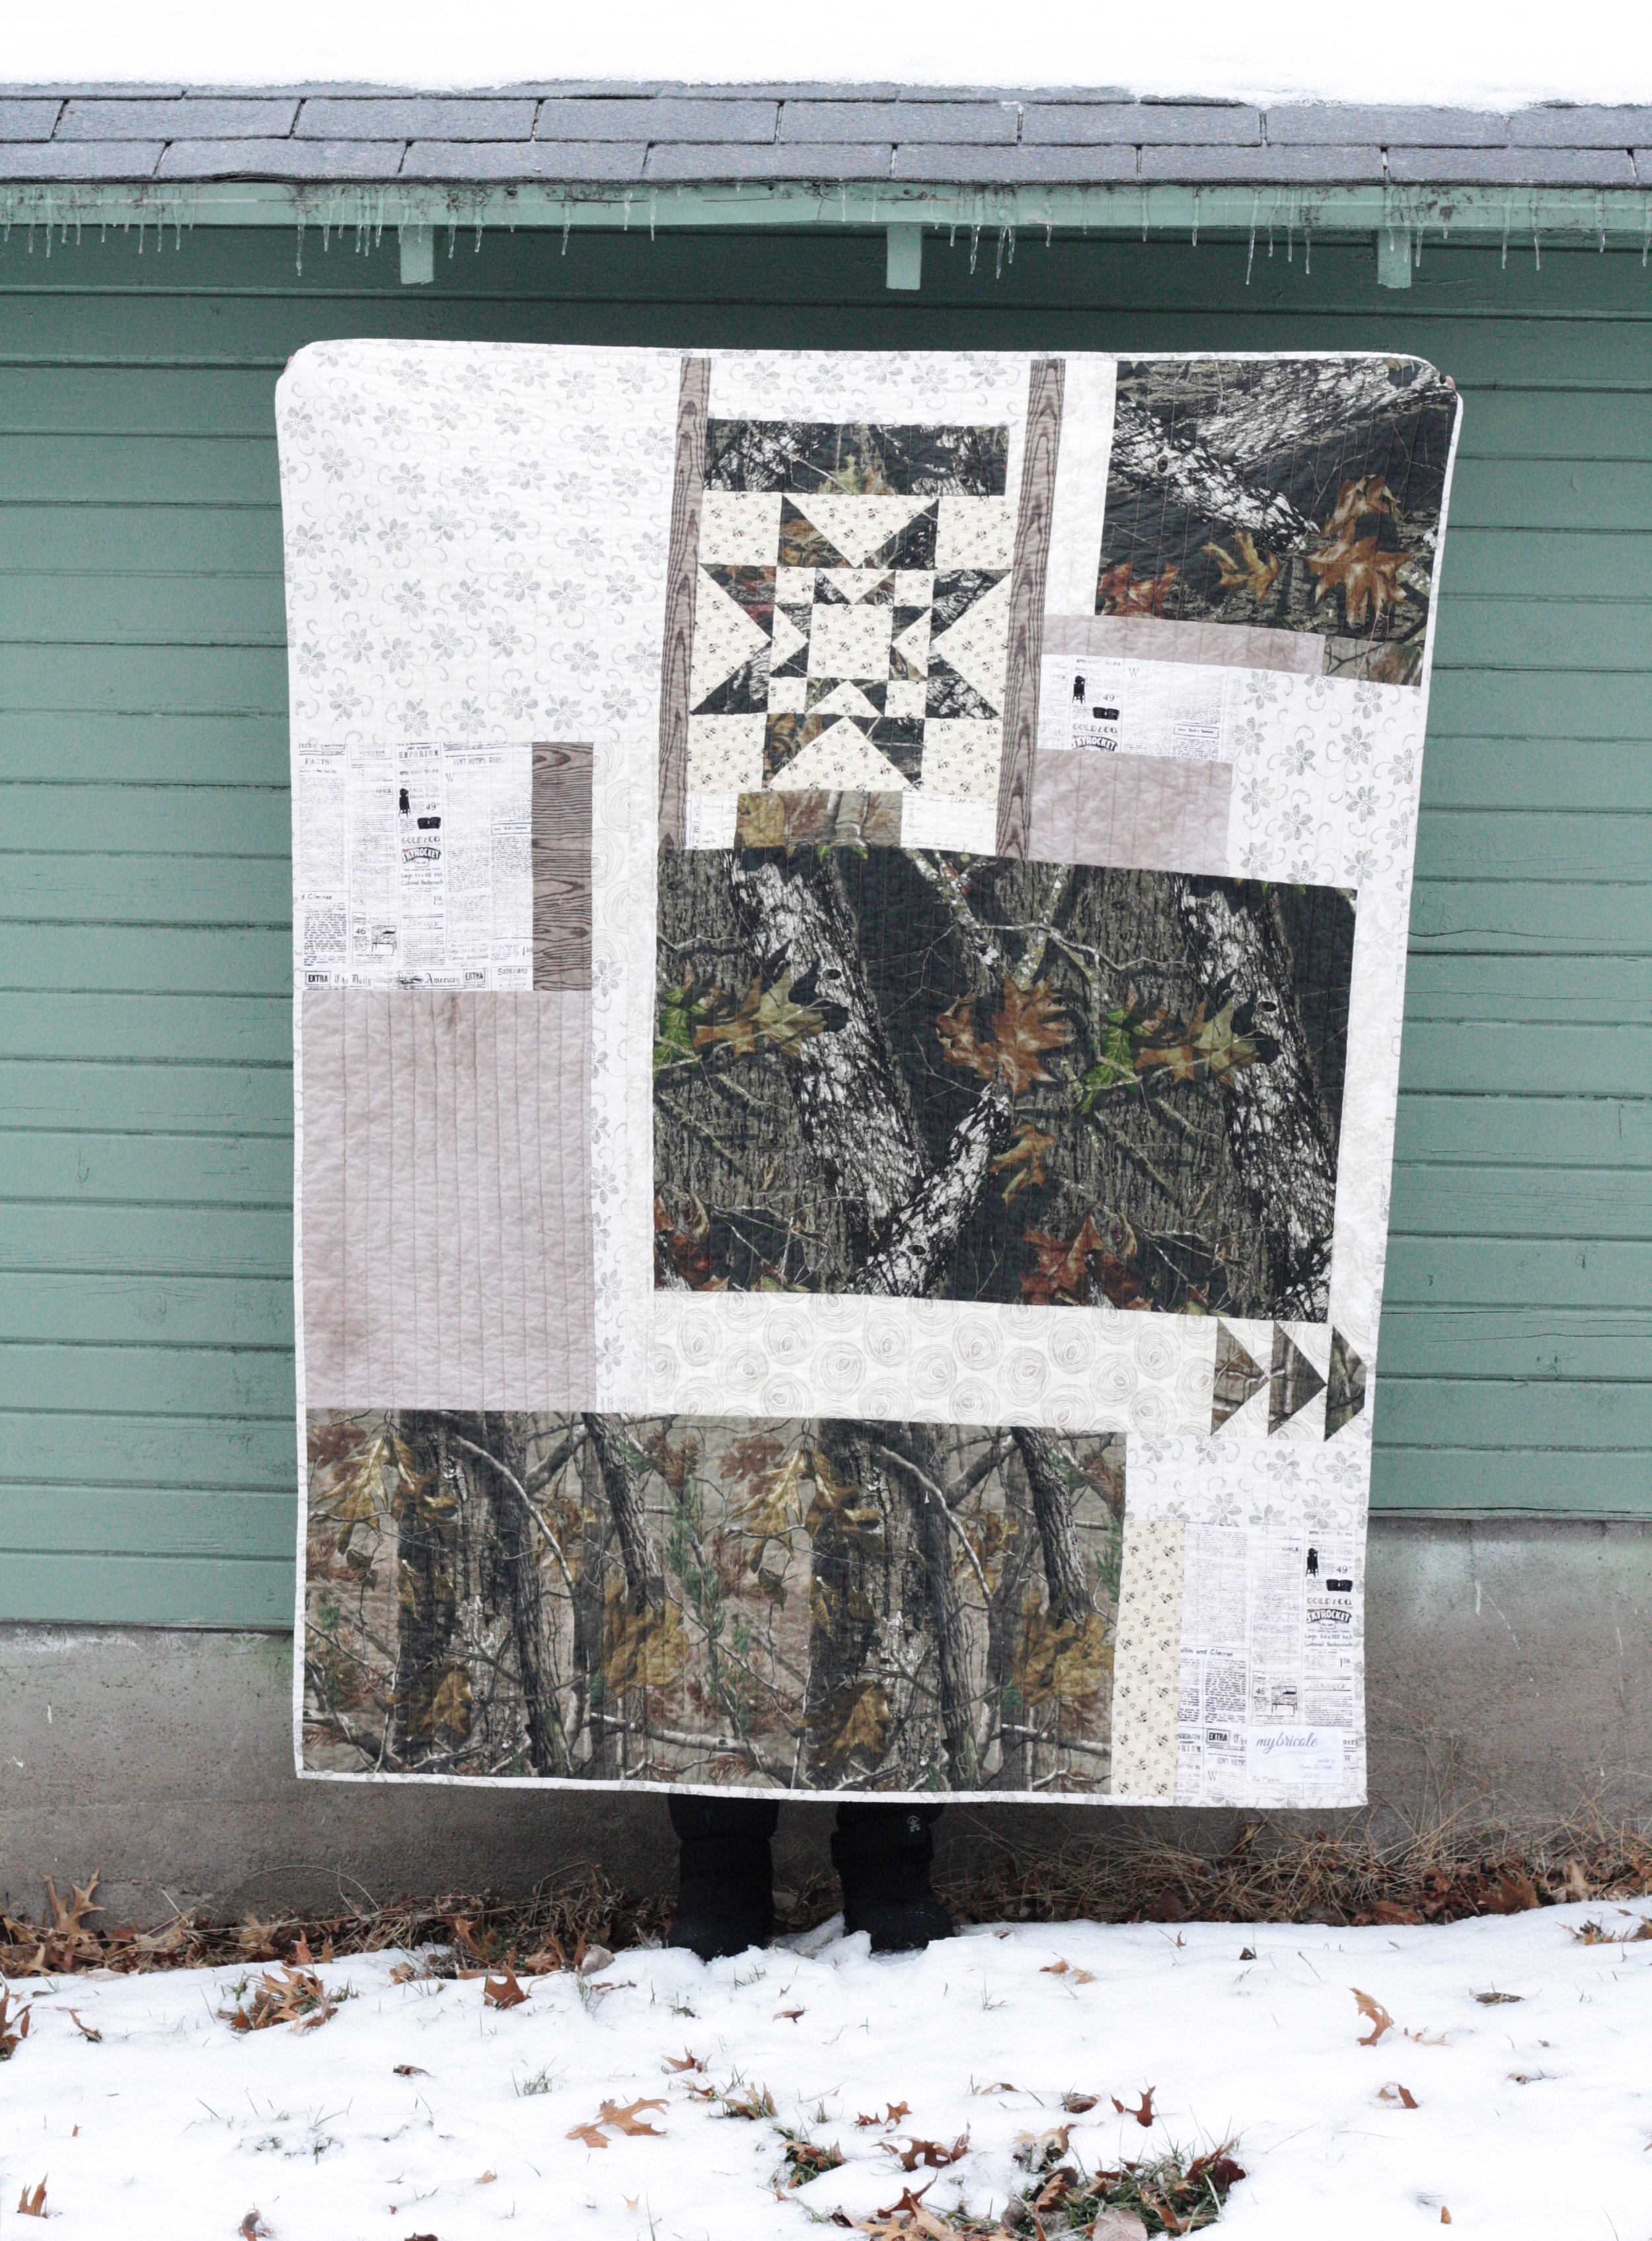
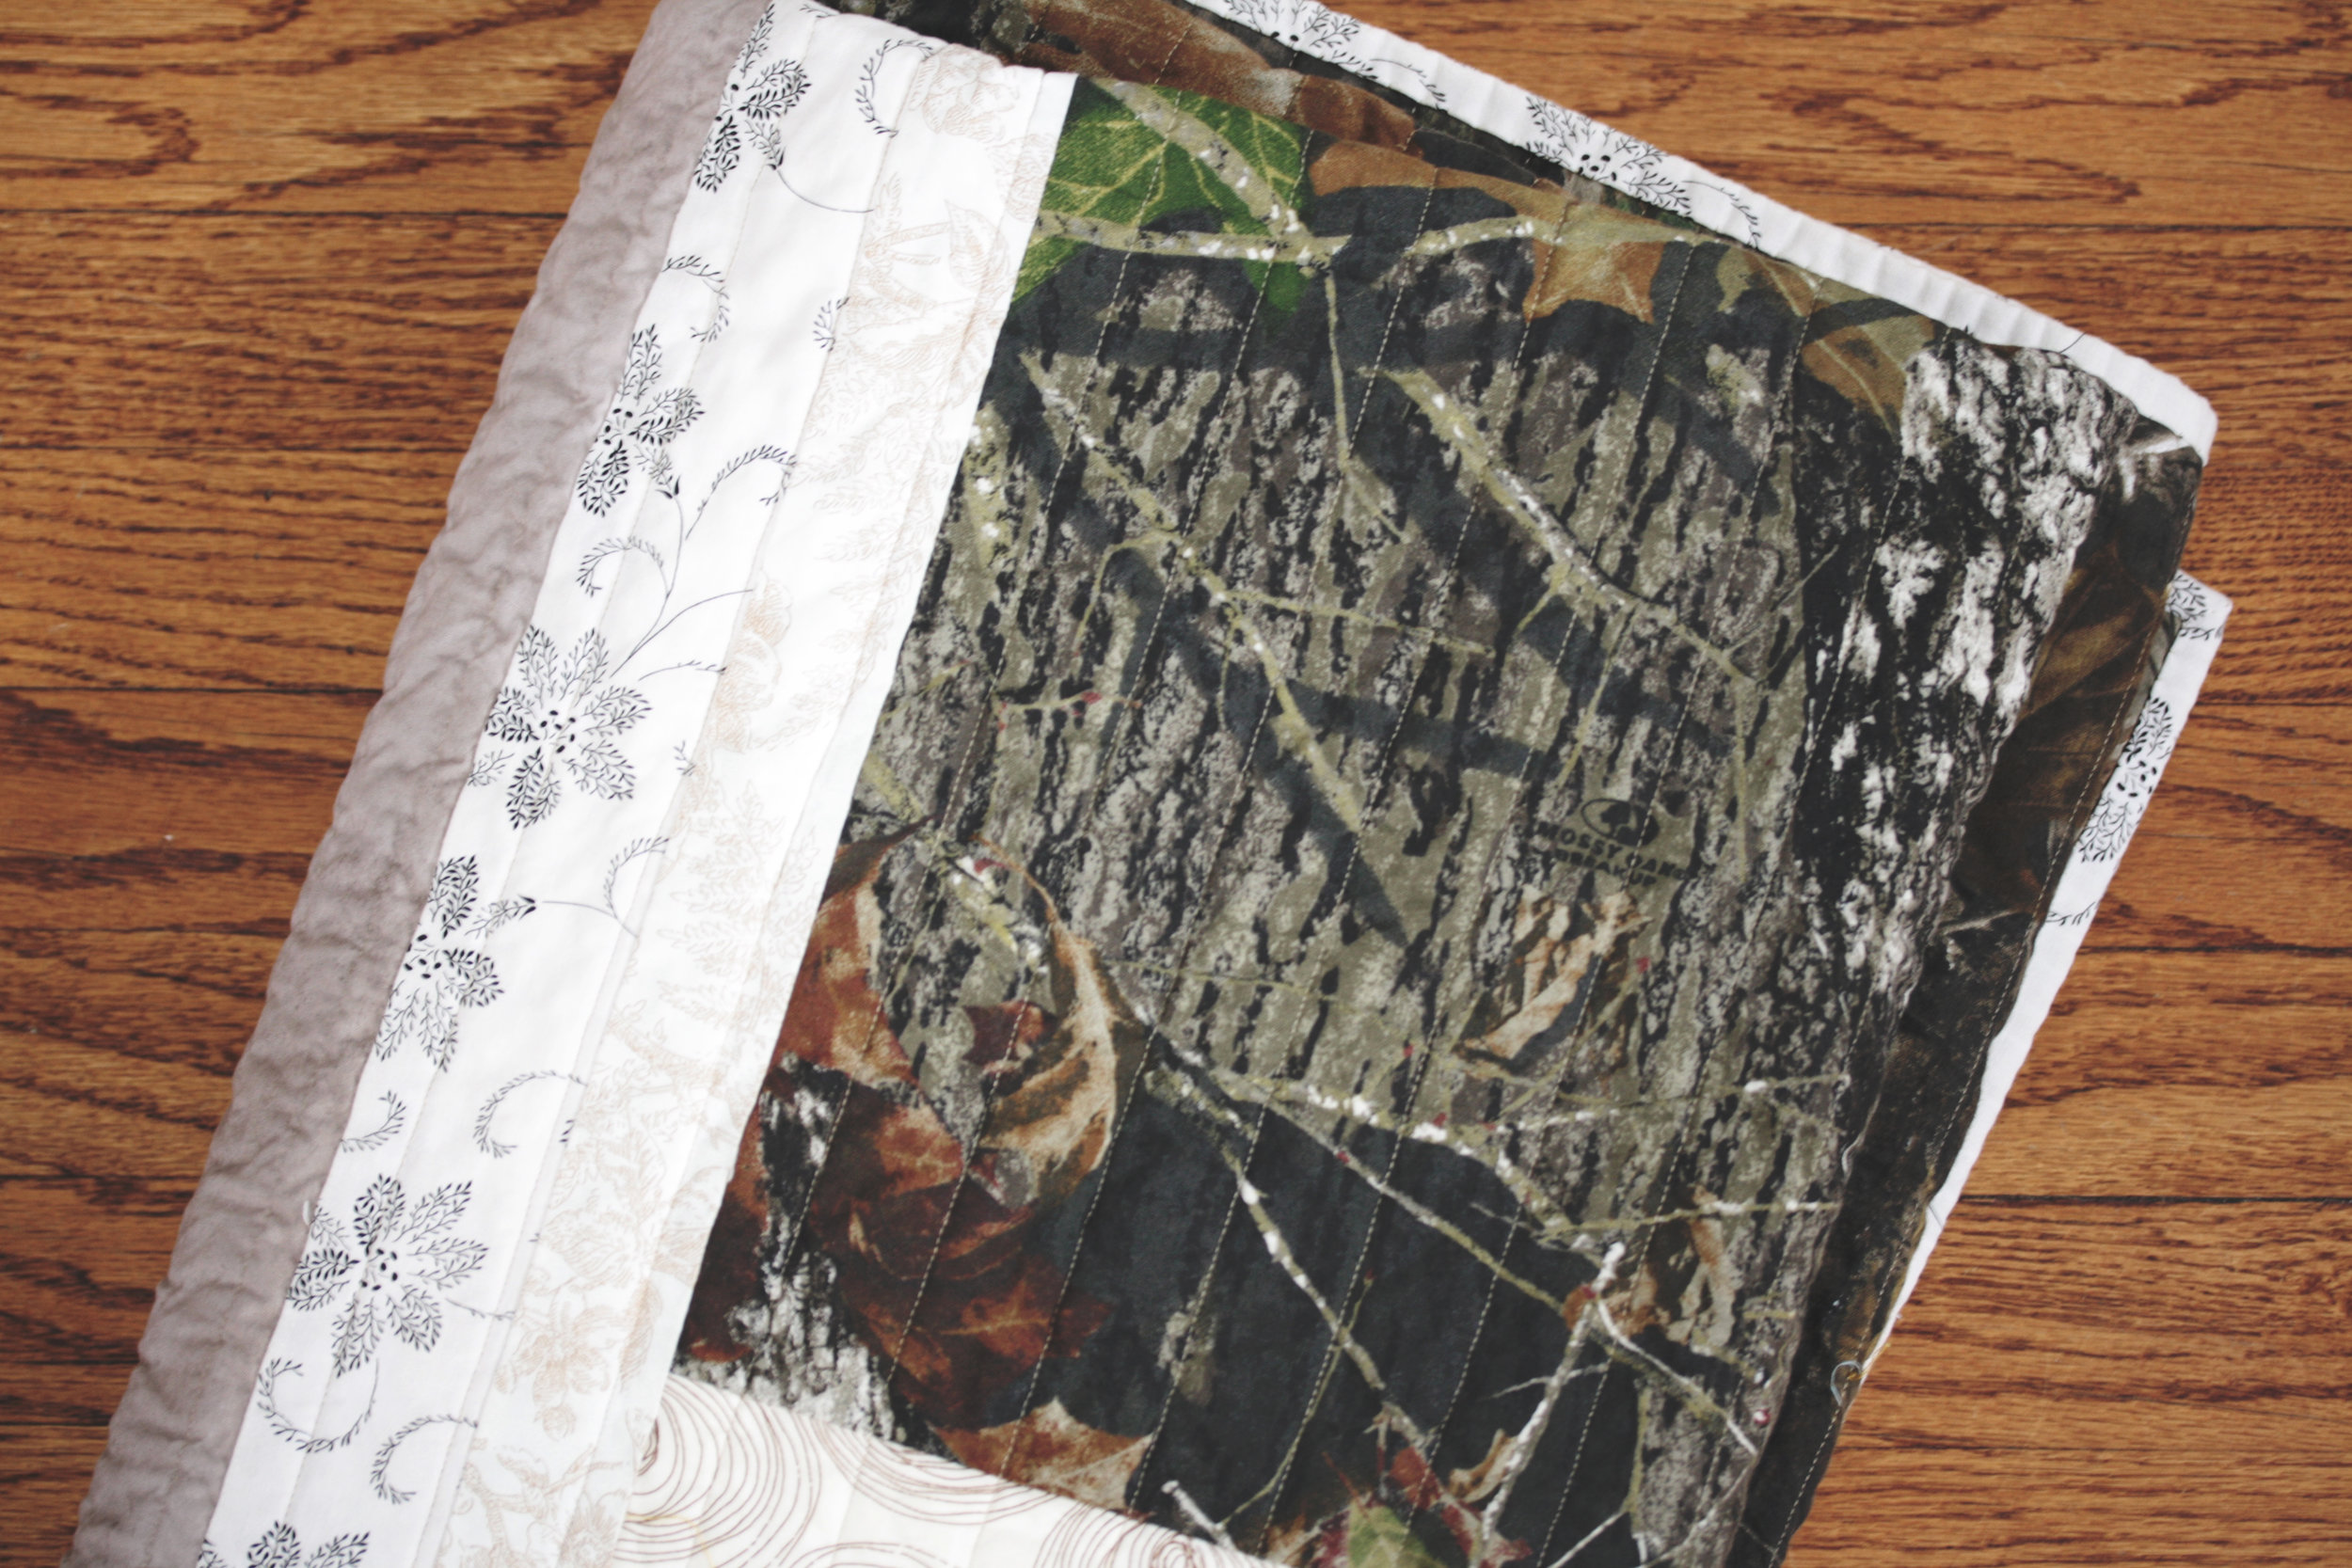
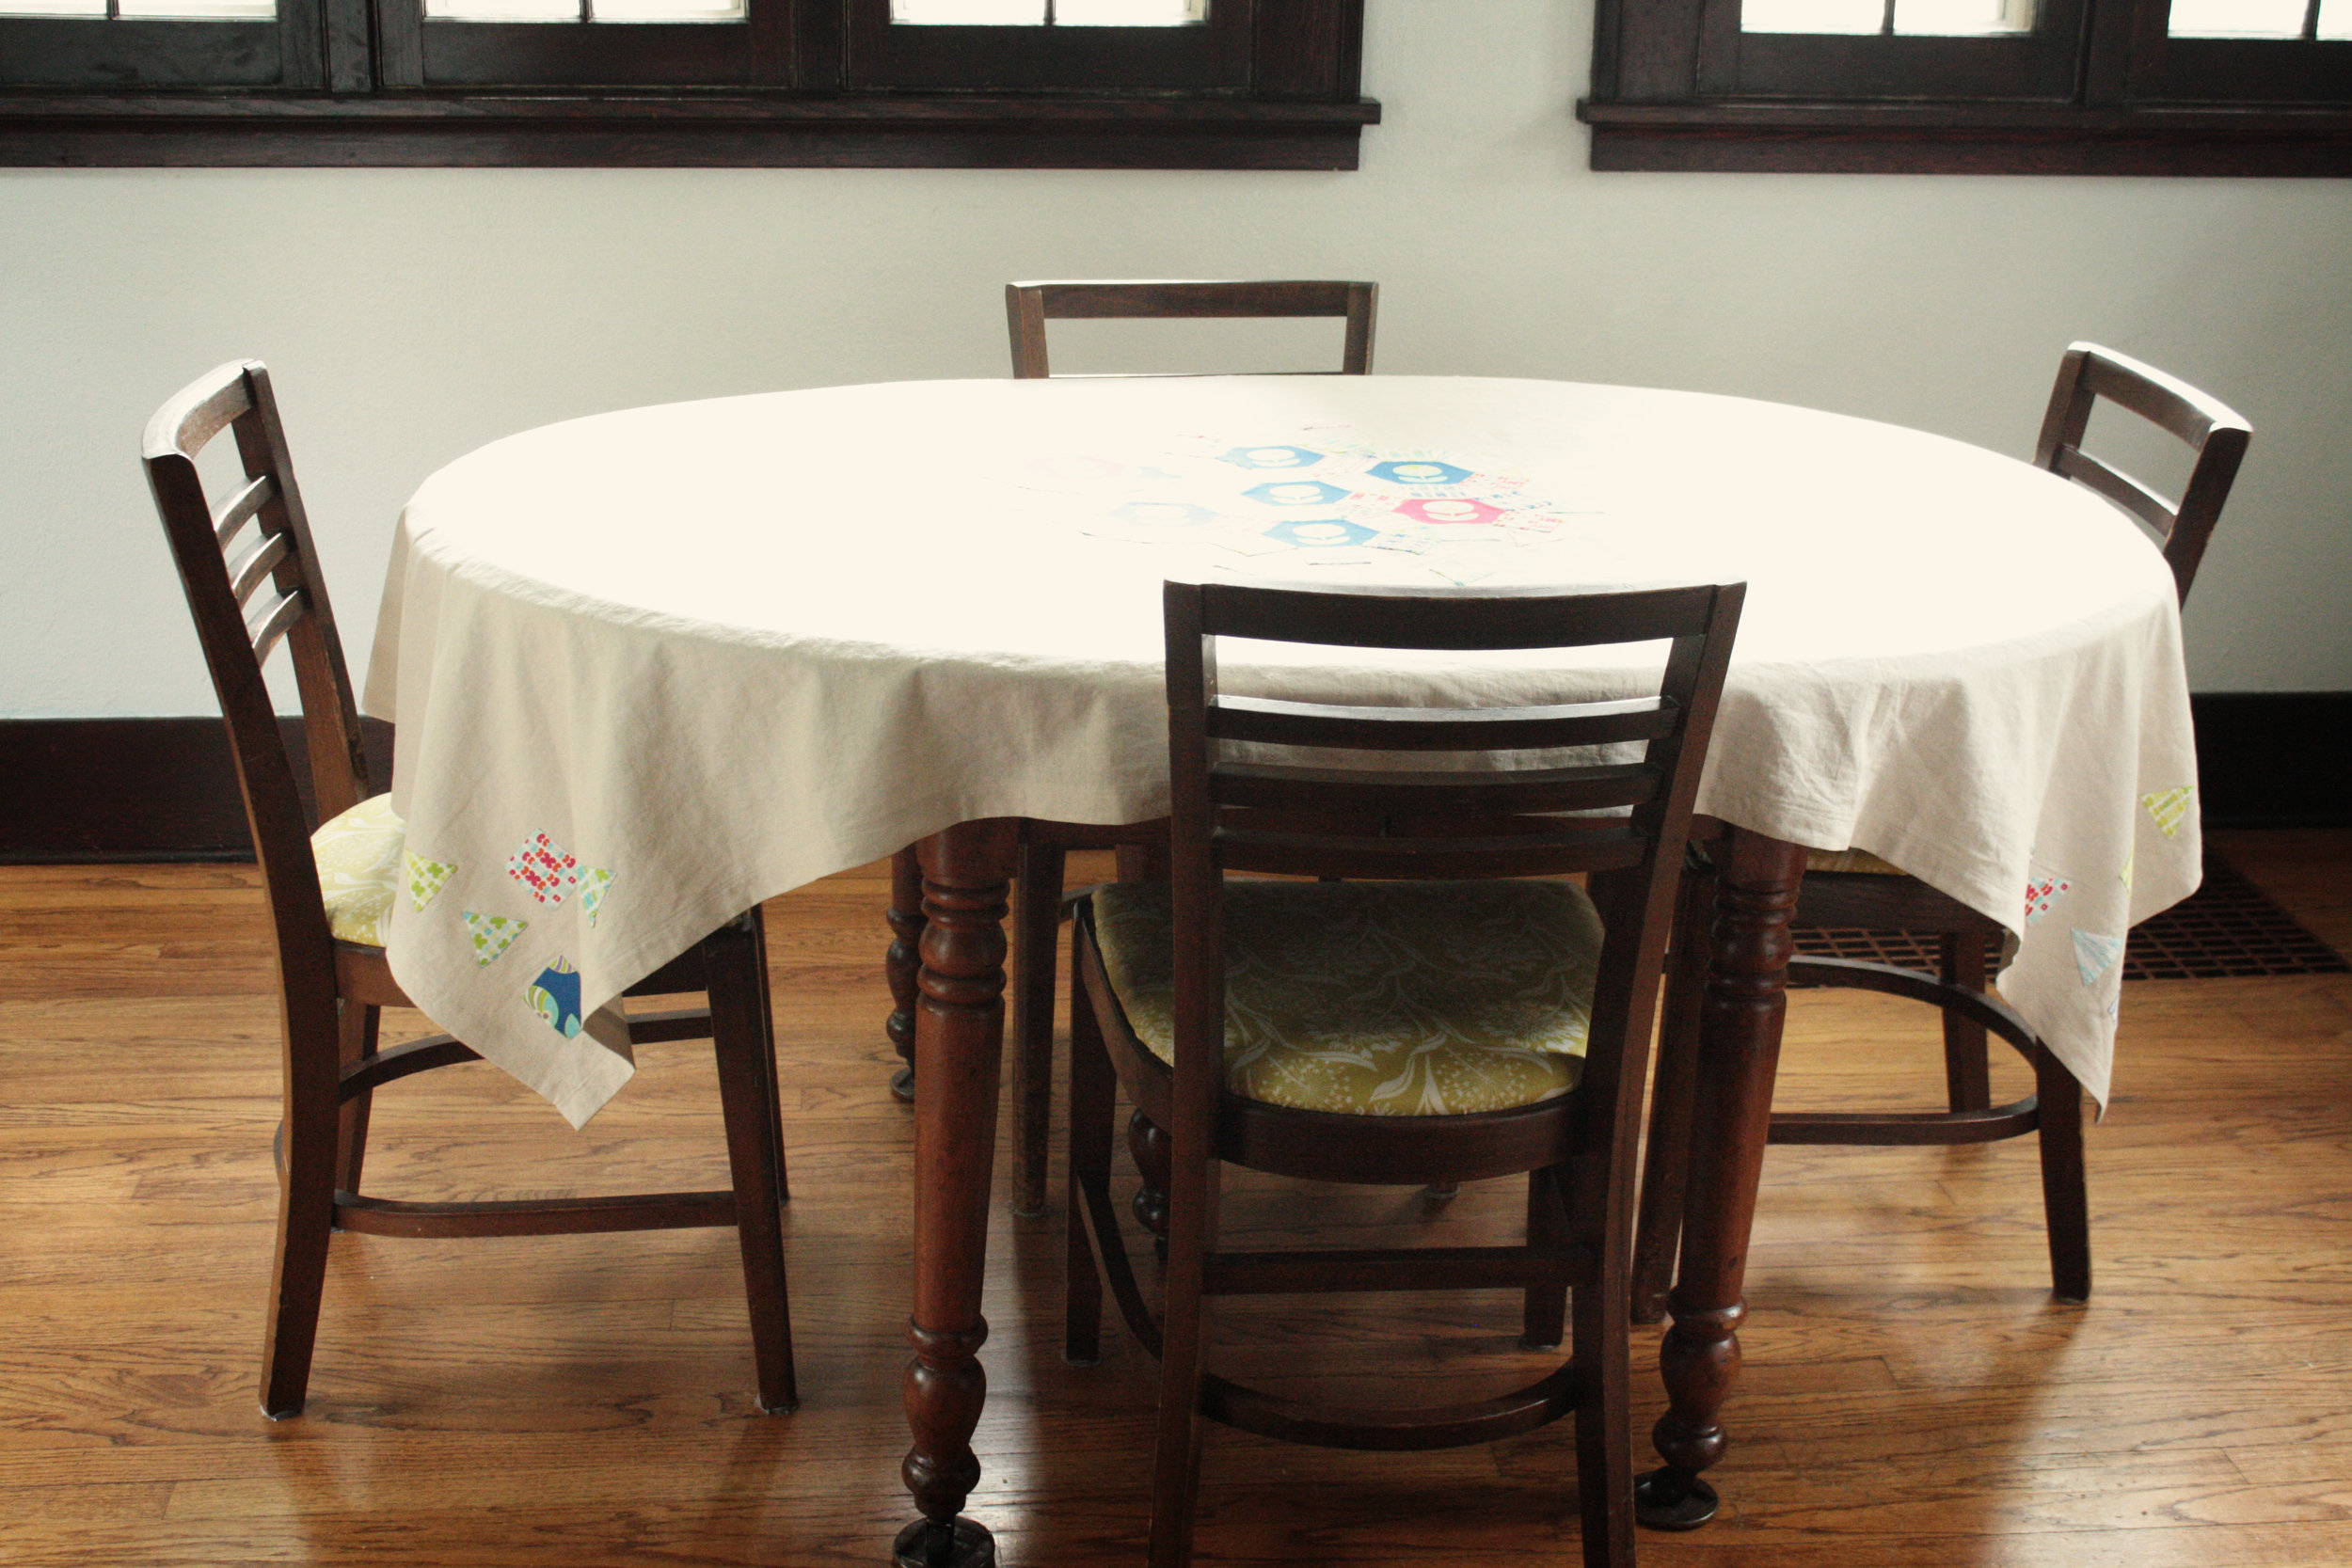
 We sorted through my stash and came up with a new stack. I spent some more time cutting, stitching, quilting and finally last fall (just before the Thanksgiving deadline she gave me) her quilt was finished.
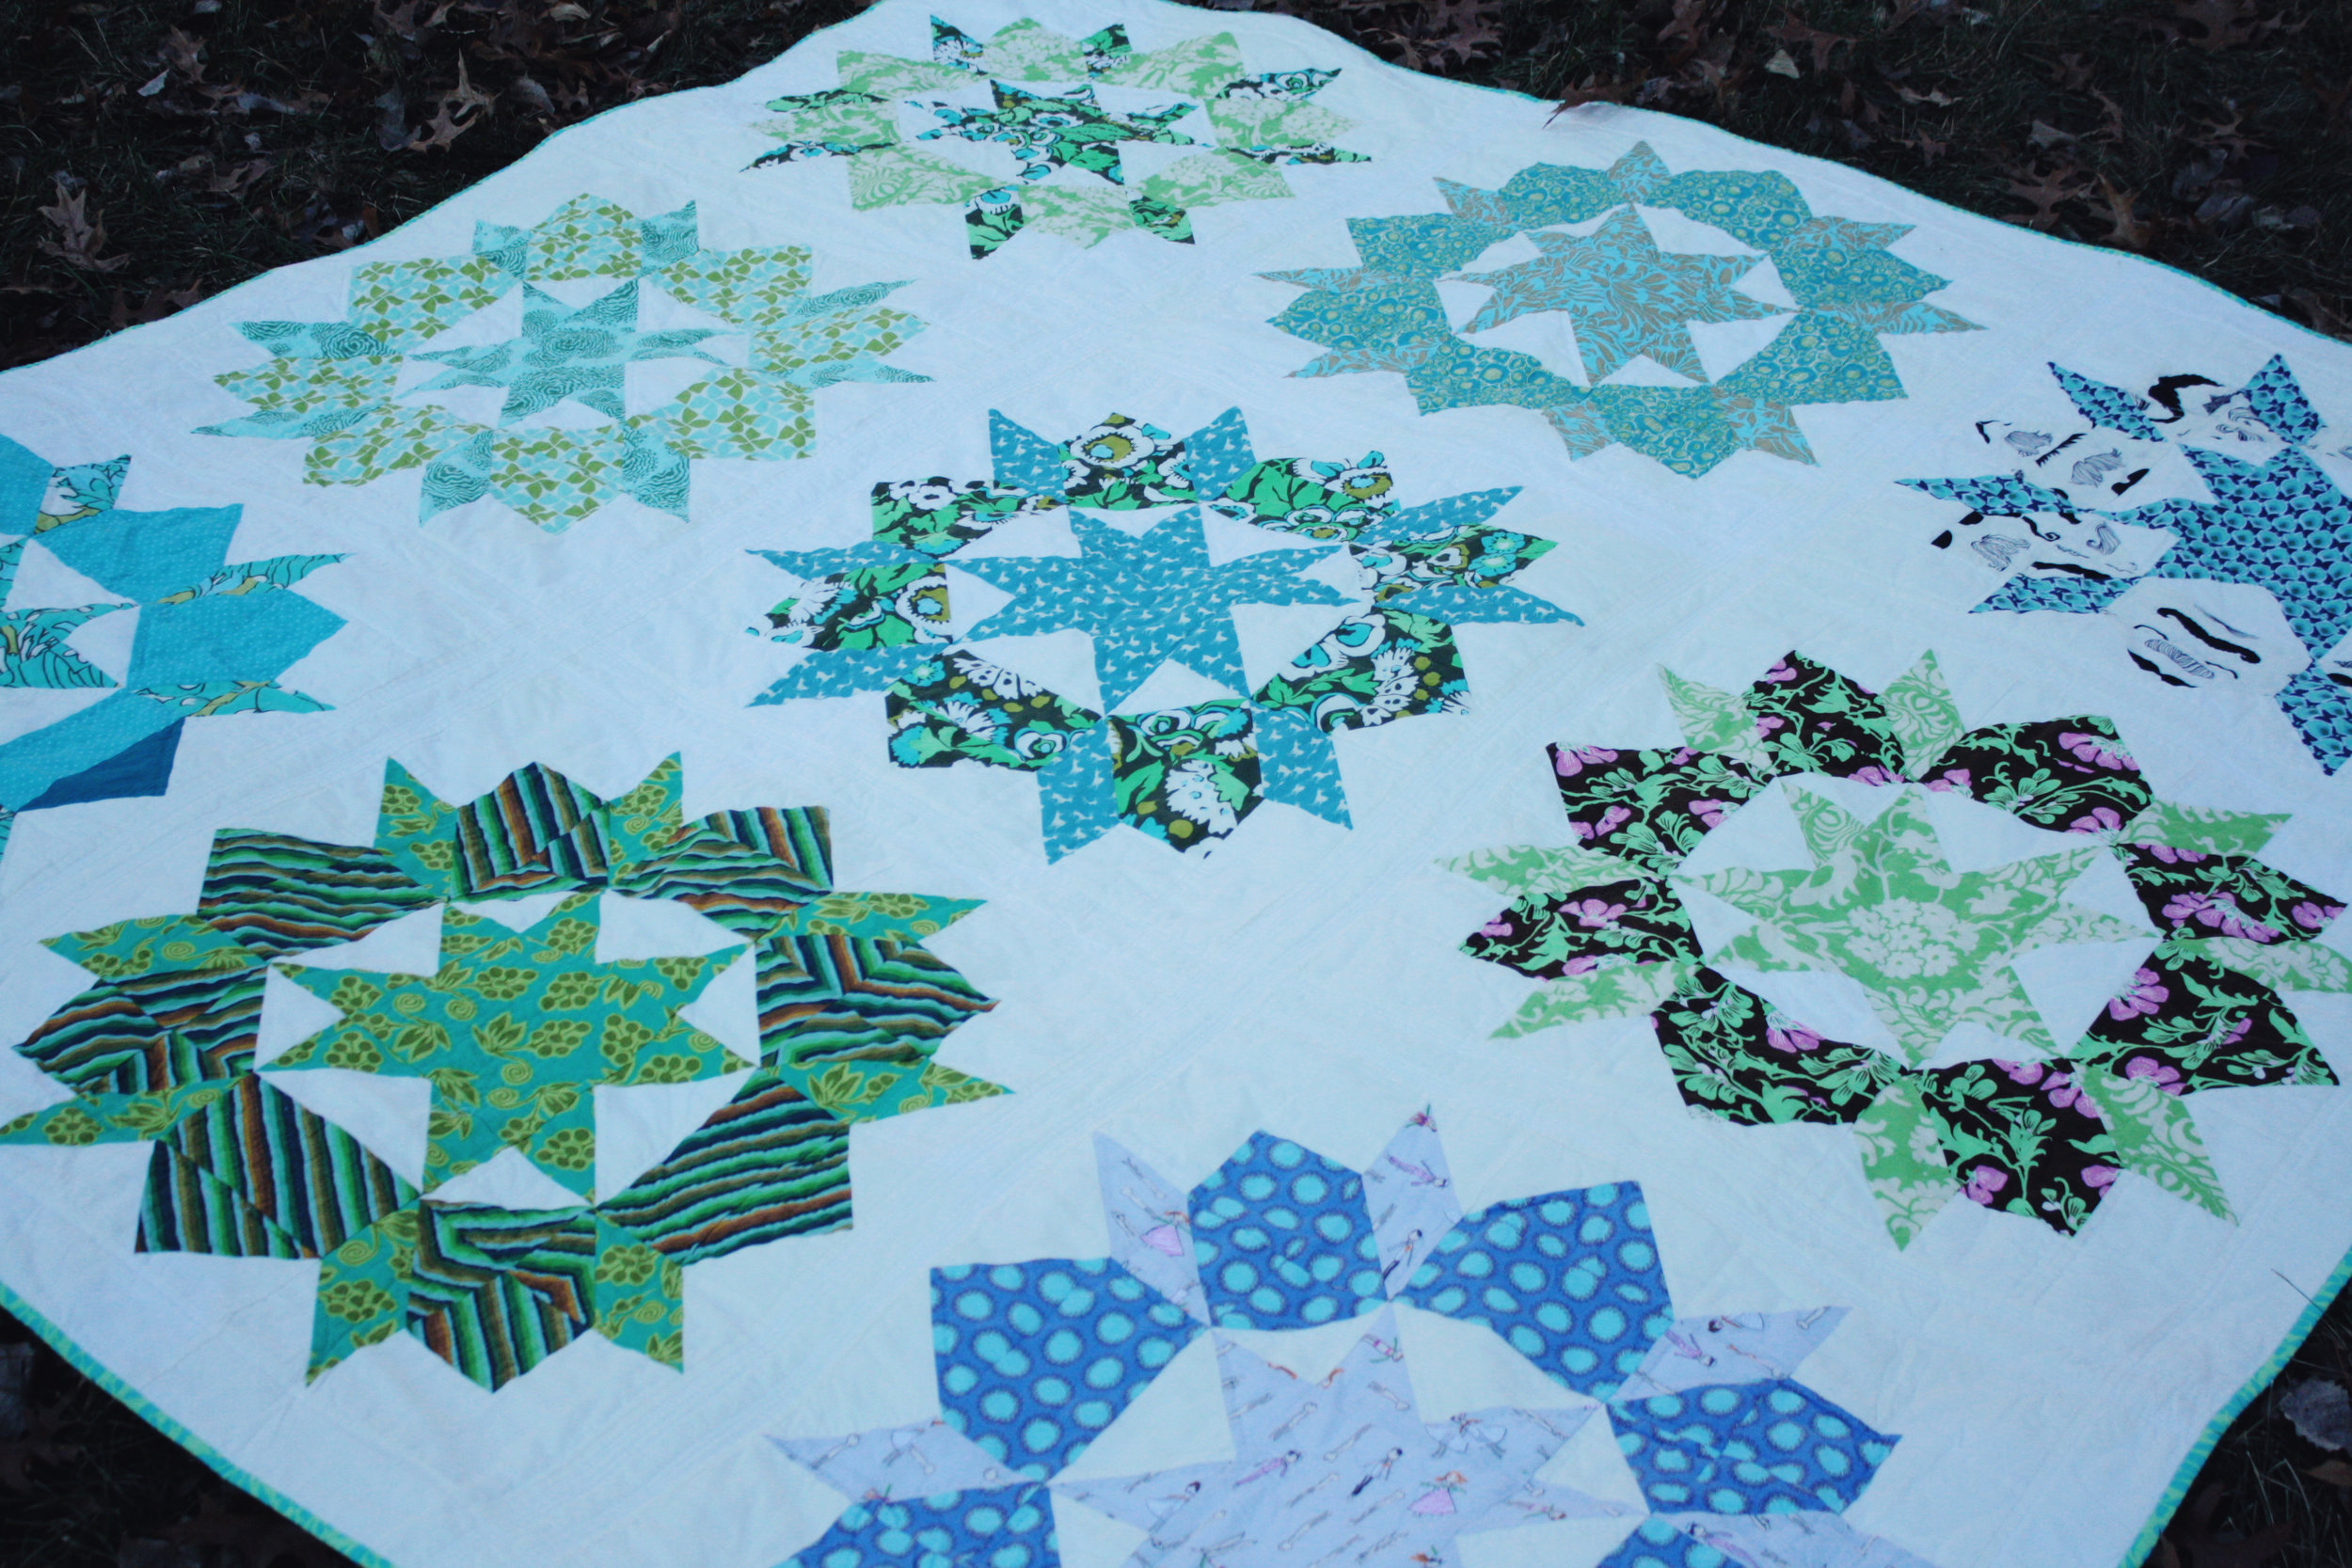


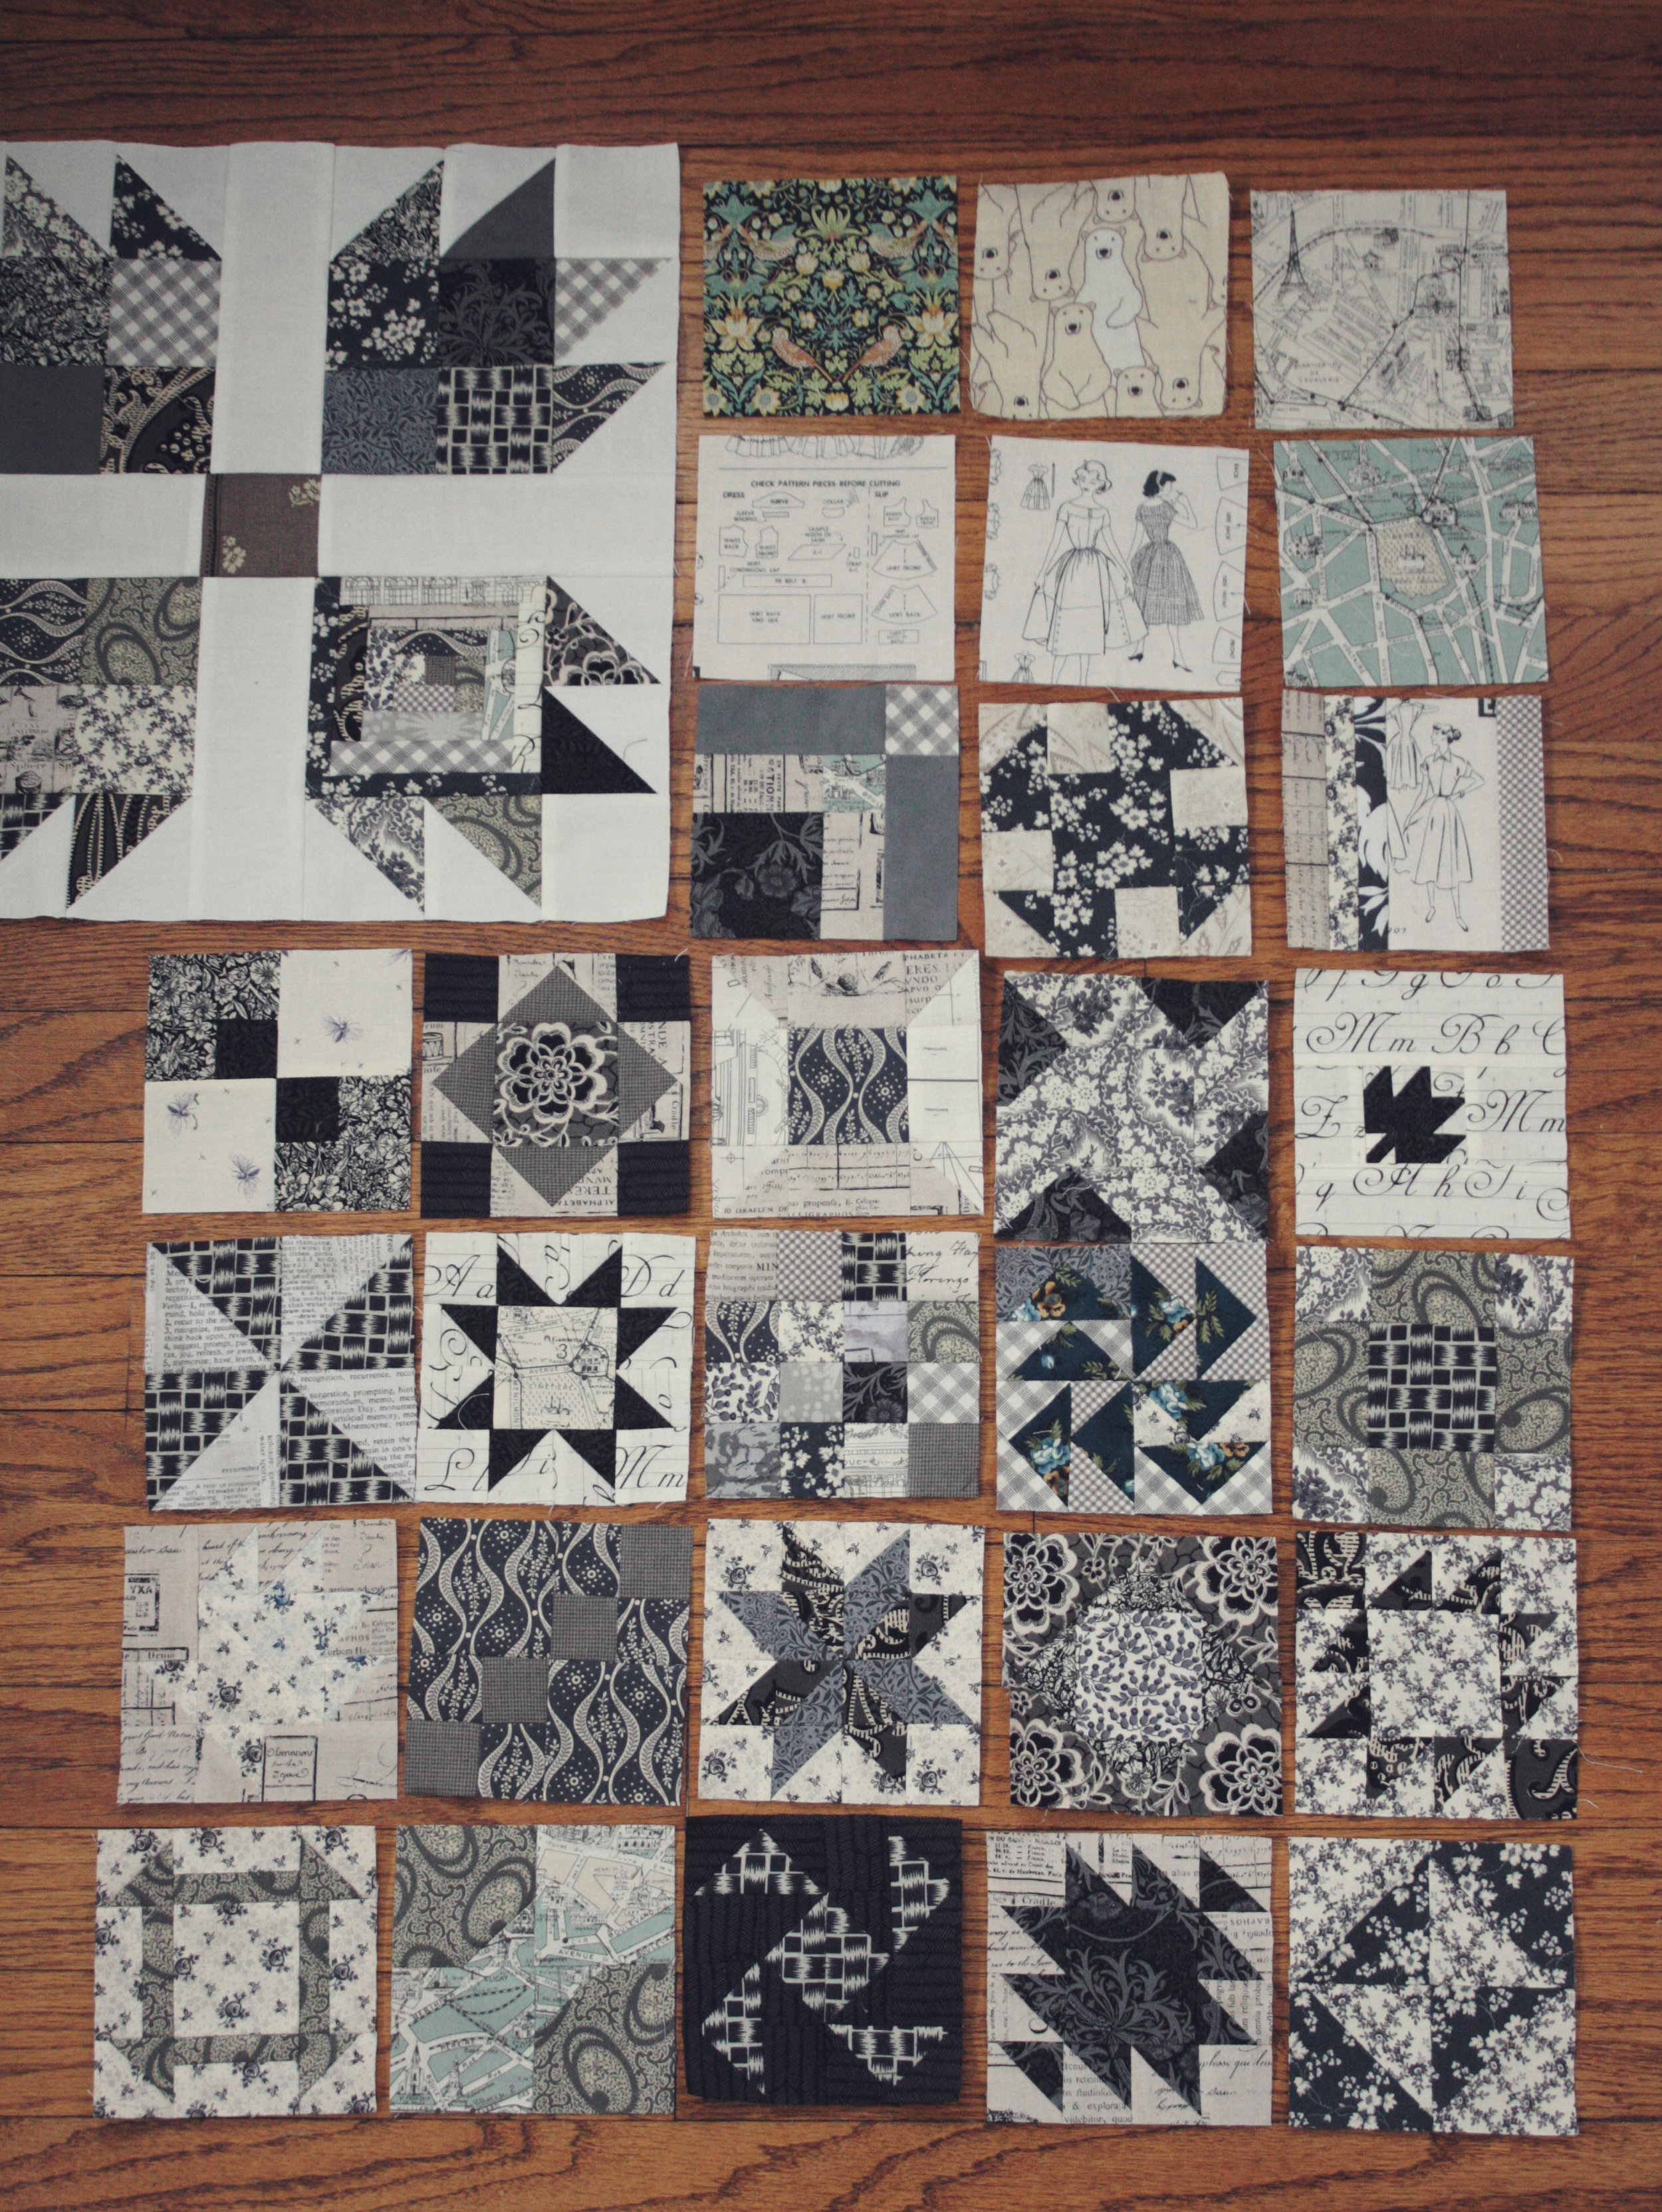
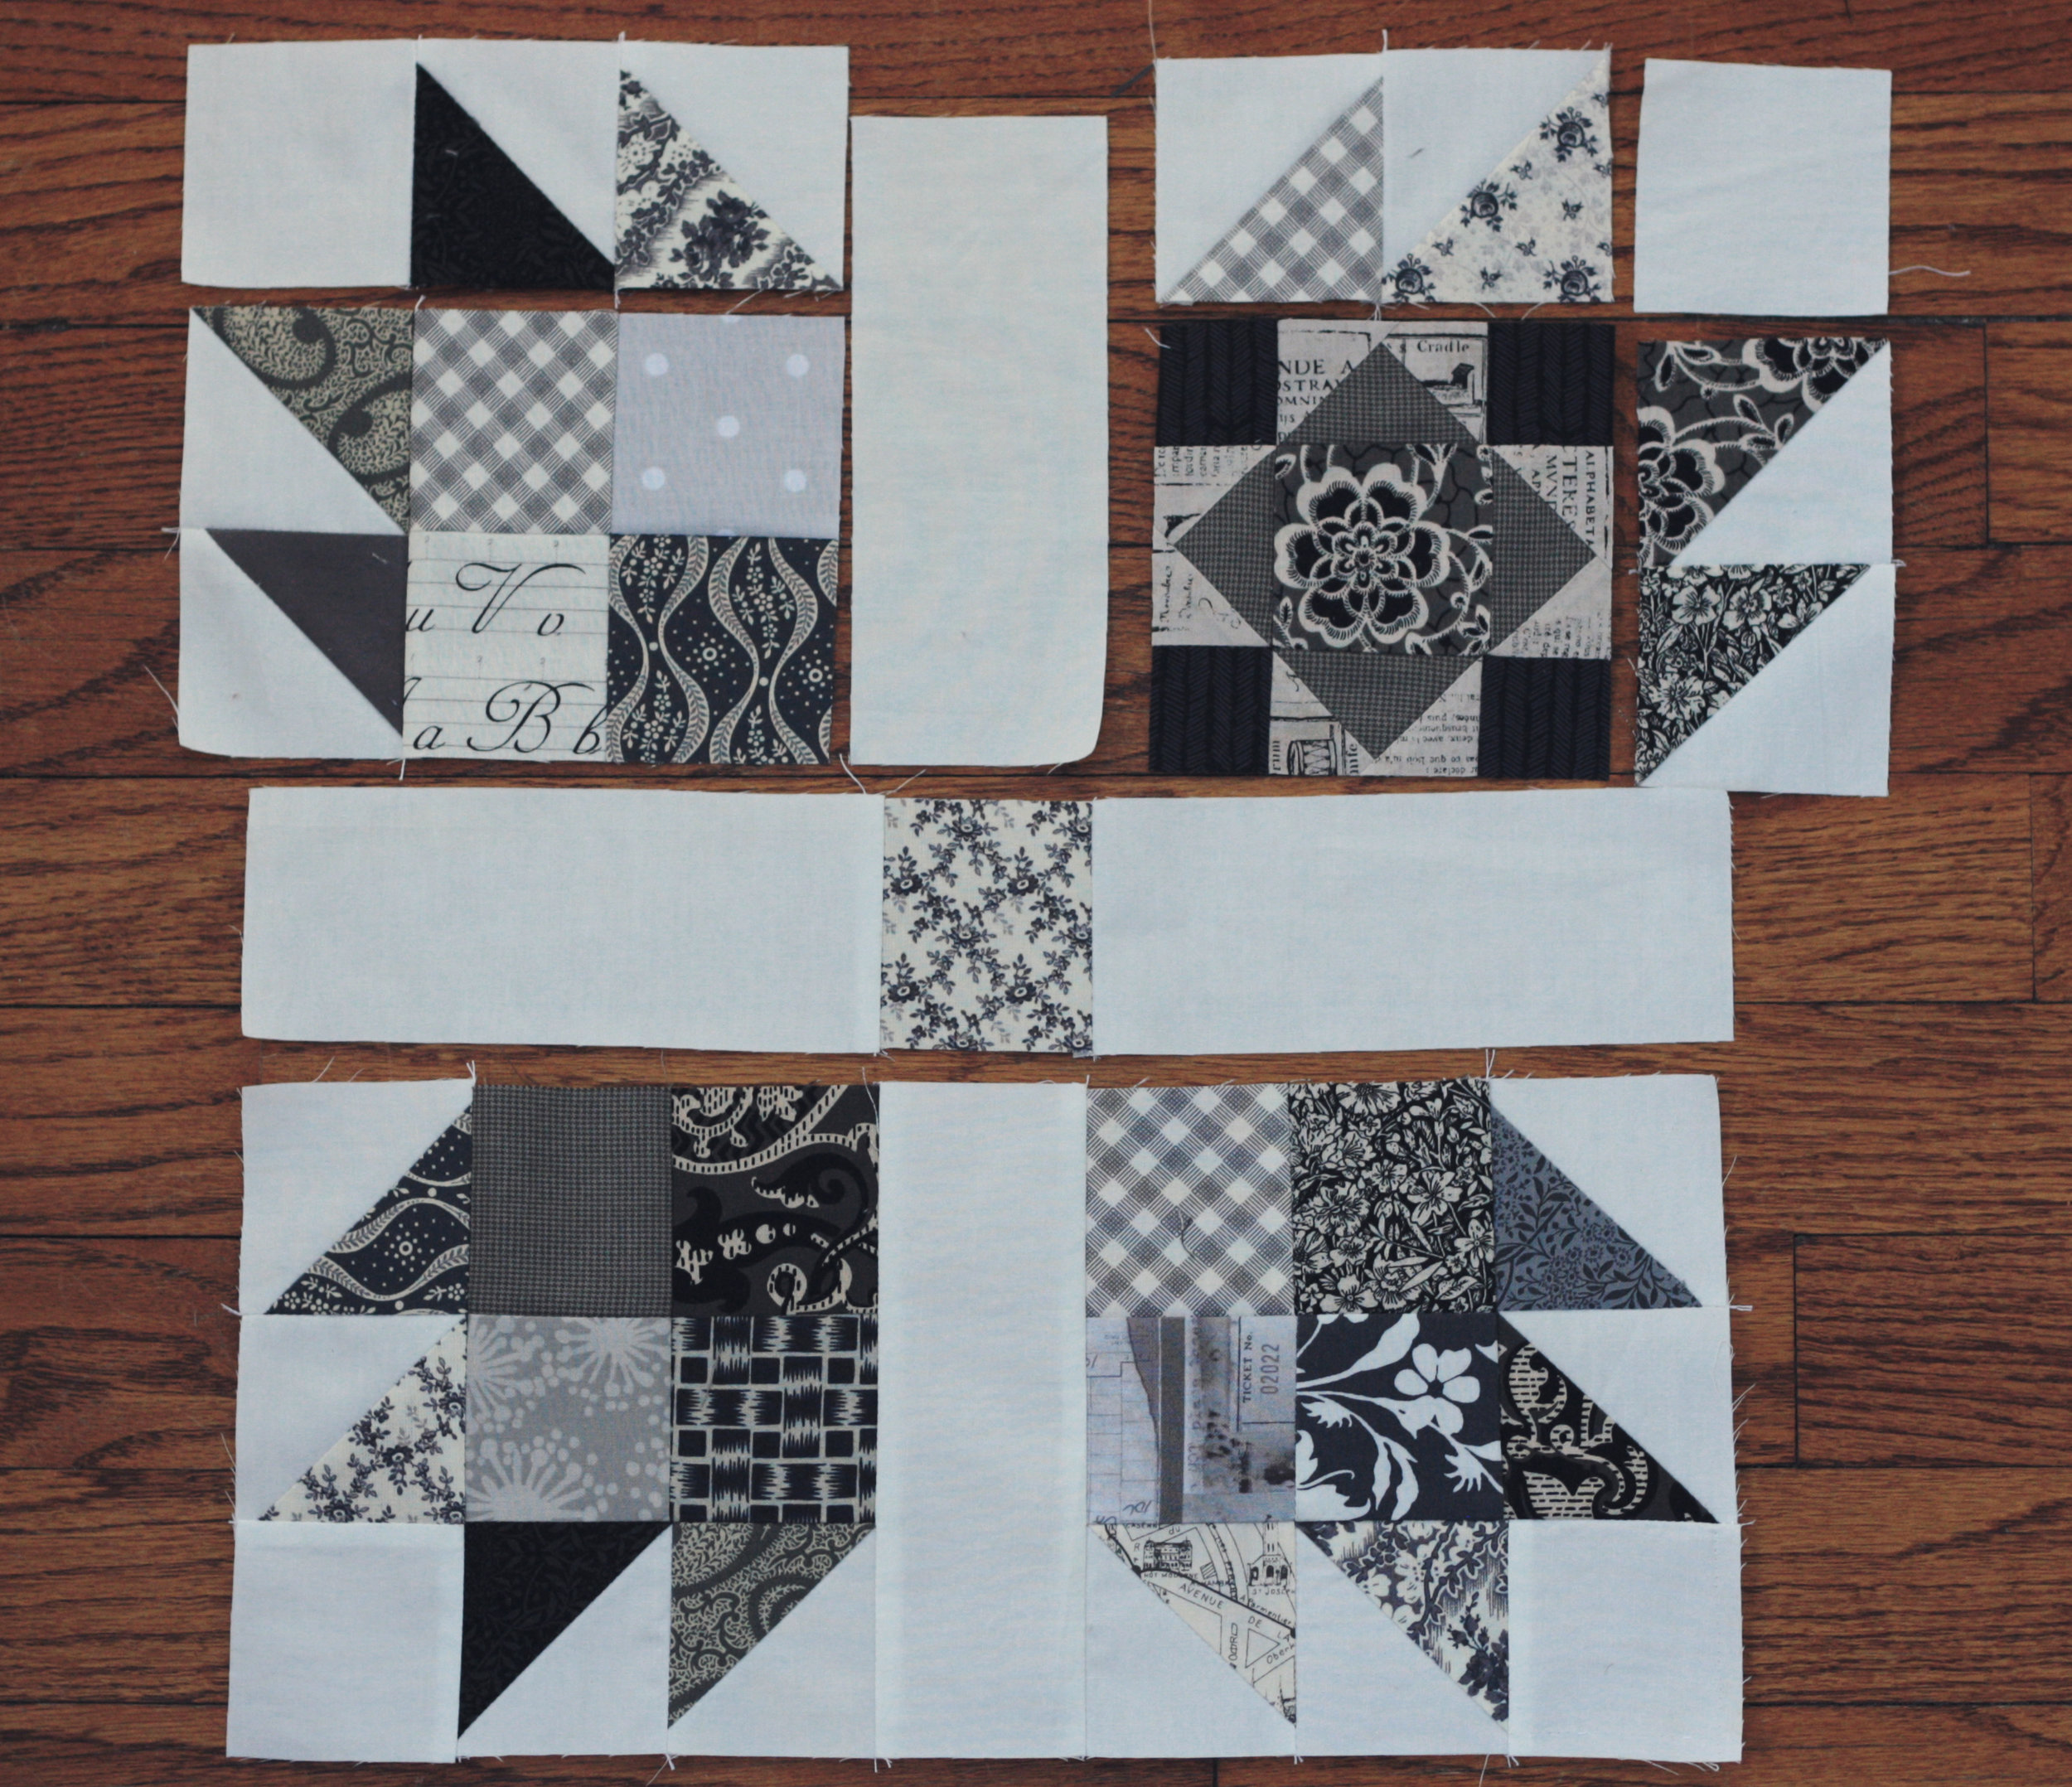


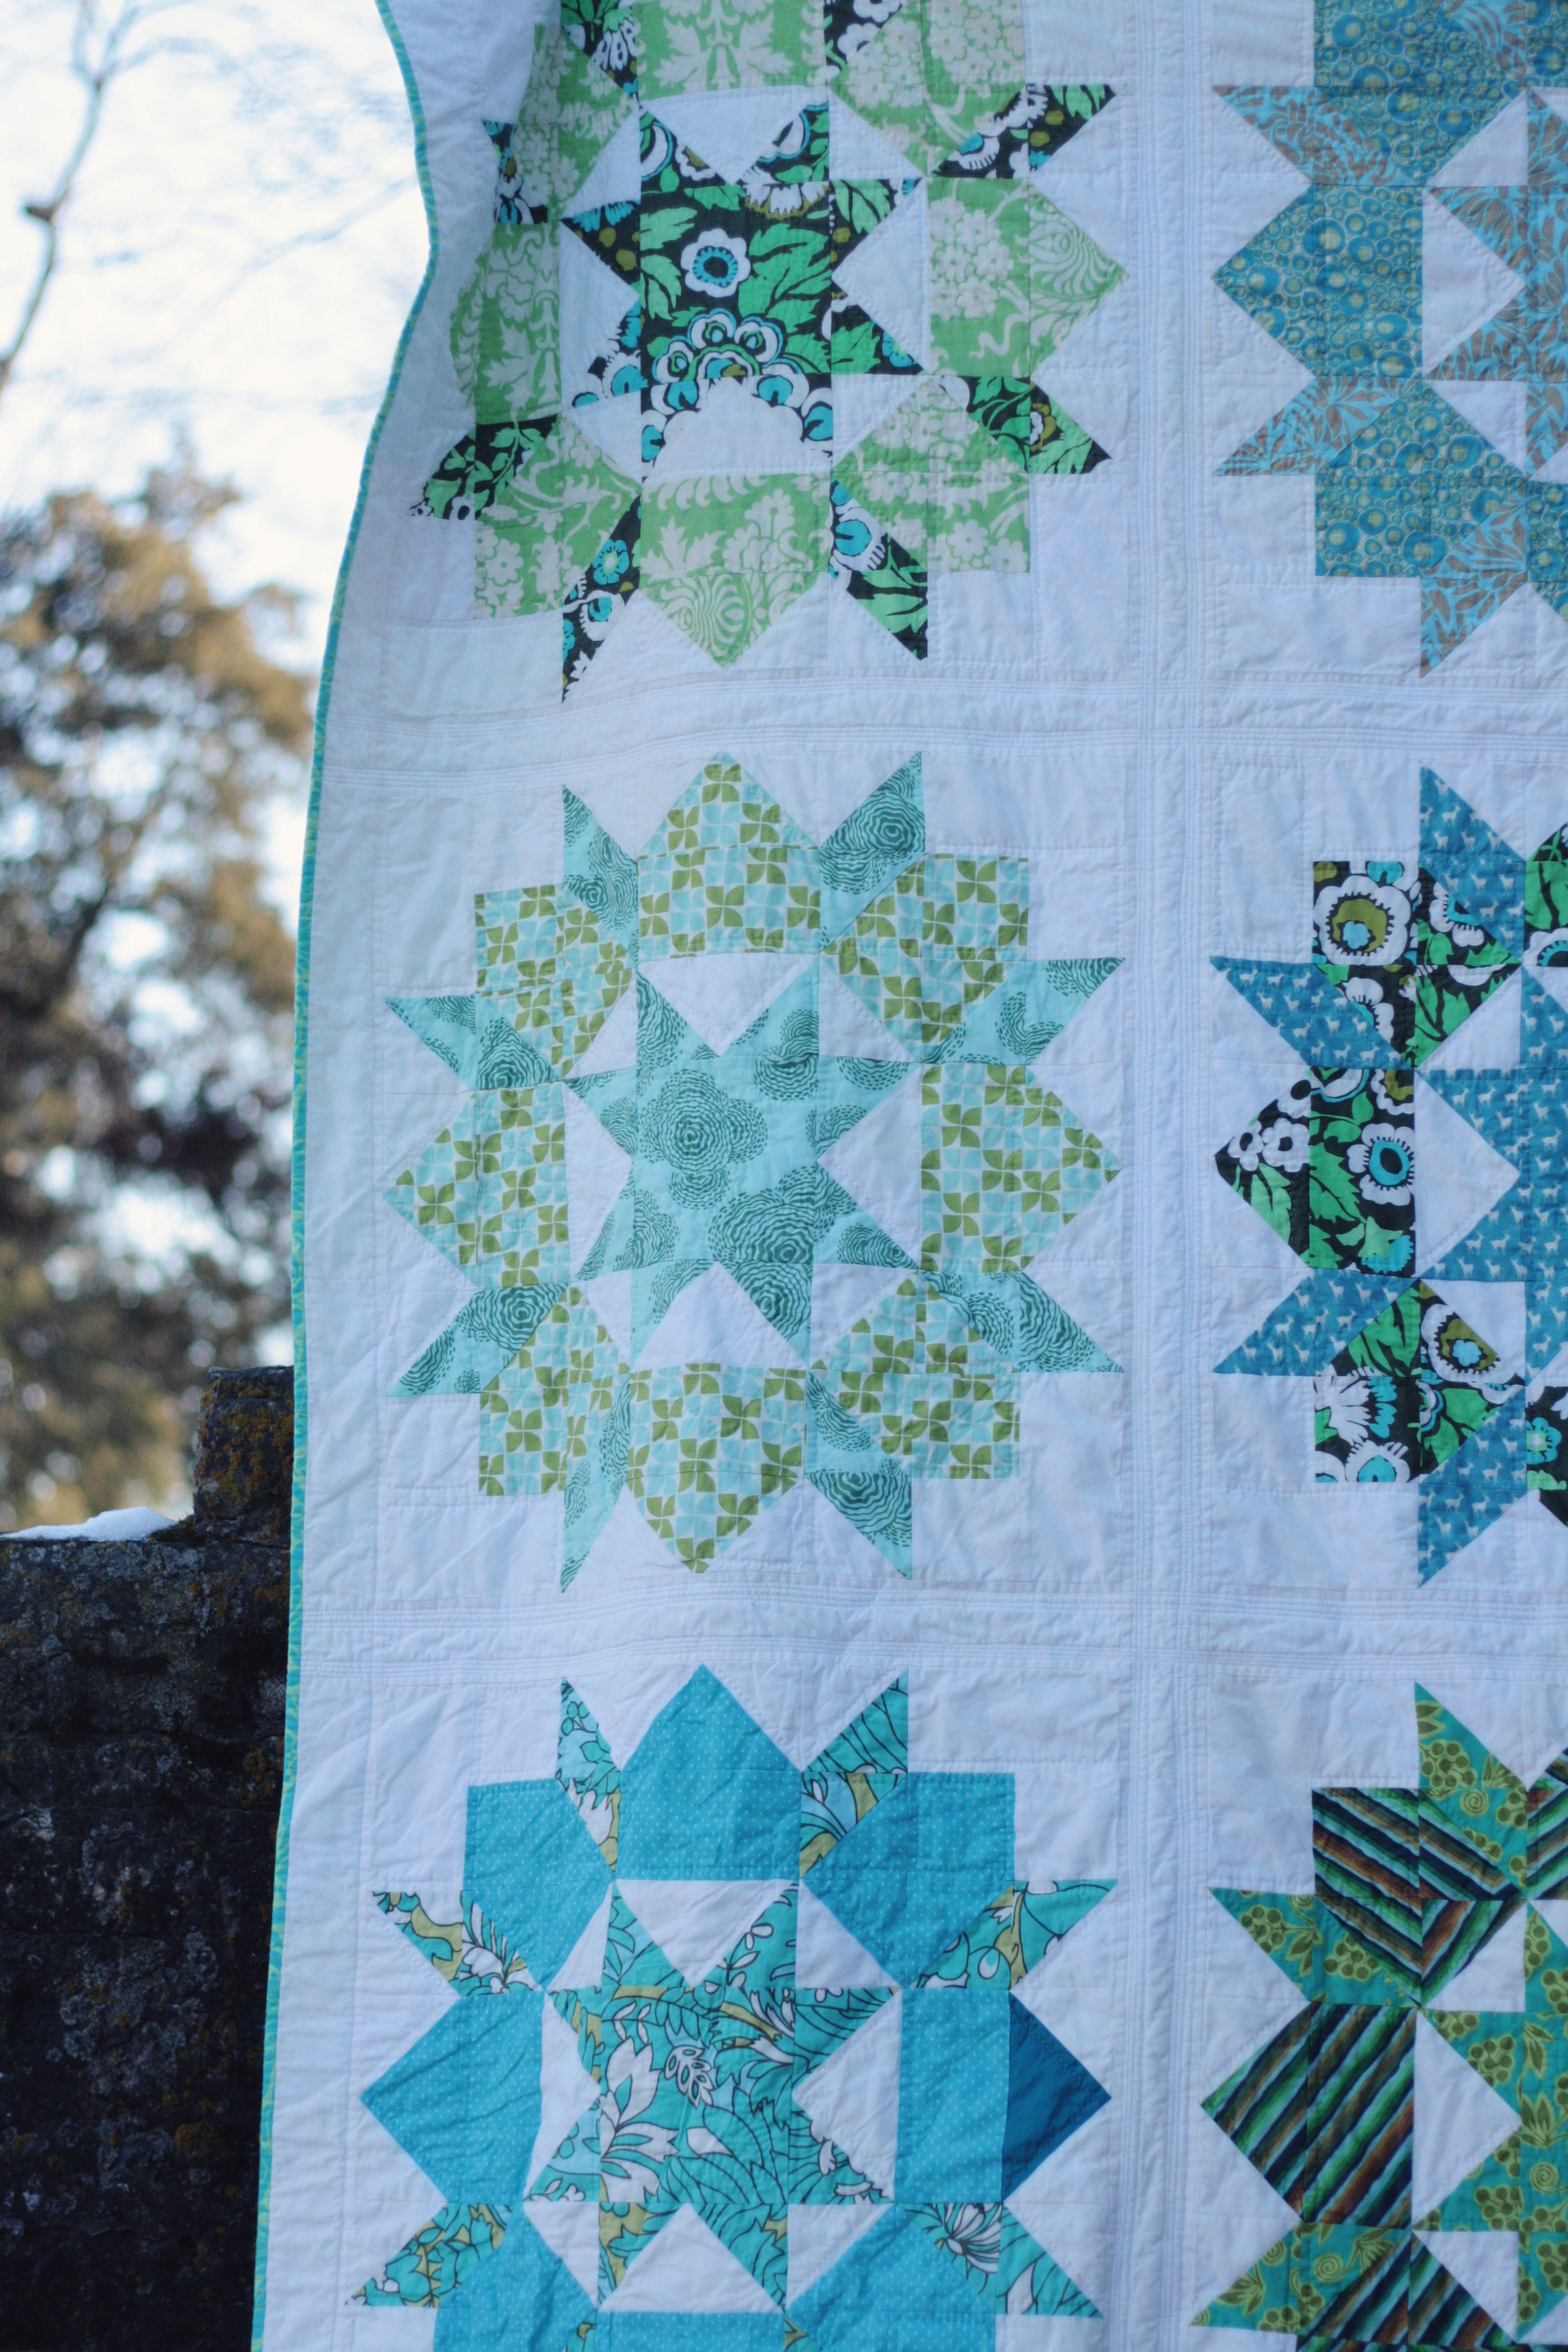
 This was another one of those unfinished projects that has been hanging around waiting so patiently for me to finish it.
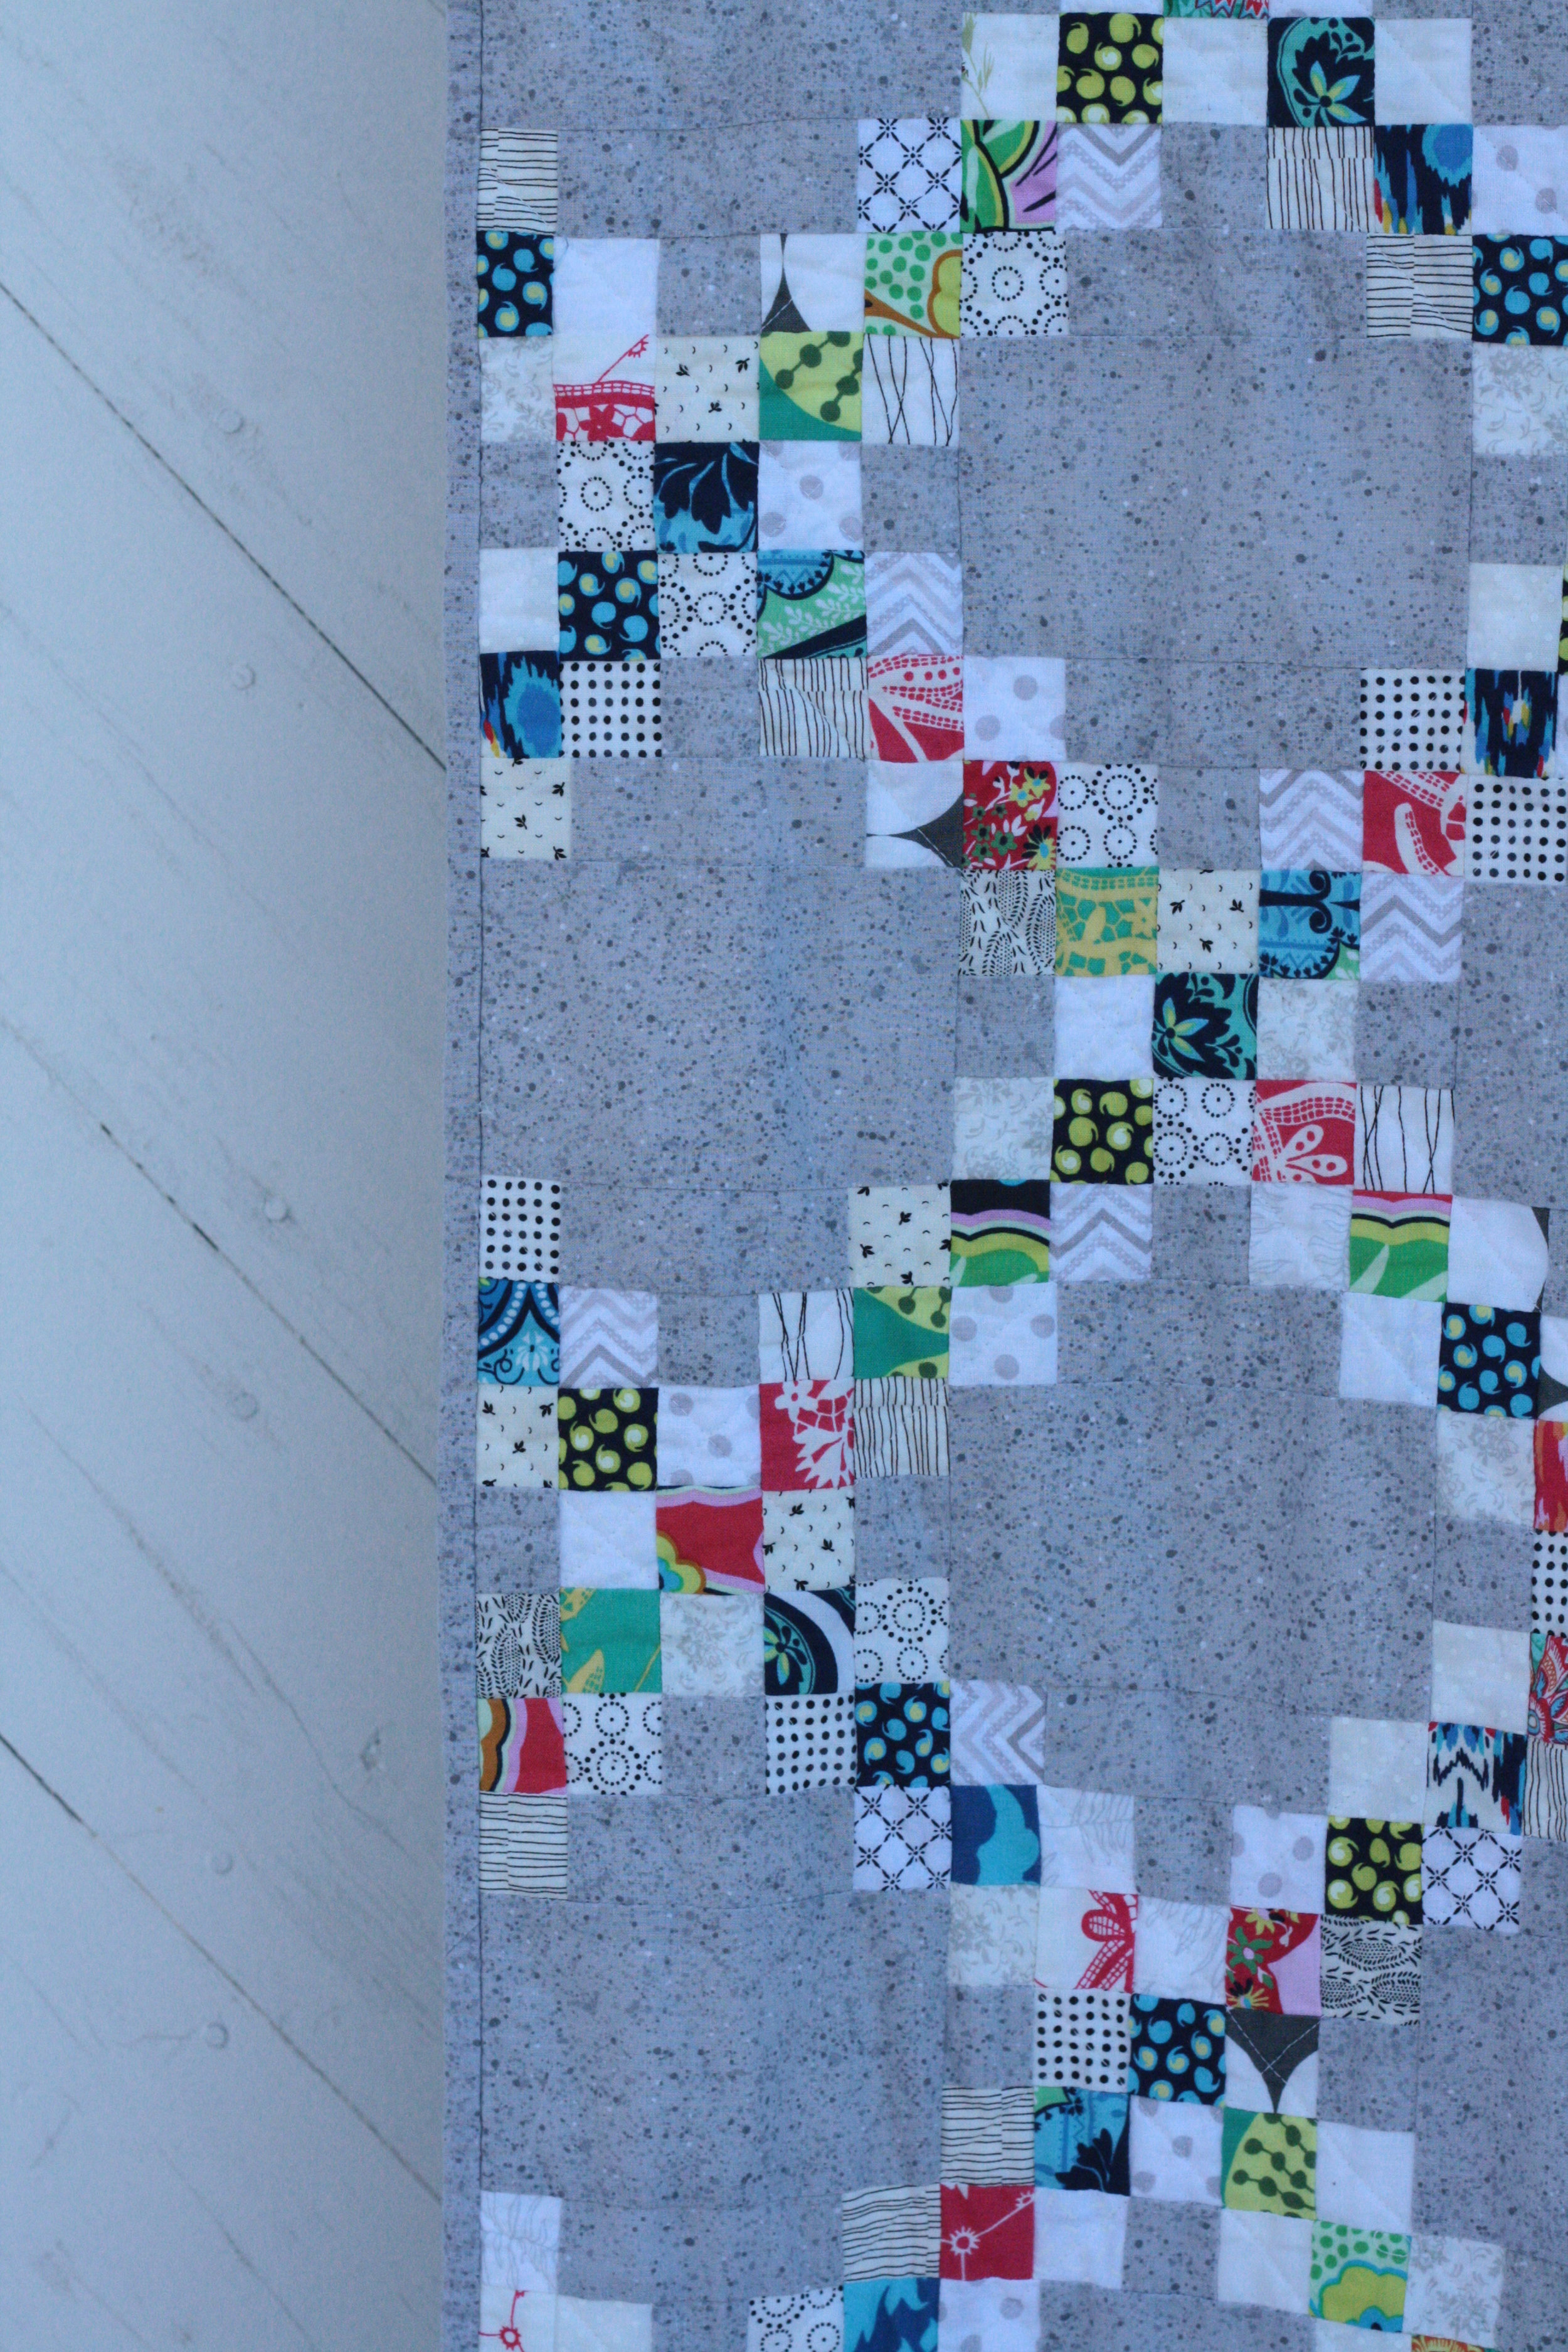


 I cannot wait to tell you about this quilt, but first I have to do that thing that we all do at the start of a new year. I used to do resolutions and lists and words an all that but then I got lazy. Powerful lazy. Not moving all day kind of lazy. Long story short, I started stacks of projects in 2012 that are still hanging around today. My sloth went to such extremes I finally talked to my doctor about it and this Spring we found out two things...I need to avoid eating things with lots of fructose and it turned out I wasn't lazy, but my thyroid is. I've spent the past year trying different doses and I've learned a lot. I'm thrilled to not feel miserable. I've been tackling many of those works in progress and started a few exciting new projects along the way. So, as for the new year, my goal is to build on what I started gaining last fall...MOMENTUM. No more excuses. I'm hoping to keep things moving, more finished quilts, more homemade cookies, more laughs, more fun!


 I think that's why