Posts in sewing
excuses, excuses and a camouflage quilt

row of geese on camouflage quilt 
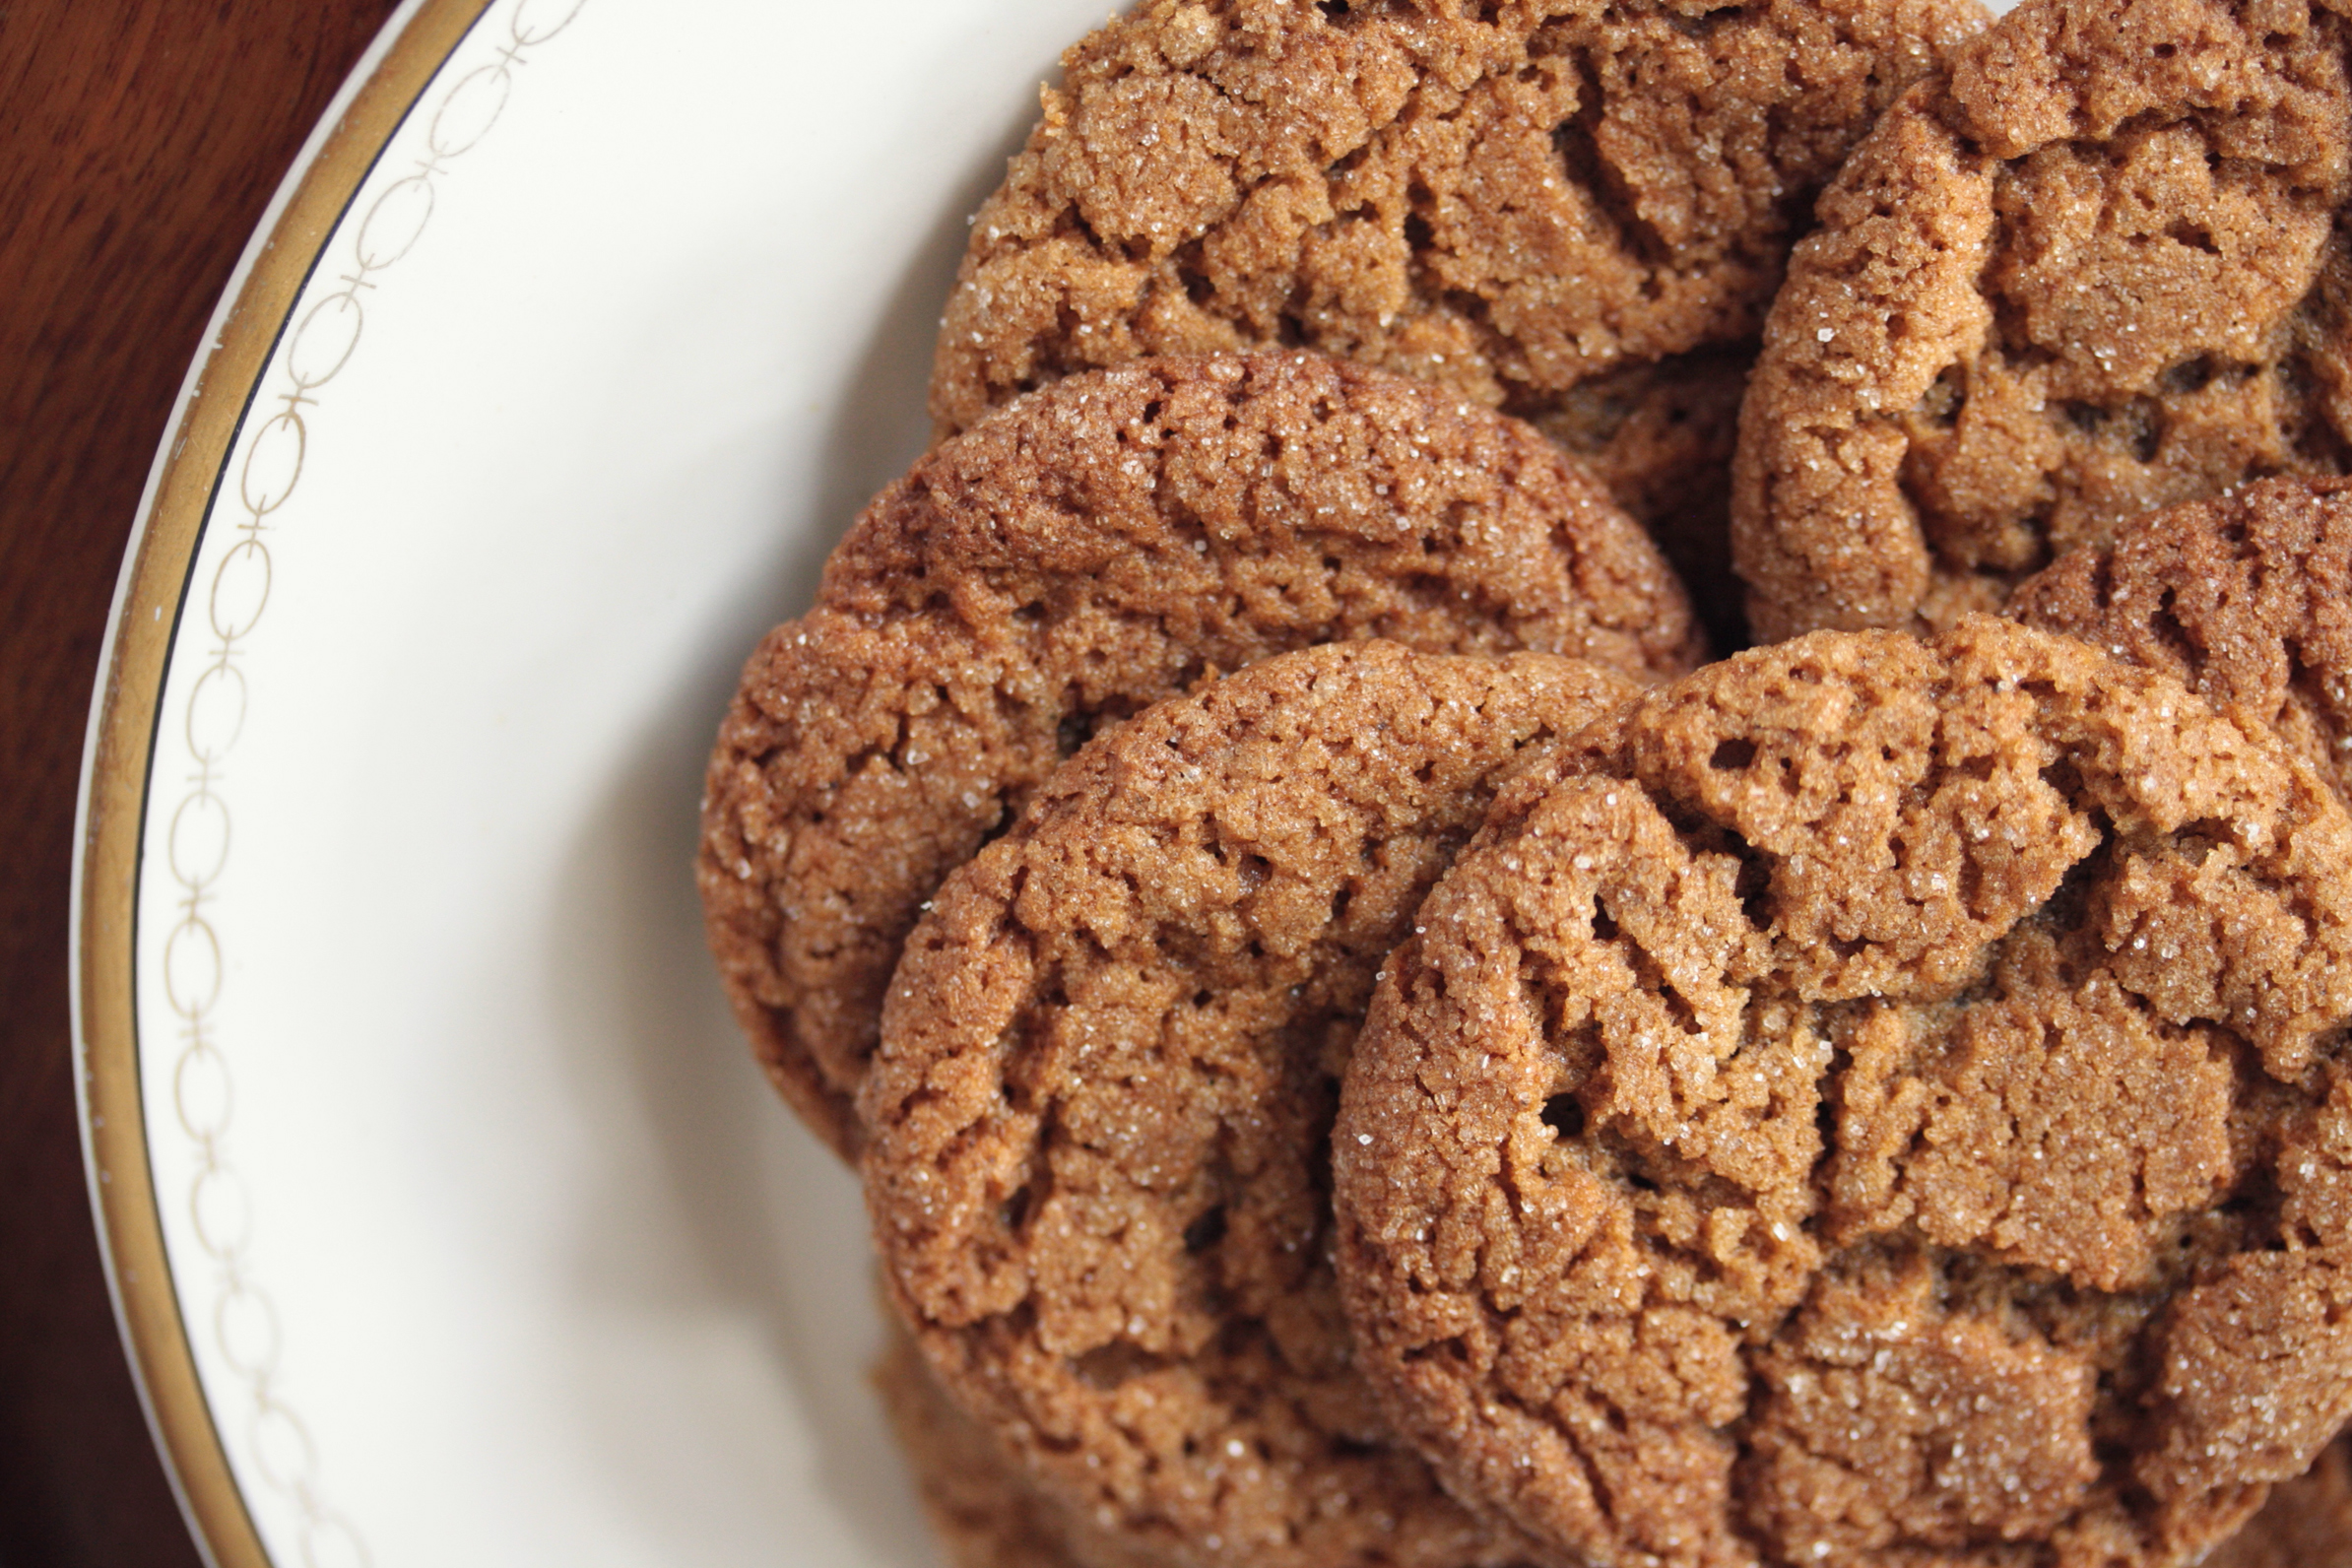
I cannot wait to tell you about this quilt, but first I have to do that thing that we all do at the start of a new year.  I used to do resolutions and lists and words an all that but then I got lazy.  Powerful lazy.  Not moving all day kind of lazy.  Long story short, I started stacks of projects in 2012 that are still hanging around today.  My sloth went to  such extremes I finally talked to my doctor about it and this Spring we found out two things...I need to avoid eating things with lots of fructose and it turned out I wasn't lazy, but my thyroid is. I've spent the past year trying different doses and I've learned a lot.  I'm thrilled to not feel miserable.  I've been tackling many of those works in progress and started a few exciting new projects along the way.  So, as for the new year, my goal is to build on what I started gaining last fall...MOMENTUM.  No more excuses. I'm hoping to keep things moving, more finished quilts, more homemade cookies, more laughs, more fun!

camouflage quilt

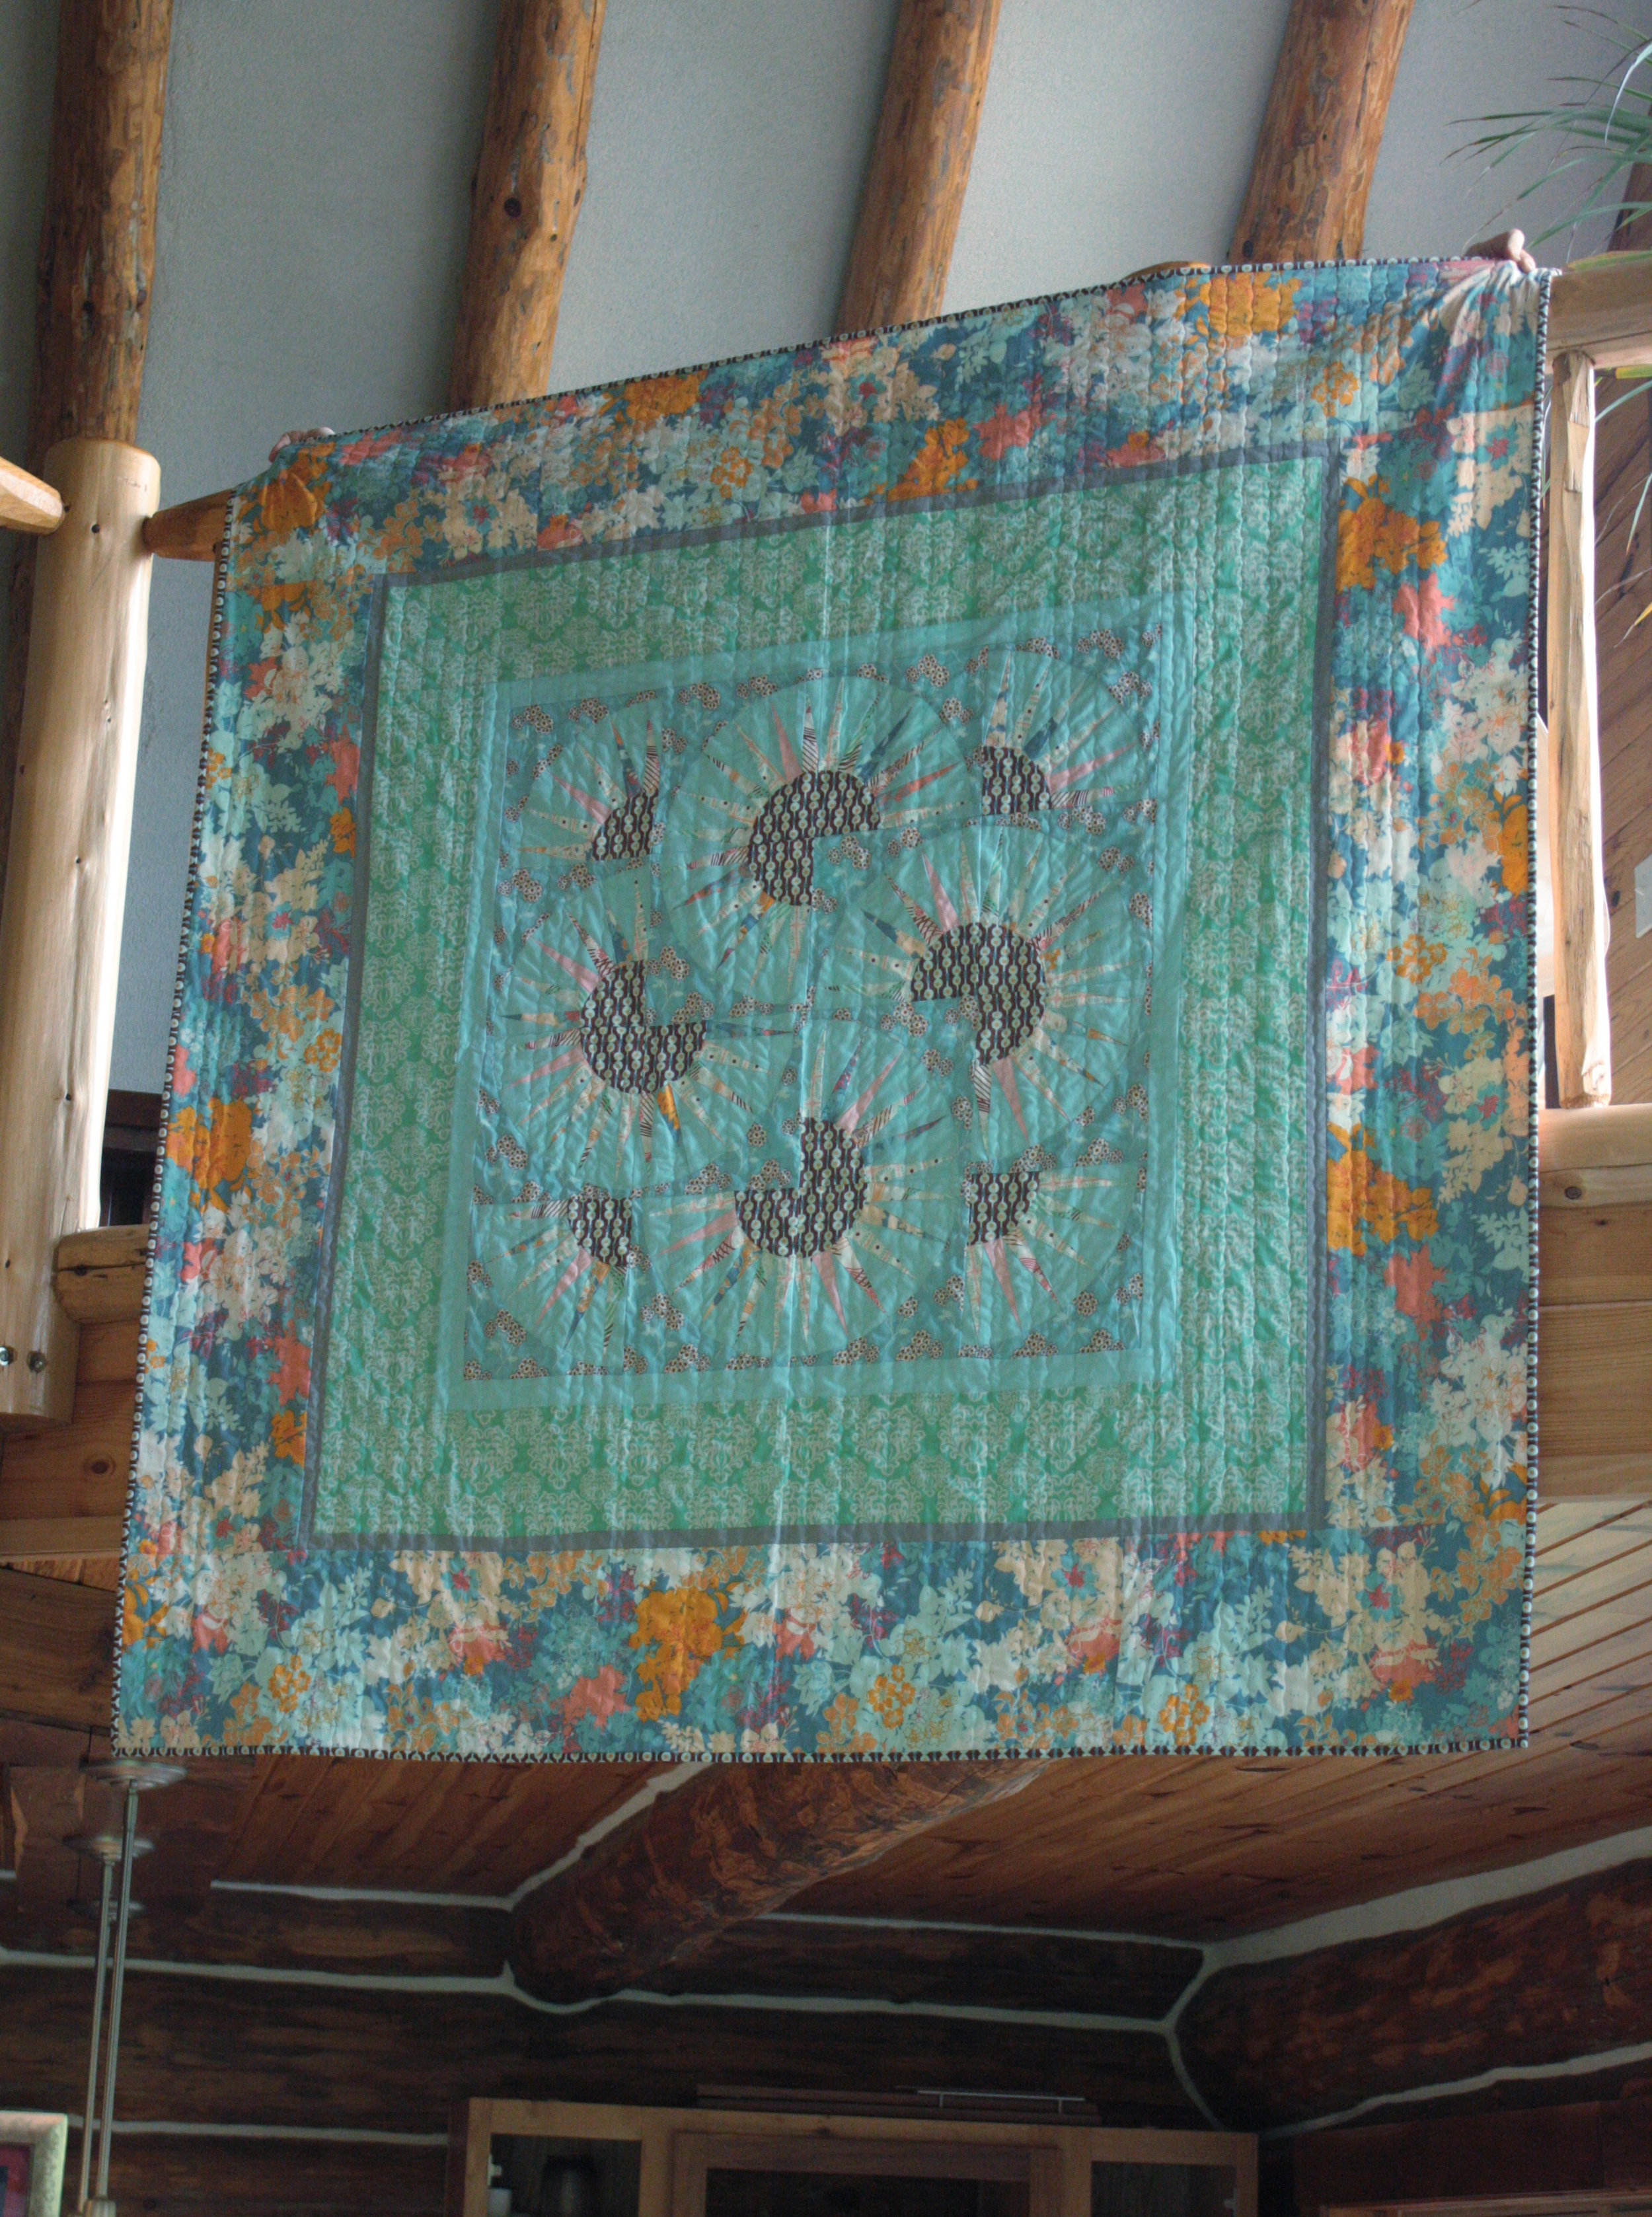
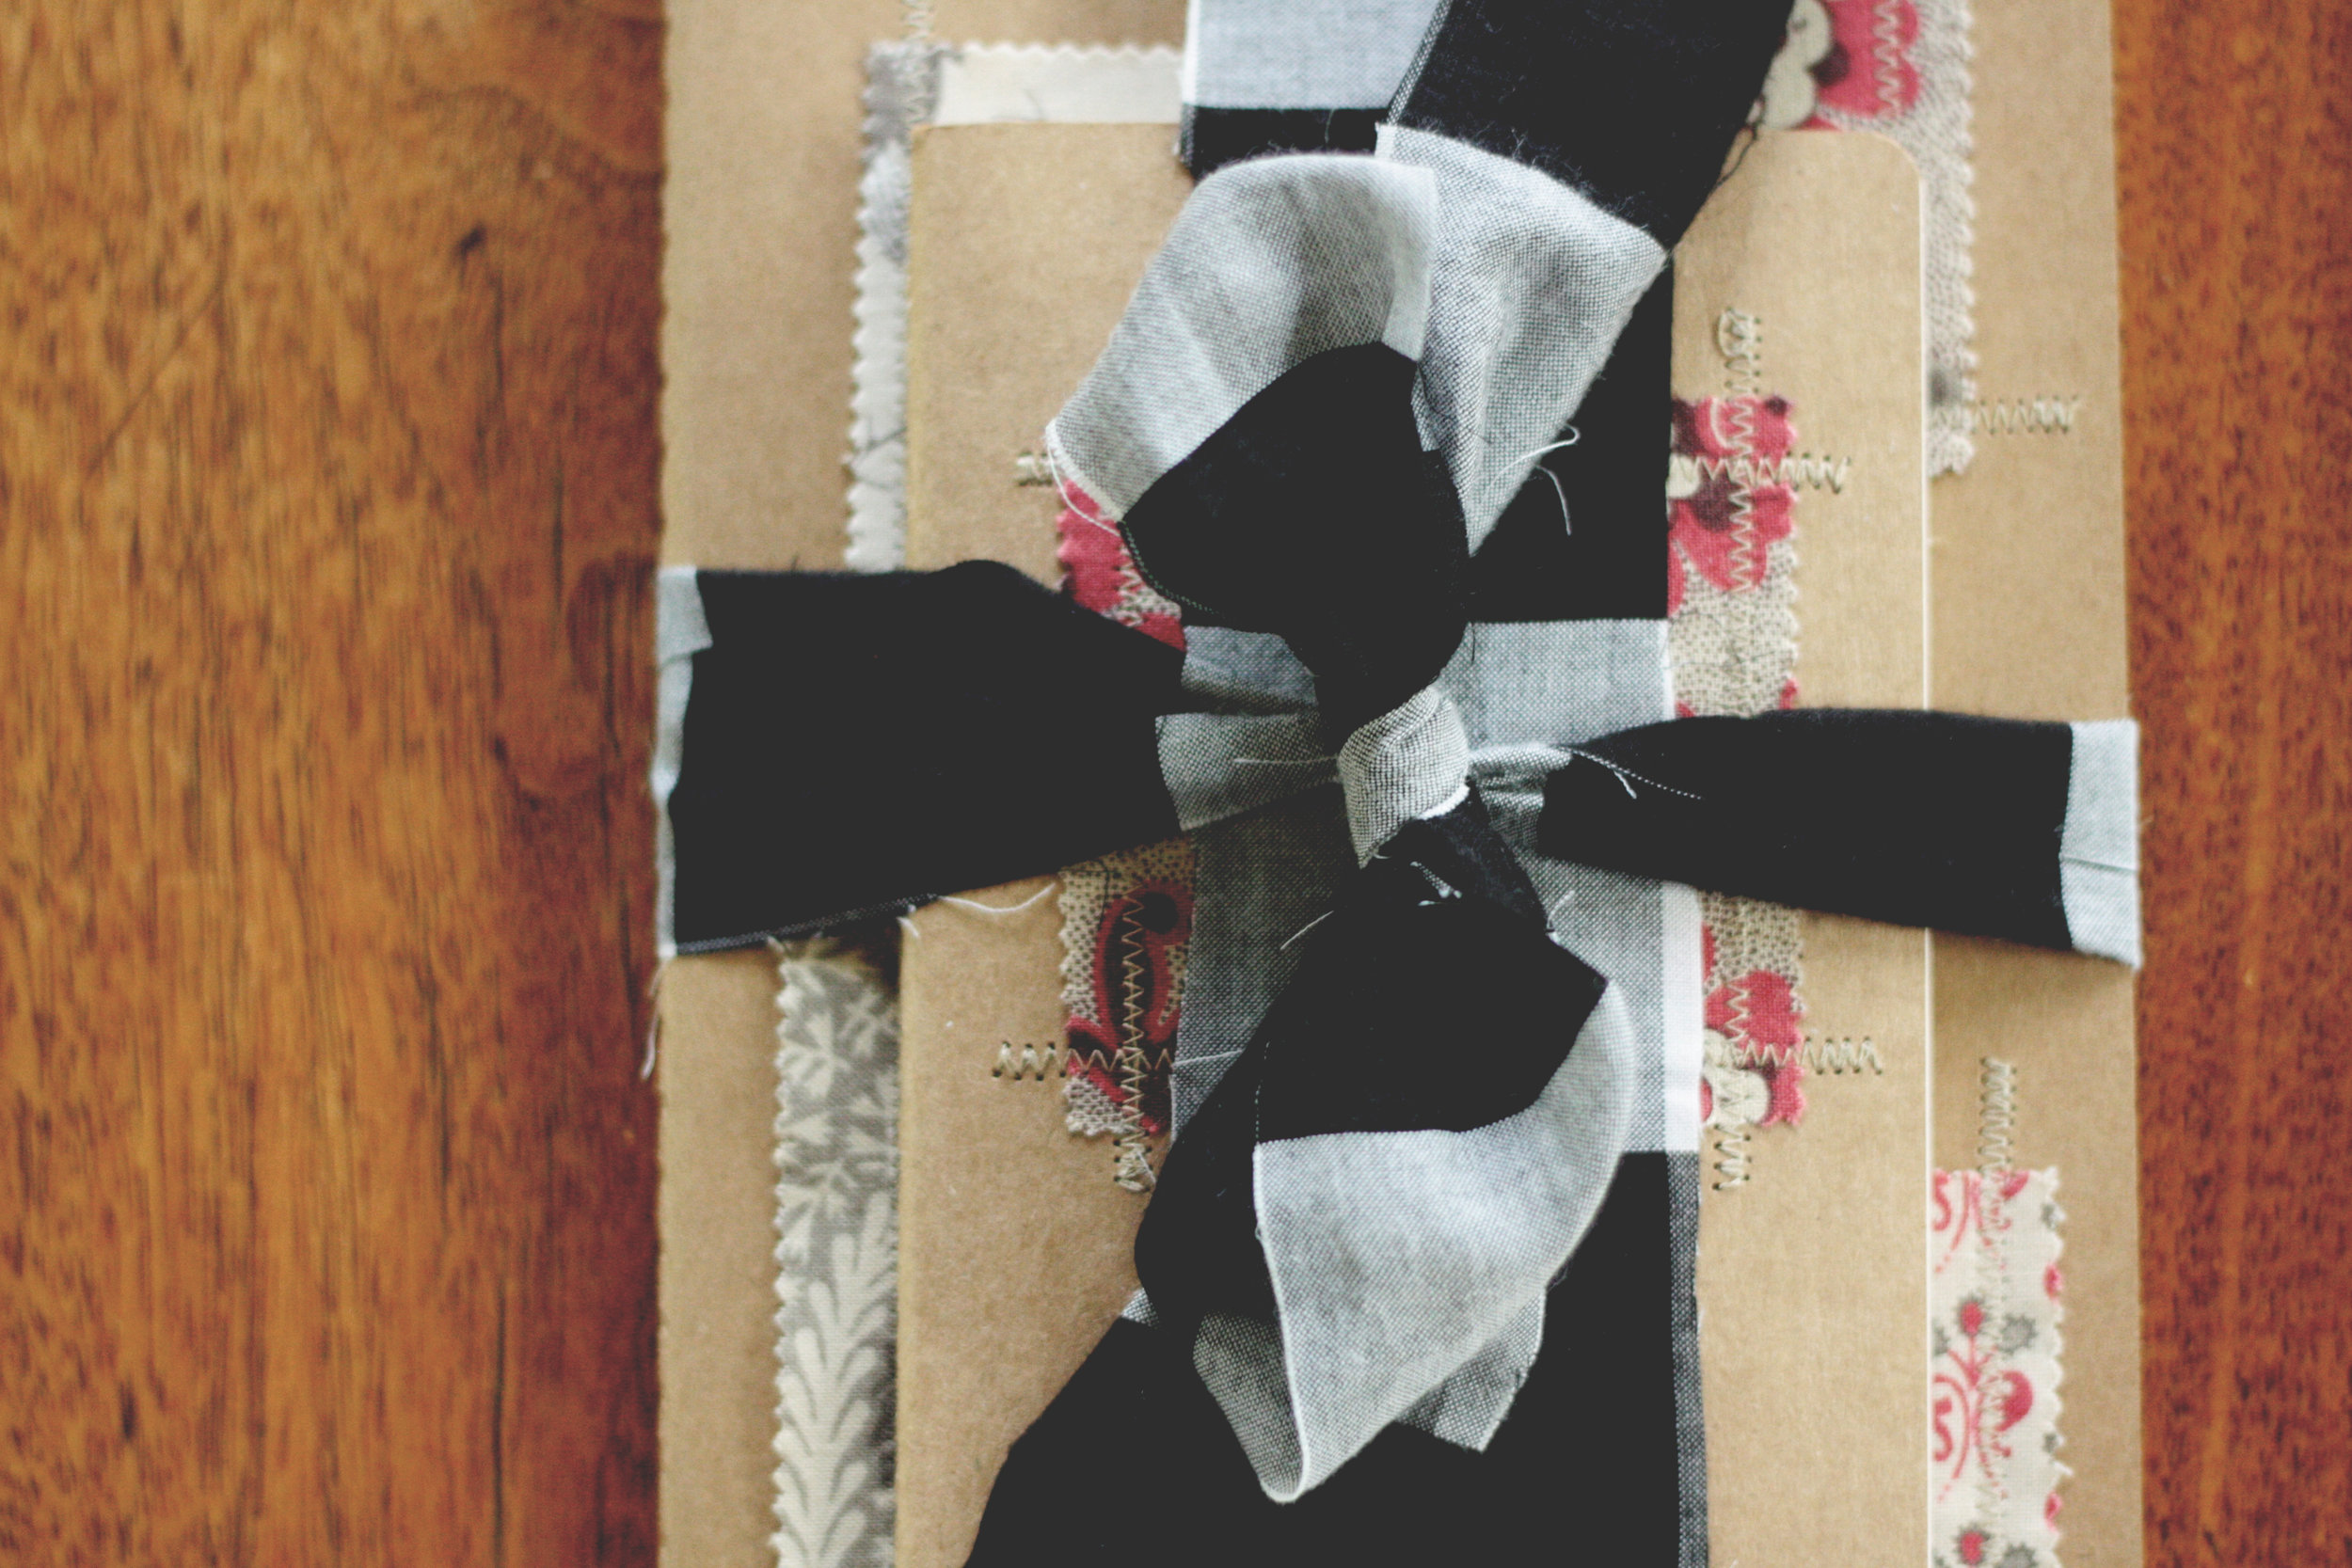
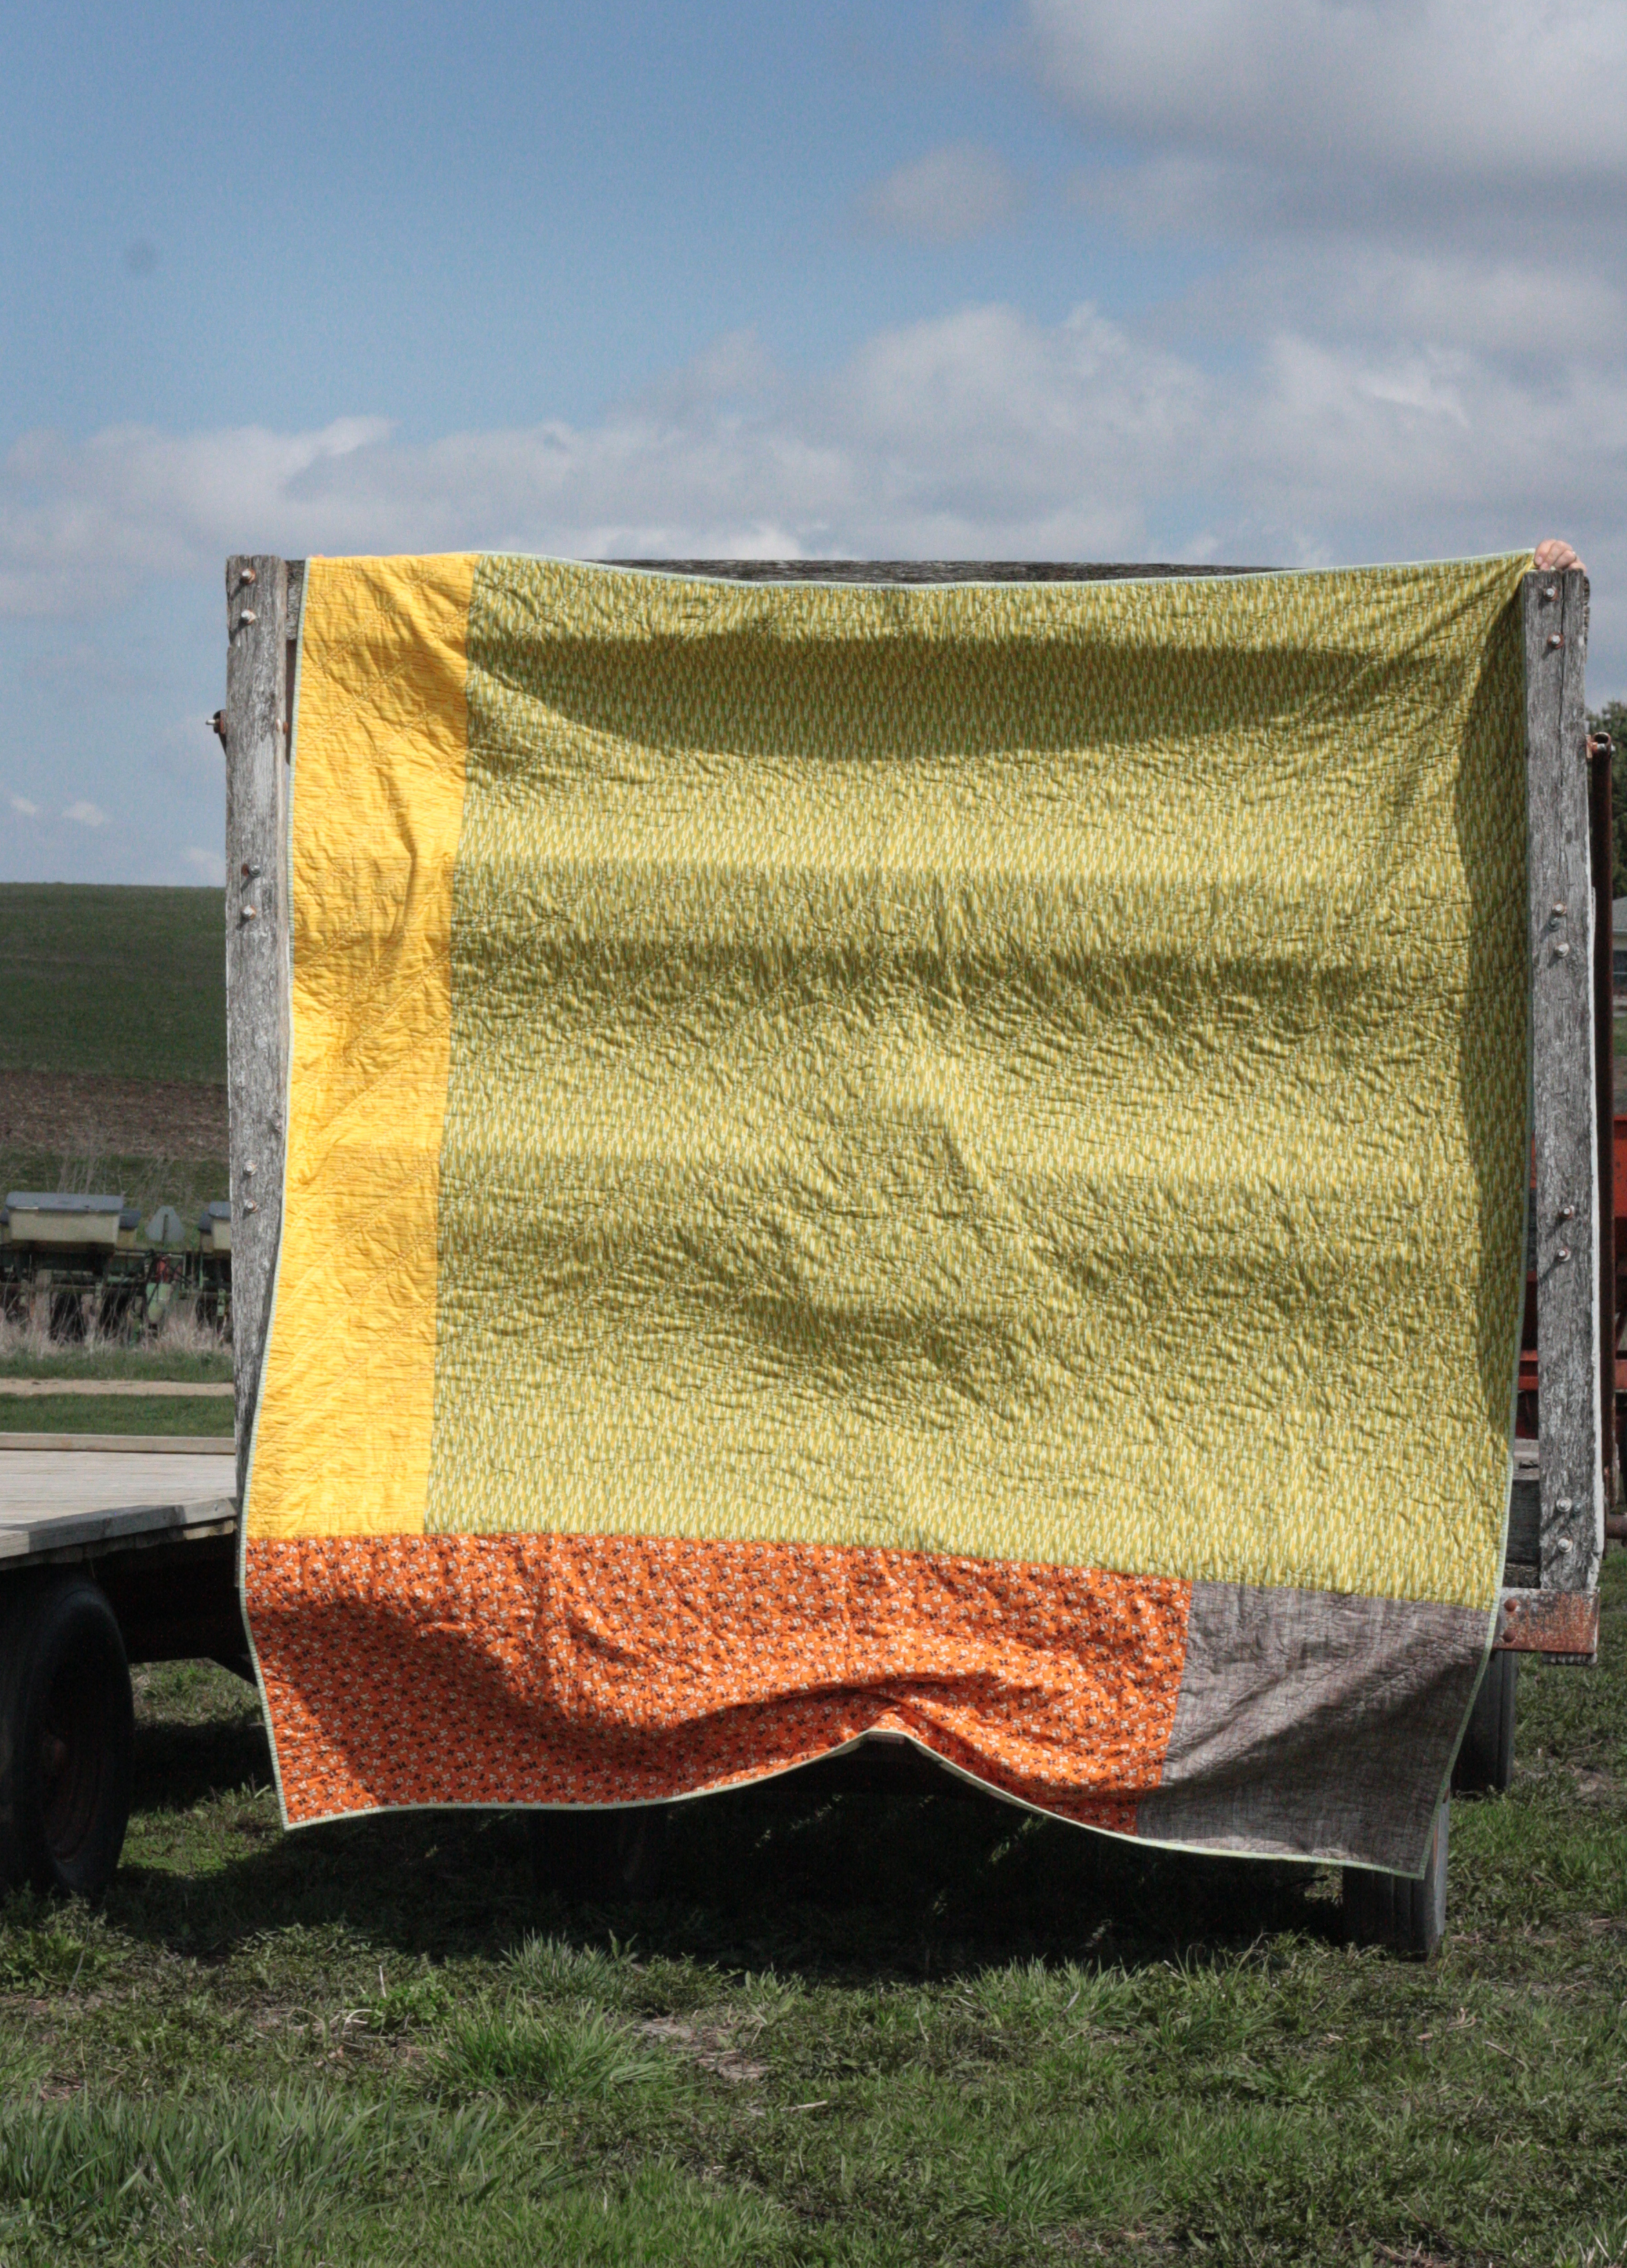
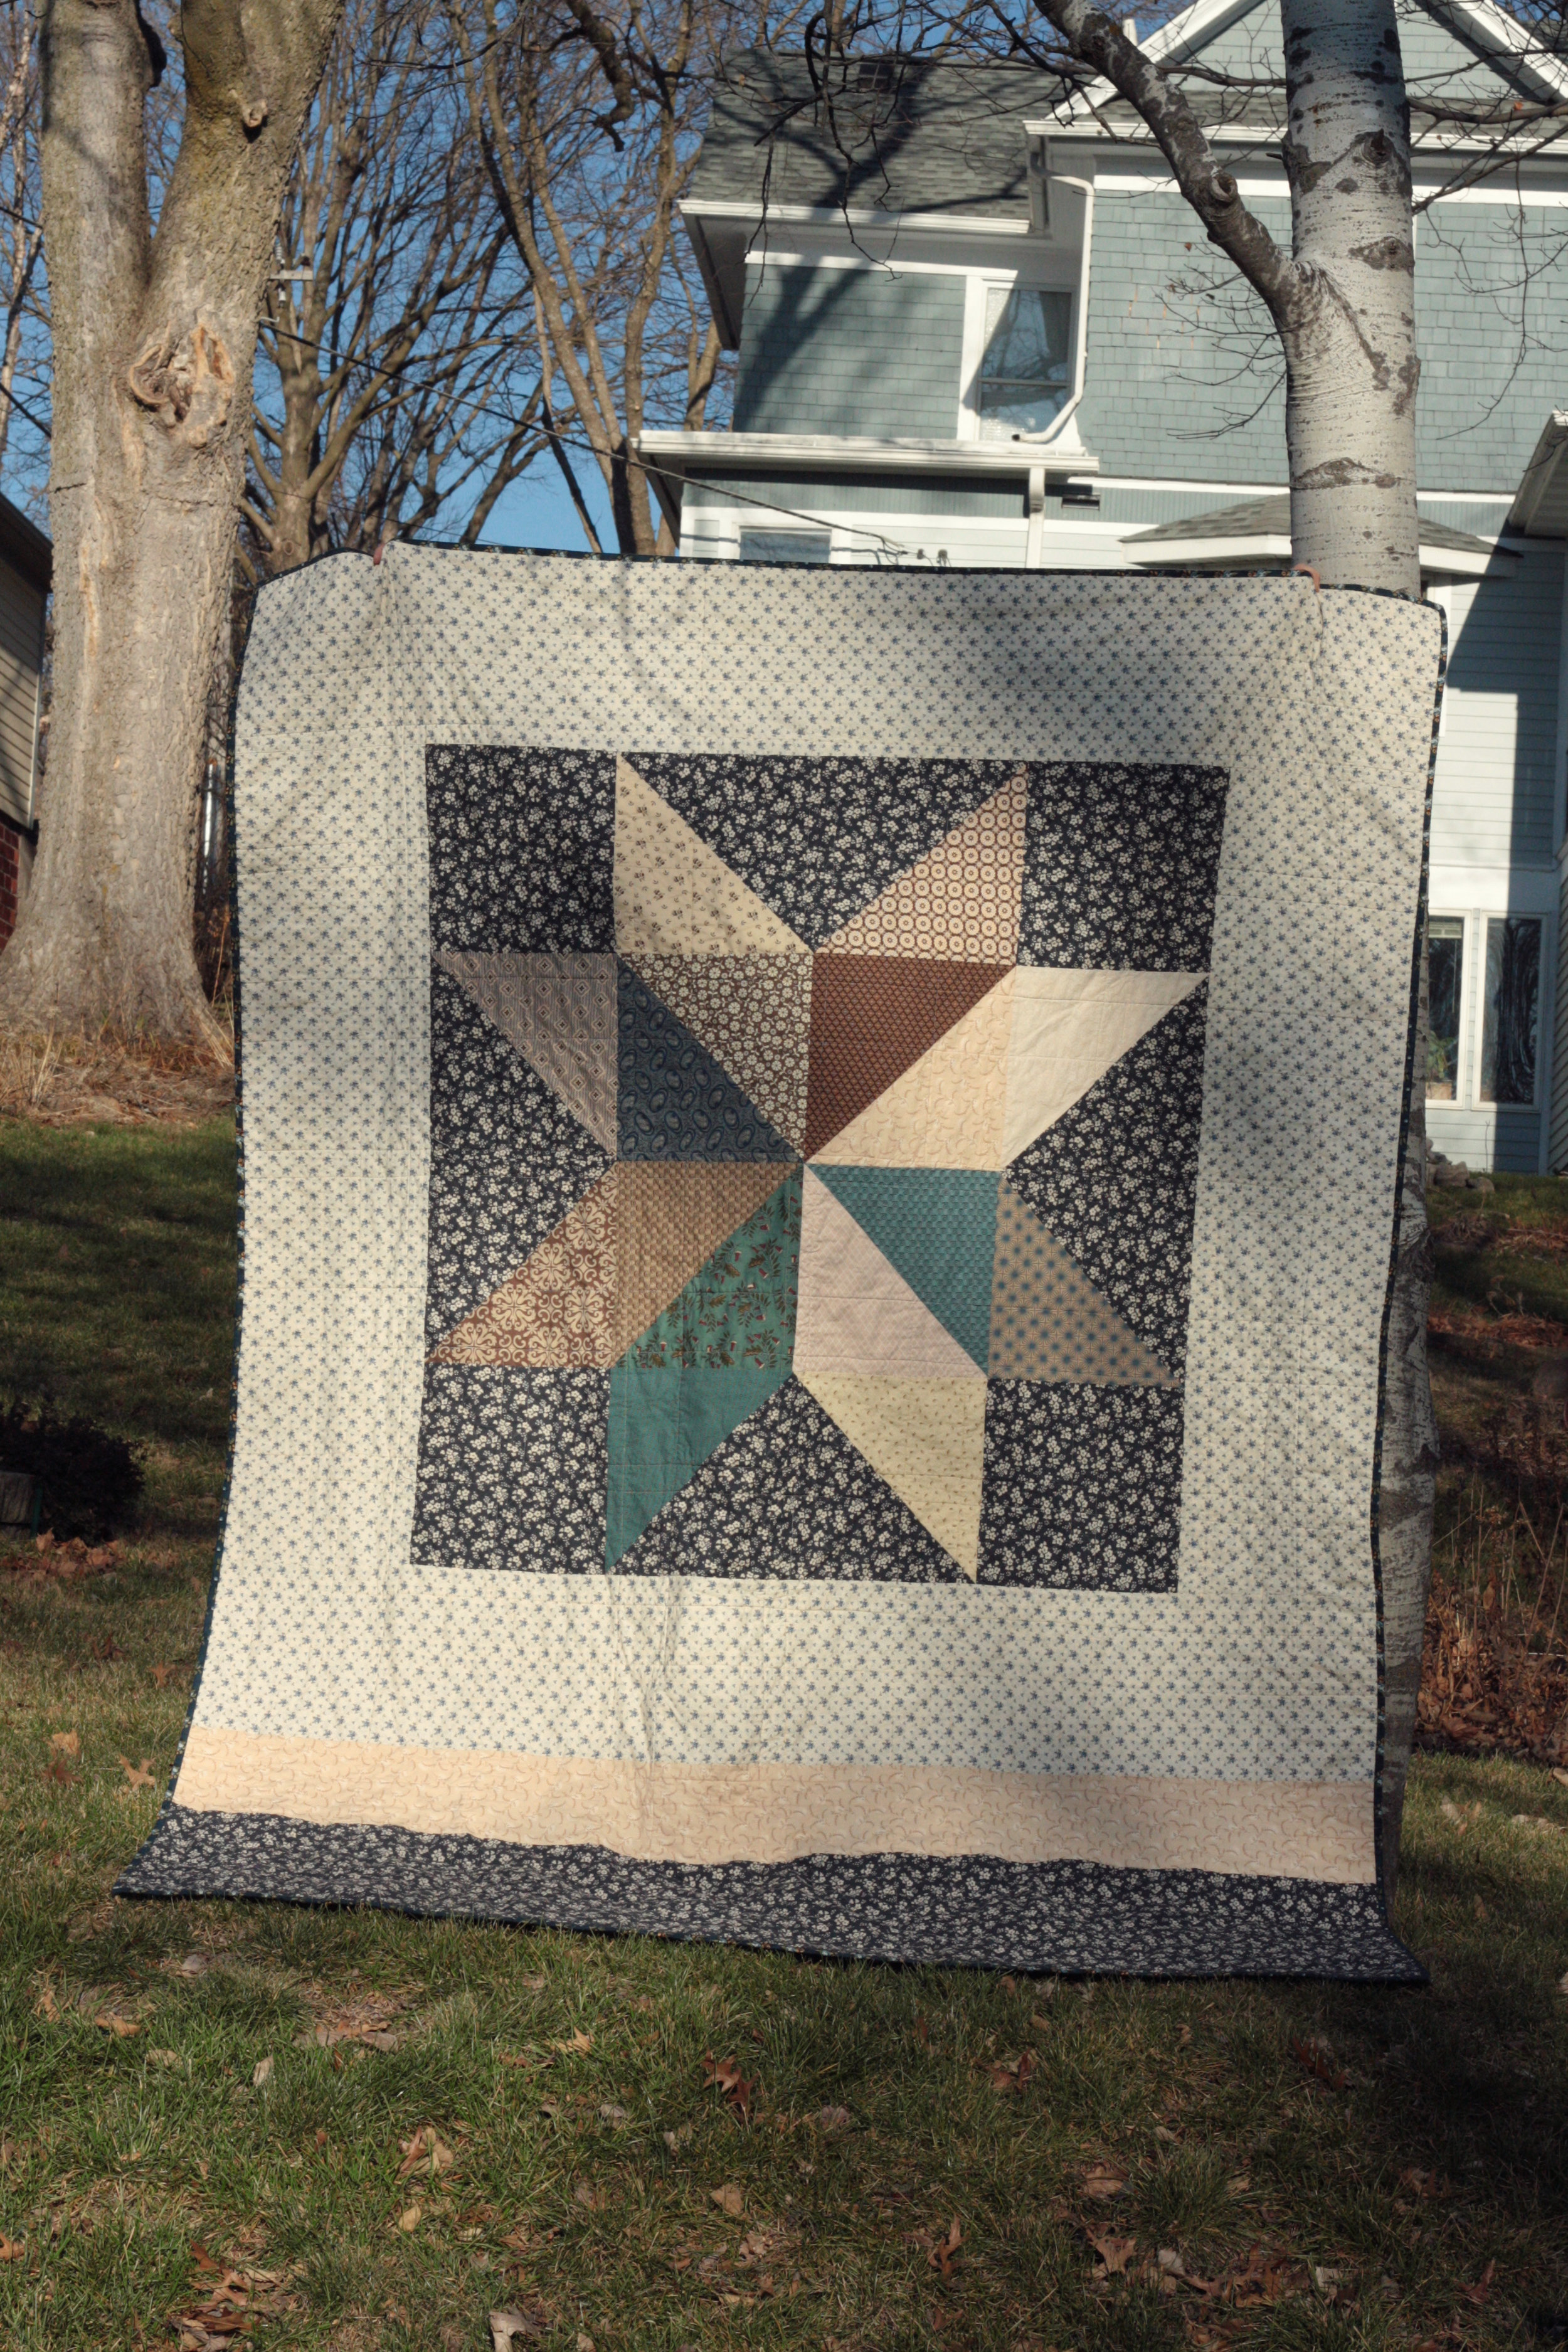
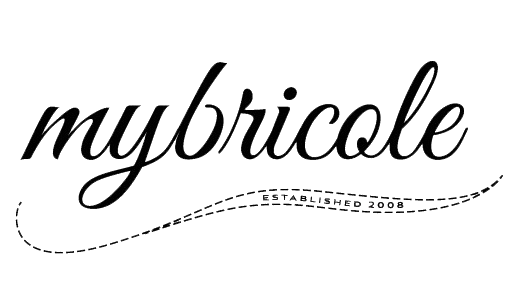
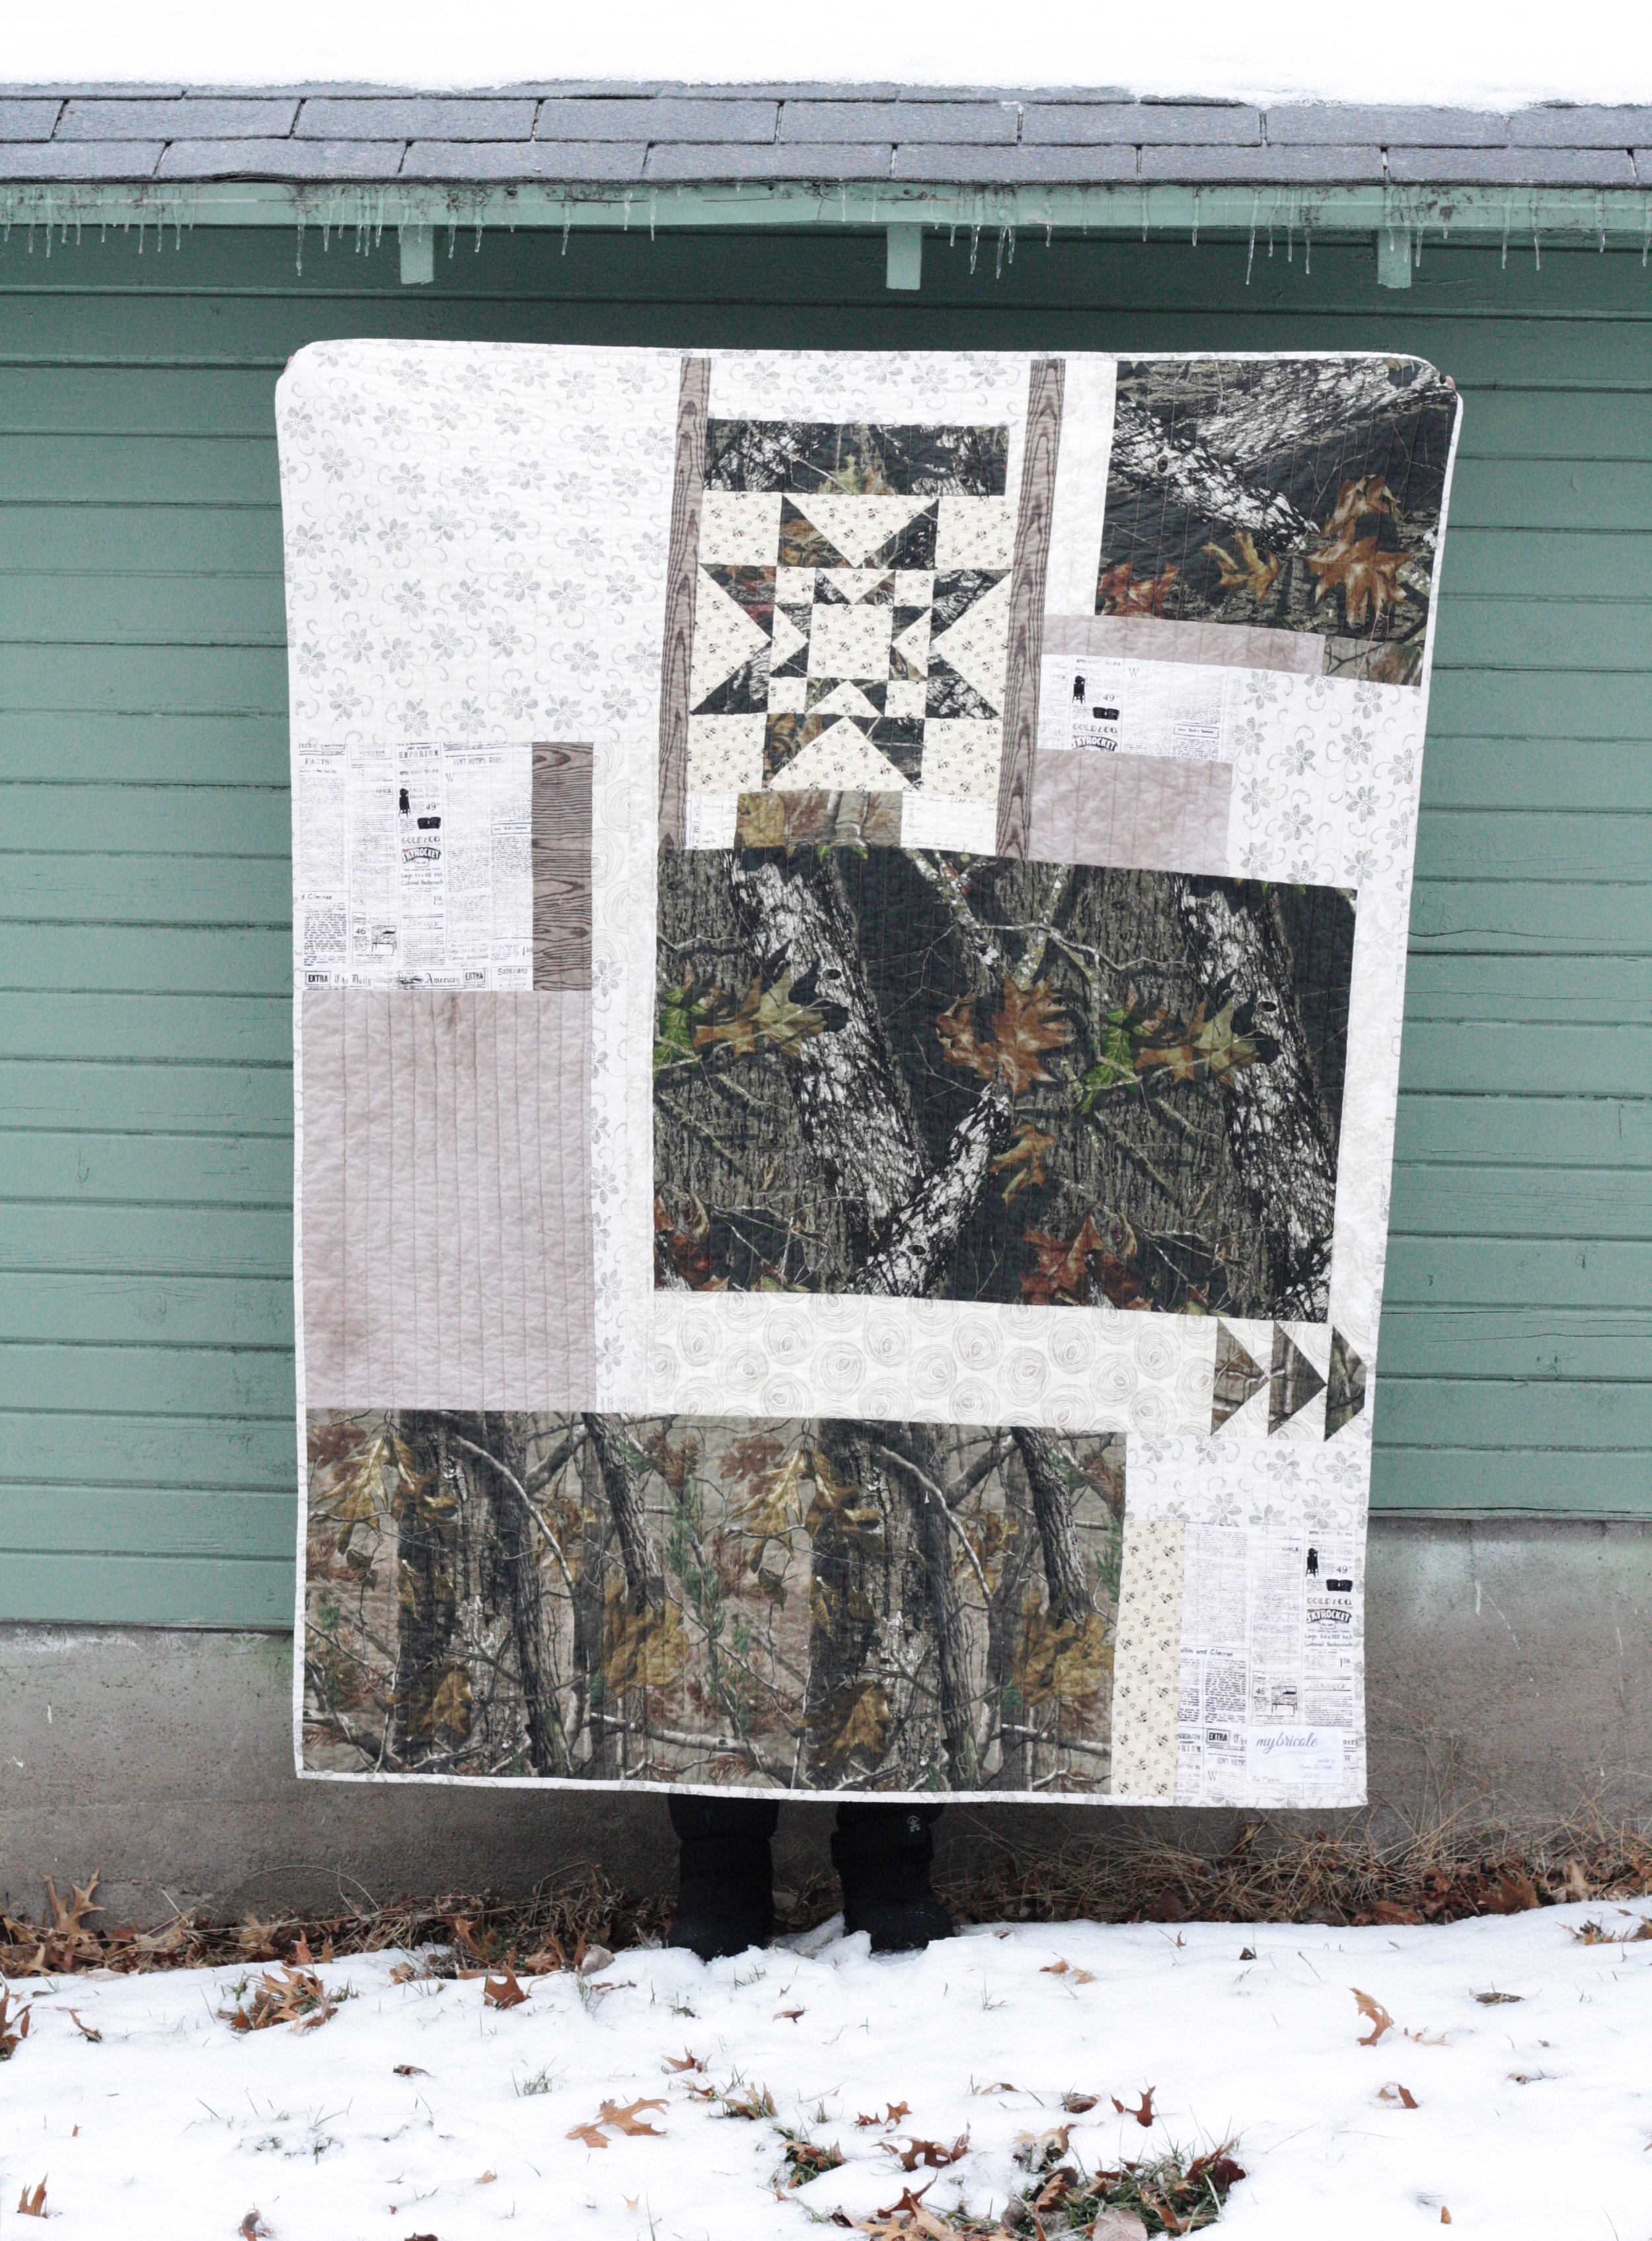
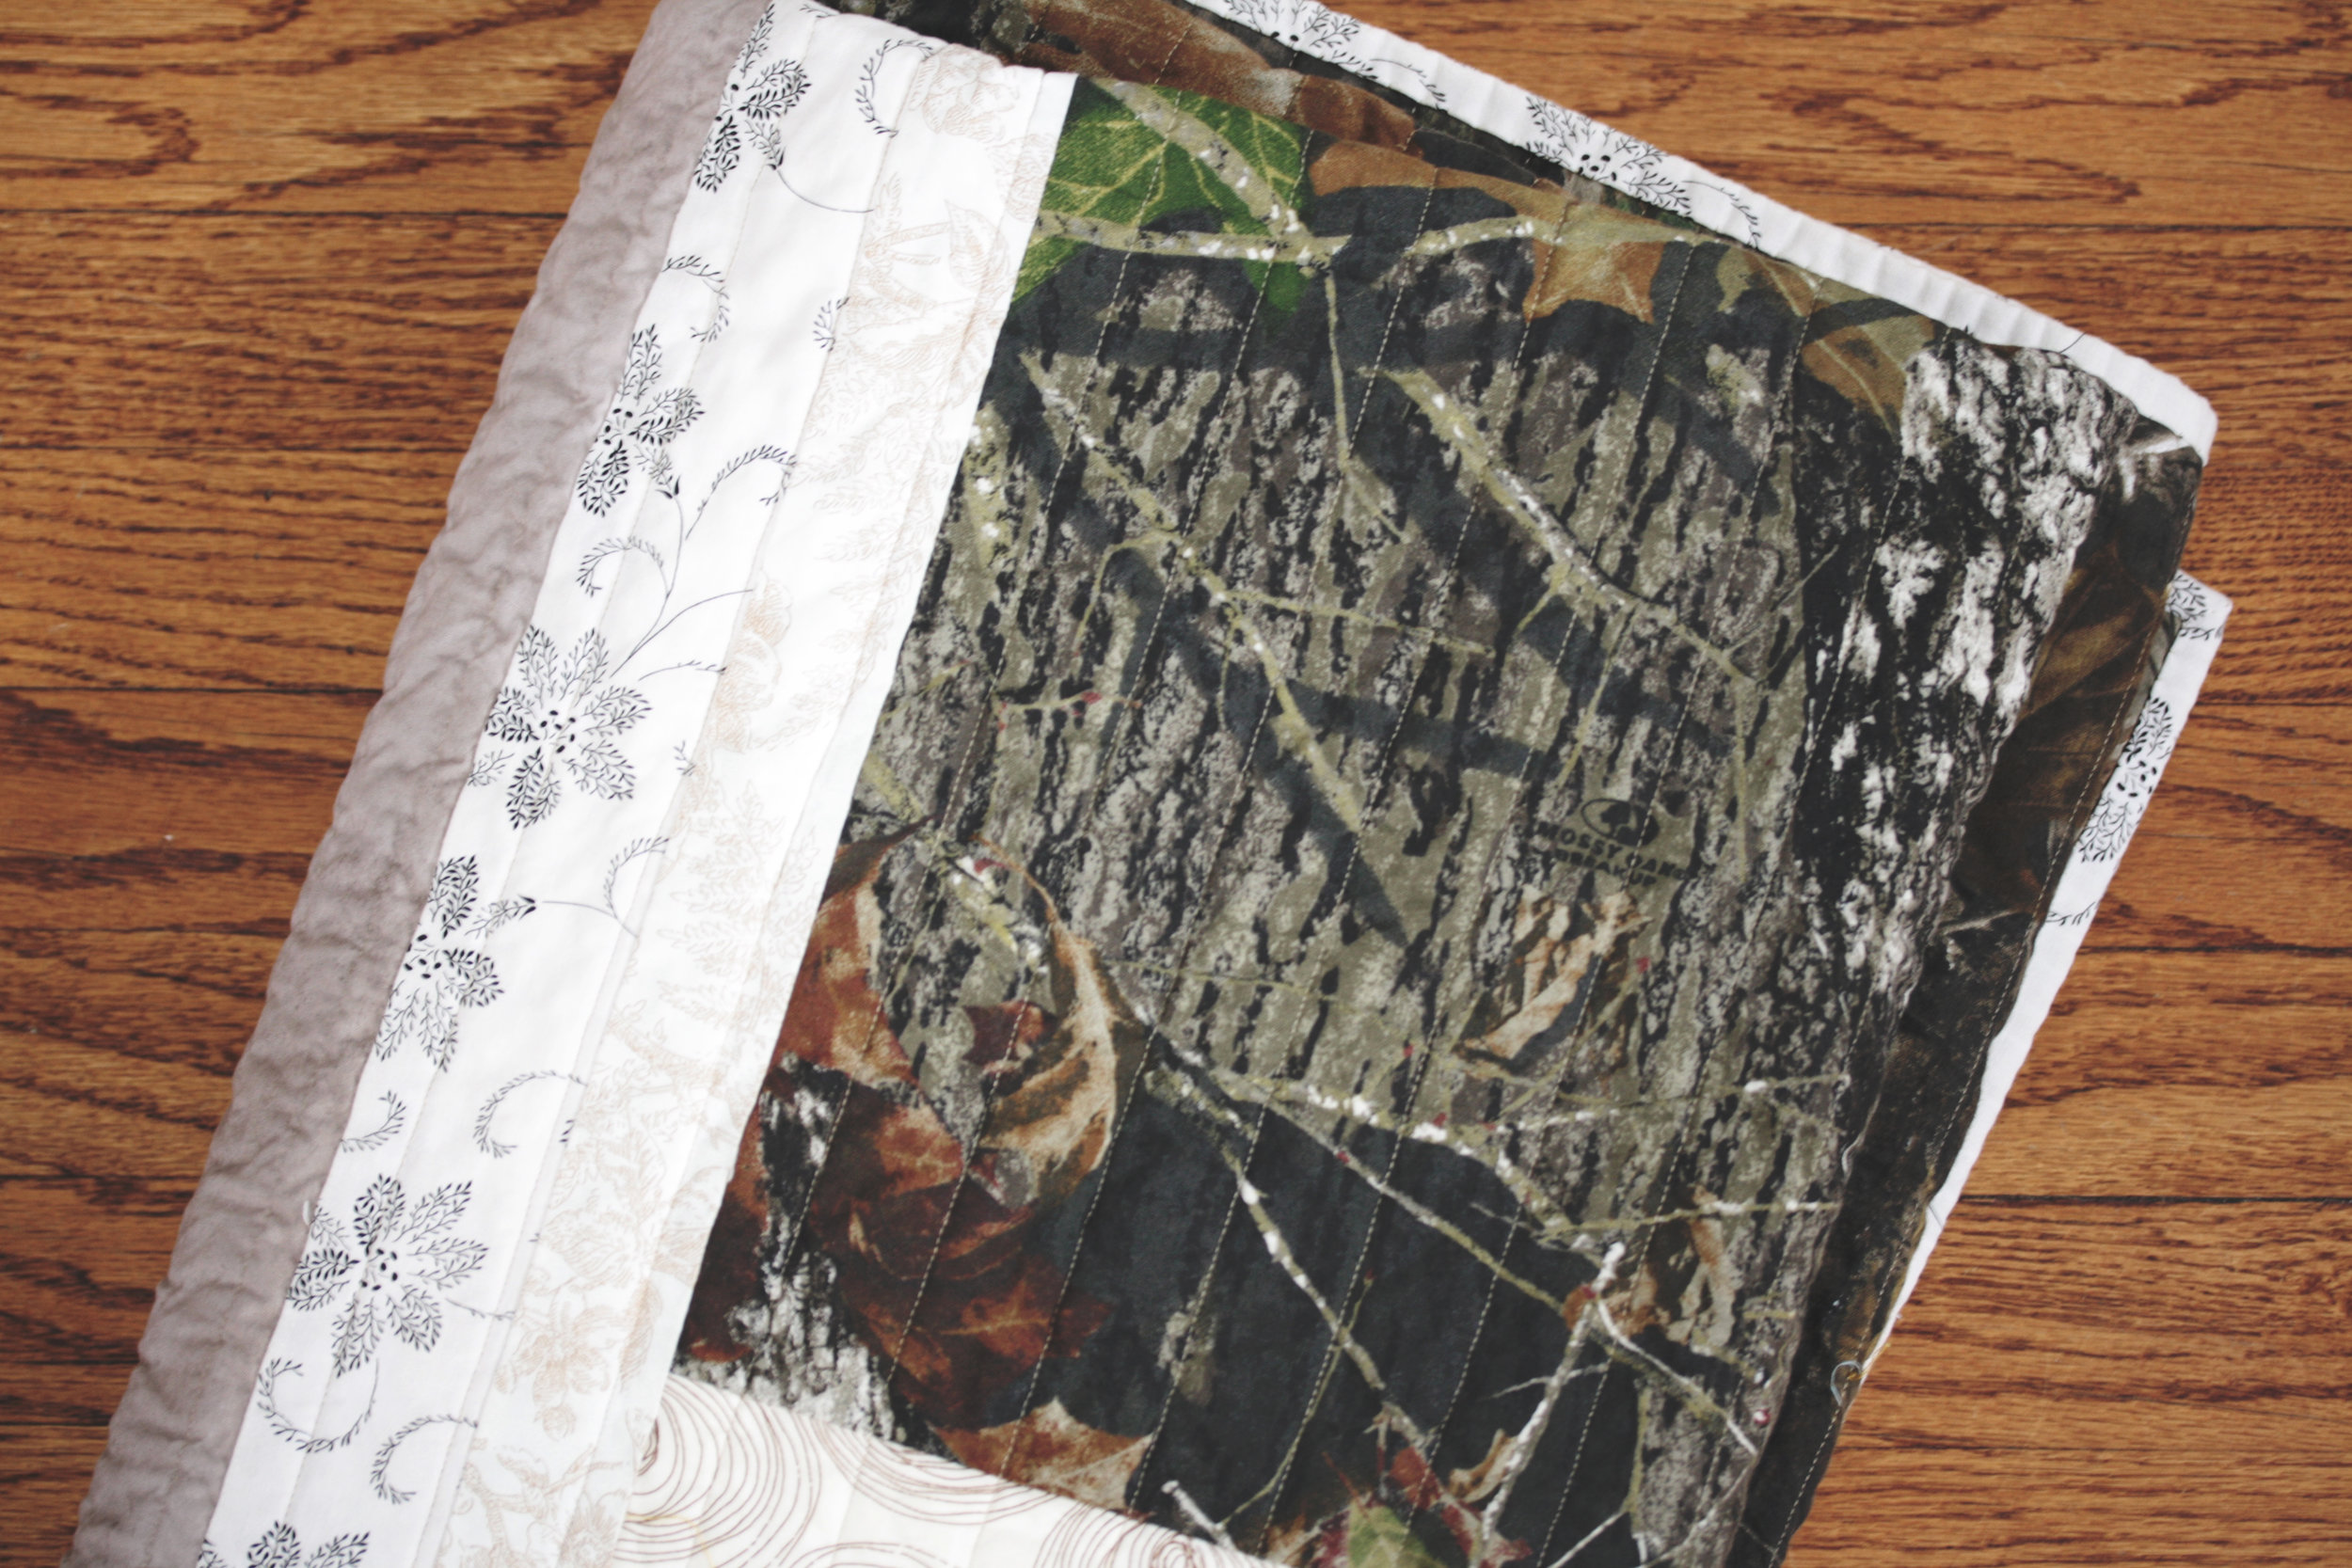
Now for the quilt, making a quilt as a gift is always a bit stressful for me.  Finding the right fabrics, the right design, does the recipient even know she wants a quilt.  This one was for my niece who loves camouflage and I'm so happy to share that she loves it!  I used Realtree and Mossy Oak prints from JoAnn along with all sorts of hushed tone prints from my stash.

maple seeds and leaves on camouflage quilt

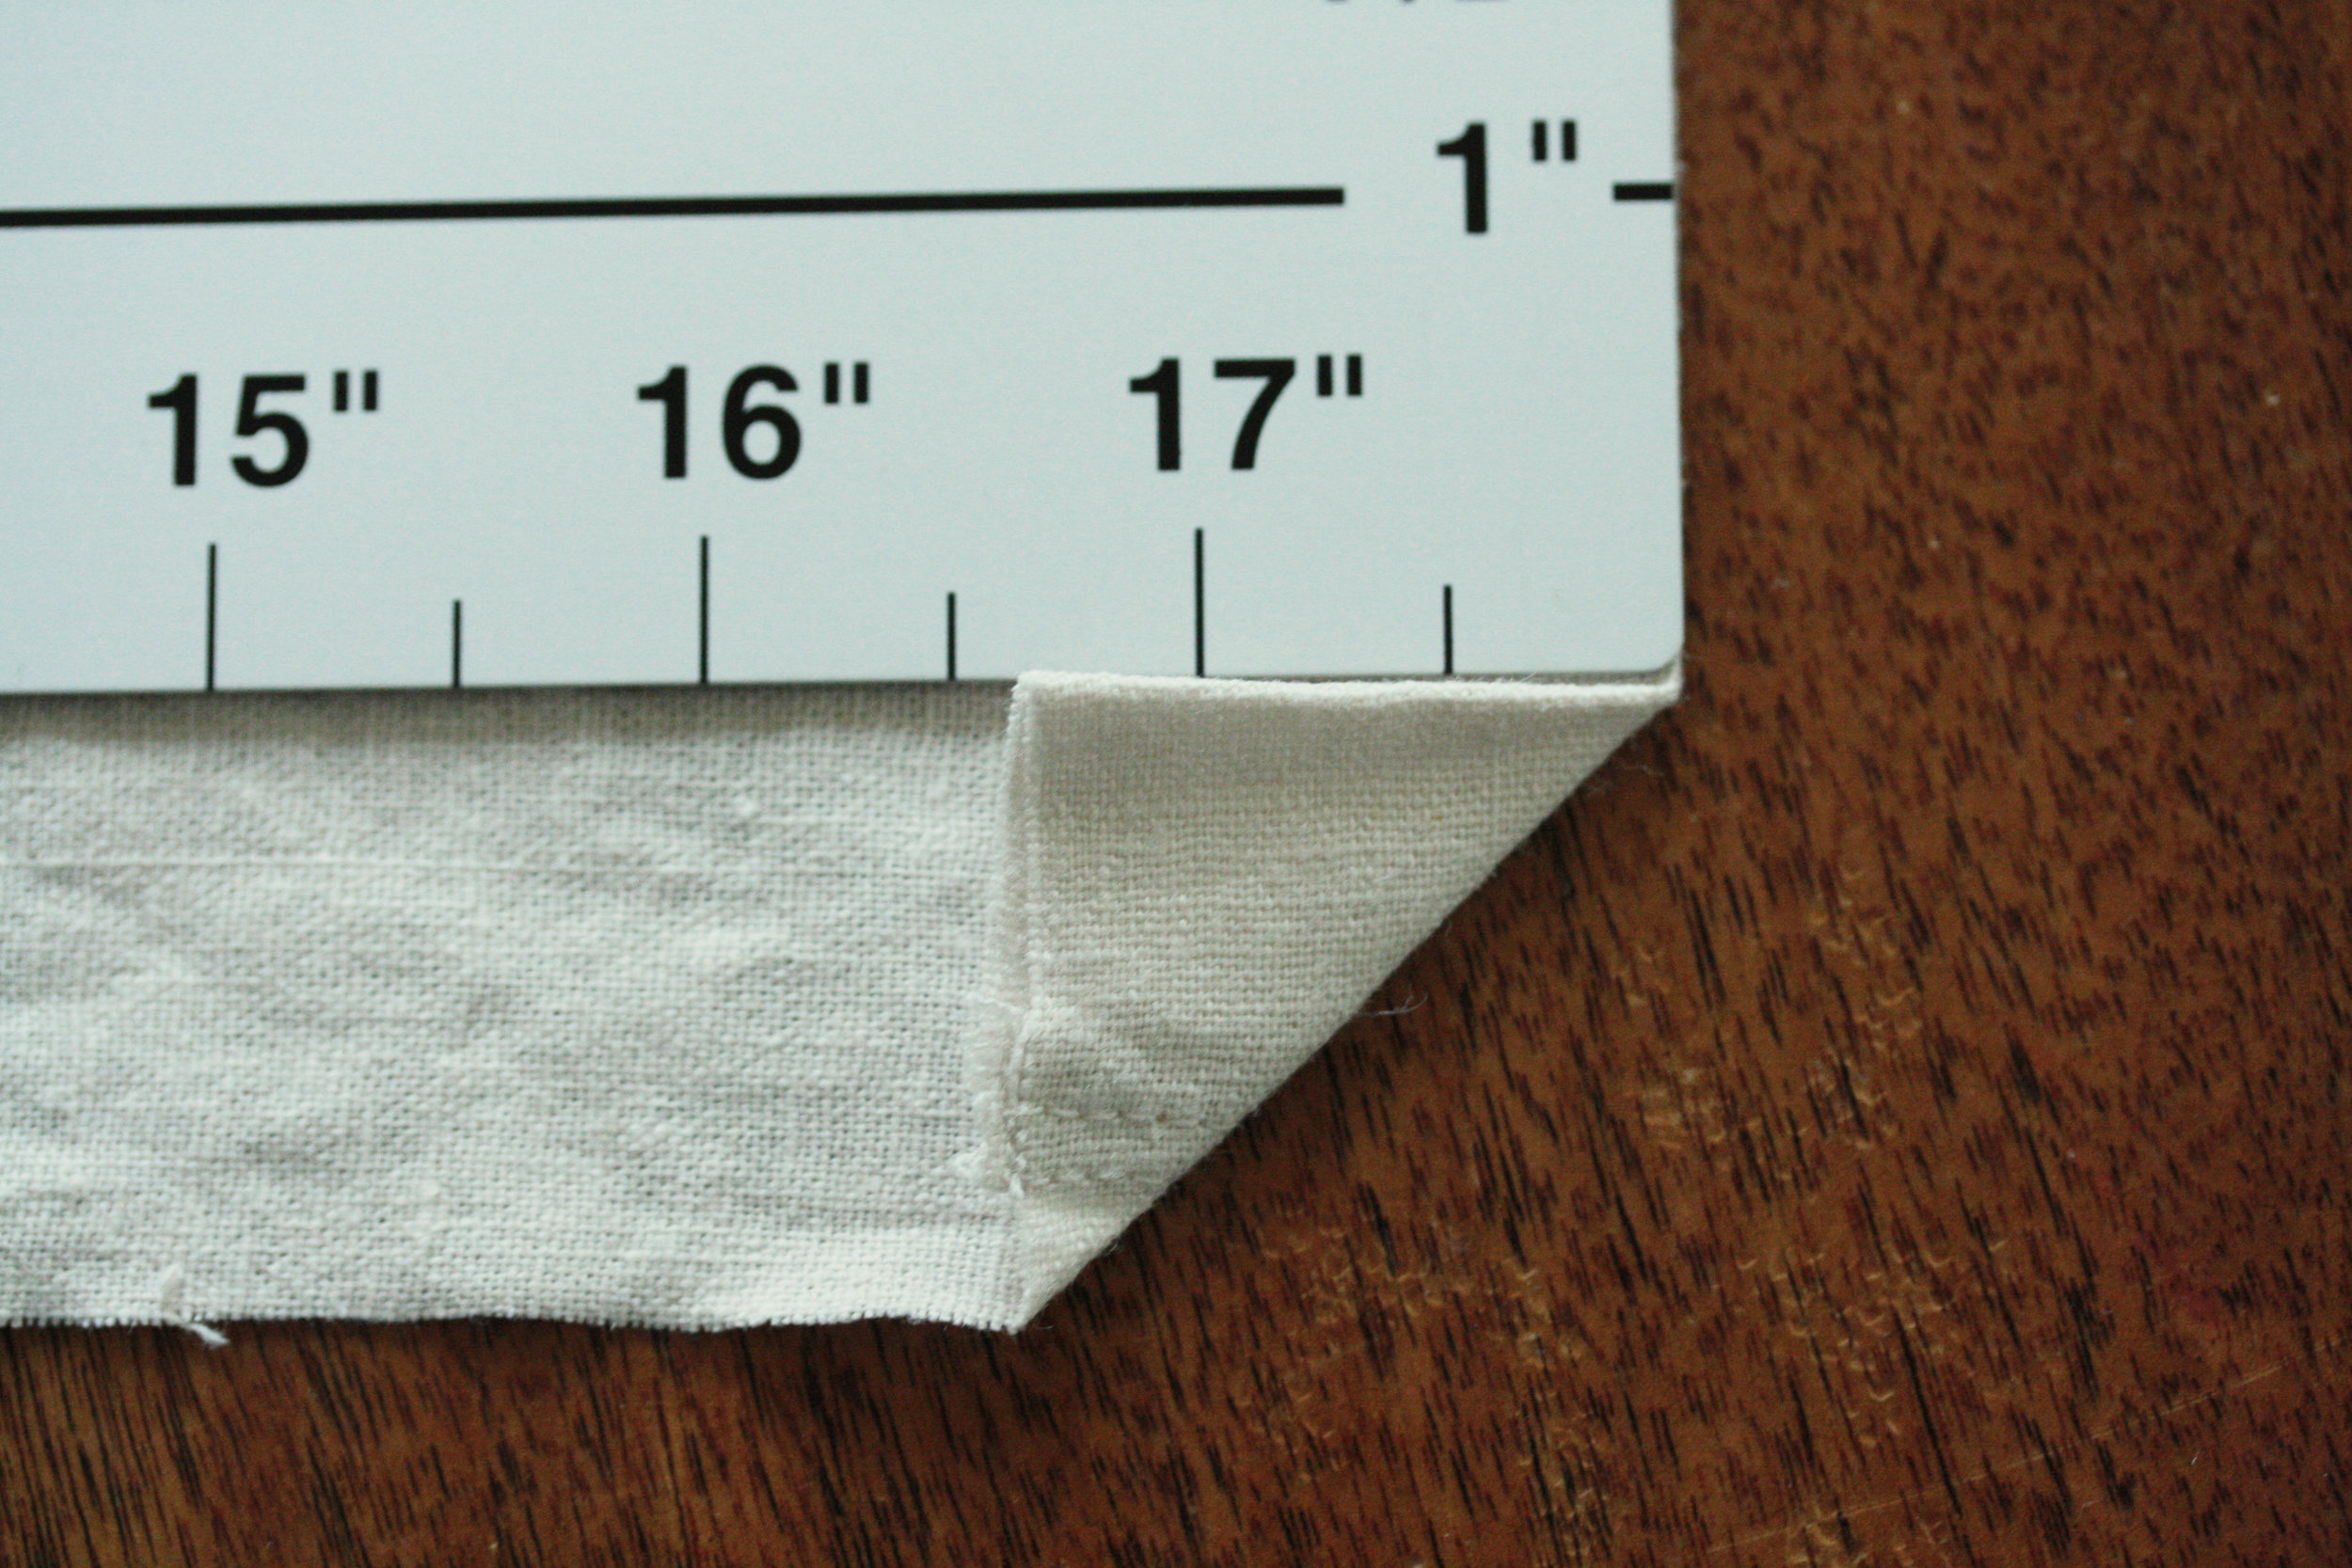
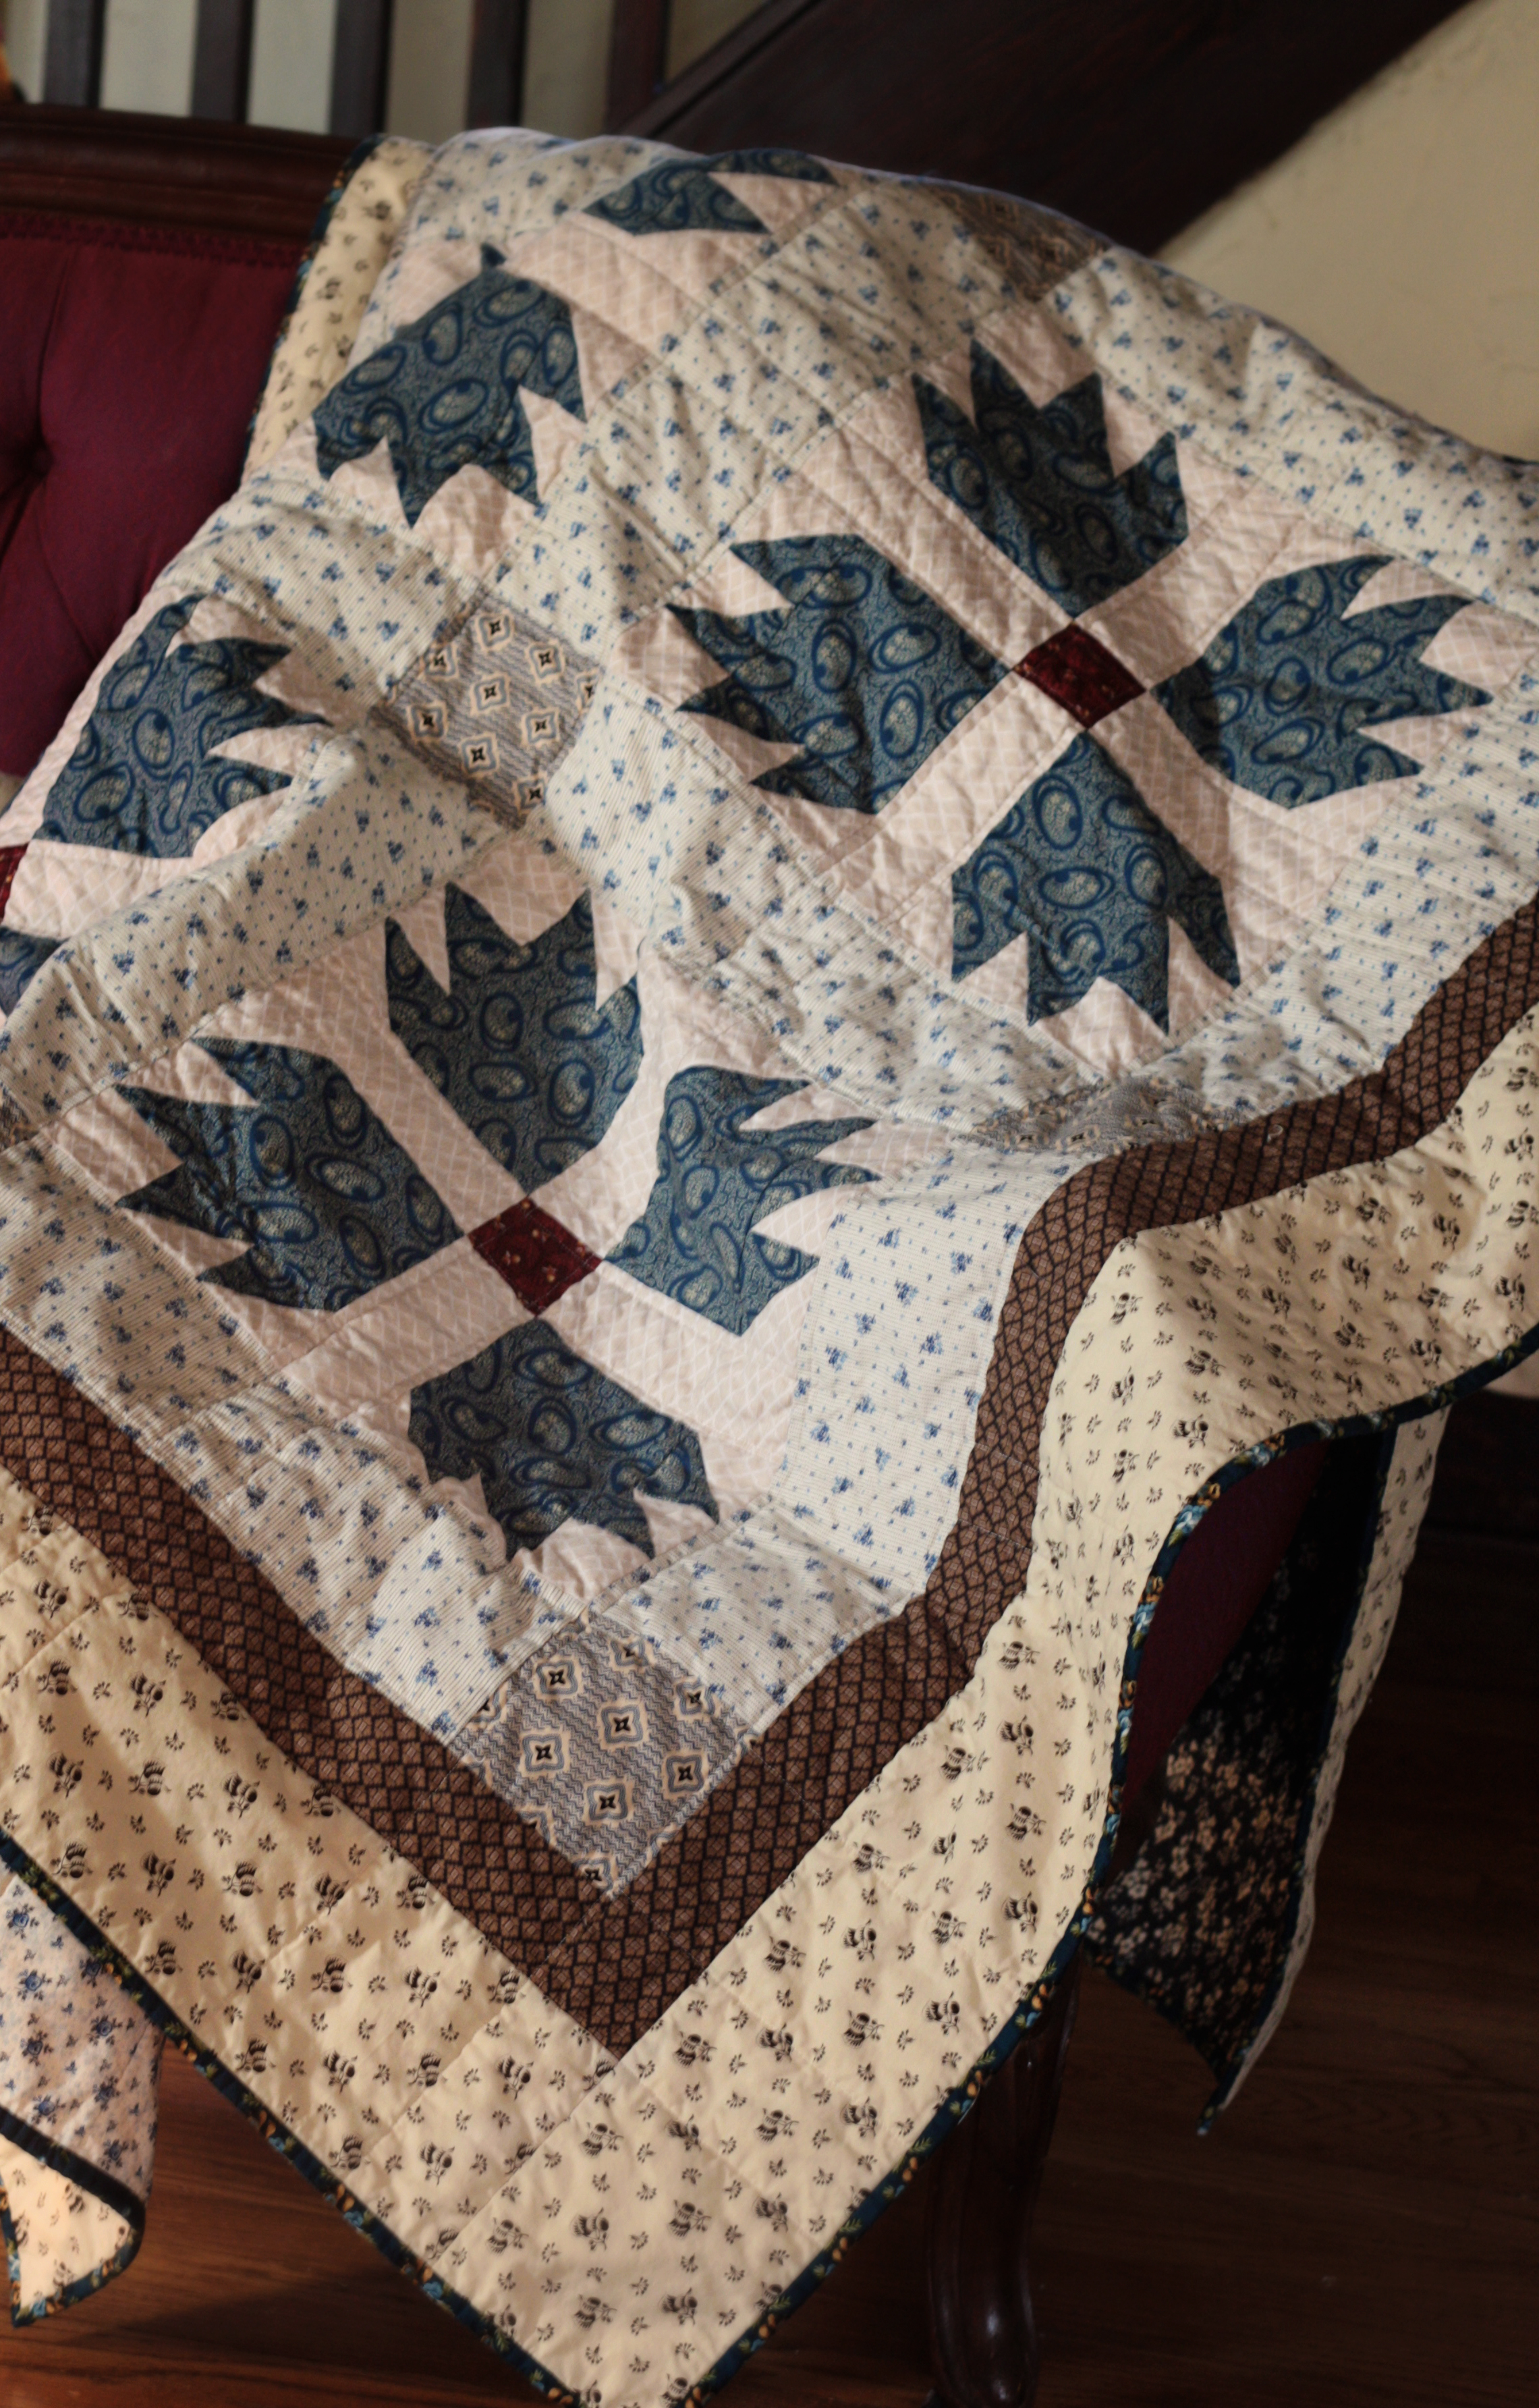
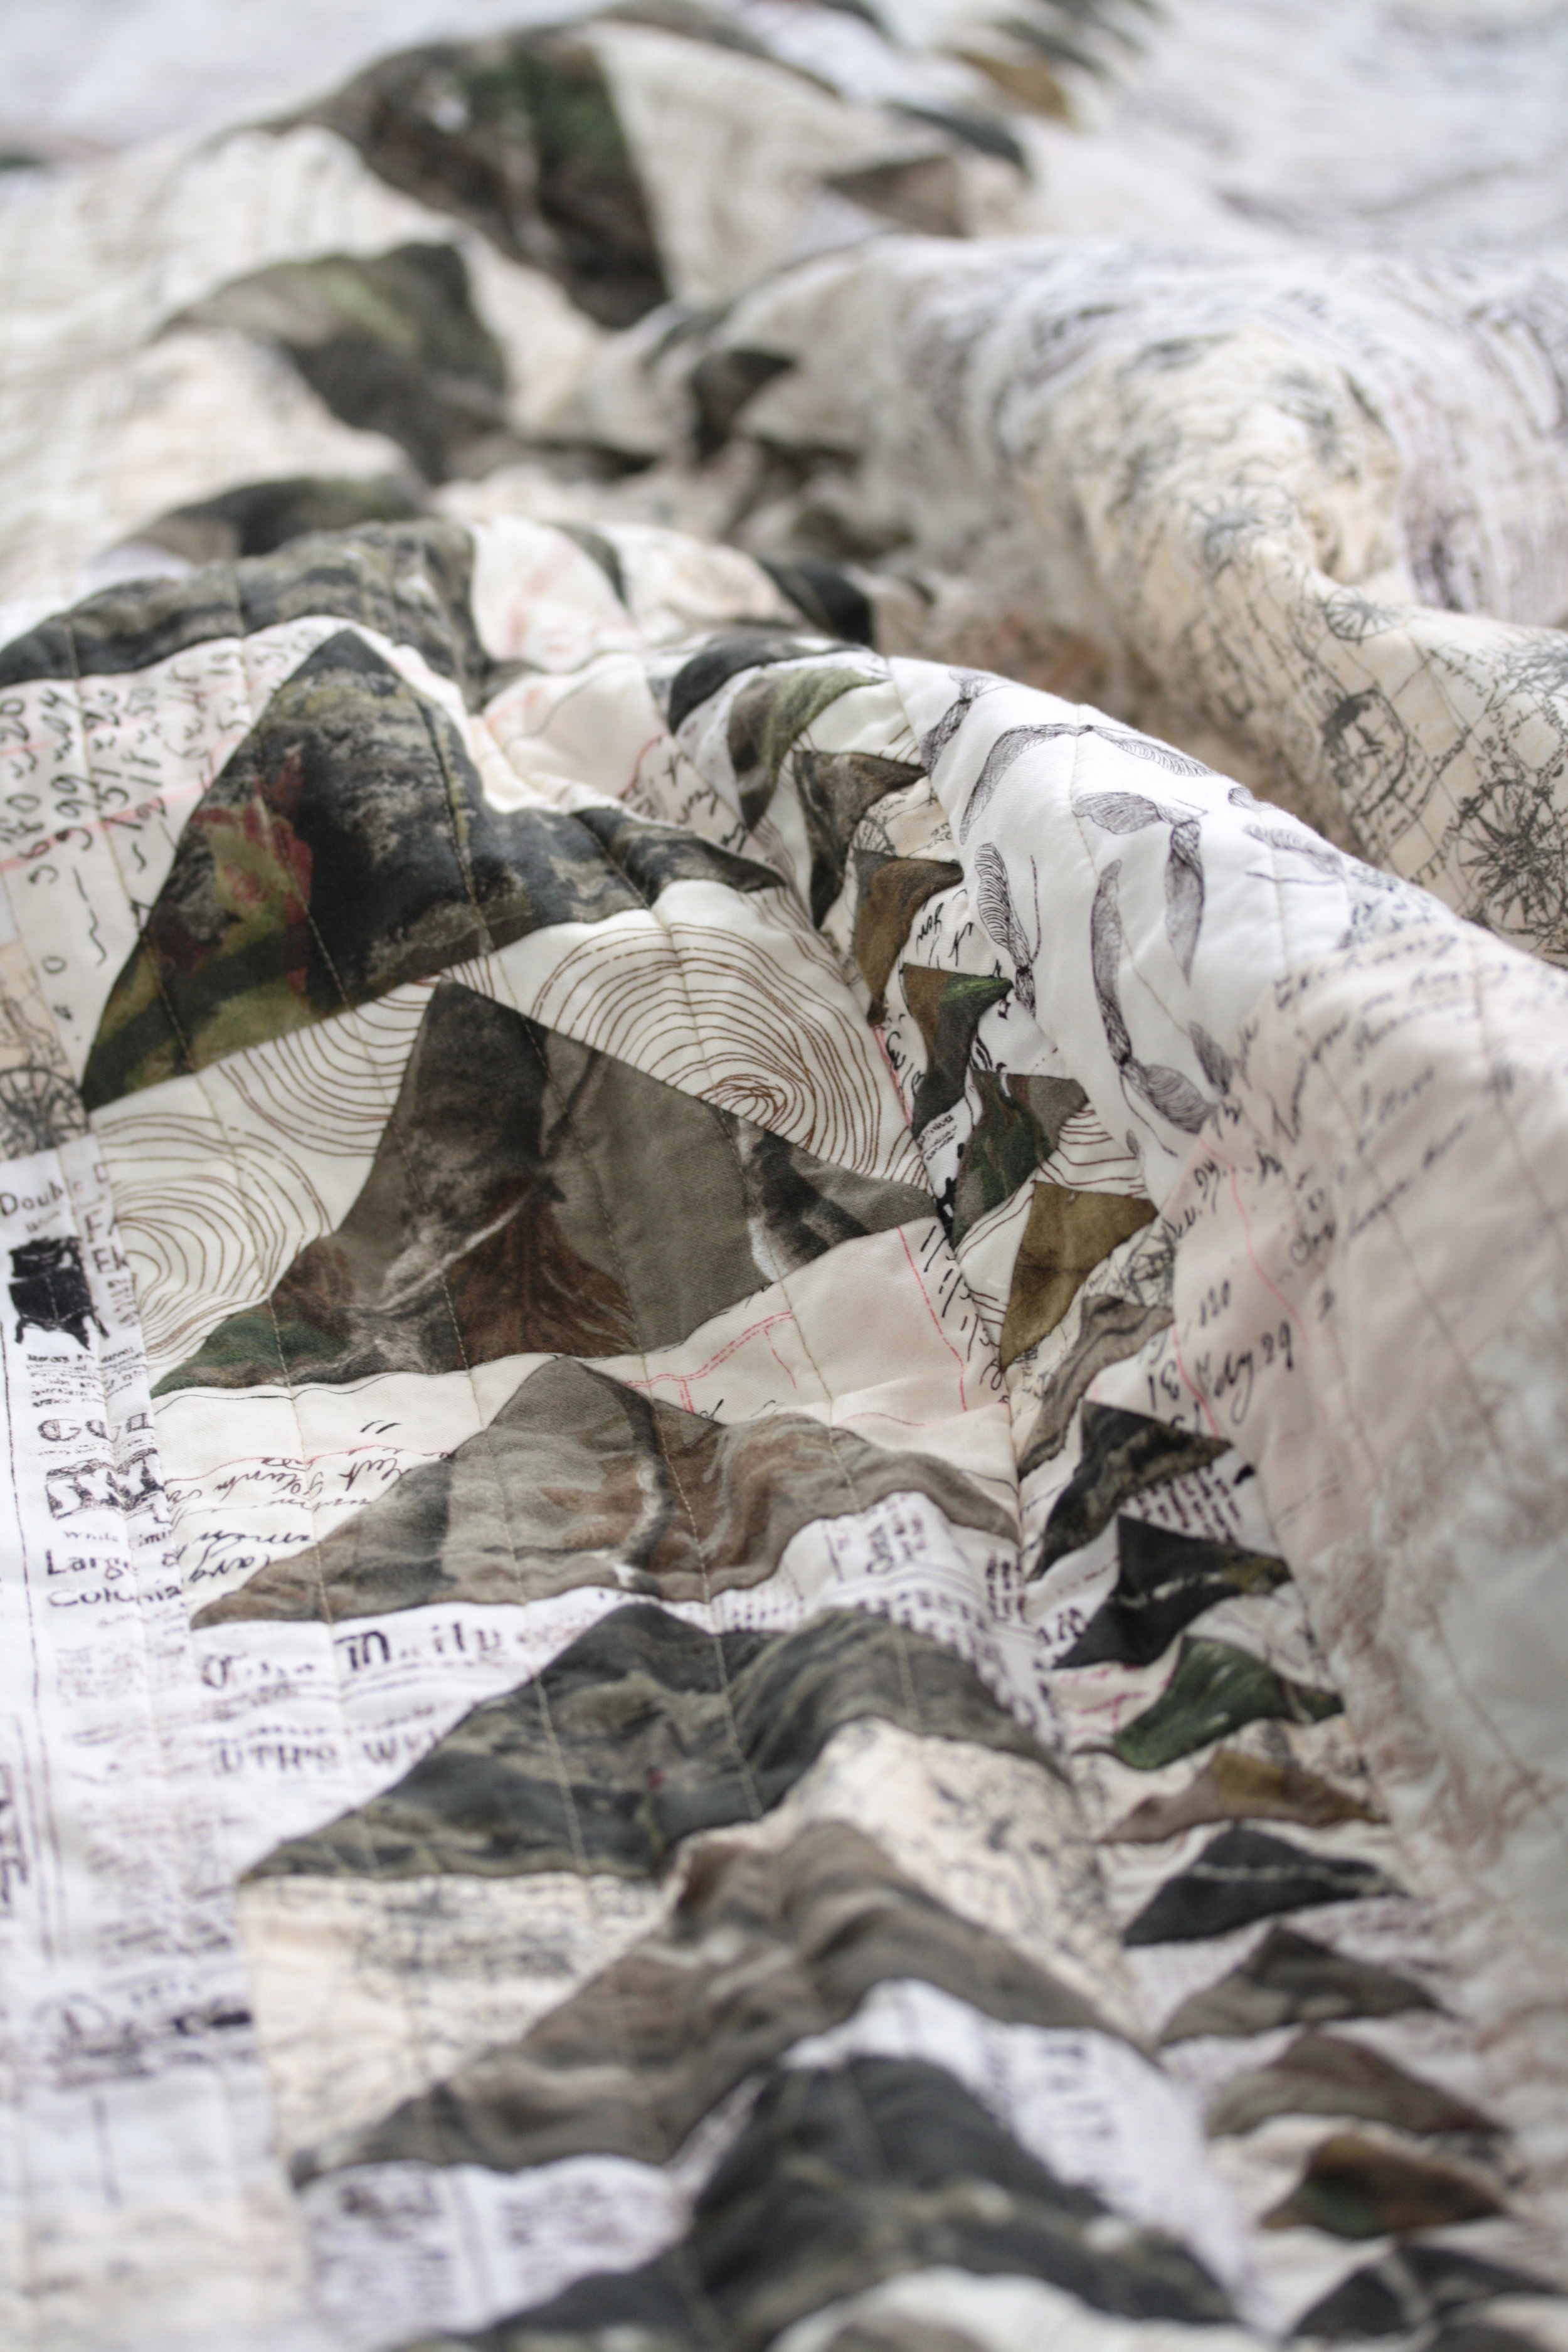
These tiny maple leaves are just 1 1/2".  A few more tiny leaves are scattered around the front of the quilt.

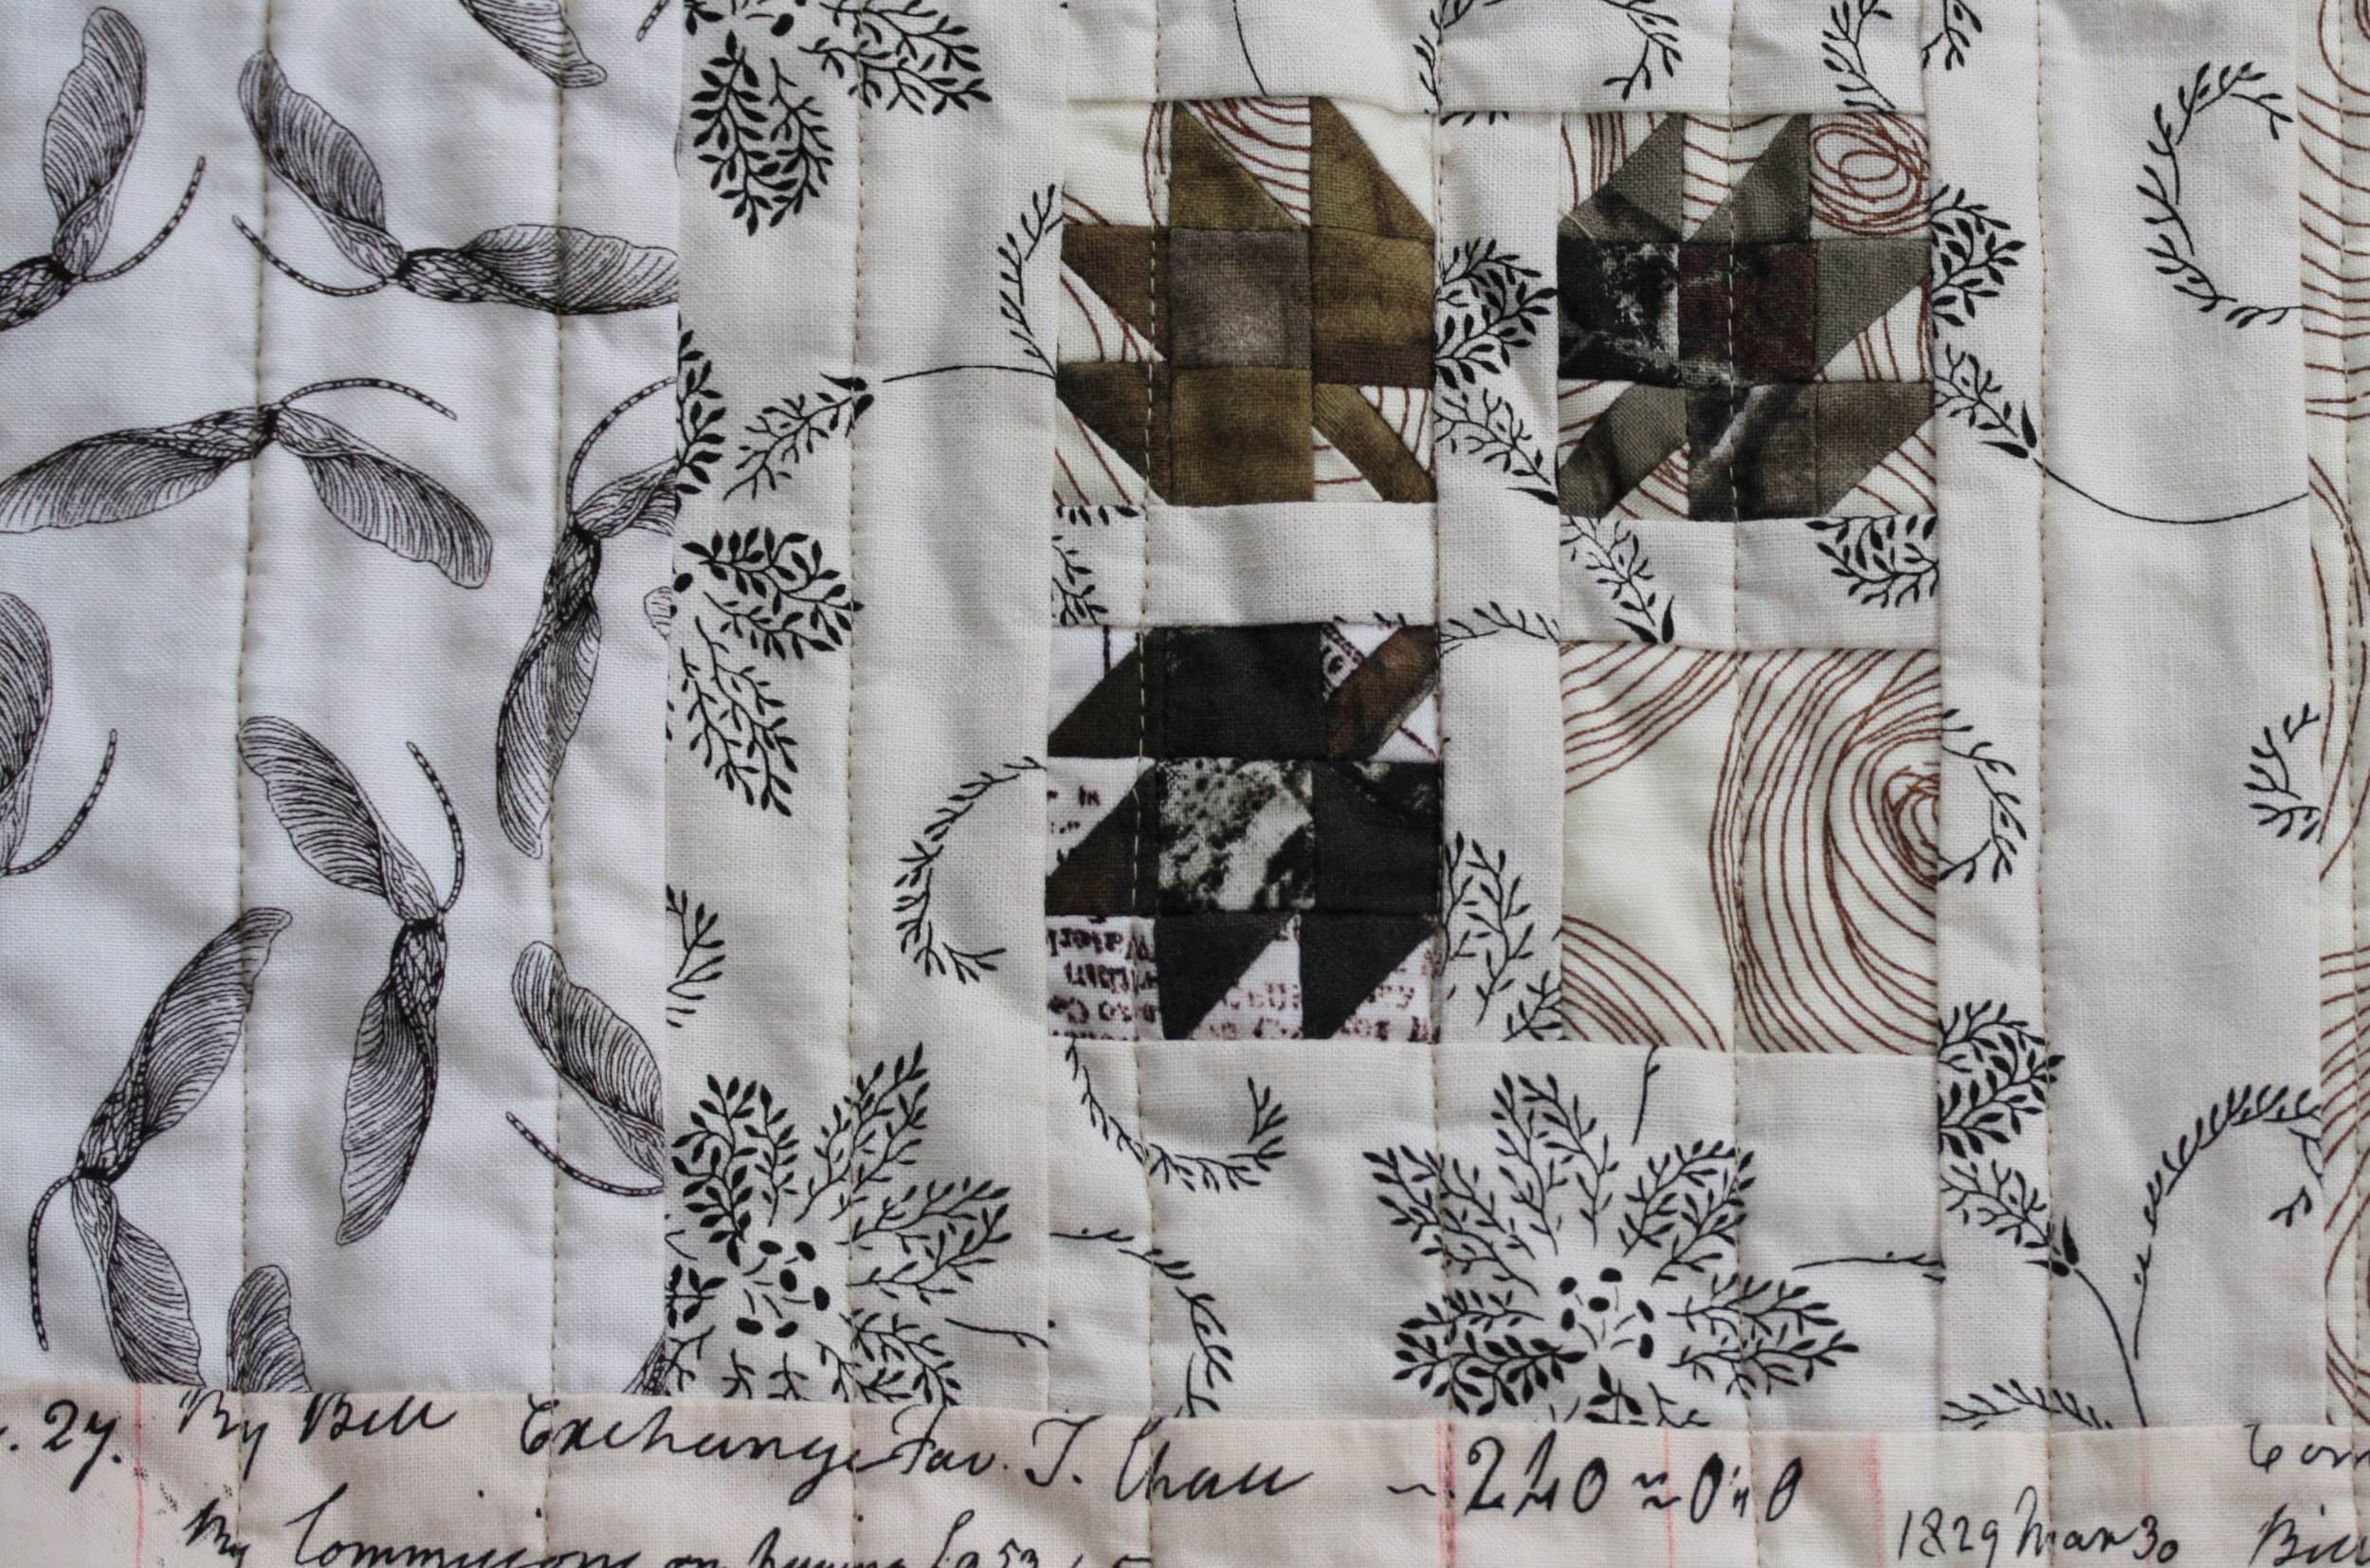
The brown along the edge of the star in the shot below was dyed naturally with walnut hulls from my dad's vat of walnut dye.

camouflage star and tiny leaf on quilt

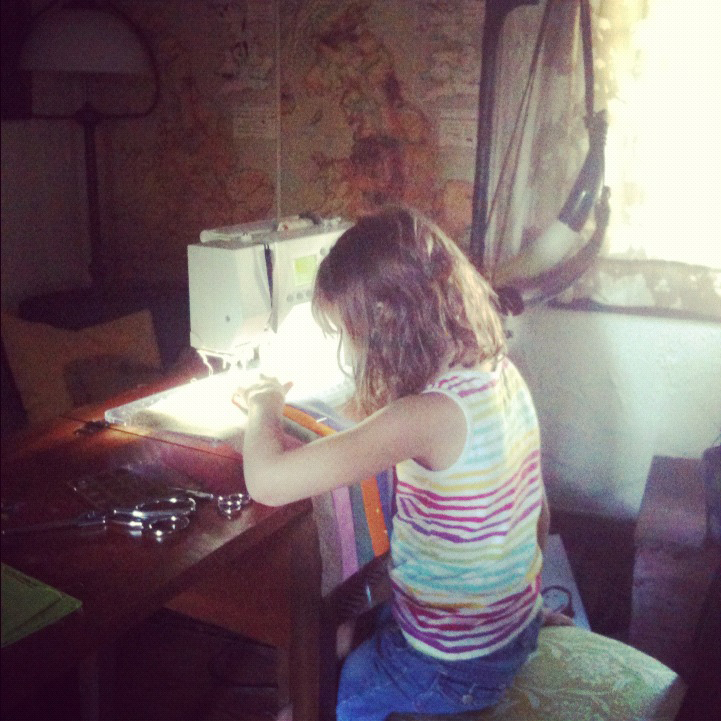
I used my highly scientific method of laying pieces of fabric out on the floor and then shuffling them around for ages to decide on placement.

corner of camouflage quilt

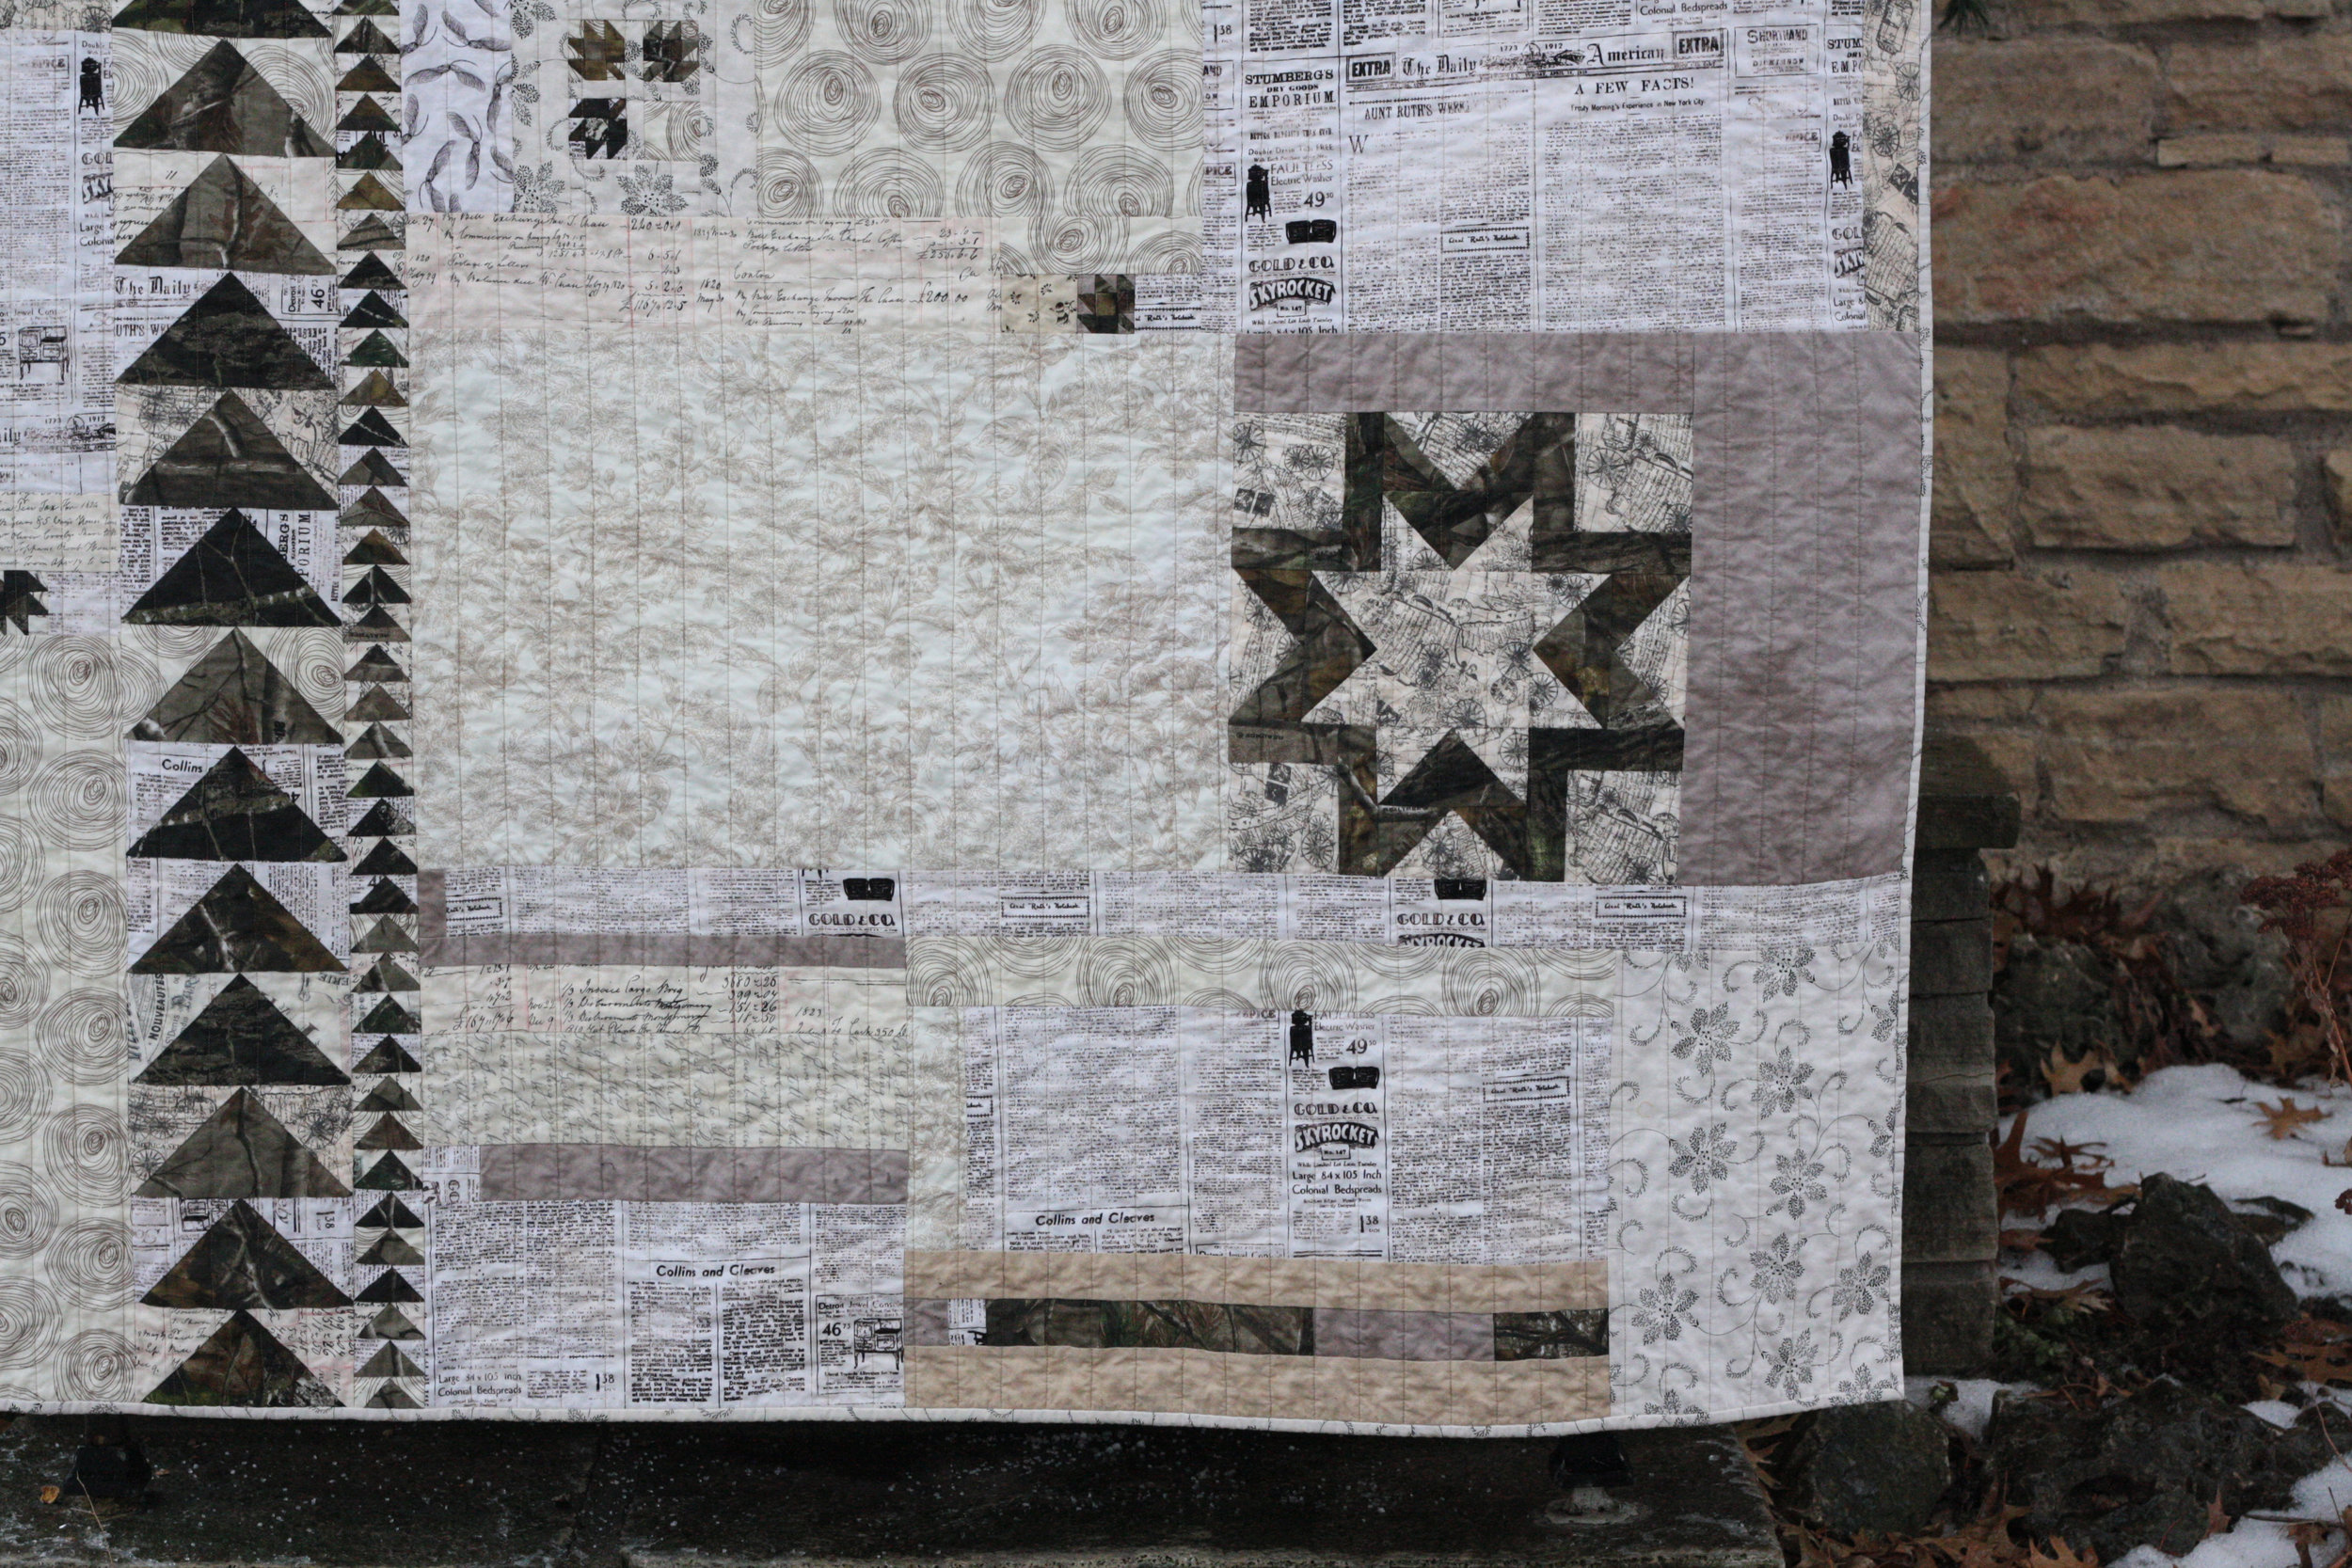
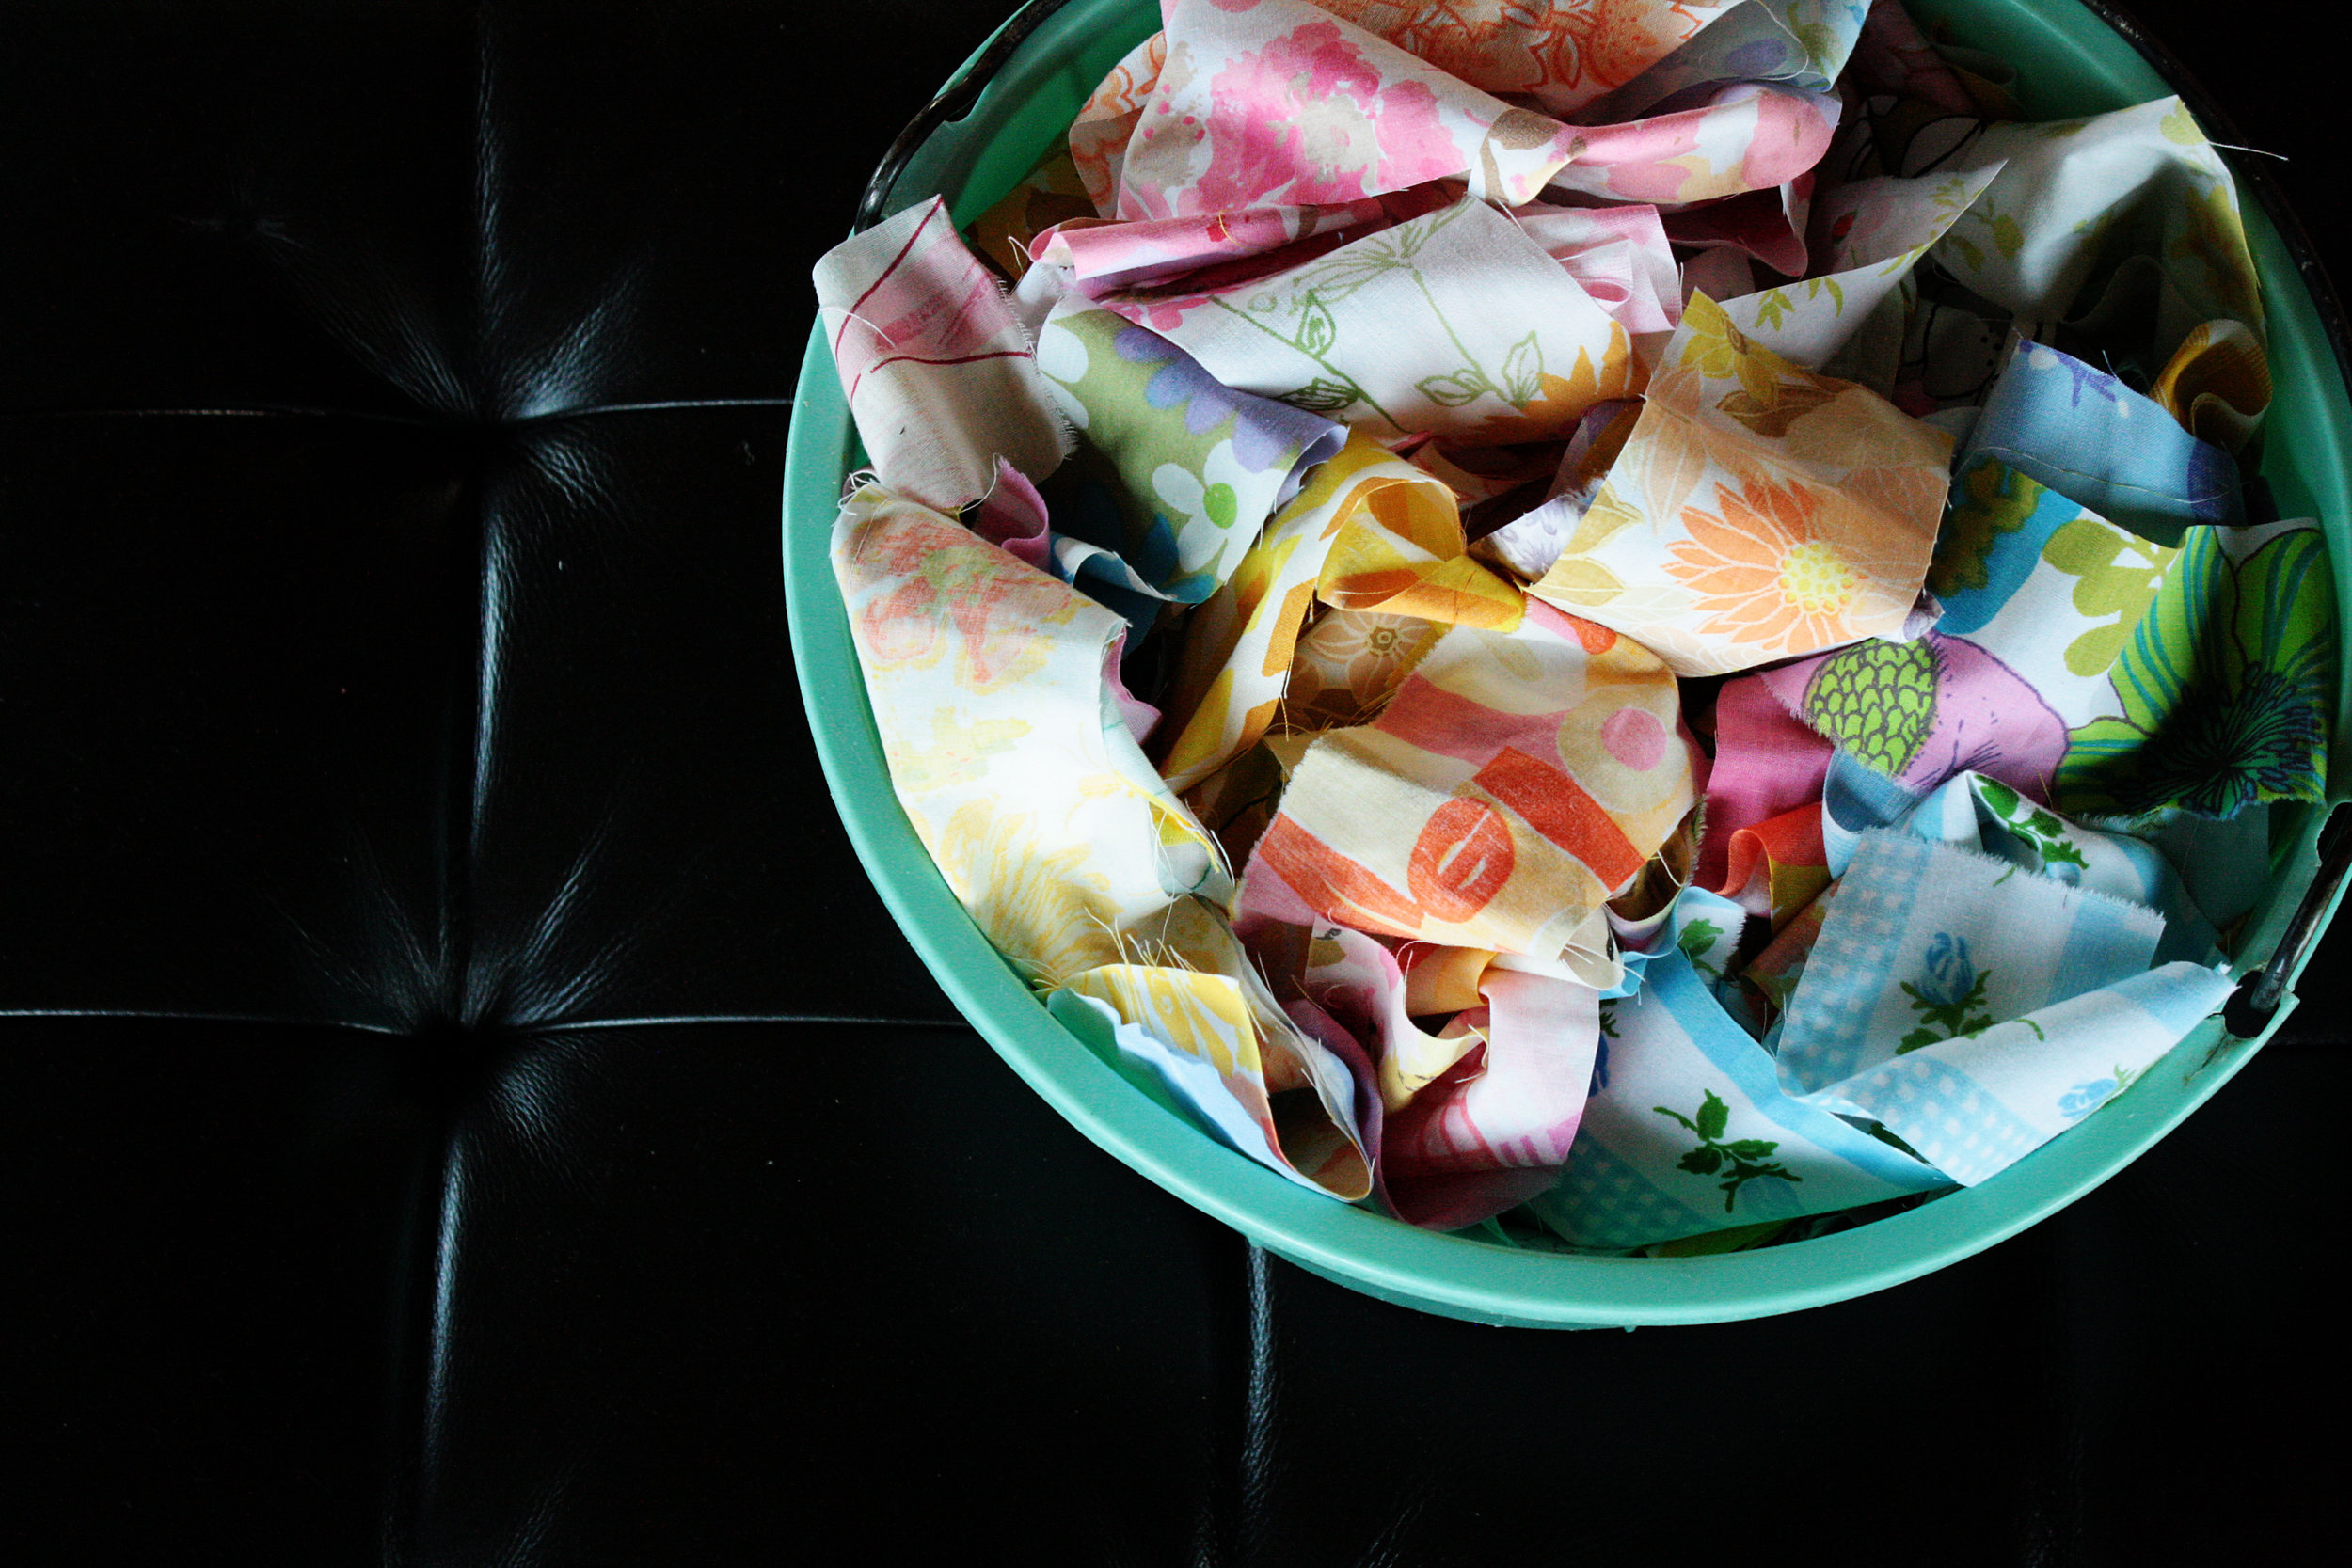
I also did my best to use up even the tiniest bits of fabric that were left after making all those flying geese.  I used the larger pieces of camo to make the backing.  Along with a star that was going to go on the front, but once I started placing, I just couldn't find the right home for it.

camouflage quilt back

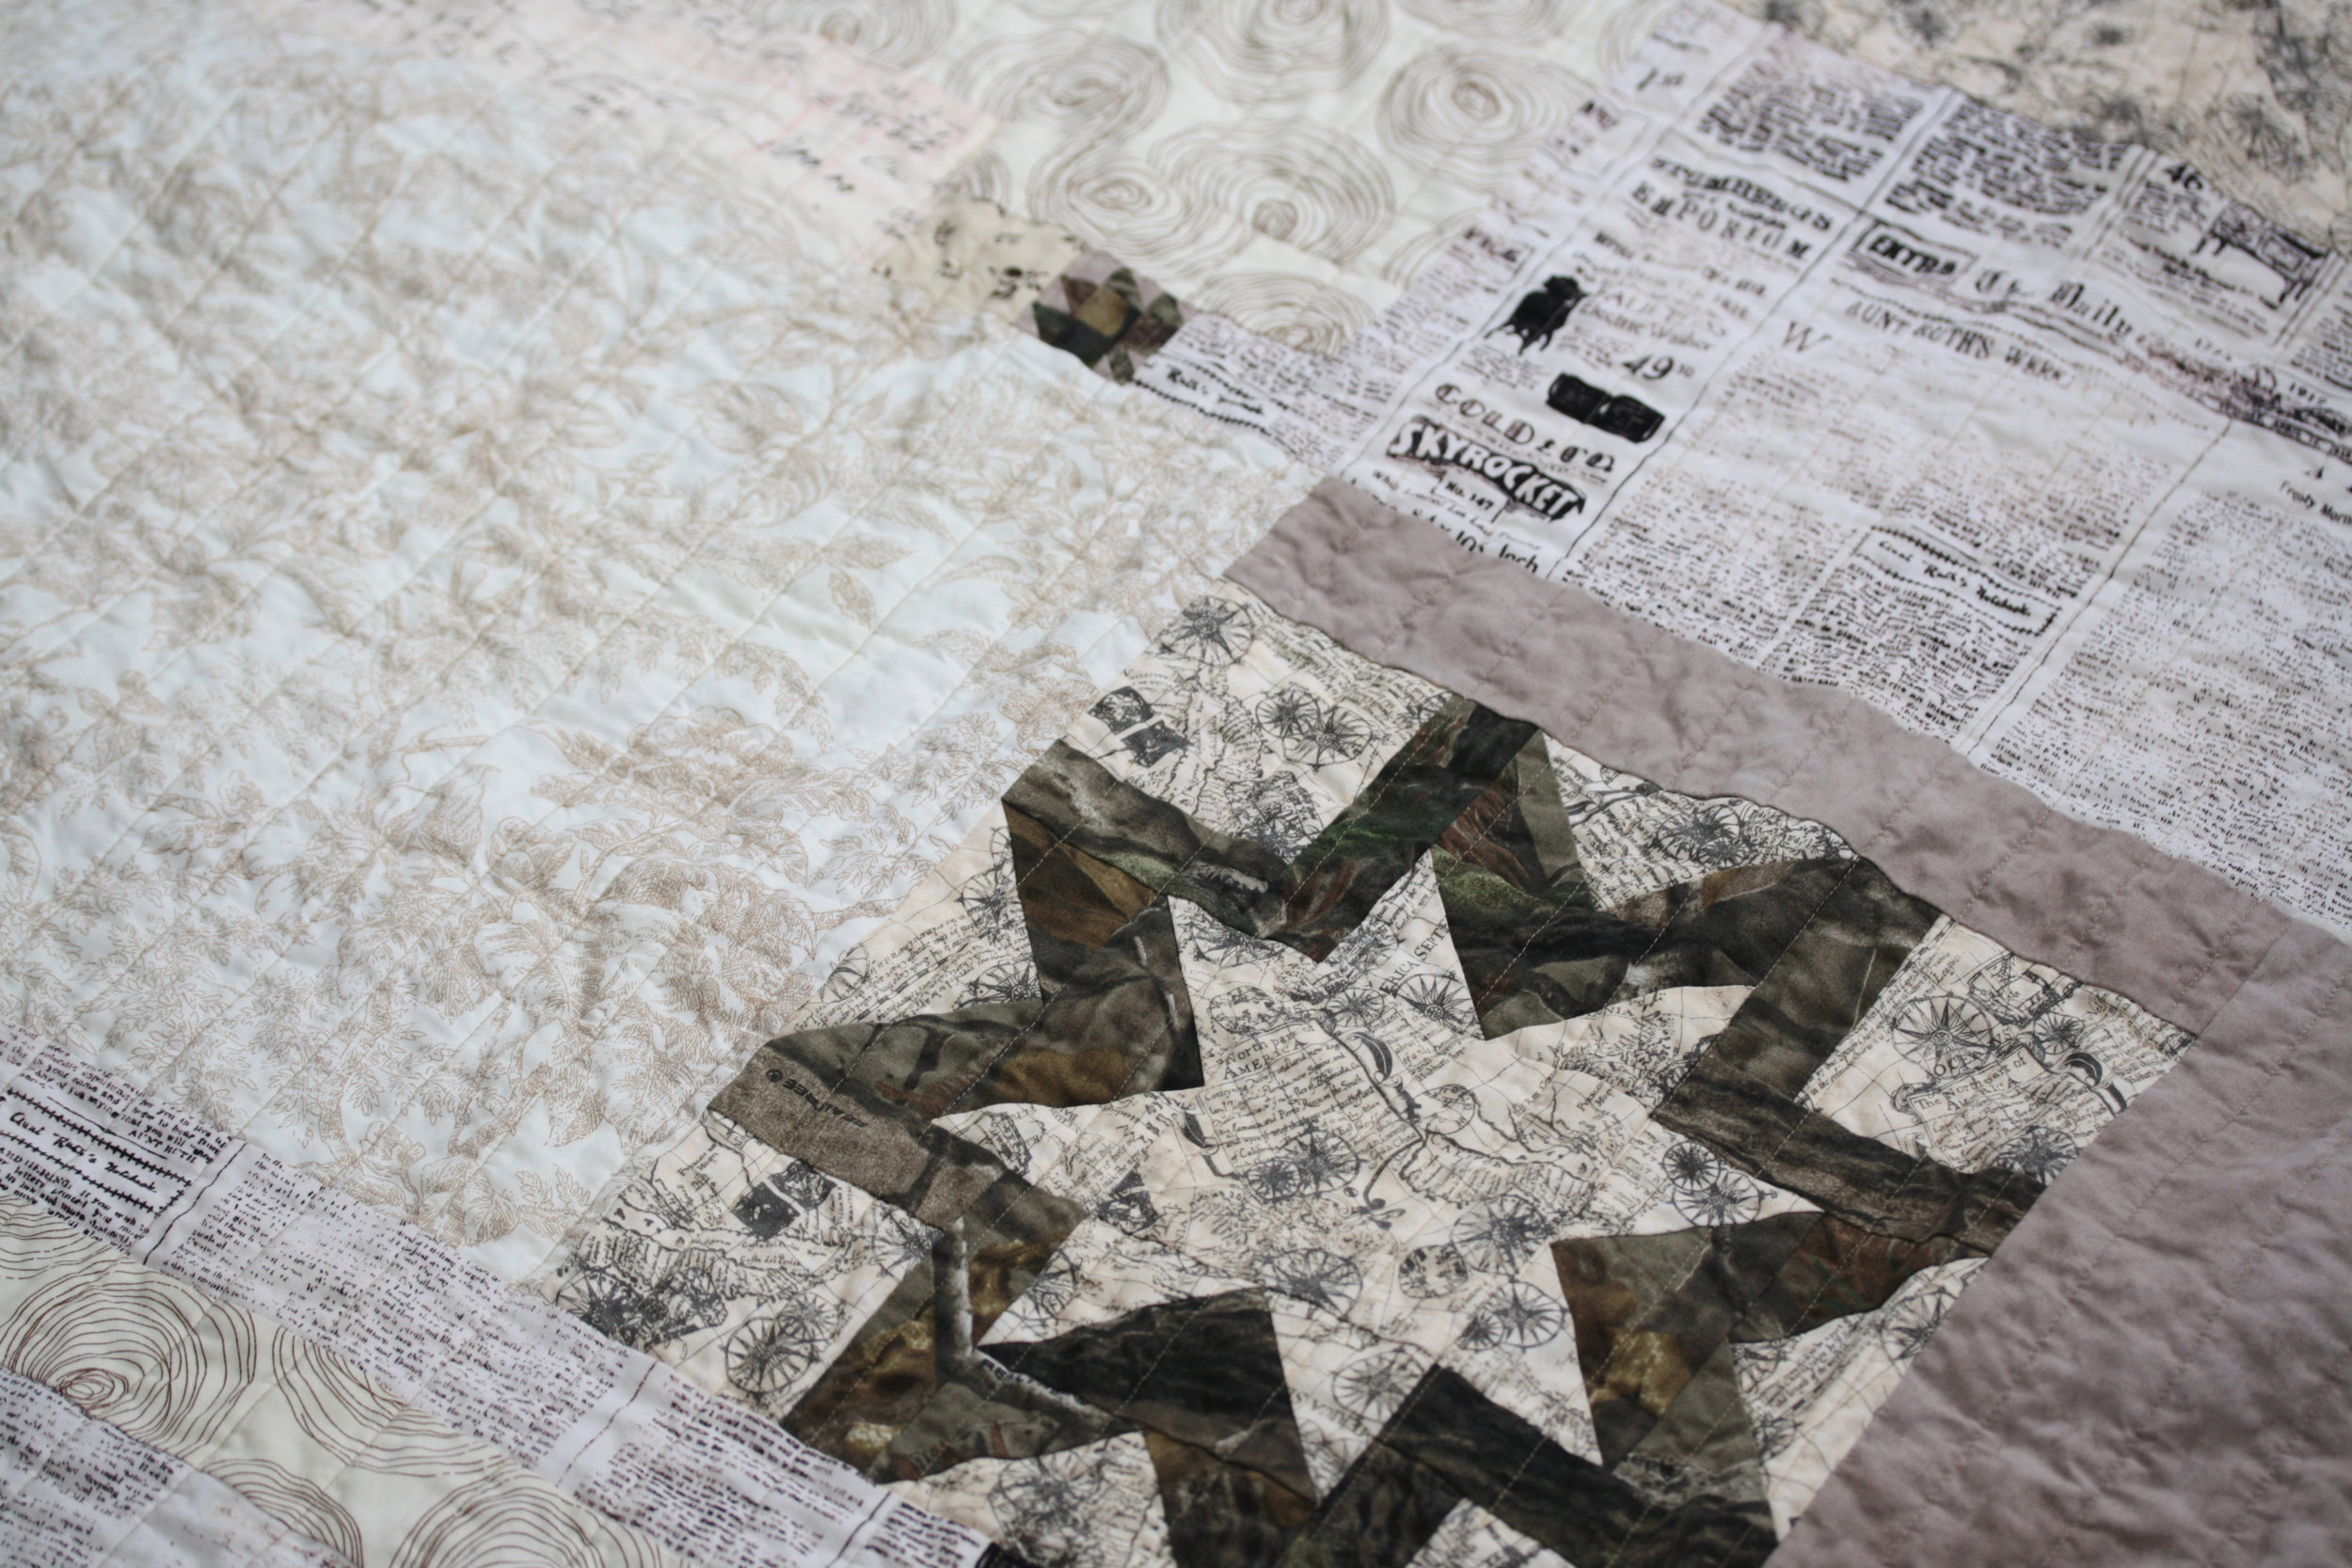
One of my favorite things about this quilt is where the Realtree and Mossy Oak logos pop up.

realtree logo on camouflage quilt

My other favorite part was the smile on her face when she opened it.

folded camouflage quilt

Happy New Year everyone, I'm looking forward to sharing lots of good things with you this year.

liberty lifestyle poinsettia tea cozy

I'm so excited to share this fun holiday project today. tea cozy from above

Liberty Lifestyle was kind enough to ask me to put together a holiday guest post for Liberty Craft Blog.  You can follow the tutorial here and make your very own poinsettia tea cozy.

I made mine with the Mackintosh print from the Stile line.  Mackintosh has such a rich mix of colors.  They somehow manage to be nostalgic and modern at the same time.  I think the flowers looks extra festive made in this print.

tea cozy with cup and presentAnd of course, Christmas tea wouldn't be complete without cookies.  So I'm also sharing my gingersnap recipe.  It came from a dear friend of my mom's and it has always been a family favorite.

marie's gingersnaps

3/4 cup butter

1 cup sugar (plus 1/2 cup for rolling dough)

1 egg

1/4 cup sorghum (similar to molasses, but I prefer the sorghum)

2 cups flour

1 teaspoon ground cinnamon

1 teaspoon ground ginger

1 teaspoon ground cloves

1 teaspoon baking soda

Cream butter and sugar with an electric mixer.  Add egg, mix well. Add sorghum.  Slowly add dry ingredients.  Chill dough for at least 4 hours but it's even better if you let it chill overnight.  Chilling the dough helps the flavors to blend and also keeps the cookies from spreading too much when they are baking.

Once chilled, roll dough into 1 inch balls, roll each ball in granular sugar.  Place on parchment lined cookies sheet 2" apart.  Bake 375 degrees for 12 minutes.  They should crack on the tops.  Makes around 2 dozen.  This recipe can be doubled.

enjoy

gingersnaps

big-city bags book show and tell

The uber clever Sara Lawson from Sew Sweetness has put together a collection of some of the cutest bags ever in her brand spanking new book, Big-City Bags, Sew Handbags with Style, Sass, and Sophistication. big city bags by Sara Lawson

(photo from Big-City Bags by Sara Lawson, Martingale, 2013; used by permission. Photo by Brent Kane. All rights reserved)

I was lucky enough to be a pattern tester for her Fireside Bowl Bag.

fireside bowl bag in chair print

I was excited to try it because the pattern uses some techniques I hadn't tried before.  So I jumped in and learned lots about fusible fleece and using different hardware like swivel clips and D rings.  Sara's step by step directions made the pattern a breeze.  So when it was all stitched up I felt pretty much like I could conquer any bag.  Plus her book has directions on zippers, locks, feet, leather handles and more.  I think I may try the miss independent bag next.

miss independent bag(photo from Big-City Bags by Sara Lawson, Martingale, 2013; used by permission. Photo by Brent Kane. All rights reserved)

Cute right?!

You can order your own copy of Big-City Bags, or if you are feeling lucky, some of Sara's sponsors are hosting Big-City Bags ebook giveaways and if I were you, I would definitely get myself entered to win a copy of this one.

October 28 - Craft Buds October 29 - Sew Mama Sew October 30 - Aurifil October 31 - Fat Quarterly November 1 - Craft Gossip

November 4 - Fat Quarter Shop November 5 - Pellon November 6 - Craftsy November 7 - Pat Sloan Gen Q Magazine November 8 - Sew Can She Martingale

the fastest September on record

I have no facts to back that up, but here on the last day of September I can't help but ask, "where did it go?" It's been a blur of tumbling, vegetable pick ups, orchestra, yoga, and violin lessons with the extra fun of early outs every other Wednesday.  Personally I see those early outs as the school testing to see how many times I will forget to pick up my kids.

Right in the middle of the month was Sewing Summit.  It's always a great time.  I cannot tell you how fun it is to actually hang out all weekend with the people who generally just hang out in my phone.

along with waffles with Jeni...

strawberry waffle with creme fraiche

and fabric...

tissu in Salt Lake City

and menchie's...

menchies

and yarn...

Blazing Needles Yarn Shop

and a roommate who looks a bit threatening, but really isn't...

Kaye and Elena

amazing speakers...

Deedrie, Olivia Omega, and Linsdey

and friends, some who I've been lucky enough to hang out with at past summits and some I just met...

Elena, Amy, and LindseyDeedrie, Pat Bravo, Jeni

(pic from Pat Bravo)

at menchie's

(pic from Amy)

and then there are the mountains...

in Salt Lake City

oh and did I mention the waffles...

waffle with speculoos and creme fraiche

But now it's the last day of September and I am looking at my 2013 project list and I need to get busy.  I will try to make the best of my time today, stuck at home waiting for someone to fix my water heater and hoping I don't have to boil water so the kids can take baths tonight.

I could really use a waffle right about now.

summerlove new york beauty

summerlove new york beauty frontI made this quilt for my cousin who was married this past Saturday. It's the New York Beauty from Peggy Martin's Craftsy class, Quick Strip Paper Piecing.  It's a fun class.  I whole heartedly recommend it.  I made the pinwheel quilt from this class too. I love using Craftsy because you always have the videos to refer to if you get mixed up on a technique.

upper corner of new york beauty quilt

The fabrics are from Pat Bravo's Summerlove line. These colors remind me of the bride so I'm hoping she loves them too.

back of new york beauty quilt

The back is a jumble of leftover summerlove yardage.

center of new york beauty quilt

With all the sharp points in the piecing, I wanted to try to use the quilting to soften the look a bit.  I went with a scallopy (yes autocorrect that is the word I want to use) stitching line and randomly spaced them an inch to three inches apart in a pale blue thread.

quilting on new york beauty quilt

Don't worry, I don't have another cousin getting married next weekend so I won't be showing up next Monday with another wedding gift.  But the kids will be starting school mid week so I am hoping I'm back soon with lots of finished projects.

pepper churn dash

pepper churn dash I made this quilt for my cousin who was married this past Saturday.

The orange print is from Denyse Schmidt's Daisy Mae line for Joanns. I was lucky enough to get a several yards on super clearance when my local Joann store was in the process of moving. The background fabric, Kona pepper, blends in perfectly with the background in the print.

I wanted to hang on to the minimalist feel, so it's channel quilted with black thread spaced 1 inch apart.

black channel quilting on pepper churn dash quiltIt's backed with Kona oyster so while the quilting lines blend into the front, they stand out on the back.

back of pepper churn dash quilt

I love the bold pattern on the front mixed with the bold quilting on the back.

pepper churn dash front and back

summer tablecloth

You may not know this about me, but years ago (actually decades now), I was a collector of all things mid-century modern.  Starburst clocks, a ridiculous amount of anodized aluminum everything, a sleek vintage black sofa, at one point we even had 4 six-feet tall aluminum Christmas trees. Now we live in a 1920's Tudor cottage so I find myself drawn to older designs when decorating.  That's not to say there aren't plenty of bits of Fire King and Pyrex around the kitchen.

Some stuff you just can't let go of.

dining room with new tablecloth I think that's why Jeni's Color Me Retro line pulled at my heart.  It's filled with all those vibrant colors that are all over my dishes so I wanted to come up with a project that I could use in the dining room to really play off my collections.

bottom corner of tablecloth

My second inspiration came from this versionKaty made from her Spring Carnival pattern.  I love the pieces that are floating away or maybe back into their proper place.

center of spring carnival tablecloth on table copy

I used Katy's templates for all the cutting and along with paper shapes from Paper Pieces.  I appliqued the pieces by hand to a couple of yards of linen.

To help the corners to look pretty and polished, I did a 1" hem on opposite sides and then added a second row of top stitching 1/8" away from the first.  Then I turned up the corner 1 1/2" before I hemmed the remaining two sides.

turn up corner one half inch

Once hemmed, I added the second row of top stitching just 1/8" away and I was left with a great looking hem.

hem and add top stitch

(this shot was before I trimmed up the strings - after I did that, trust me it's a great looking hem)

top corner of tablecloth

I love having these bursts of color at the table everyday.  To me it's the perfect way to bring a little mid-century fun into my Tudor cottage world.

a delayed fourth of July post

At the risk of sounding like one of those people who is always saying "oh my, where has the time gone, these summers just keep flying by".  Oh my, where has the time gone, these summers just keep flying by! sparklers

We have a tradition of getting together with friends for a big bbq every year to celebrate the Fourth of July.  In keeping with theme, I made another red, white, and blue dessert this year.

berry covered top of brown sugar pavlova

It's a layered berry and brown sugar pavlova and you should make it!  It was as good as it looked.

Fourth of July means Antiques Extravaganza around here.

antique show

I was up early and power shopped my way through the fields of booths.  I found a tablecloth with the greatest four leaf clovers all over it.  It still had the tag on it.

four leaf clover tablecloth

The seller seamed a bit surprised that I was planning to take the tag off, but I do my best to use the things I buy.  What's the point if these things are just going to hide in a closet?

back of tag on clover tablecloth

I also found this beauty.  She's a Singer 99K and she's mine now.

singer at sale

This photo makes me laugh because I instinctively had my hand on the machine while I was taking it - as in "back off everybody because until I can find out more, this hand means I have dibs on this baby!"

I hope everyone is having a great summer.  I just finished the cutest paper pieced tablecloth so I'll be back with more soon.

sewing retreat with a side of iced mocha cheesecake

At the end of June, I had the chance to spend some quality sewing time with friends.  Holly, Jeni, Jacey, Anna, Faith and I met up in Wisconsin at the most amazing vacation house. view from the loft of the chalet

charley harper poster

table in loft at chalet

We talked about everything, we ate giant pretzels and amazing belgian frites, we checked out Madison (including a chance to meet George), we dyed fabric, we even managed to fit in a whole lot of stitching.

I finished up a new york beauty that will soon be shipped off to someone special.

new york beauty quilt

I tried fabric dying for the first time.  We used an indigo kit and learned a lot about what works well and what doesn't.  These are my pieces before the dye bath.

ready to dye

Here's the top piece after dying.  I will most definitely be doing more with this technique.

indigo

It was fun to see what everyone was working on.  There were a lot of secret projects that I'm sure you will see popping up soon.

jeni's basket of strips

I brought along a cheesecake.  I didn't want us to go without sweets while we were sewing in the middle of nowhere.

iced mocha cheesecake on plate

iced mocha cheesecake

crust

1 cup graham cracker crumbs

1 cup chocolate wafer crumbs

1 teaspoon espresso powder

1 stick butter (softened at room temperature)

1 teaspoon vanilla extract

cheesecake filling

3 bricks (8oz. each) of cream cheese at room temp

1 cup sugar

3 large eggs

1 cup heavy cream

1 Tablespoon vanilla extract

1 Tablespoon coffee extract

ganache

1 1/4  cup heavy cream

7 oz. bittersweet chocolate (chopped)

1/4 teaspoon espresso powder

Preheat oven to 350 degrees.  Put a kettle of water on to boil for the water bath.

Mix crust ingredients in bowl of food processor until combined.  Use a straight sided glass or measuring cup to press crumb mixture along the bottom and up the side of a springform pan.  Chill crust while preparing the filling.

Combine cream cheese and sugar in bowl of food processor or mixer until creamy and smooth.  Add eggs, one at a time, fully incorporating each before adding the next.  Make sure to scrape down the sides of the bowl between each egg.  Add heavy cream, vanilla, and coffee extract and blend until smooth and creamy.

Wrap pan tightly in multiple layers of aluminum foil to make water tight for water bath.  Pour batter into prepared crust.  Place pan in larger pan (I use an oversized skillet) and pour hot water into the larger pan until it comes about half way up the sides of the cheesecake pan.

Bake 45-55 minutes,until almost done - this can be hard to judge, but you're looking for the cake to hold together , but still have a lot of jiggle in the center.  You don't want it to be completely firm at this stage.  Close the oven door, turn the heat off, and let it rest in the cooling oven for one hour.  This lets the cake finish cooking and cool down gently and reduce chances of it cracking on the top.  After one hour, removed the cheesecake from the oven and lift it carefully out of the water bath.  Let it finish cooling off on a rack on the counter.

Once cooled, cover with ganache.

To make the ganache, mix the espresso powder and cream and bring to a boil.. Pour cream mixture over the chopped chocolate and let sift for 45 seconds then begin to mix.  It will become creamy when fully incorporated.  Pour in center of cheesecake.  Allow ganache to cool, then cover and put in refrigerator to cool overnight.

top of iced mocha cheese cake on plateI was thrilled when Jeni mentioned she could bring along some of her homemade salted caramel sauce because this cheesecake is extra delicious topped with whipped cream and caramel sauce.

It was a blast of a weekend that flew by so quickly, so I can't wait to do it again!

hashtag chalet sewing rock

did I mention?

One - Lulu turned 9 last week.  That means two kids in double digits next year.  I'm not sure how this happened so quickly. birthday cake

Two - Ali hosts a fun game/giveaway every month on her blog and this month I'm helping out with July's challenge.  Be sure to check out her post on this month's stash match, play along and you could win some fabric.  {oh and a hit, hmmm, I guess the best I can tell you is after showing the options to a fabric friend who knows my stash pretty well, I can tell you it's the exact opposite of the one you think it is. }

three - If you follow me on instagram you probably knew this, but I just spent the most awesome weekend with friends sewing.  More on that later.

view from balcony


my new go to birthday gift

Welcome to crazy week.  The spouse is doing some traveling, someone little has a birthday, and I'm getting ready for a long weekend of sewing with friends.  Truth be told, in all the chaos, I forgot to take Lulu to her yoga class yesterday.  So when I was asked to join in with some friends to celebrate some birthdays, there was a moment of panic about what to give as a gift. It can be difficult to come up with a quick gift that works for anybody, any age, any time, but these heavy duty cardboard covered notebooks fit the bill.

stitched notebooks sets

Simply choose your layout and stitch them down with a small zigzag stitch.  Be sure to lock your stitches by reversing one or two stitches at the beginning and end of each line so the stitches don't unravel on you.

small stitched notebookTie a set of books up with a bow and you are set to celebrate the next birthday on your calendar.

06-13 notebooks with bow

basket of chips

I finished this quilt in April, but I'm just getting around to looking at the photos I took just after it was bound and washed. front of basket of chips quilt

Can you tell it was a windy spring around here?

The inspiration for the pattern came from Barbara Brackman's Encyclopedia of Pieced Quilt Patterns.  The four large blocks in the center are #713 basket of chips.  When I mentioned the blocks name to the spouse he immediately pointed out that Cj's favorite potato chips are orange, green, and yellow.

Boom, we had a color palette!

basket of chips quilt on rack

Those blocks were so full of triangles that I continued the idea with different triangles in the borders and added a sawtooth block to each corner with a row of teeth around the edge.

basket of chips quilt detail

Here's the back.  It's a mix of coordinating prints.

Again, the wind.

back of basket of chips quiltThis will be going into my shop once, I complete a little shop redo sometime this summer.

sketch to stitches

About a year ago, Lulu came to me with this drawing she had just finished.  She thought it would make a great design for a quilt. lulu's sketch for quilt top

I agreed and shortly after that we pulled the fabrics we needed.  I took care of the rotary cutting and she took care of the stitching.

lulu sewing her quilt top

Last June she finished the quilt top.

lulu's sketch and quilt top

Then like most of us, she was distracted by something else, likely swimming lessons, then the start of school, then tumbling classes, and the next thing you know it's 2013 and her quilt top still didn't have a quilt back.  She chose a great blue print from a local designer and now it's done.

back of lulu's quilt

From sketch to reality...

lulu's quilt on fence

her first finished quilt.

a mini quilt for the dining table

Megan is hosting the Fresh Mini Quilt Club.  It's a 6 month series, so at the end of six months you will have made six super cute mini quilts.  I had never made a mini quilt before this one, but they are a great way to build your skill set.  You can try different piecing techniques without being overwhelmed and they are perfect for testing out your free motion quilting skills without wrestling an entire quilt through your machine. 03-13 mini quilt

I used a layer of Insul-Bright along with a layer of warm & white for the batting so I could use this as a trivet on the dining table.

03-13 mini quilt on tableIt was so satisfying to make this complete project in one day.  I know I'll be making more minis in the future.

And just a bit of housekeeping...

Google reader is shutting down on July 1 so I thought I would suggest bloglovin' as a replacement.  It looks great, is easy to use, and has an app so you can catch up on your favorite blogs where ever you are.

snow day and a quilt

It's looking more like January at the cottage today. IMG_3196

Schools are closed and the spouse is working from home so it's a full house. In between knocking down icicles and sledding I caught a few shots of the quilt I finished last night.

IMG_8025

It's been a year in the making. It's made from the Half Square Triangle Block of the Month that Jeni shared on her blog last year.

IMG_8018

Most of the fabrics I used are from Moda's etchings line by 3 sisters.

01-13 hst quilt

There is also good selection from Bunny Hill's Putting on the Ritz along with some bits from my stash including some French General and some repro prints. It's bound with a cursive print from etchings.

01-12 block in hst quiltThe back is a mix of grey prints.

grey stripe back of HST BOM quilt

Thankfully the wind didn't blow the quilt away, but it tried.

IMG_8023

bear paw

Here is my last finish of 2012. 12-12 bear paw quilt

A twin size bear paw made at my brother's request to be given as a Christmas gift.

The only direction I was given was to use fabrics that a little old lady would like.  I chose mostly reproduction prints from various Windham collections.  I love repro prints for their intricate patterns and details.  I like making quilts that can be appreciated from a distance, and then with a closer look you get a chance to admire the more delicate aspects of the print.  Most of all, I love mixing all those intricate prints together.

12-12 bear paw quilt frontThe back is a large star inspired by one of Jeni's tutorials.  I based the size of my star on the smallest piece of fabric I was using, so it's smaller than the tutorial, but I think it has impact and is a great surprise for a quilt back.

12-12 bear paw quilt backI'm in the middle of three quilt tops now, so with any luck I will be back soon with my first finish of 2013.


his helicopter quilt

My sewing machine (Pearl) sits behind our front door.  I realize this sounds crazy, but generally, the only people who come to our front door are the types who want to talk politics, or sell me cookies so it isn't as much of a pain as it sounds. So I have my little corner of the cottage to set up my ironing board next to my machine and stitch.  Sometimes when Cj is bored, because he's used up all of his computer time, he comes and sits across from me and asks things like...

"Hey Mom, how's Pearl doing?"

"What are you making today?"

"Who is it for?"

"What's for supper?"

"When are you going to make my quilt?"

Almost two years ago now, he sat down with me at the computer to pick out fabric for bed quilt.  He loves helicopters and cameras so this echino line was the perfect place to start.  He asked for school busses too and I had to add the frames because he has a sneaky habit of watching his reflection in people's glasses.

A year ago, I pieced the top. It's made up of 30 wonky improve court house step blocks and framed with grey sashing.  But then I was distracted by life and even with the occasional reminder of "when are you going to make my quilt?", it sat in a pile.

Finally this October I got my act together and here it is.

I love it and even more important, he loves it!

It is quilted with grey lines 1 inch apart through the print blocks on the vertical and with accents of orange quilting on the horizontals.

The back is pieces with a mix of solids and some bits of left over echino.

He is thrilled to finally have his very own handmade by Mom quilt on his bed.  I'm left with feelings of satisfaction until the question "what's for supper?" pops up again.

basic drawstring bag

I use these little bags for all sorts of things.  They are great for travel, keeping dresser drawers organized, but most often I use them as gift bags.  The only thing better than a wrapped present is when the wrapping is part of the present too.  They are quick and easy to make, especially when you assembly line the process to make multiple bags.

These bags use two different fabrics, one for the main panel and one for the accent band.

For the main panels cut a rectangle that is 9 1/2" by 14".  Cut that in half for two pieces that are 9 1/2" by 7".

For the accent band, start with a 9 1/2" by 6" rectangle and cut in half to get two 9 1/2" by 3" strips.

Attach the accent strips right sides together to the main panel with a 1/4" seam.  I serged the raw edges, but it's not necessary.  They could be zig-zagged, pinked, or left raw.  After stitching, press the seam allowance towards the main panel.

With right sides together, stitch the two pieced panels together, keeping in mind how you will insert the drawstring.  You could stitch it and then pick the stitches out for the ribbon.  I usually leave an opening in my stitched seam.  Using a 1/4" seam allowance, I stitch 2" down, back stitch to reinforce, leave a 1/2" space before I continue the seam around the rest of the bag.

To finish the top, fold over and press, 1/4" of the accent strip to the wrong side

Fold over the accent strip again to cover the accent seam.  Be sure to cover the seam completely because the stitching will go on the main panel side of the seam.

To create the channel for the drawstring, stitch 1/4" below the seam where the accent band and main panel meet.  Top stitch 3/4" from the top of the accent band.


Press.  Cut a length of ribbon 24"-36".  Using a safety pin, run ribbon through channel and knot the ends of the ribbon so they don't fray.

Fill bags with brownies and you have a great gift to share with your friends.

handmade wardrobe

I'm busy packing for Sewing Summit, but just wanted to share some of the garments I've made this year. This tunic (I call it my rice pudding shirt) is Simplicity 2447 and is made with Ironwood Aneta from Lotta Jansdotter.

Here is my etchings Tova.

I knit this tea leaves cardigan with Manos del Uruguay extra fine merino.

I love my liberty Tova.  I simply hemmed the cuffs instead of banding them and added two inches to the length.

This one is the long sleeved shirt with Chinese collar from Simple Modern Sewing.

This skirt is made from Jay McCarroll's new Center City line.  I used Simplicity 2215.

Now I'm off to pack and clean and check off all my lists so I'm all ready to head to Salt Lake tomorrow.