 You know how some foods just send you back in time? This pie is definitely one of those foods for me. We didn't have air conditioning when I was a kid and Lodi apples ripen in mid July, when it's usually pretty hot and humid outside. It made for an exceptionally hot day in the kitchen with the oven on, but we didn't complain because we knew before long we would sit at the table, under the ceiling fan, eating slice upon slice of pie, more than likely with vanilla ice cream on the side.
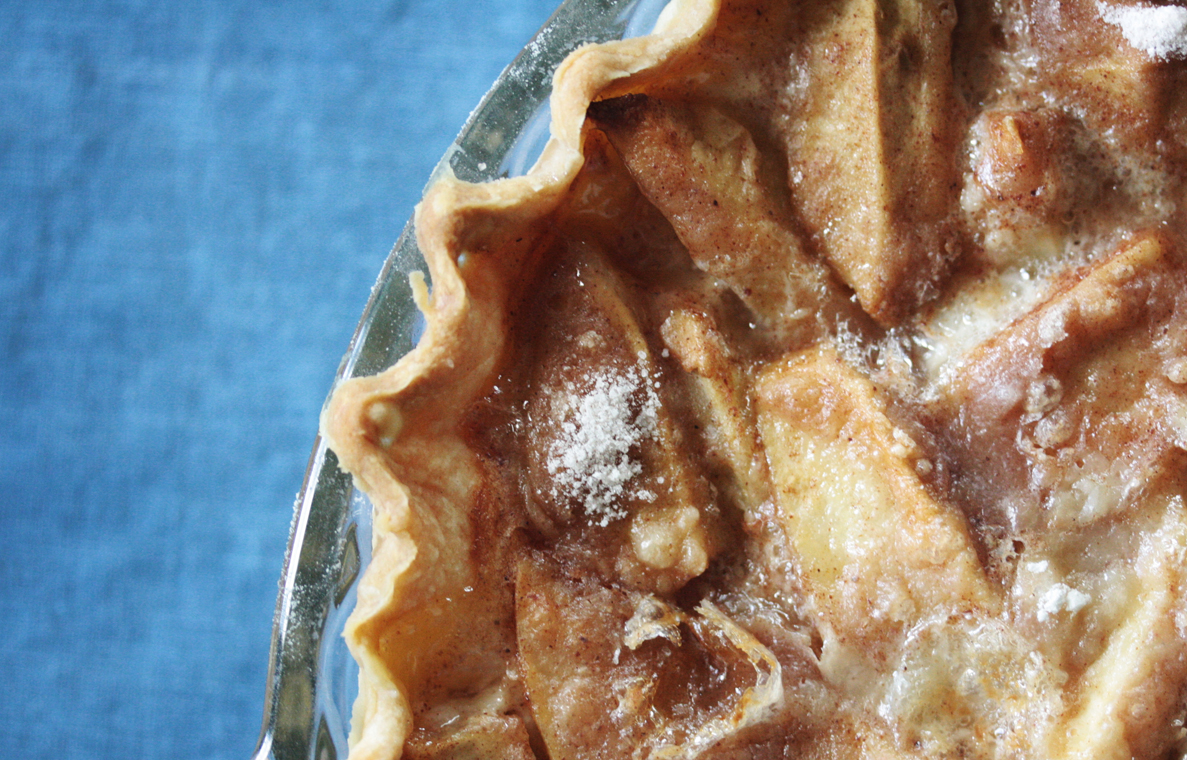
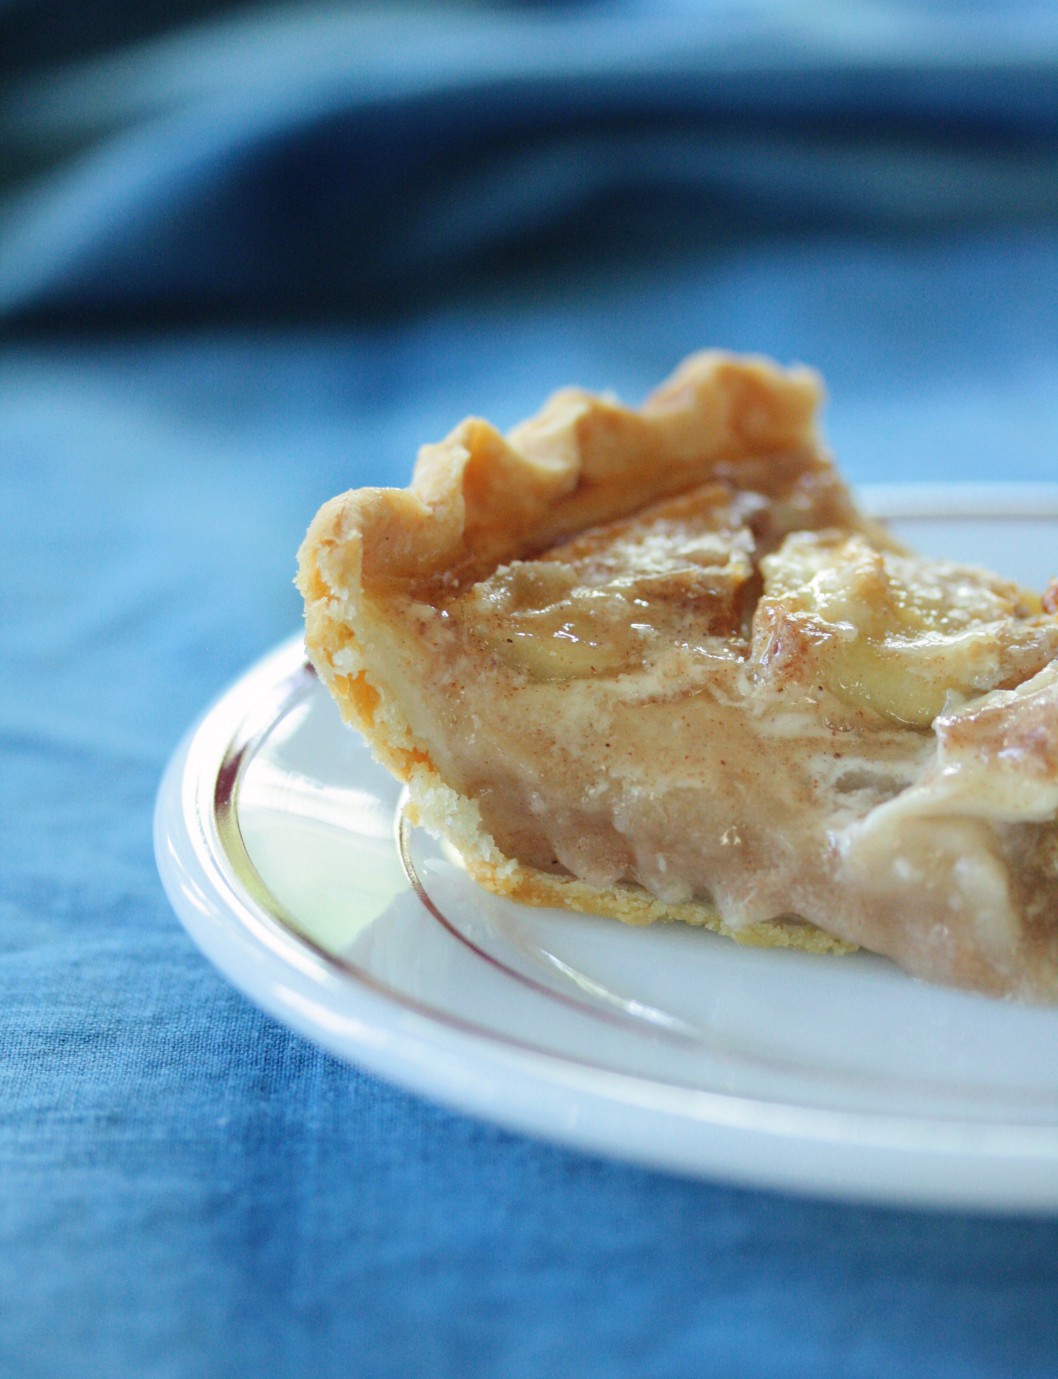
The filling is my maternal grandmother's recipe. She was a top-notch cook. Her fried chicken was unlike any others, I've mentioned her angelfood cake before, and her chocolate cake recipe is the reason my husband married me (true story). Her apple pie has become a summer time staple for our family. Tart apples in a bed of sugary custard in a pie crust...what could be bad about that? I can remember my mom making two of these at time for dessert and there would still be just a small sliver or two left by morning if we were lucky and there were only 4 of us in the house!
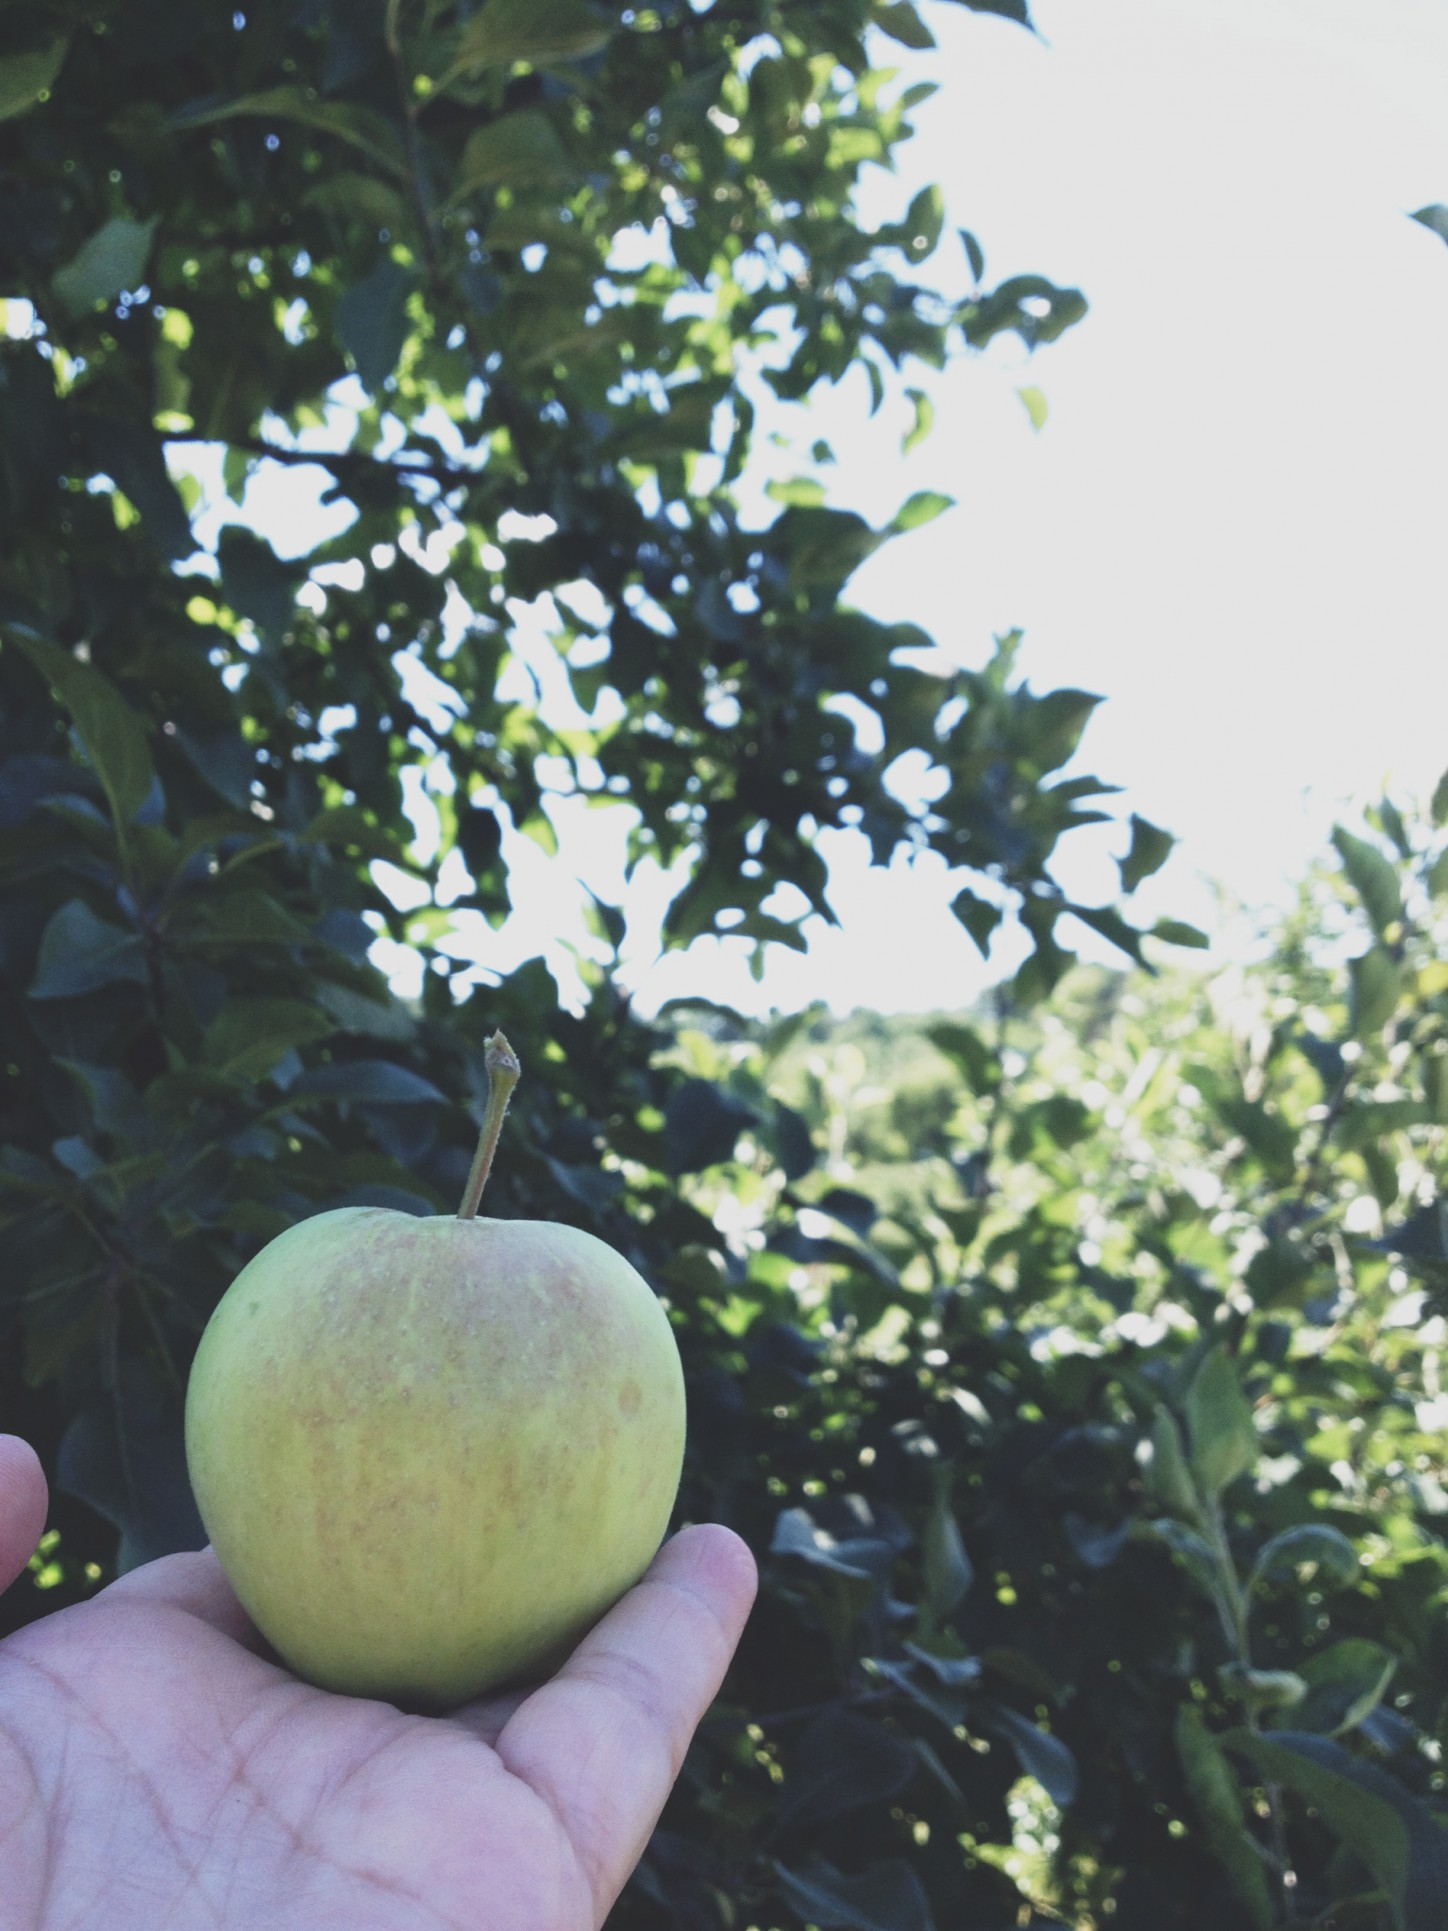
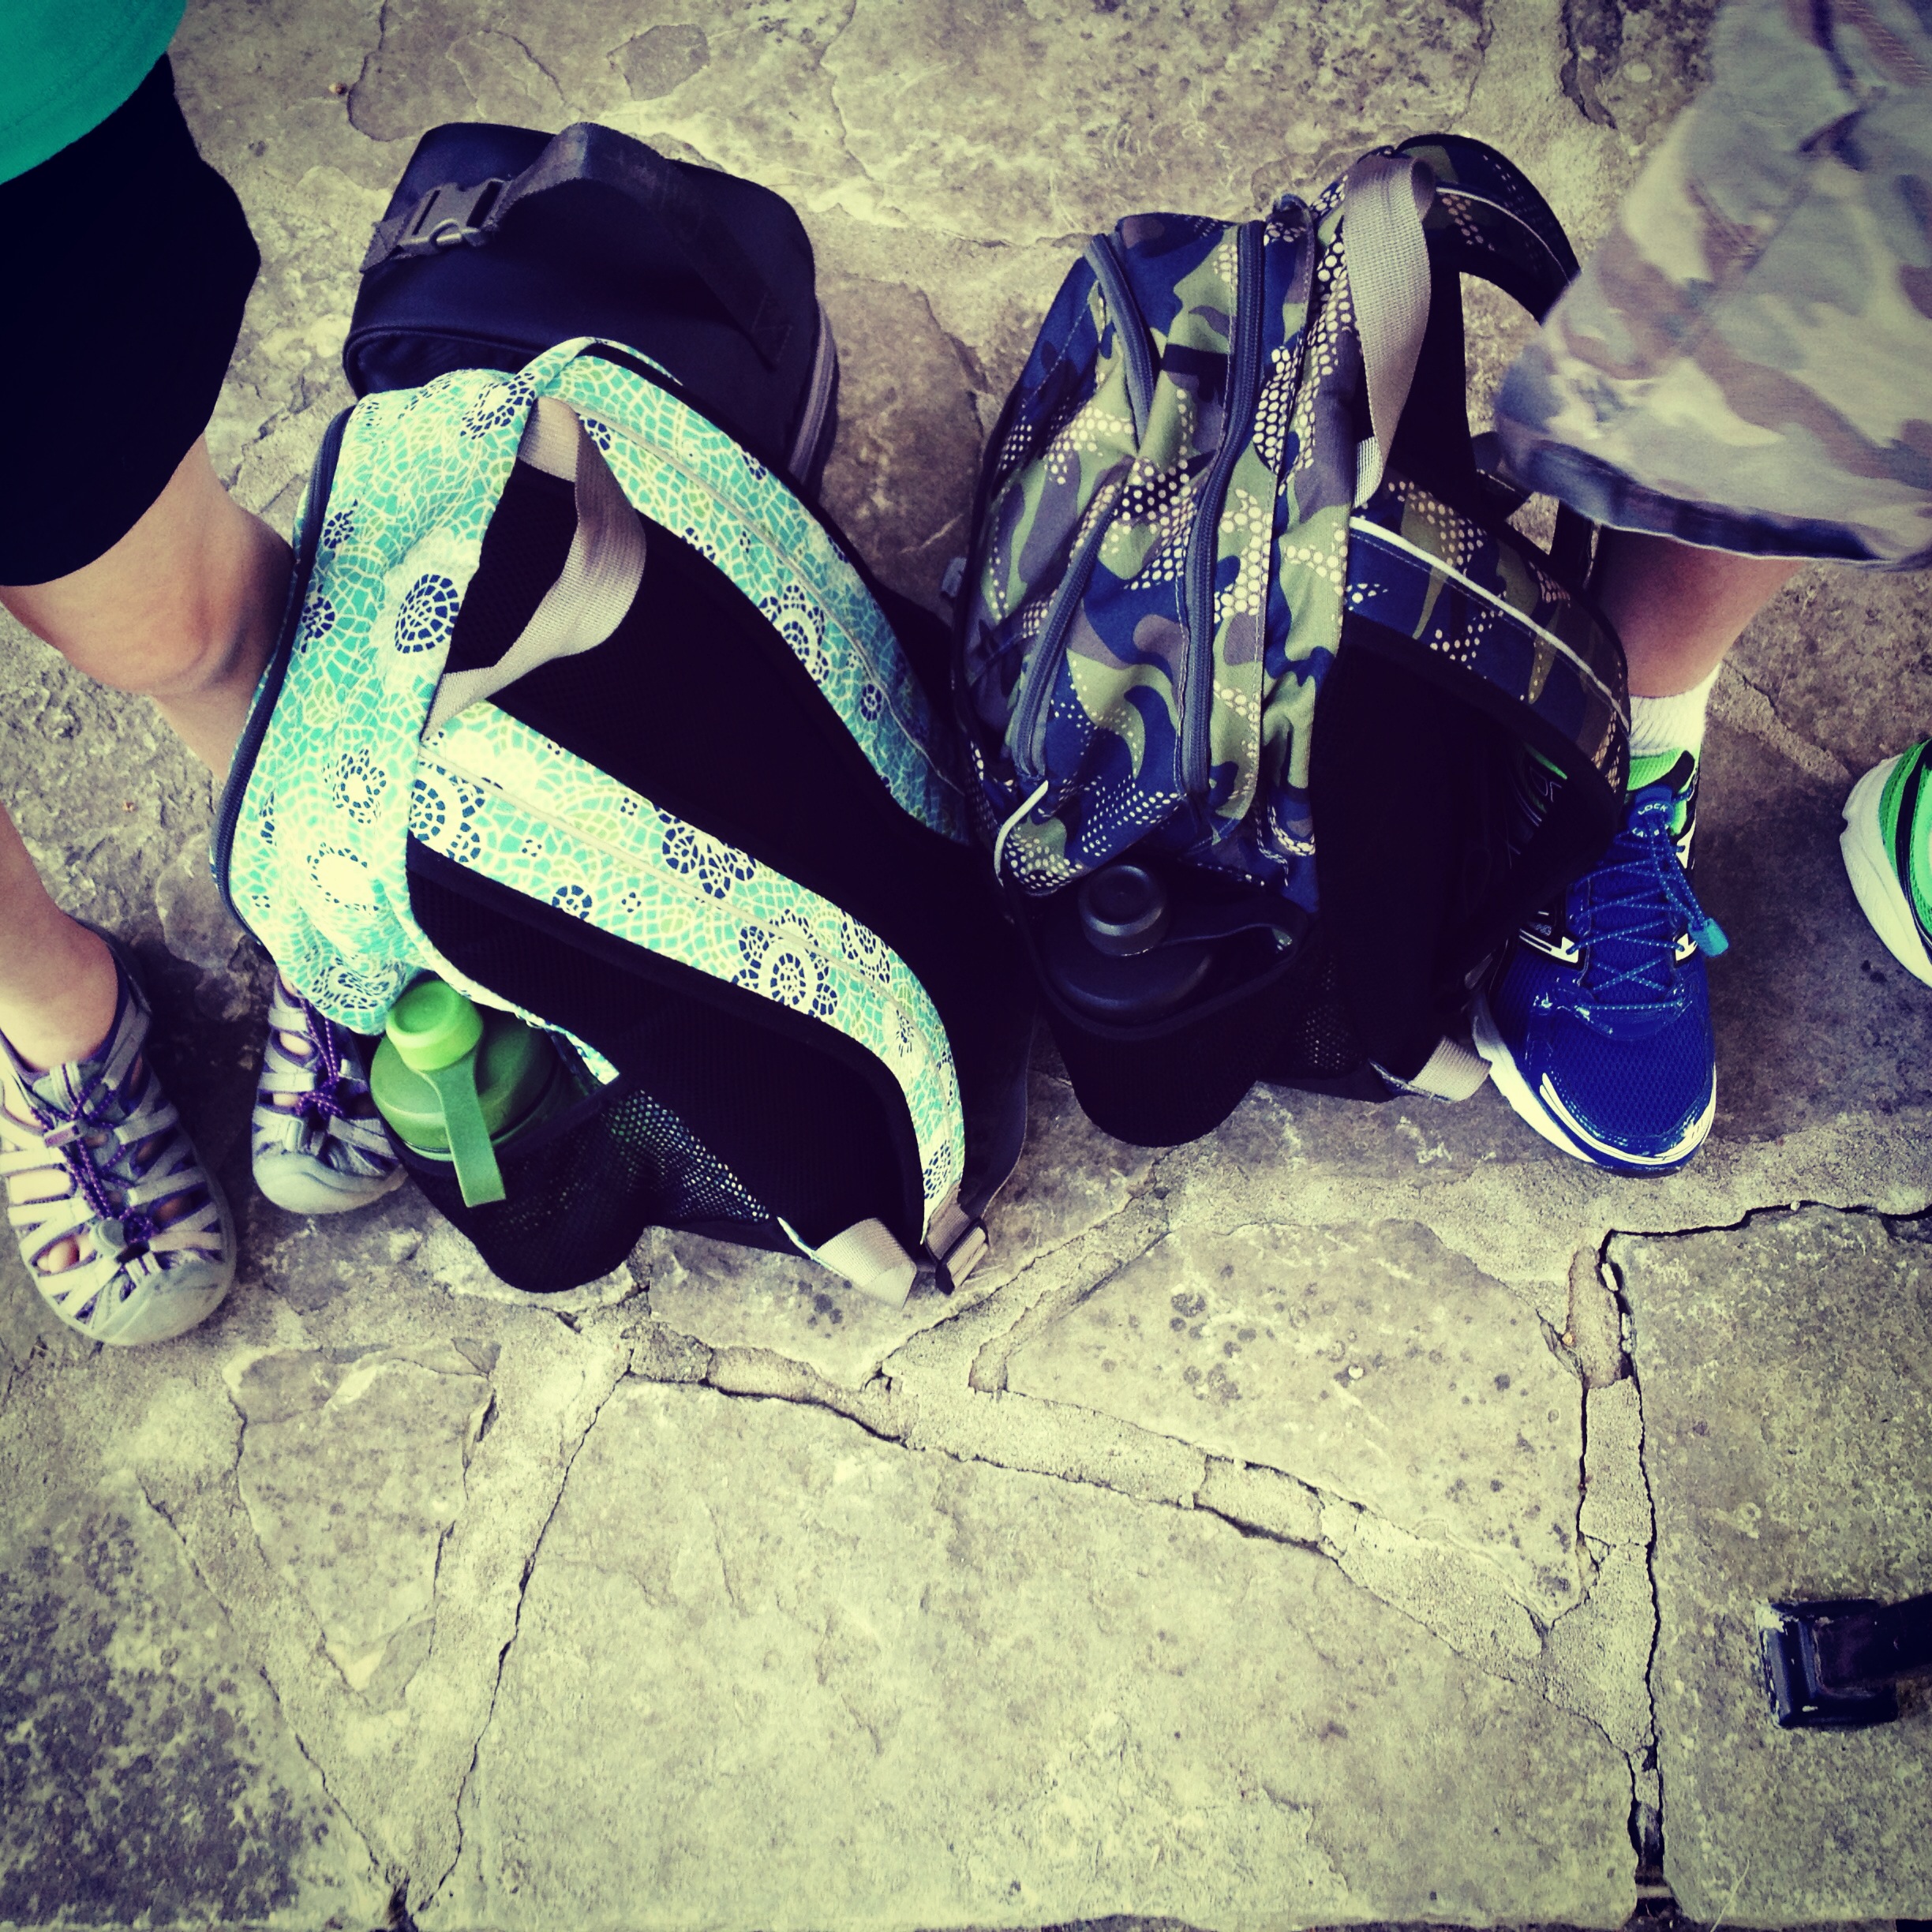
I always use Lodi apples for this pie. I have tried other varieties for the recipe but haven't had much luck finding another one that works as well. Thankfully, there is an orchard nearby that still has a few trees so we always pick up some every July. The kids and I picked two baskets this morning.

Cj suggested we divide them, one basket for making pies, one basket for him to eat. I think you would be hard pressed to find another person who likes to eat tart apples more than he does.
apple custard pie
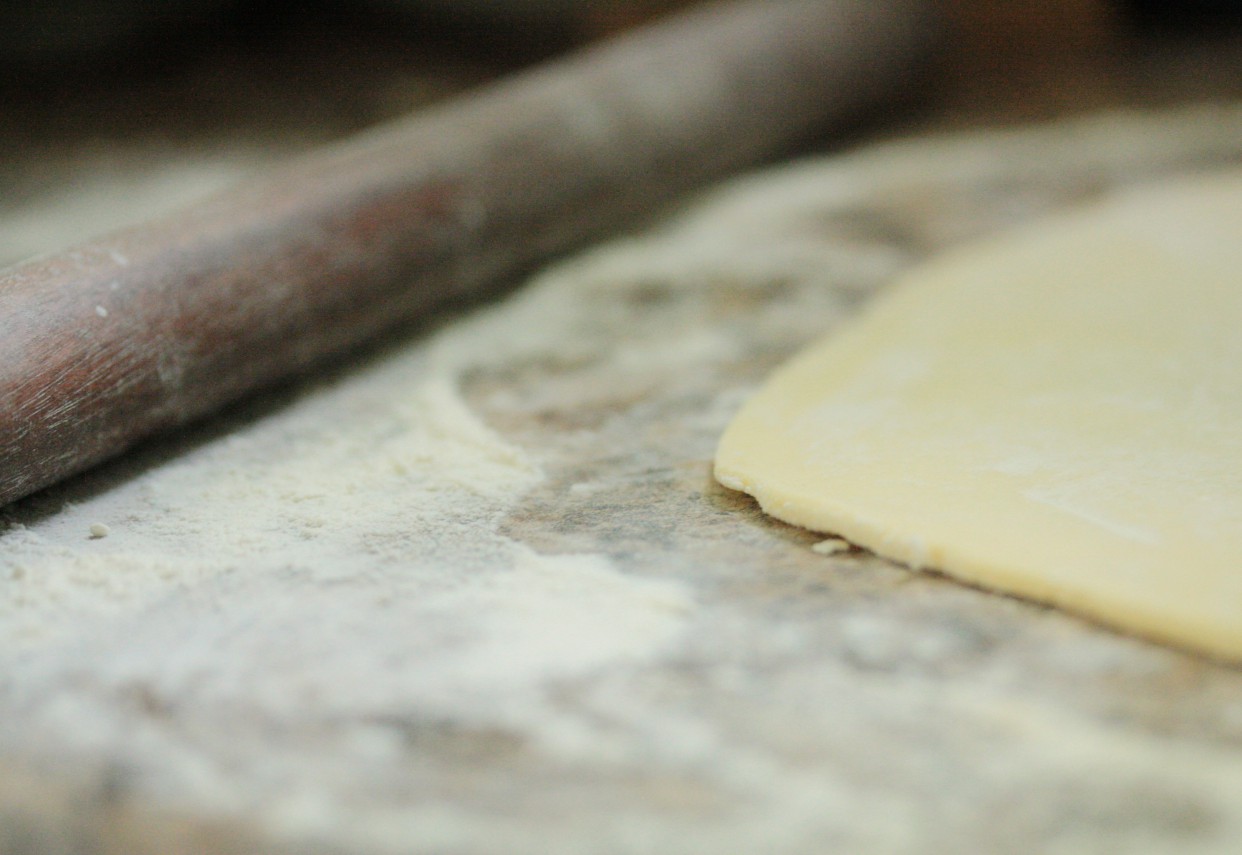
for the crust
This recipe makes enough for 2 pies, but half can be wrapped in cling wrap and frozen for another day.
2 1/2 cups flour
1/2 teaspoon salt
1 cup (2 sticks) cold butter cut into small pieces
1/4 to 1/2 cup ice water
Put the flour, salt, and cold butter in bowl of food processor. Process until it resembles a course meal.
Add ice water, spoonful by spoonful, through the tube with the machine running, just until the dough holds together without being wet or sticky; do NOT over process.
Split the dough in half and shape into a disc on a piece of plastic wrap and then wrap it up. Chill the dough you will be using today for one hour and freeze the extra disc of dough for another day (like tomorrow)
Once chilled, lightly flour your workspace and roll dough to 1/8 inch thickness. Place in pan and chill while you get the filling and the apples ready. Preheat oven to 425 degrees.
for the filling
In a bowl, mix together:
1 cup sugar
3 Tablespoons flour
1 teaspoon cinnamon
(If you are using a large pie pan, use 1 1/2 cup sugar and 4 Tablespoons flour and 1 teaspoon cinnamon)
Peel and core 6 Lodi apples and cut into chunks. Place in a single layer on the UNbaked pie cruse. Sprinkle the sugar mixture over the top.
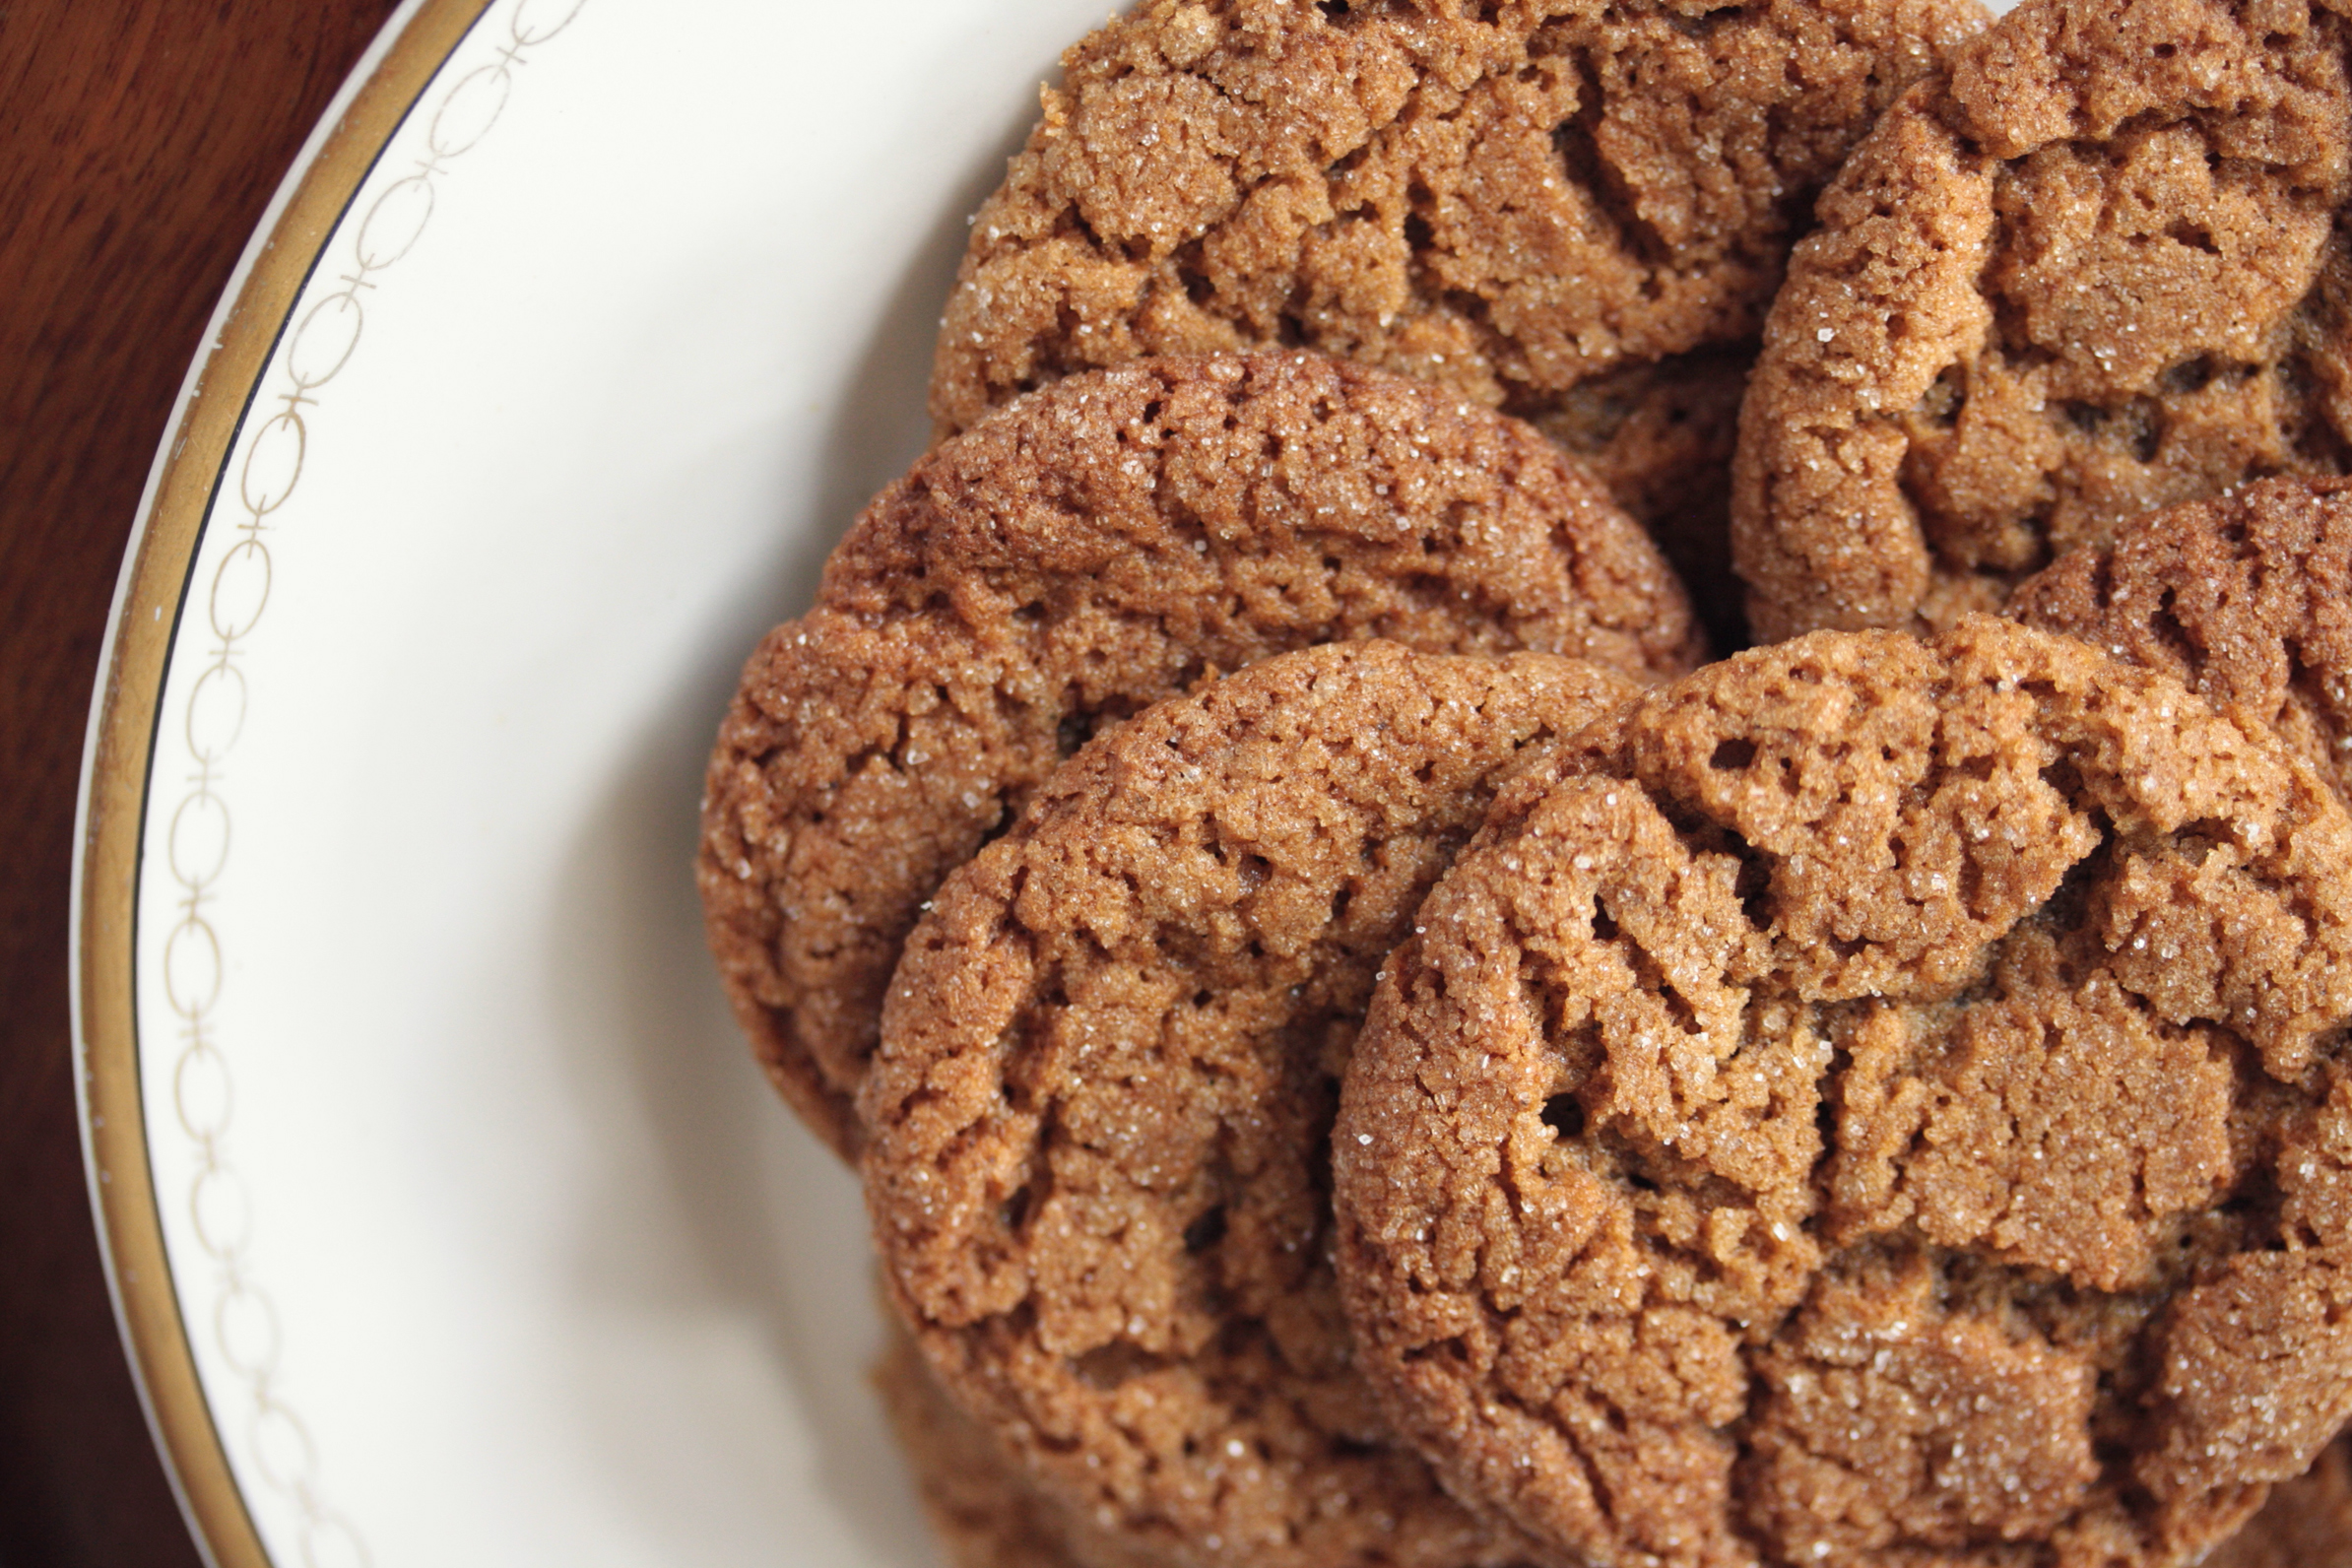
Fill to the bevel of the pie pan with milk. Place in oven. I bake mine on a cookie sheet, just in case it bubbles over. Plus that gives me a place to bake the left over strips of pie crust (sprinkled with cinnamon sugar before baking).
Bake in 425 degree oven for 15 minutes. Reduce heat to 350 degrees and bake for 45-50 minutes.