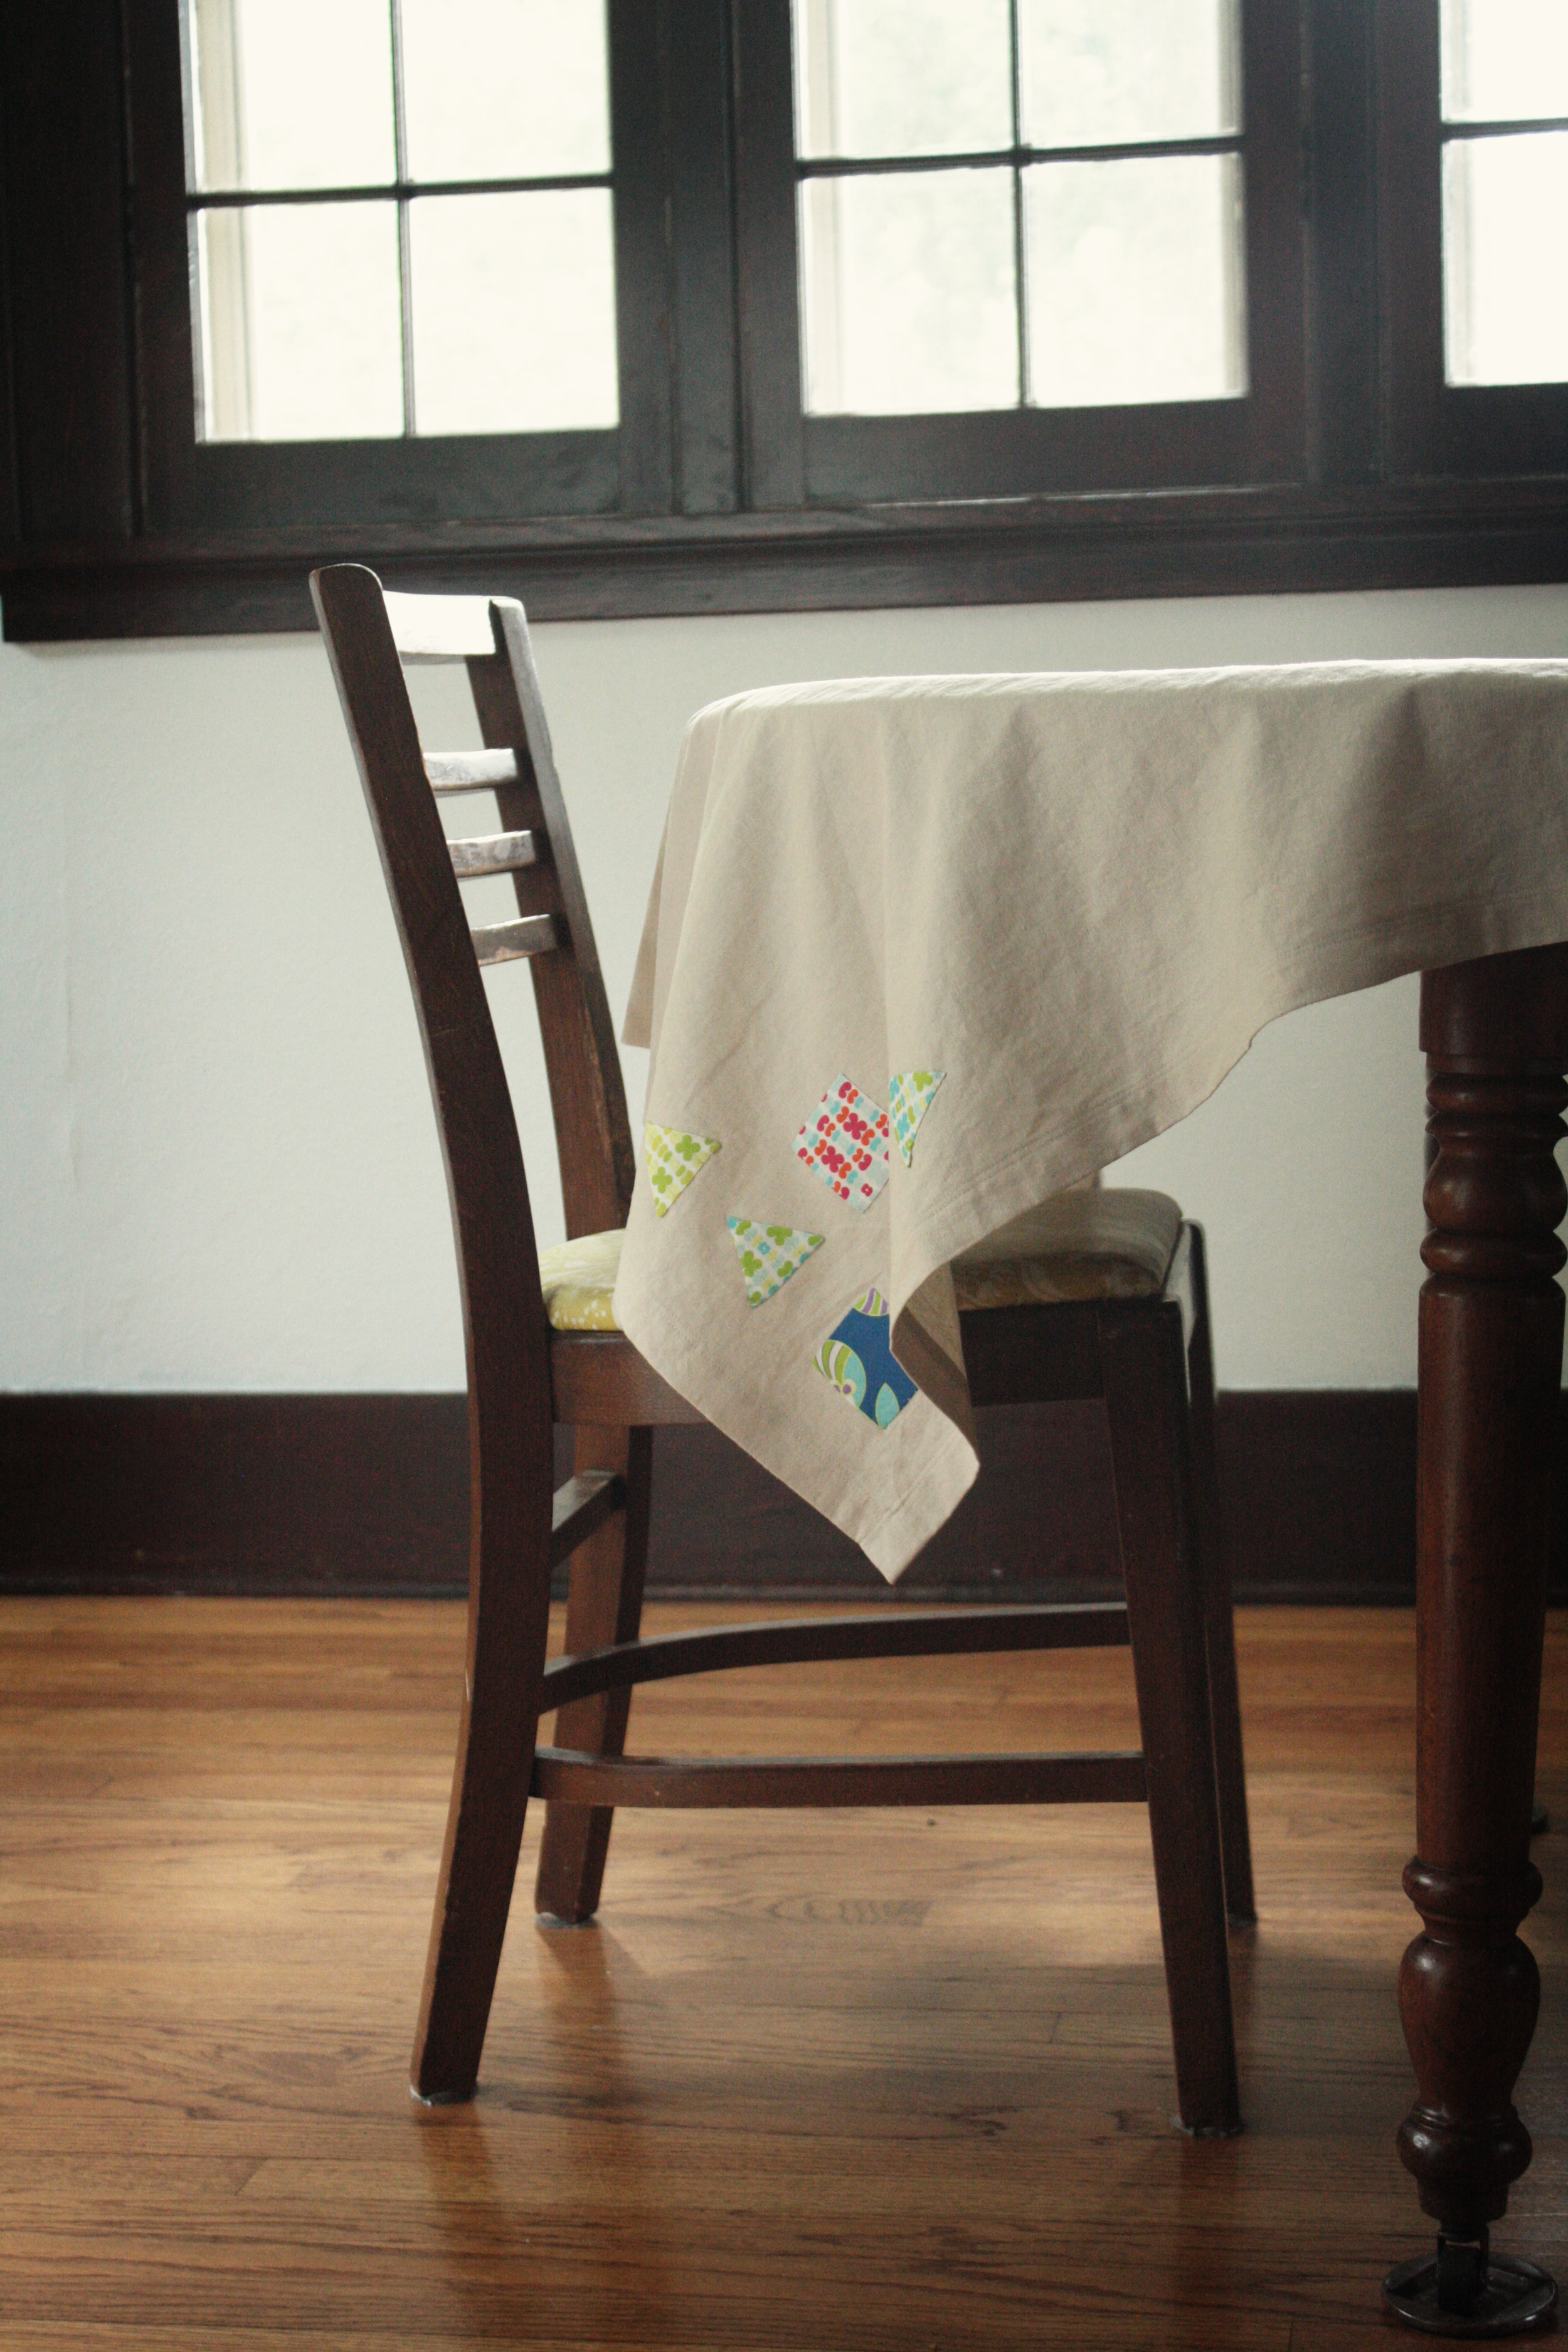
 When I started this post I was going to link back to the tote I made with cotton I dyed last year with indigo. Then I realized I never shared it here, only on instagram.

It's the Luxe Tote pattern. The handles and corners are buckskin. The tote went together quickly and I will be making another one at some point, I'm sure.
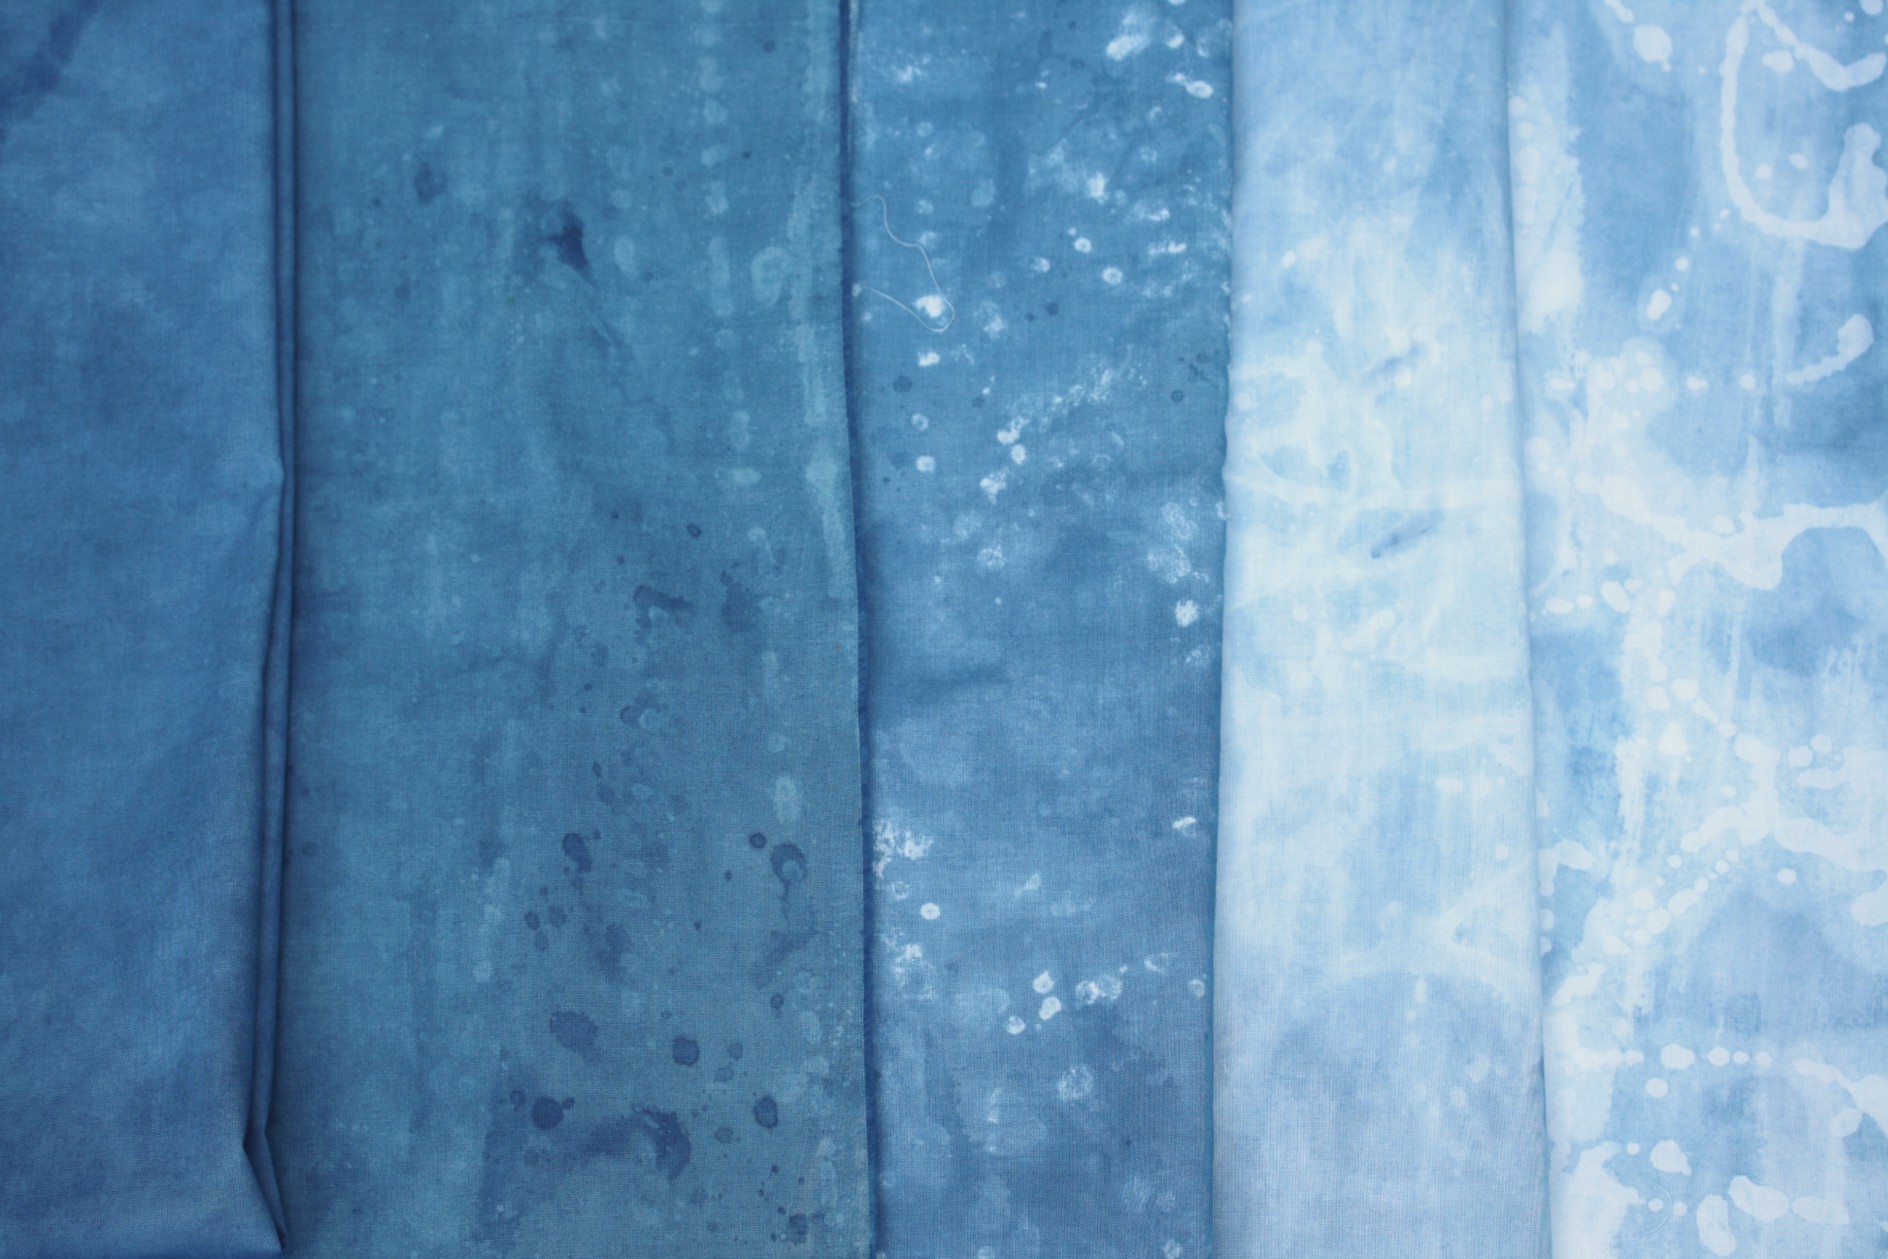
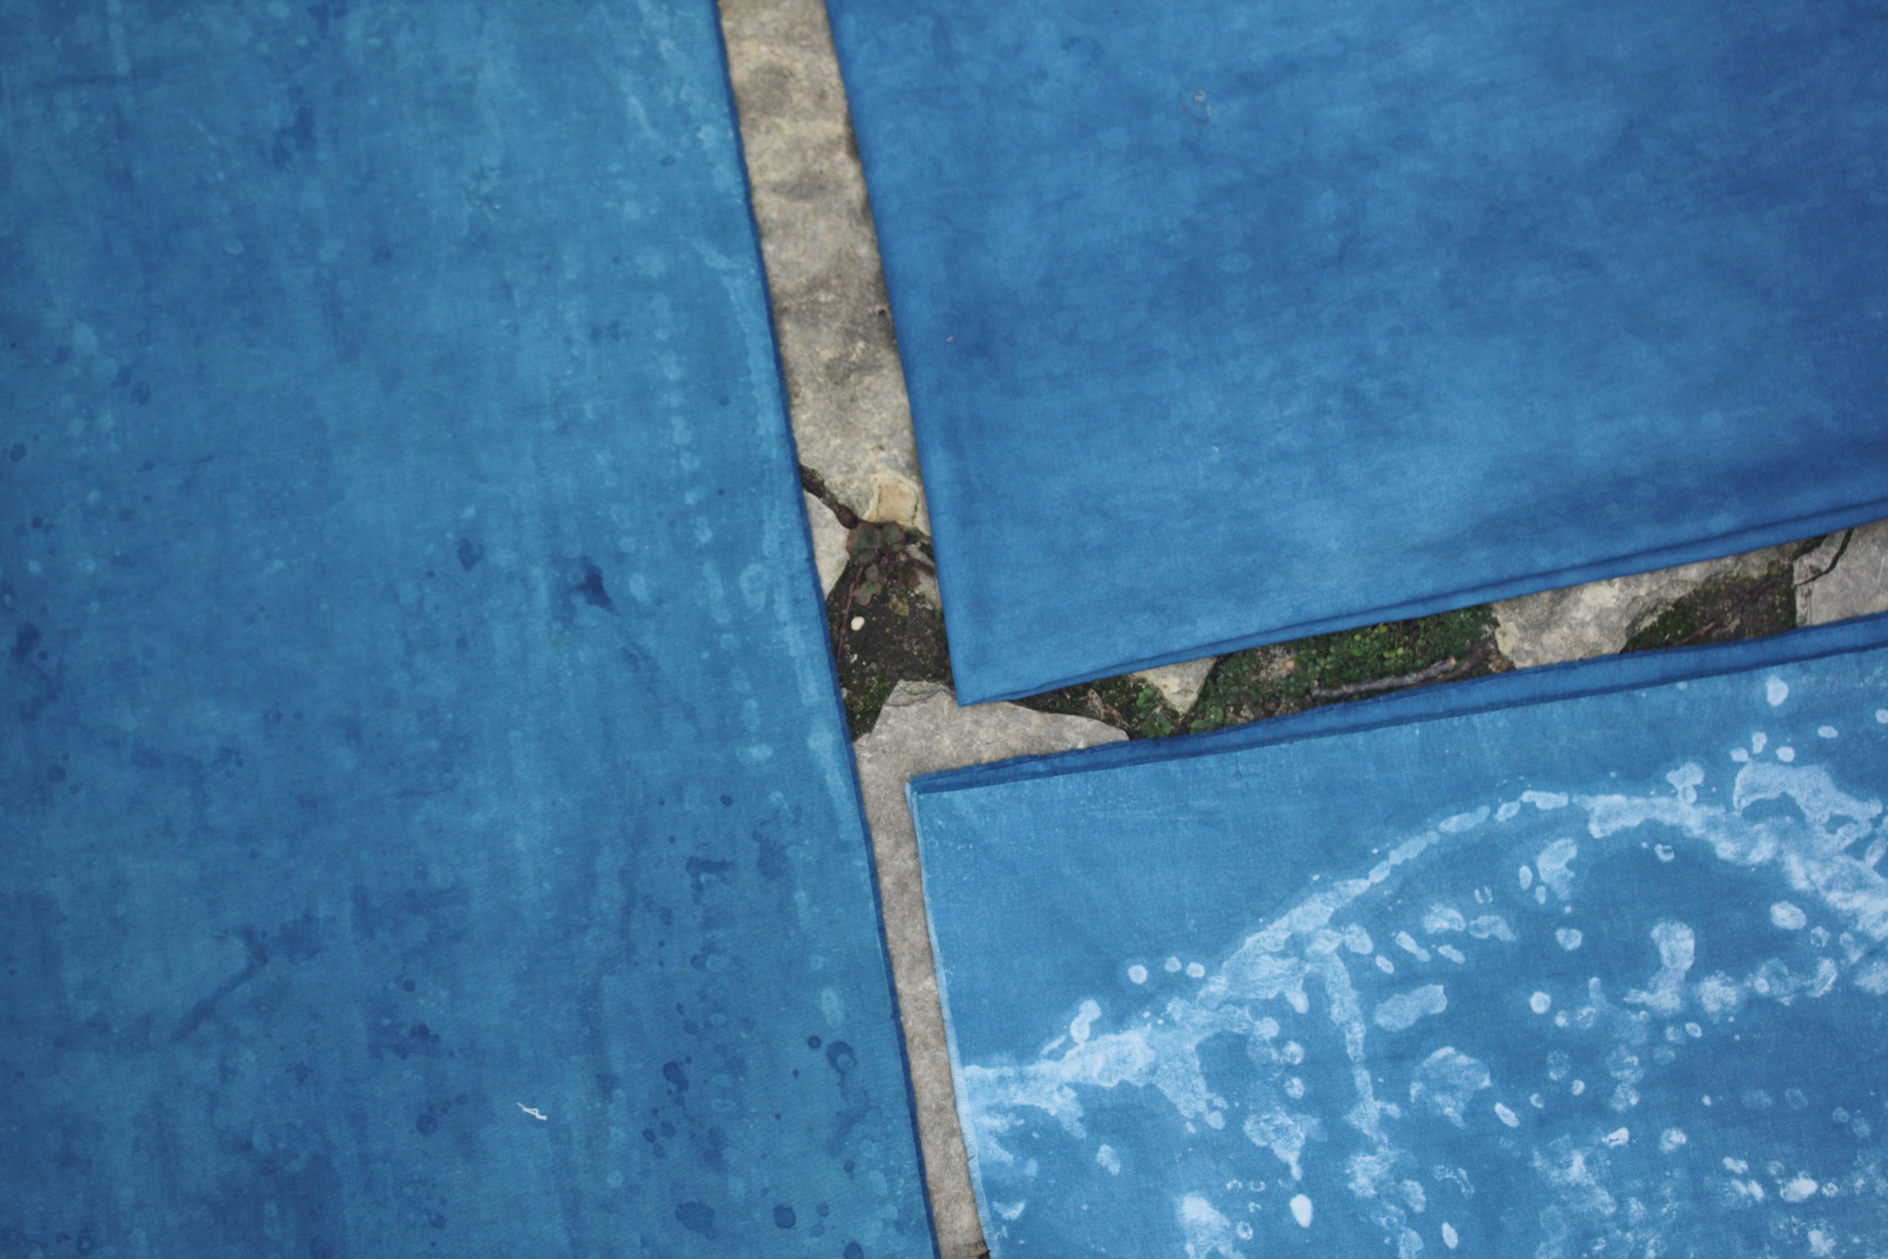
I also wanted to take another try at indigo dying. I love the shibori technique of long running stitches pulled tight and knotted. That was how I created the fabric that was used for the tote. I did a couple of pieces like that again.

I love the random shapes created by the tightening of the stitches.
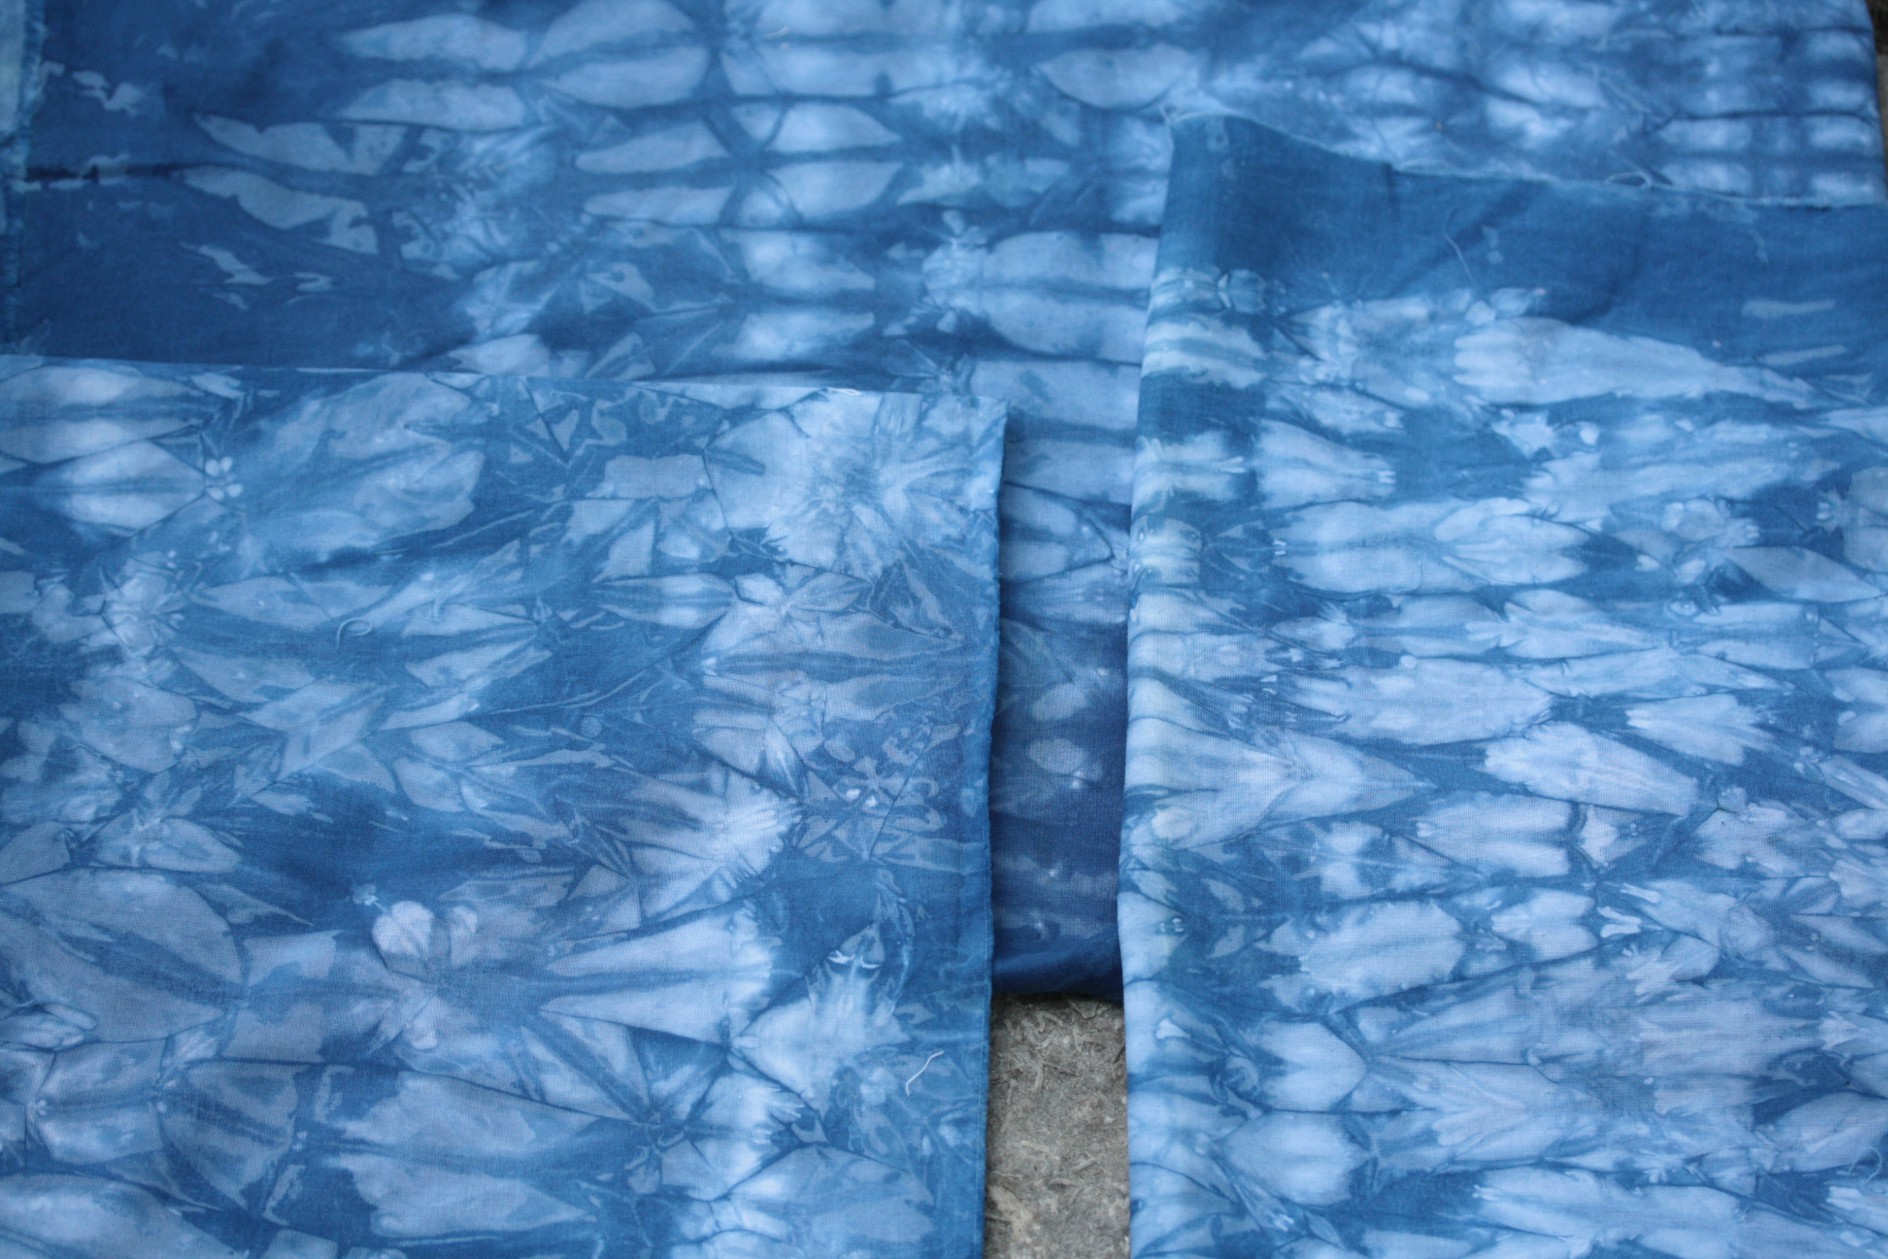
I used some wooden drawer knobs and rubber bands for these.

I can't decide if I like the front or the back better with this pattern. I also did a slow dip on a skein of wool.

I'm anxious to start knitting with this.
I won a copy of Visual Texture on Fabric a couple of years ago. It's filled with great DIY ways to create texture on fabrics, many with things you probably already have on hand.

I used the sugar syrup method for these. I scattered a lot of syrup at first in an attempt to create layers of color. The longer the syrup sets, the more it will resist in the dying process. My syrup was also thin, so it spread a bit leaving shadow lines around the white patterns. I let the syrup set on the fabric for about an hour the first round and then used an old paint brush to apply the indigo. Once the indigo oxidized, I rinsed it and scattered more syrup, waited, and rinsed. I kept going with this process until I was happy with the color. It was difficult to get that true indigo with the brush application, so I did a quick dip in the vat on a couple of yards.
I love the richness of color that appears after the dip. I'm looking forward to cutting into these for more totes and maybe even a quilt.
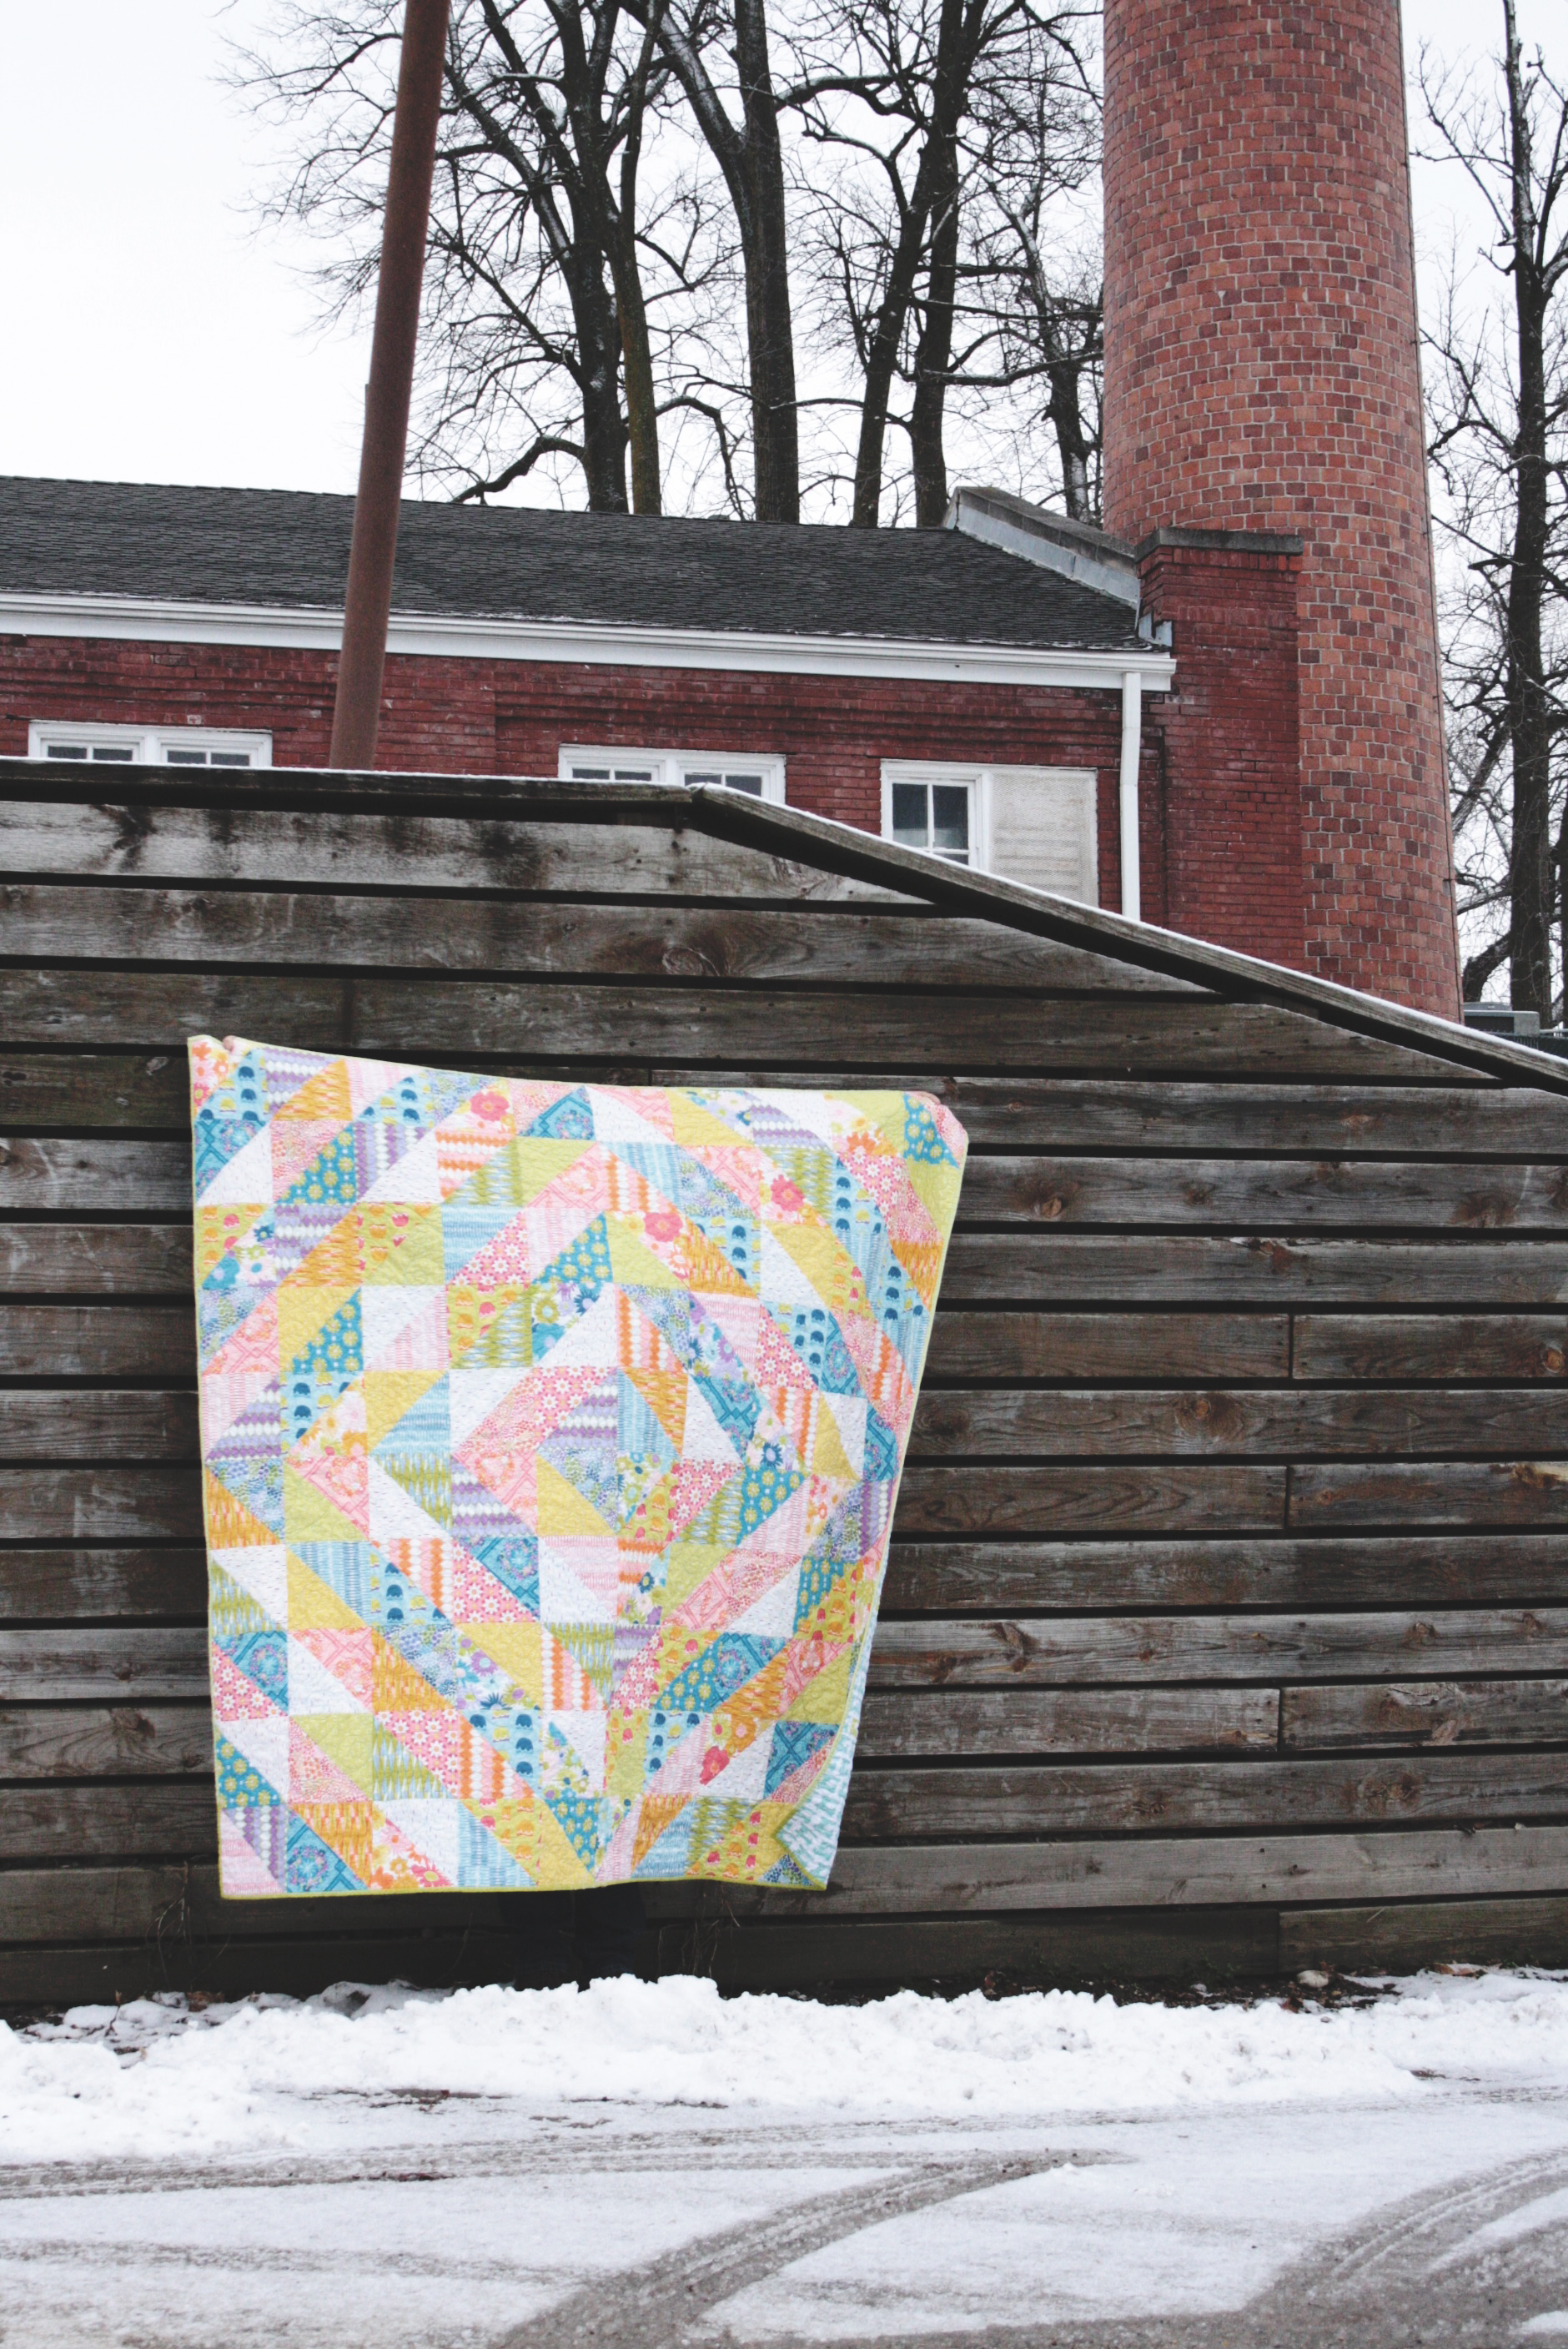
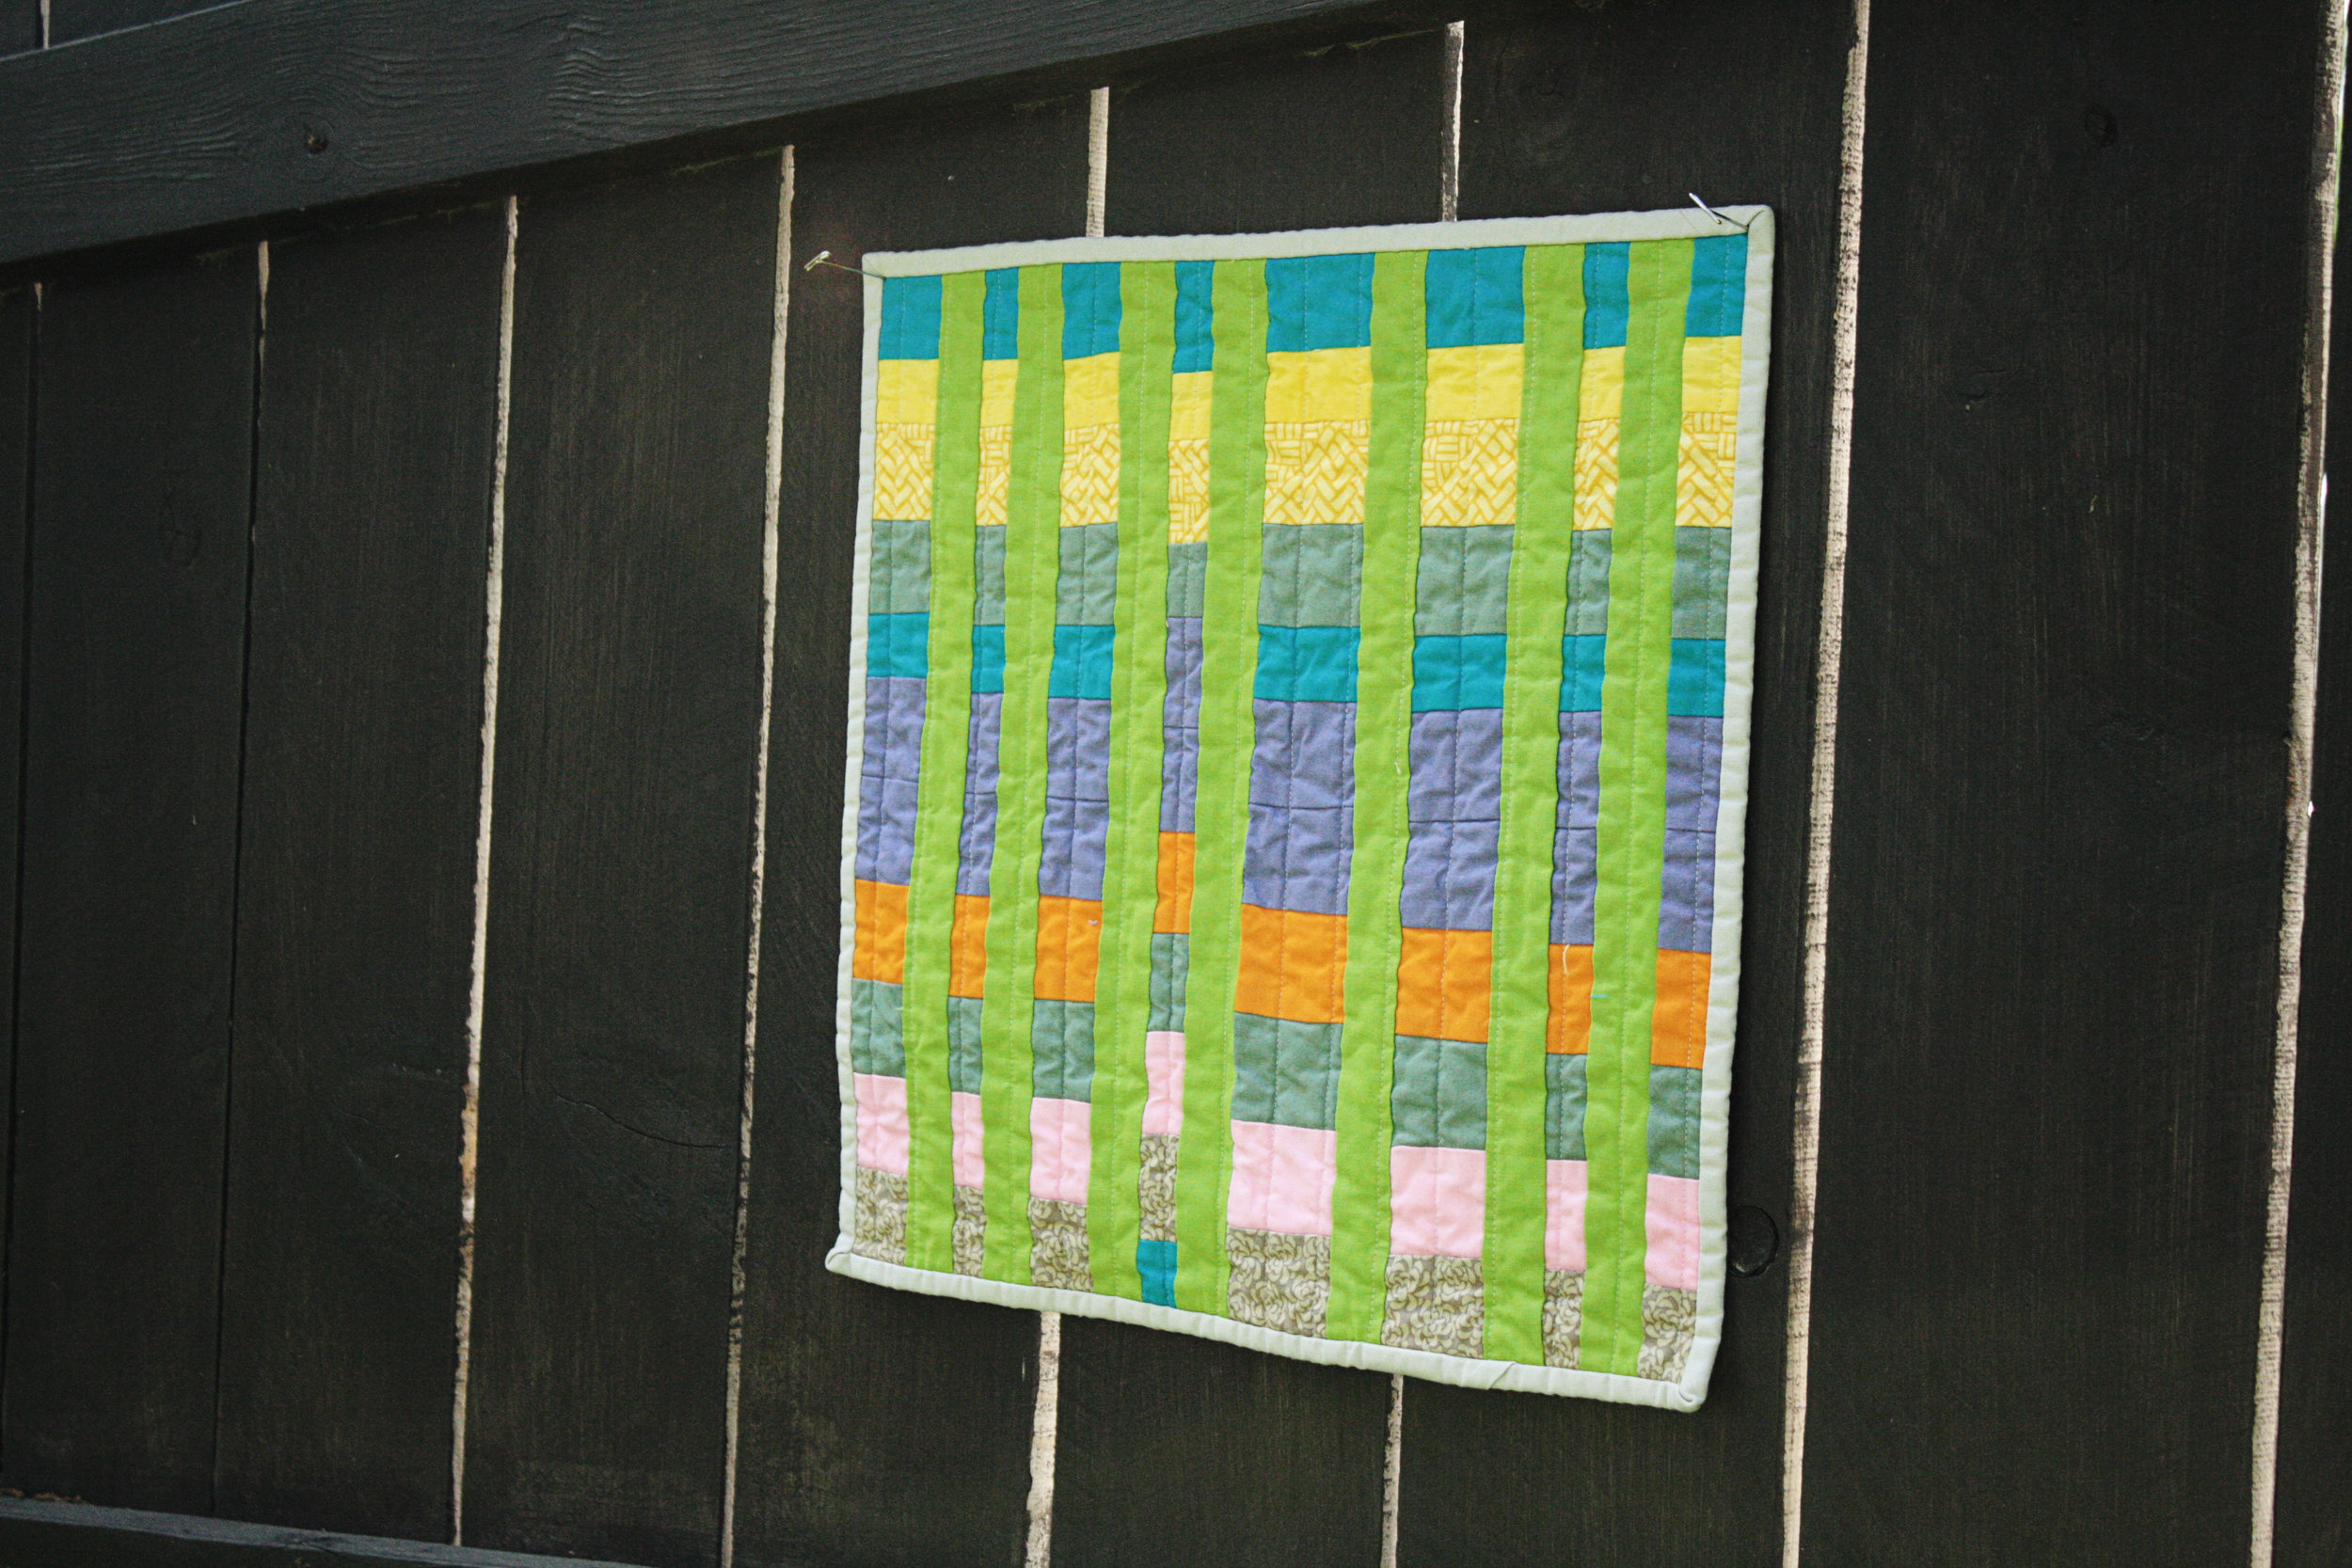
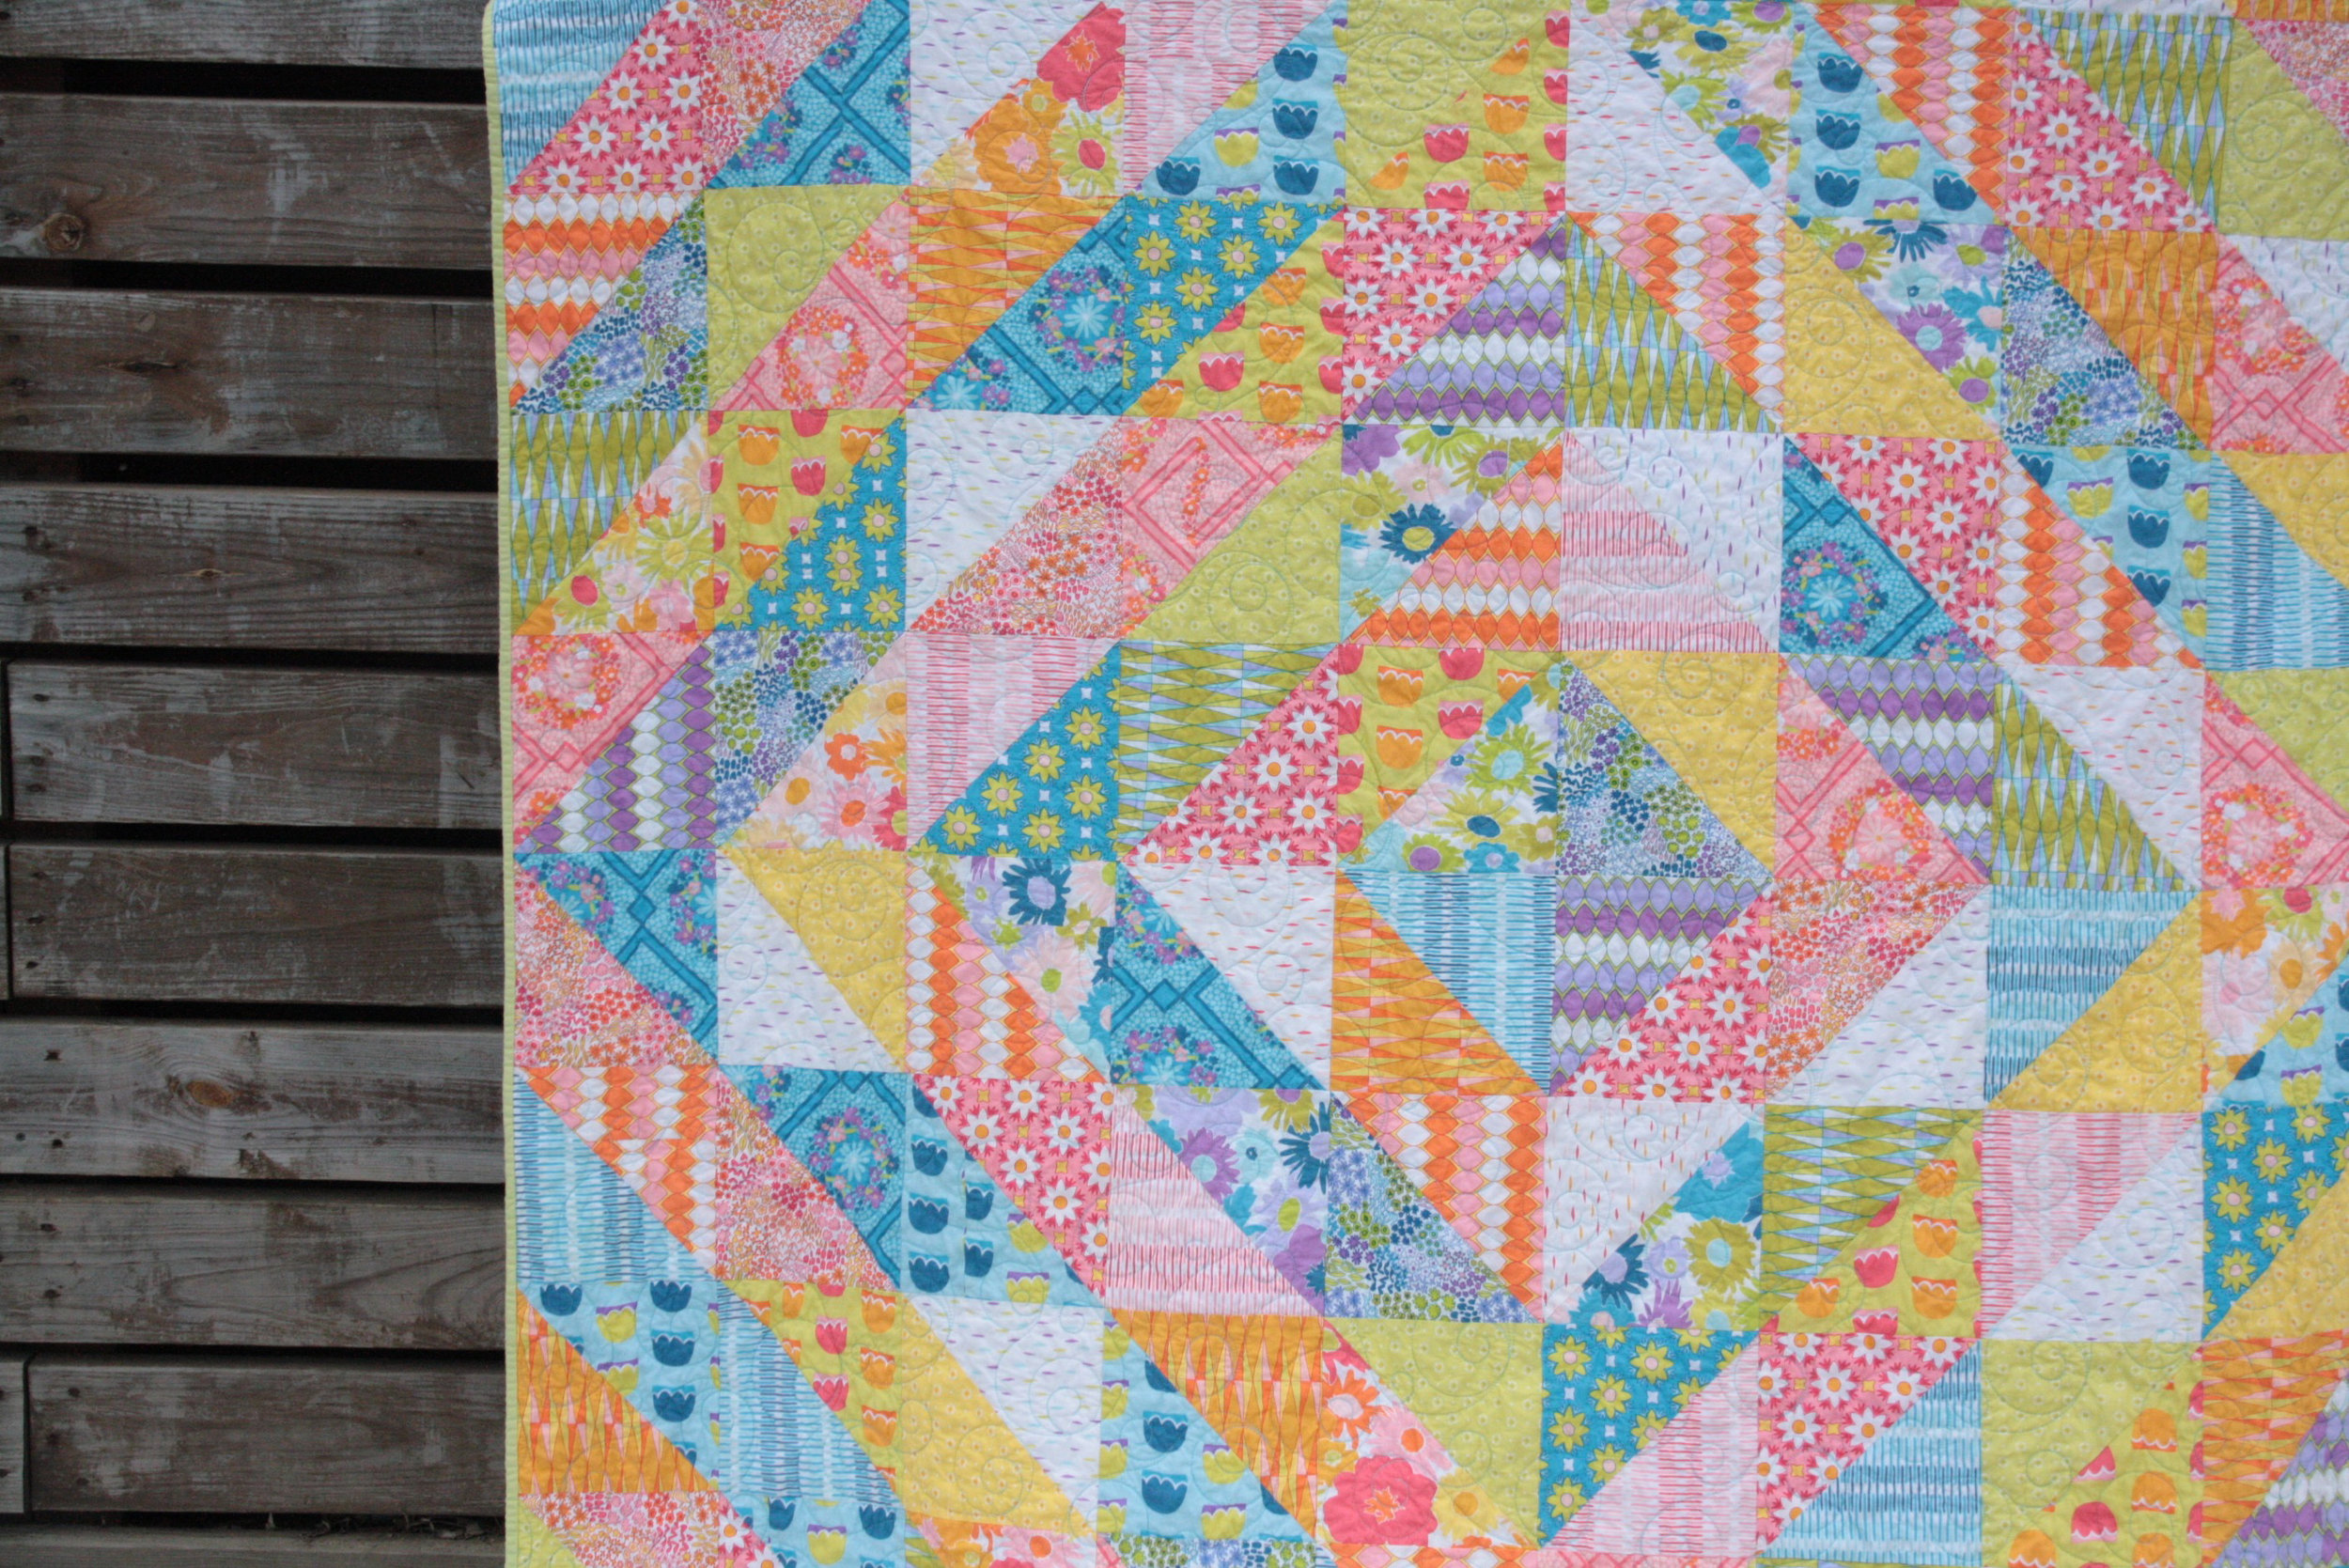 It was long arm quilted with swirls in a turquoise thread. I love everything about this quilt. The fabric is Jeni's Dreaming Vintage line. I'm generally not one to go for warm colors but I love how all of these colors look together. It's such a happy group of prints. The pattern is Golden Afternoon, also by Jeni. I bound the quilt with two shades of green and backed it with a sewing machine print that coordinates in the very best way.
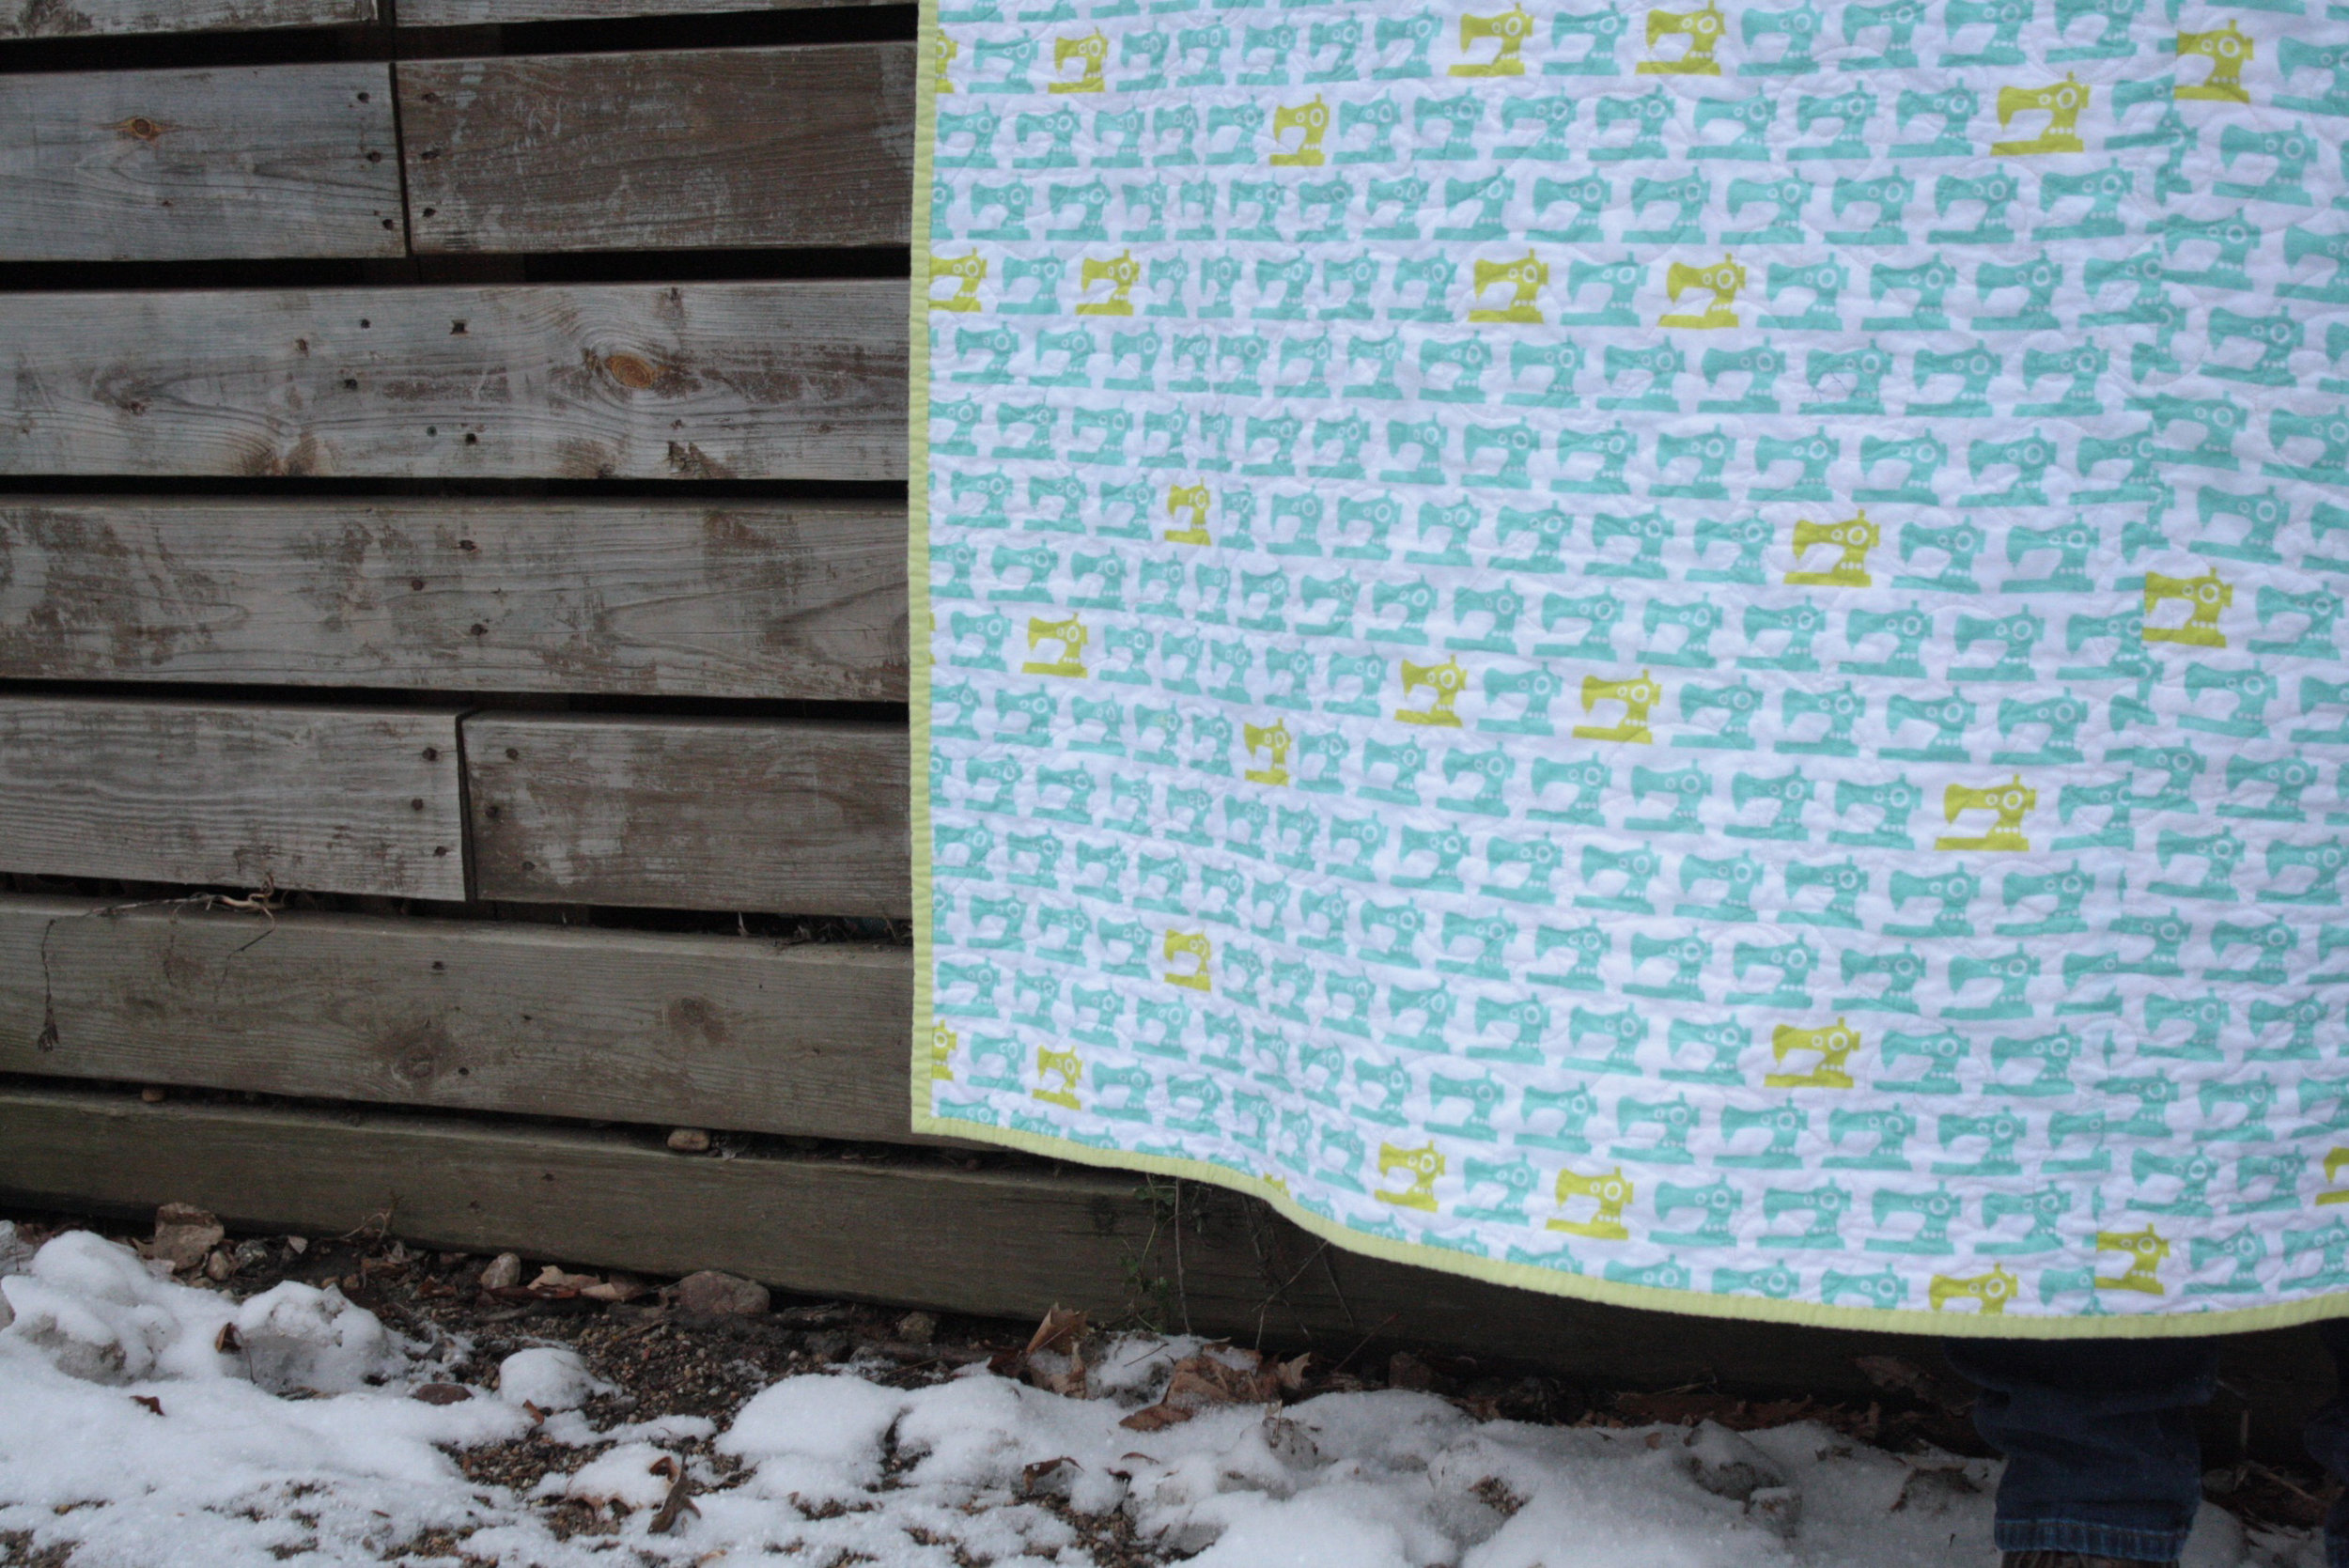 I'm keeping this quilt for myself. I'm greedy like that.
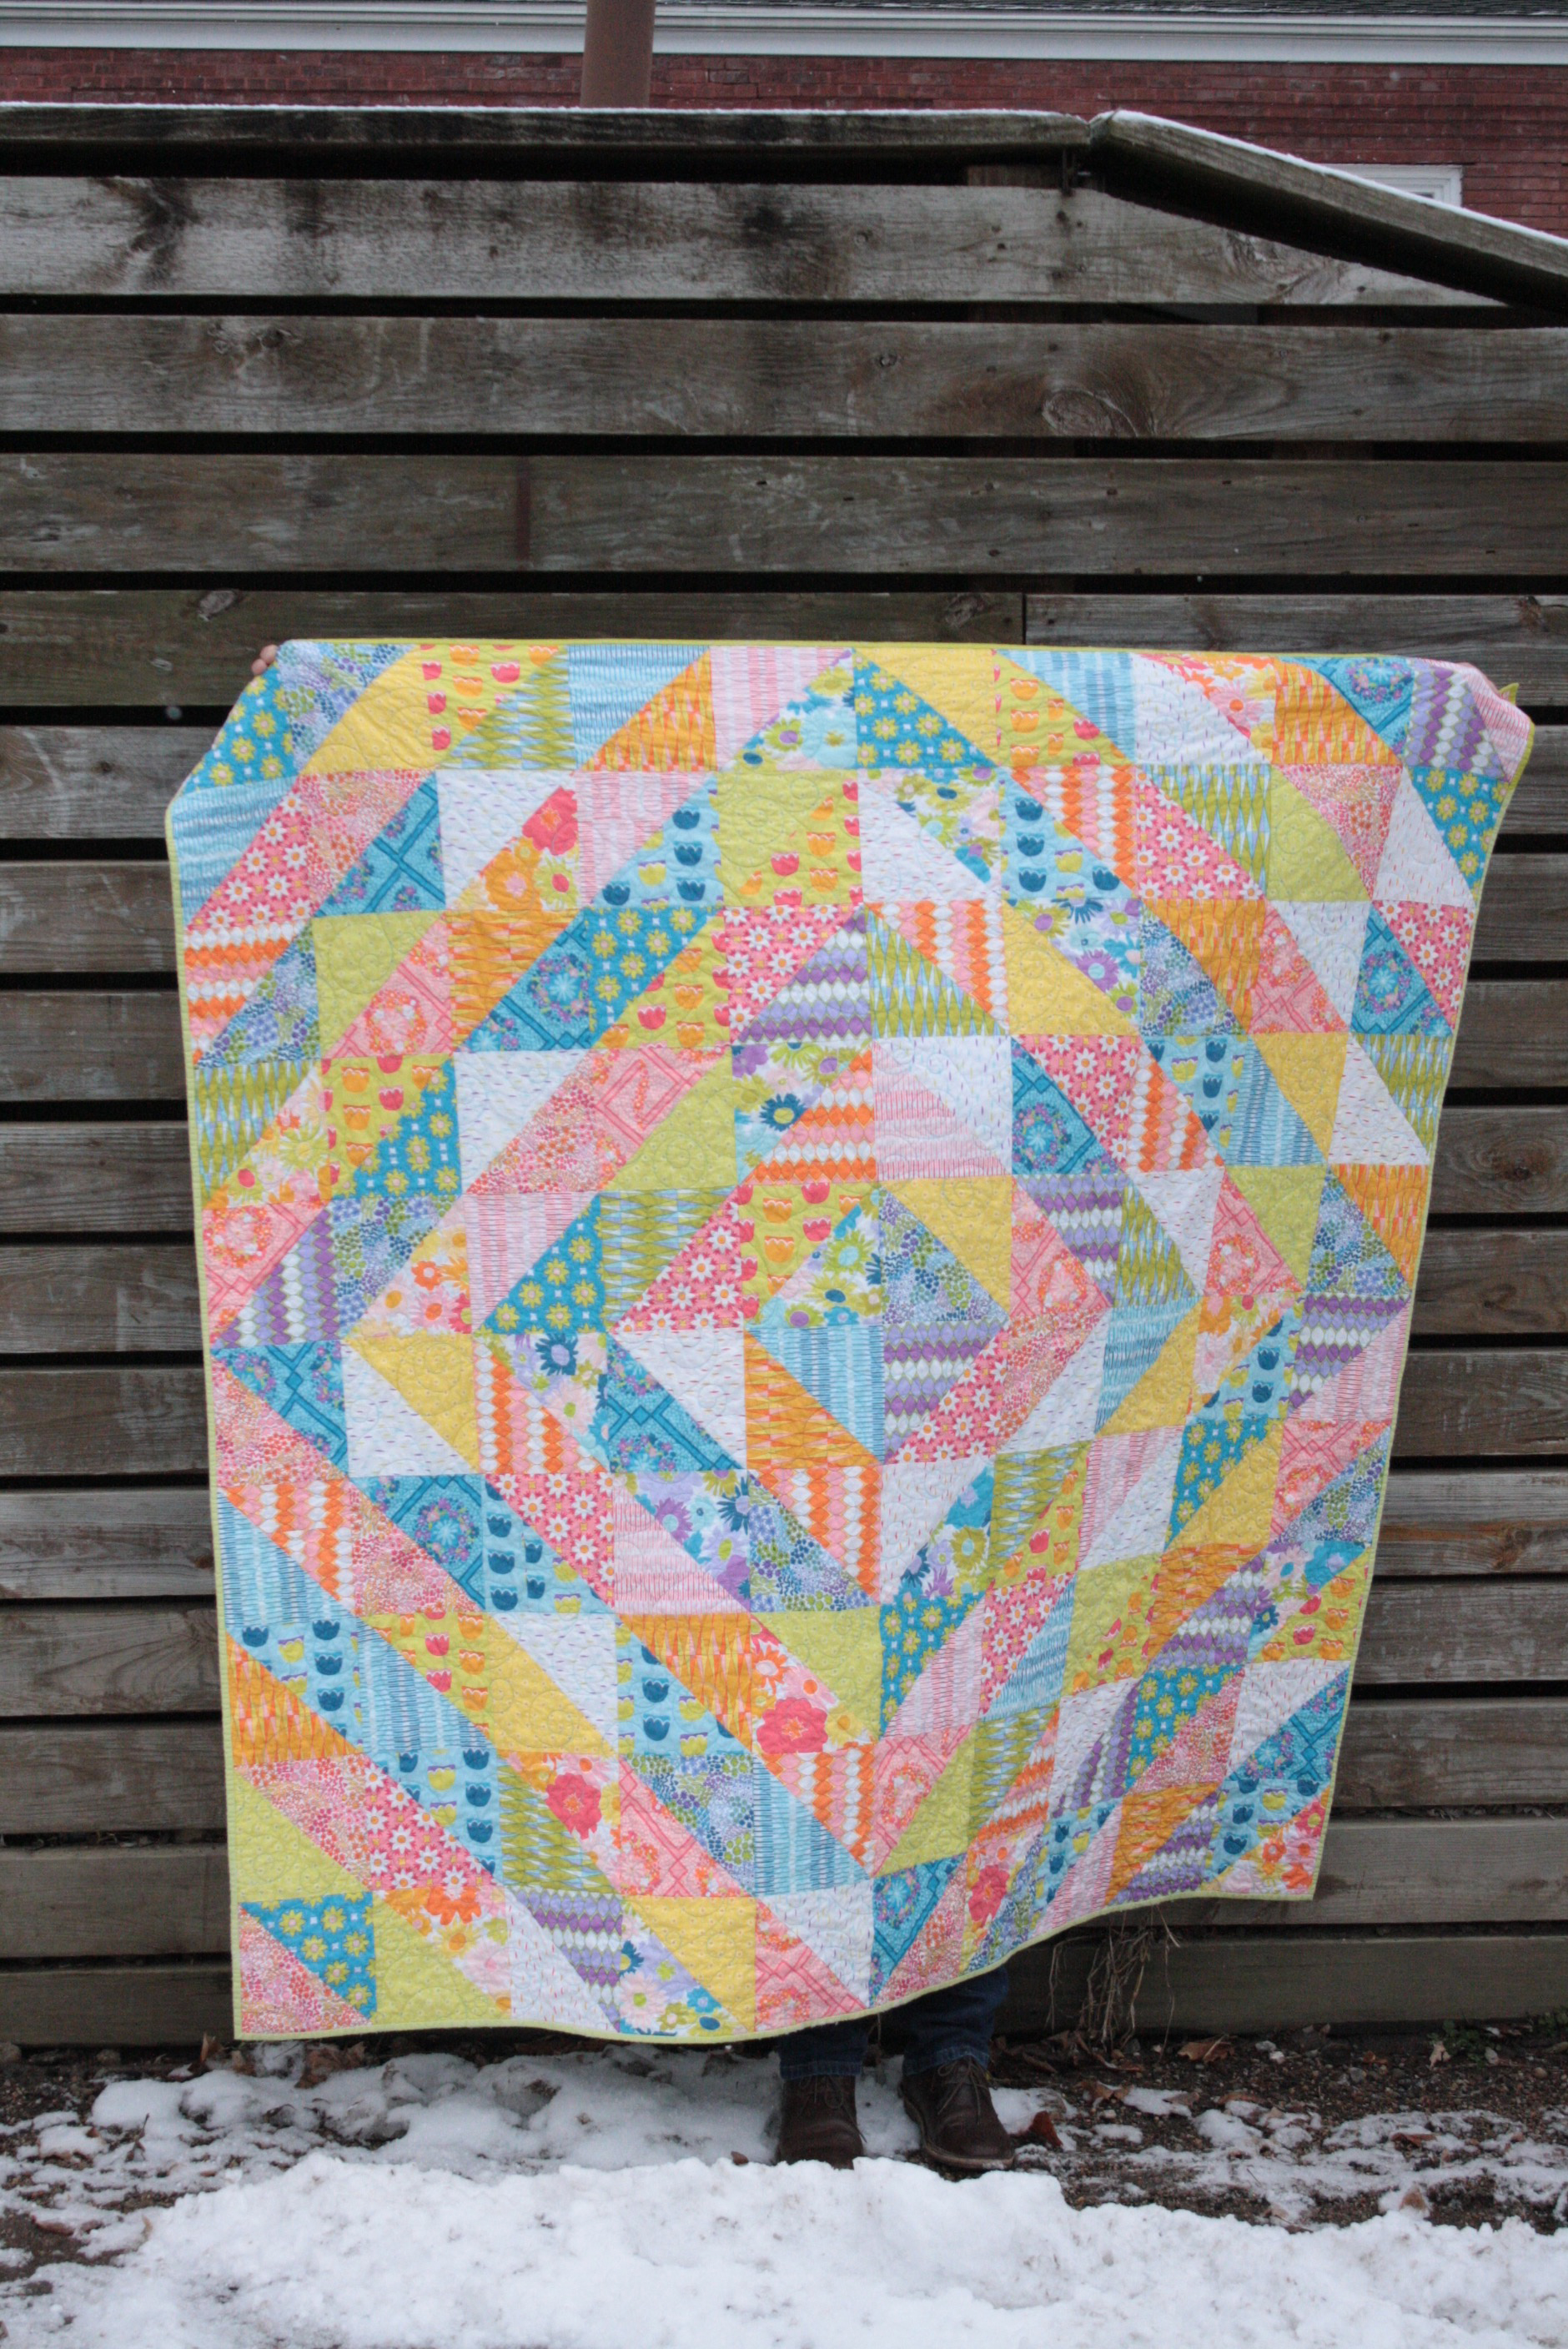


 I think that's why