Posts tagged tote
tiny shop update
sunny days caravan tote zipper

I have added a few totes to my shop.  The weather is finally starting to cool down.  Thank goodness for cardigan weather!  It was too hot to ice dye for quite a stretch there.

Hopefully, I will be able to get some new fabric ready to go in the next few weeks.  If there is interest, I was thinking of adding some yardage and bundles of some of my dyed fabric to the shop.

School starts next week so that should free up some time for me to get to work on my project list.  As much as a dread the idea of using an alarm clock again, I'm looking forward to some uninterrupted stitching time.

Citizens of Textile sale this weekend
go anywhere totes
go anywhere totes

I'm one of this month's featured artists over at Citizens of Textile this month.

I've made a small collection of totes, some zippered pouches, and a couple of special baby quilts.  Each piece uses some of the snow dyed cotton I made late this winter.

snow dye baby quilt
snow dye baby quilt

The range of shades and values created with the snow dye process are pretty inspiring.  It's made for a fun one a kind group of projects that I'm so excited to share.

detail of buckskin caravan tote

The Citizens of Textile shop is open through Sunday night 7pm CST.

Thanks!

campfire messenger bag

campfire messenger bag frontI'm sure it will come to no surprise to you when I say I'm a big fan of Anna's patterns.  Her step by step explanations make what might be a nerve-wracking actually completely doable.  Things like strap extenders and snaps are actually kind of easy when broken down step by step.  Even the inset zipper went in like a breeze! campfire messenger bag inside

I used a natural linen for the exterior and some of the sugar resist cotton I dyed last summer for the flap and binding.  It's lined with Summersville which always makes me smile when I see it.

This pattern is part of the Bag of the Month Club.  There are some amazing patterns available.  You should definitely check them out.

campfire messenger bag side

I would say I'm looking forward to using this bag but I don't think I'll get to.  I used it one day, but lulu saw my things in it and wondered why I was using her bag.  She said that was fine for the day, but my time is up and I think it's all hers now.  I really can't blame her.

summer indigo

indigo brushed and dipped with sugar syrup resist When I started this post I was going to link back to the tote I made with cotton I dyed last year with indigo.  Then I realized I never shared it here, only on instagram.

Luxe Tote in indigo and buckskin

It's the Luxe Tote pattern.  The handles and corners are buckskin.  The tote went together quickly and I will be making another one at some point, I'm sure.

I also wanted to take another try at indigo dying.  I love the shibori technique of long running stitches pulled tight and knotted.  That was how I created the fabric that was used for the tote.  I did a couple of pieces like that again.

indigo string shibori

I love the random shapes created by the tightening of the stitches.

I used some wooden drawer knobs and rubber bands for these.

indigo round drawer knobs as resist

I can't decide if I like the front or the back better with this pattern.   I also did a slow dip on a skein of wool.

indigo dyed yarn

I'm anxious to start knitting with this.

I won a copy of Visual Texture on Fabric a couple of years ago.  It's filled with great DIY ways to create texture on fabrics, many with things you probably already have on hand.

indigo brushed with sugar syrup resist

I used the sugar syrup method for these.  I scattered a lot of syrup at first in an attempt to create layers of color.  The longer the syrup sets, the more it will resist in the dying process.  My syrup was also thin, so it spread a bit leaving shadow lines around the white patterns.  I let the syrup set on the fabric for about an hour the first round and then used an old paint brush to apply the indigo.  Once the indigo oxidized, I rinsed it and scattered more syrup, waited, and rinsed.  I kept going with this process until I was happy with the color.  It was difficult to get that true indigo with the brush application, so I did a quick dip in the vat on a couple of yards.

indigo brush and dip with sugar syrup resist

I love the richness of color that appears after the dip.  I'm looking forward to cutting into these for more totes and maybe even a quilt.

indigo with string shibori resist

all in a weeks work

I managed to ignore a good portion of the housework this week in favor of some fun sewing projects. I've started a new quilt for our bed.  I've had a fabric stack set aside to make a bear paw quilt for our bed for over a year now.

fabric stack for bear paw

Then Dana from Old Red Barn started up a little scrappy bear paw quilt along over on instagram.  It was just the kickstart I needed.

churn dash for bear paw

I'm planning to do one special accent paw in each block so I spent some time this week working on some of those.

blocks for bearpaw

Lulu's friend has a birthday coming up so she chose the fabric and I did the stitching on this very dear deer.  The pattern is from Issue 2 of Love Patchwork and Quilting.  (one of the cutest quilting and stitching magazines around)

dear deer

I was also lucky enough to get a request from Anna of Noodlehead to try out her new road trip case pattern.  I'm already thinking about what fabrics I will use on my next one.

I love the button and loop closure.

road trip case

There are two pocket options.  I chose the four pocket version with flaps.

inside of road trip case

I'm filling mine with some of my hand piecing supplies.

It was my first time working with vinyl.  I was nervous because I have heard so much over the years about how it can get stuck on presser feet while you are stitching, but I used my walking foot and it was a breeze!  I have to admit, I did get over confident and think that I could machine finish the binding.  A skill I've never been able to master and managed to get some stitches on the vinyl.  In the end, I couldn't take the sloppy stitching lines so I picked them out and finished it by hand.  I was left with some tiny holes in the vinyl, but I think they are less distracting than the line of stitching so I'm happy.

Thankfully this one wasn't a gift so I was able to accept my mistake and stitch on.  Well, again I have to admit first I ate a handful of chocolate covered almonds and then I stitched on.  I think those tiny holes might be a little reminder of how important it is to slow down and finish a project the right way.

Sometimes stubbornness just gets in the way doesn't it?

basic drawstring bag

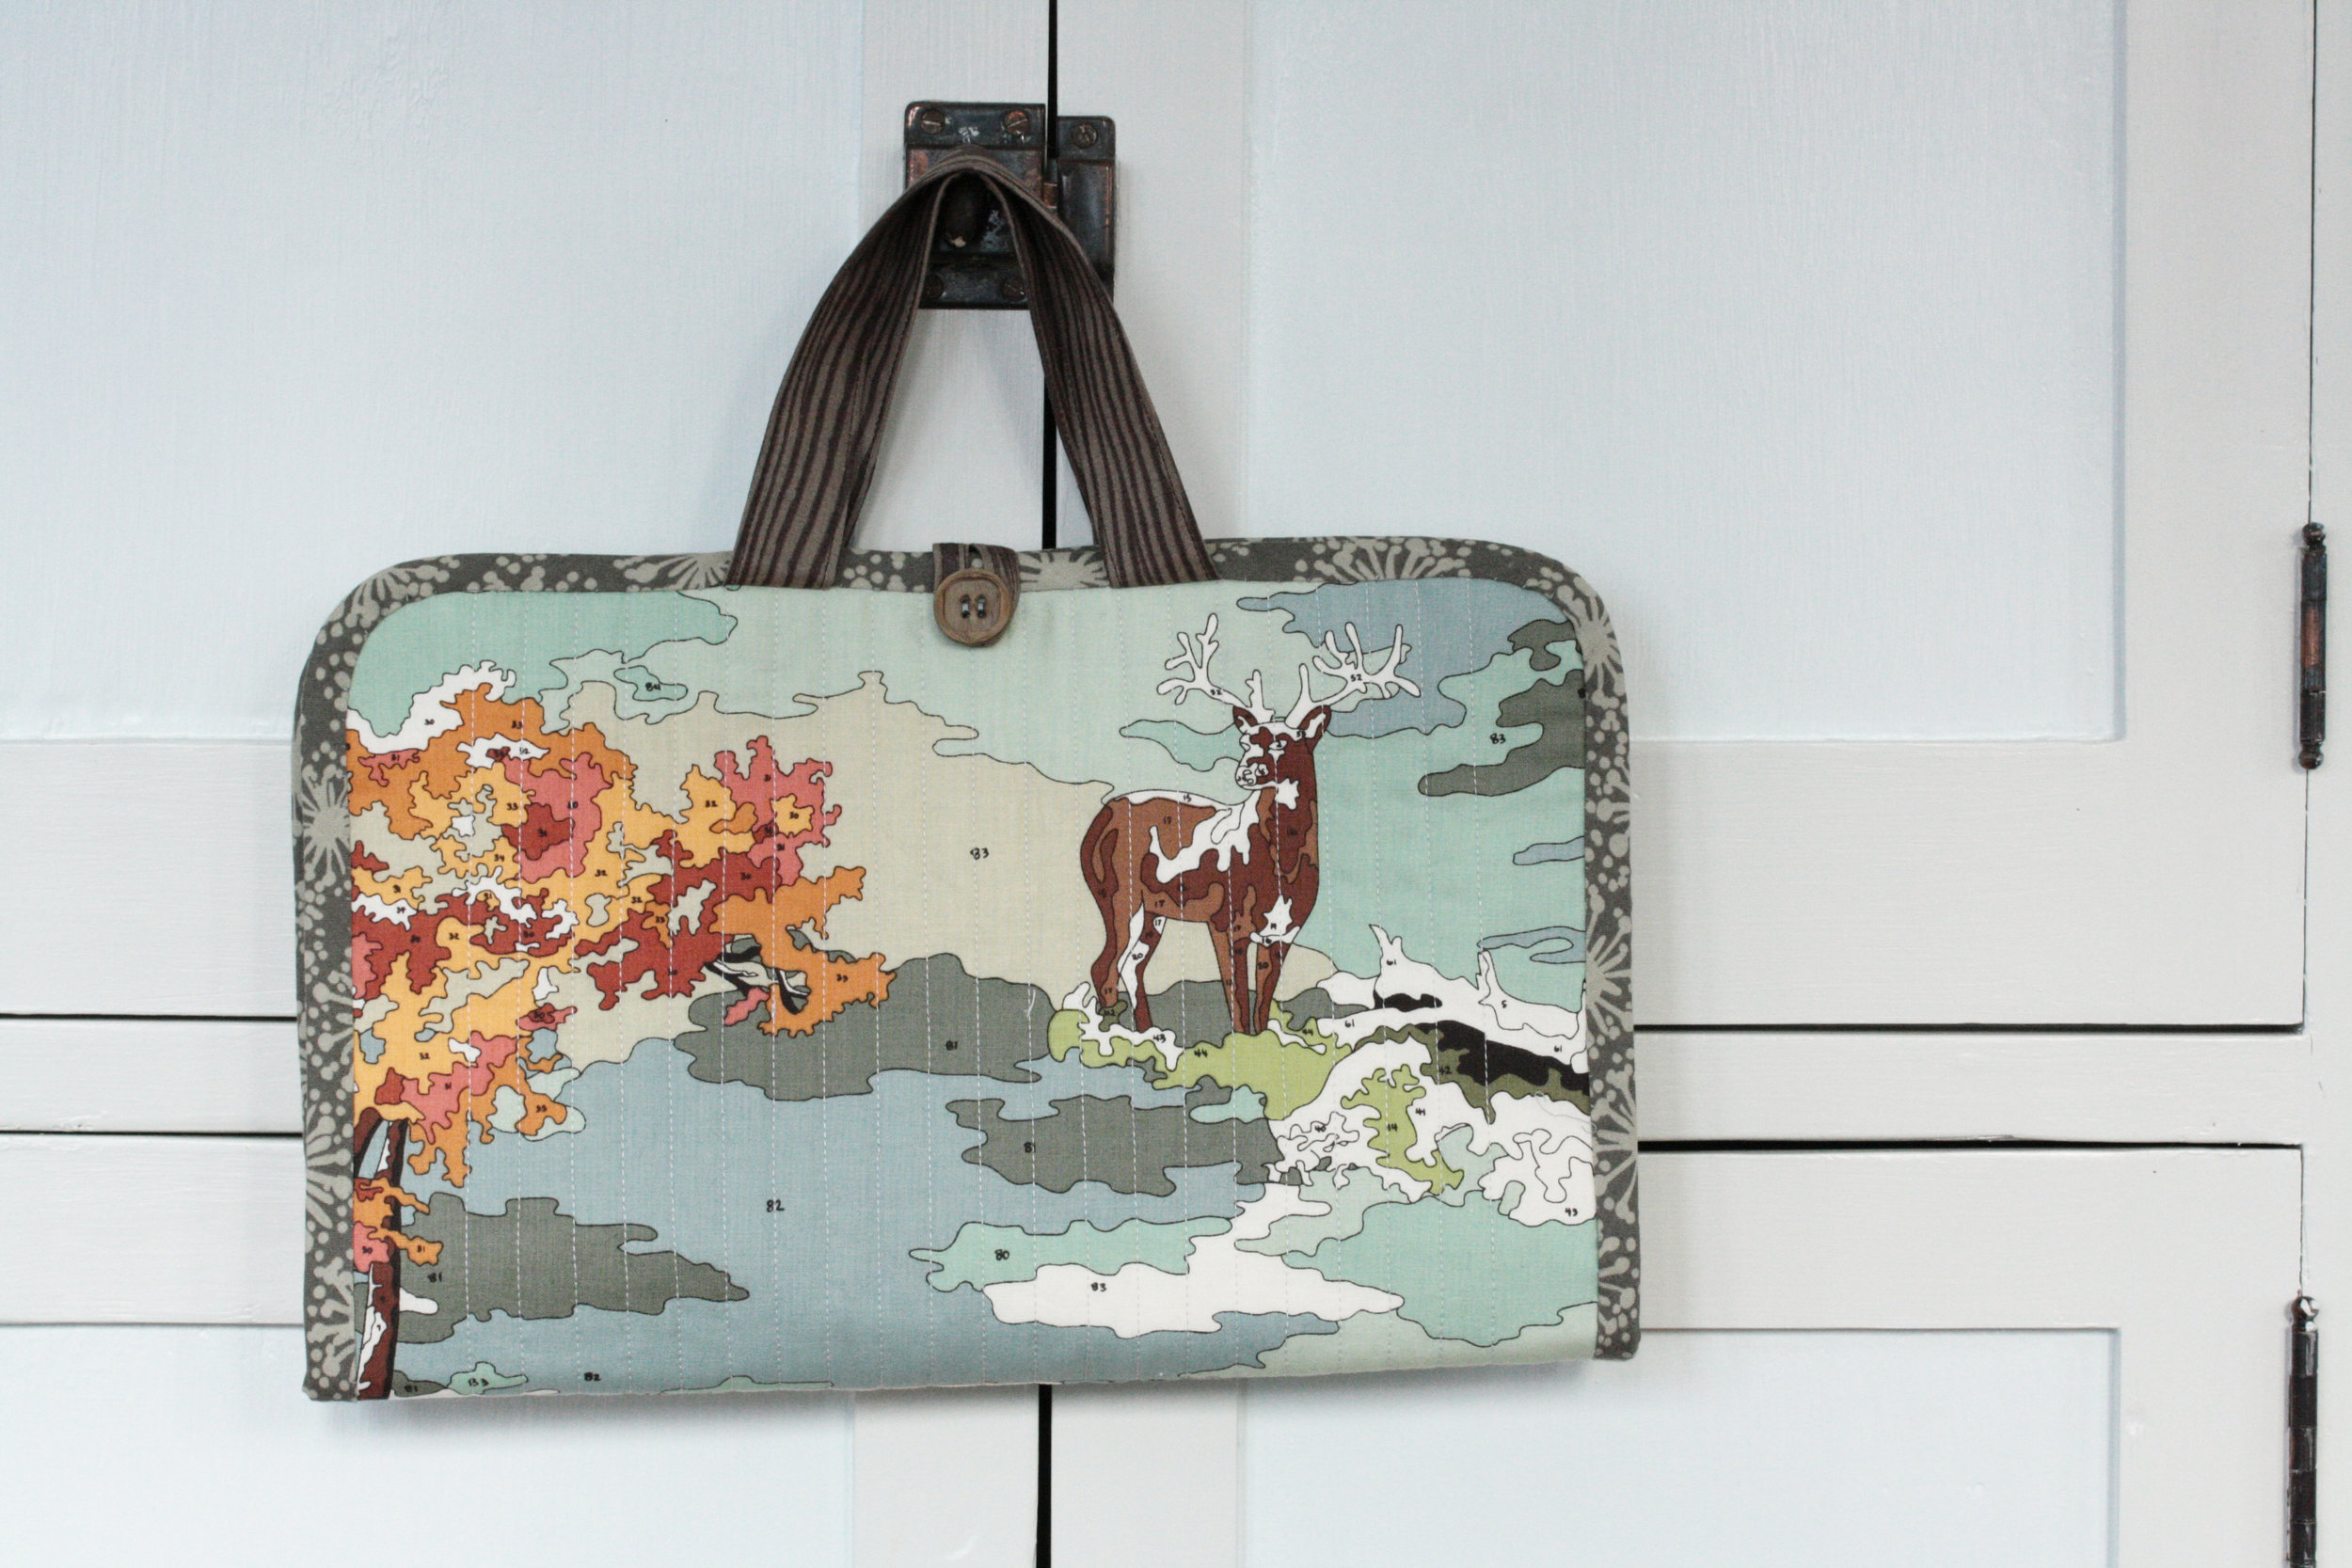
I use these little bags for all sorts of things.  They are great for travel, keeping dresser drawers organized, but most often I use them as gift bags.  The only thing better than a wrapped present is when the wrapping is part of the present too.  They are quick and easy to make, especially when you assembly line the process to make multiple bags.

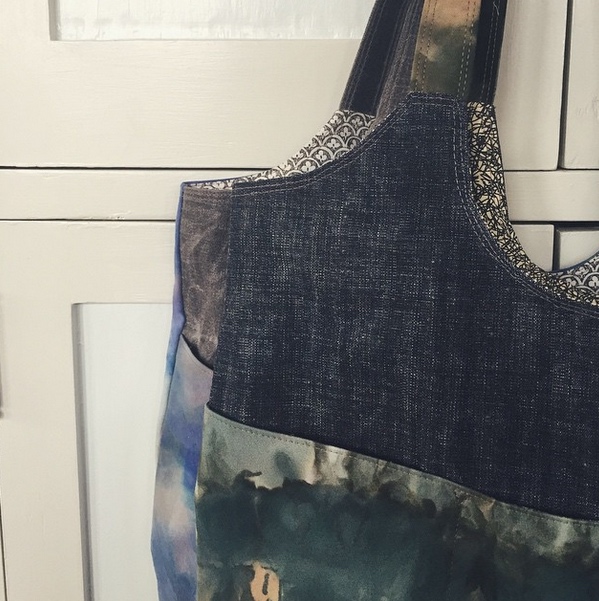
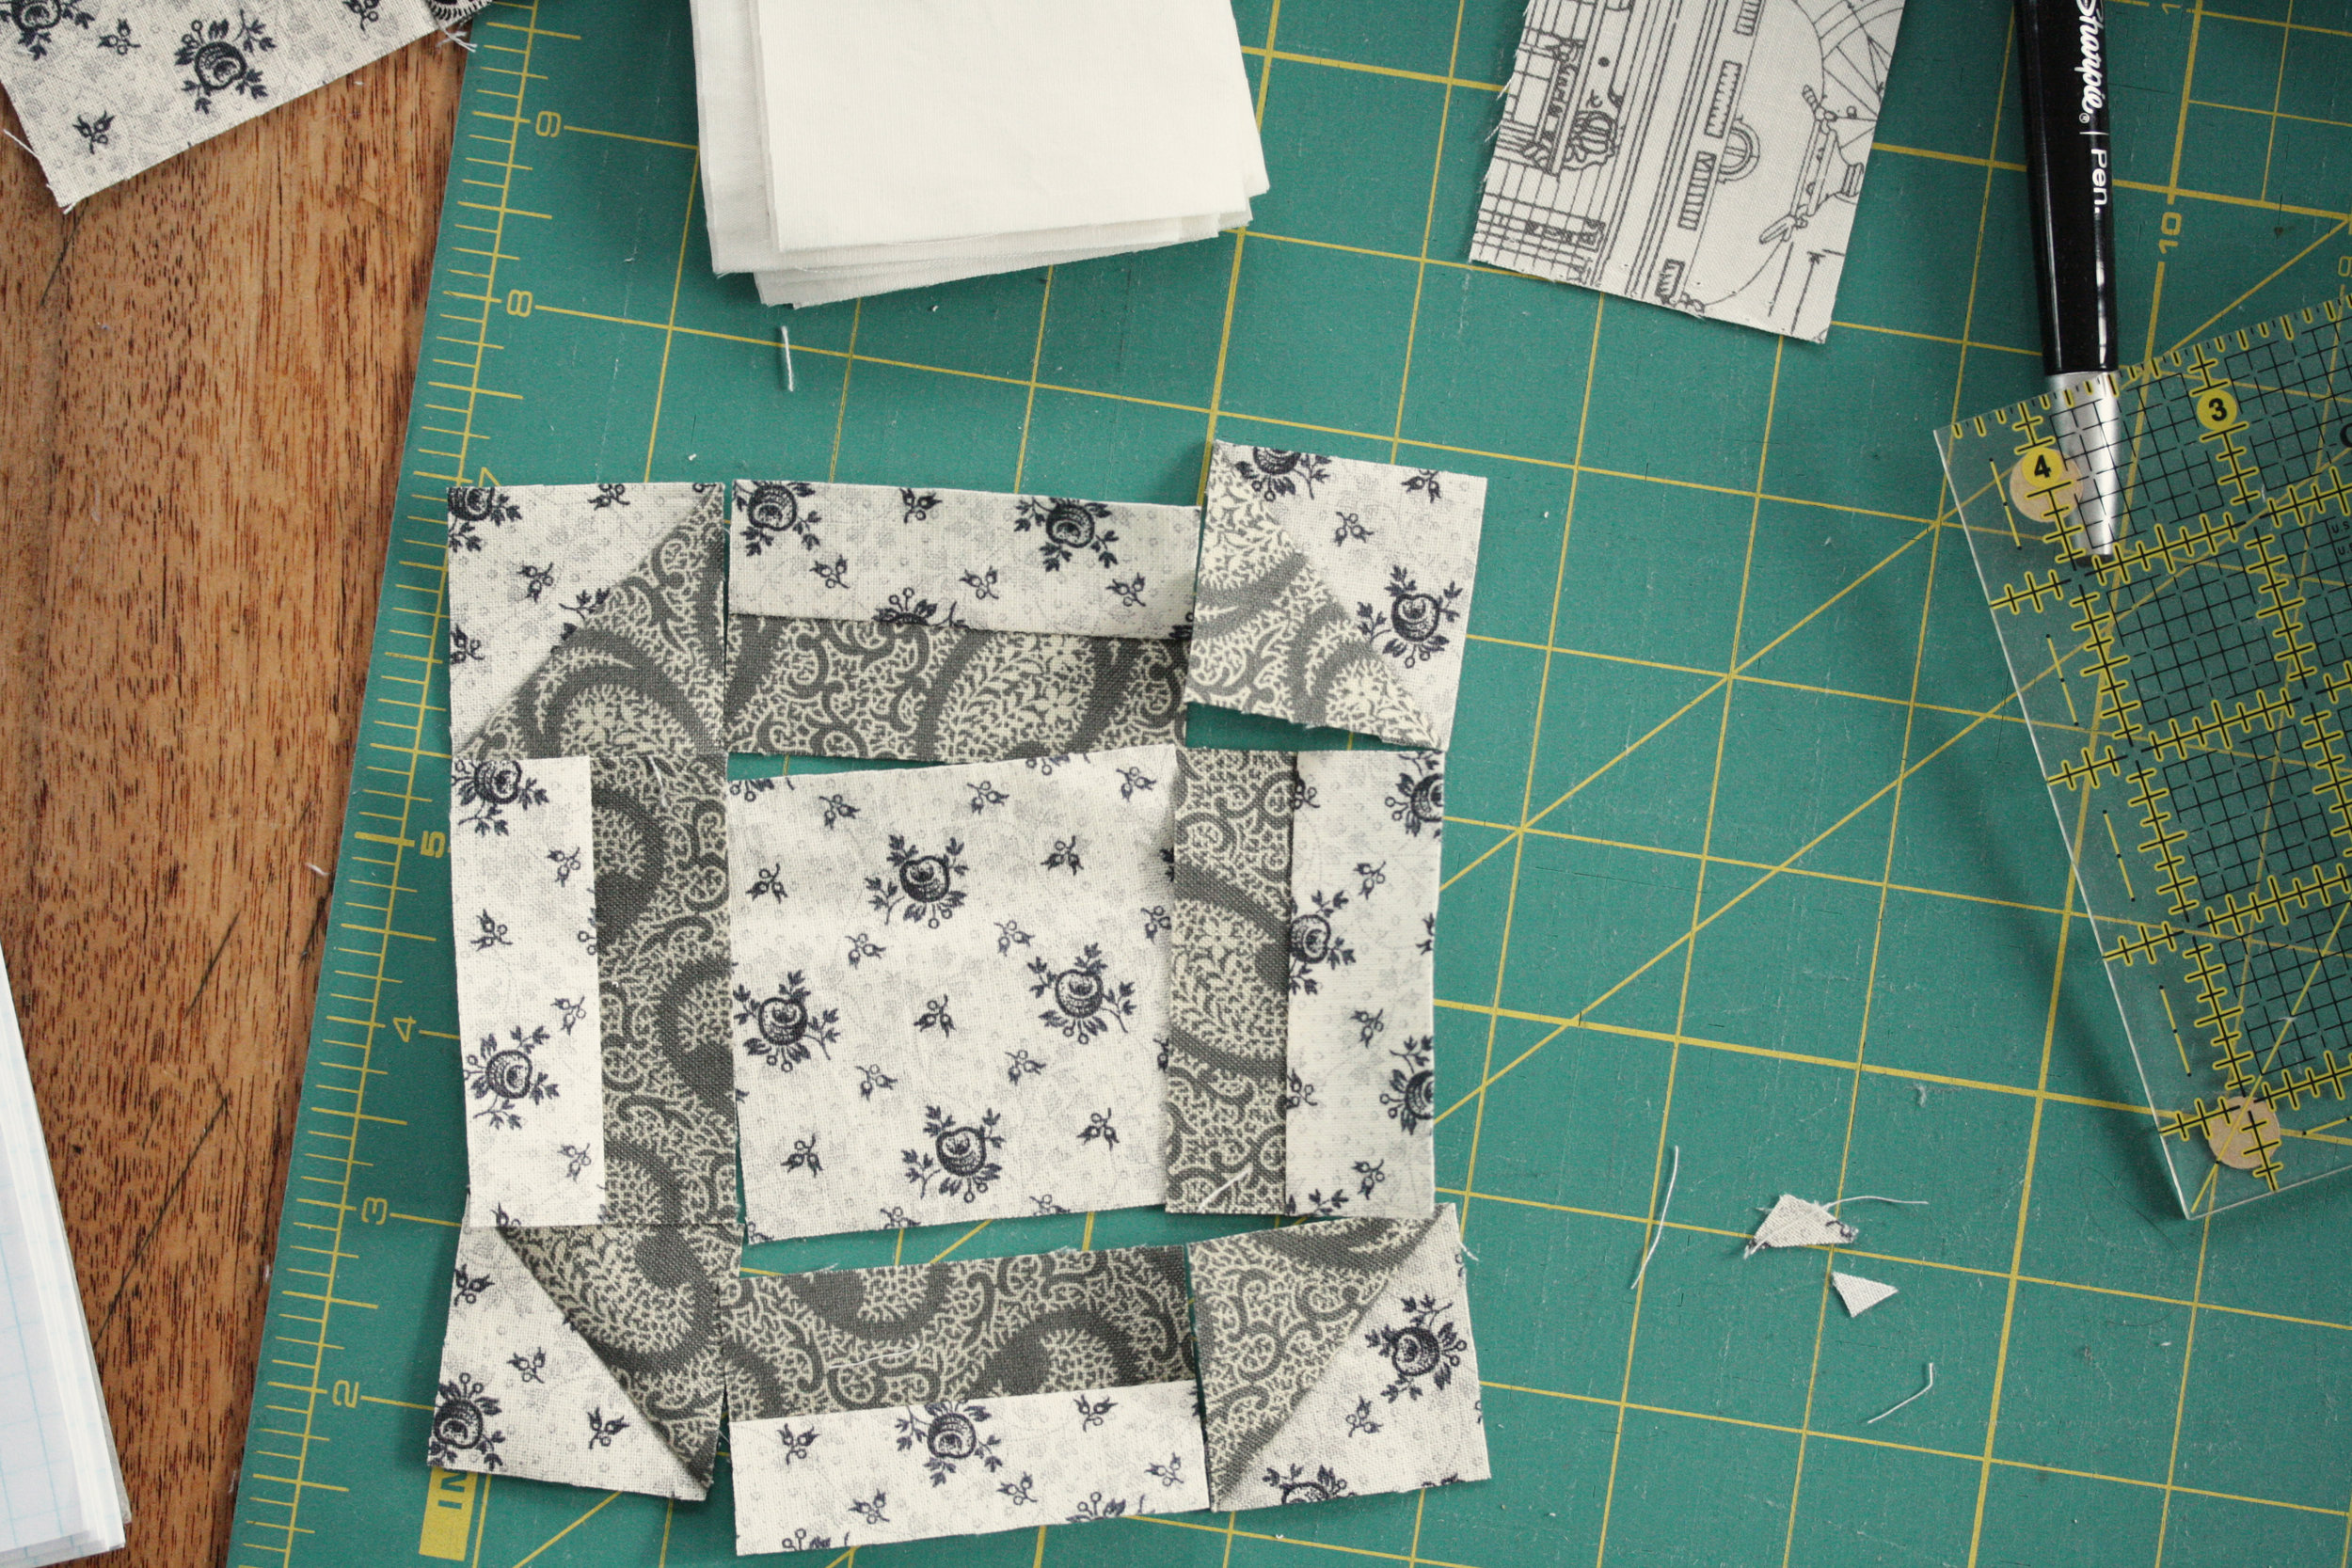
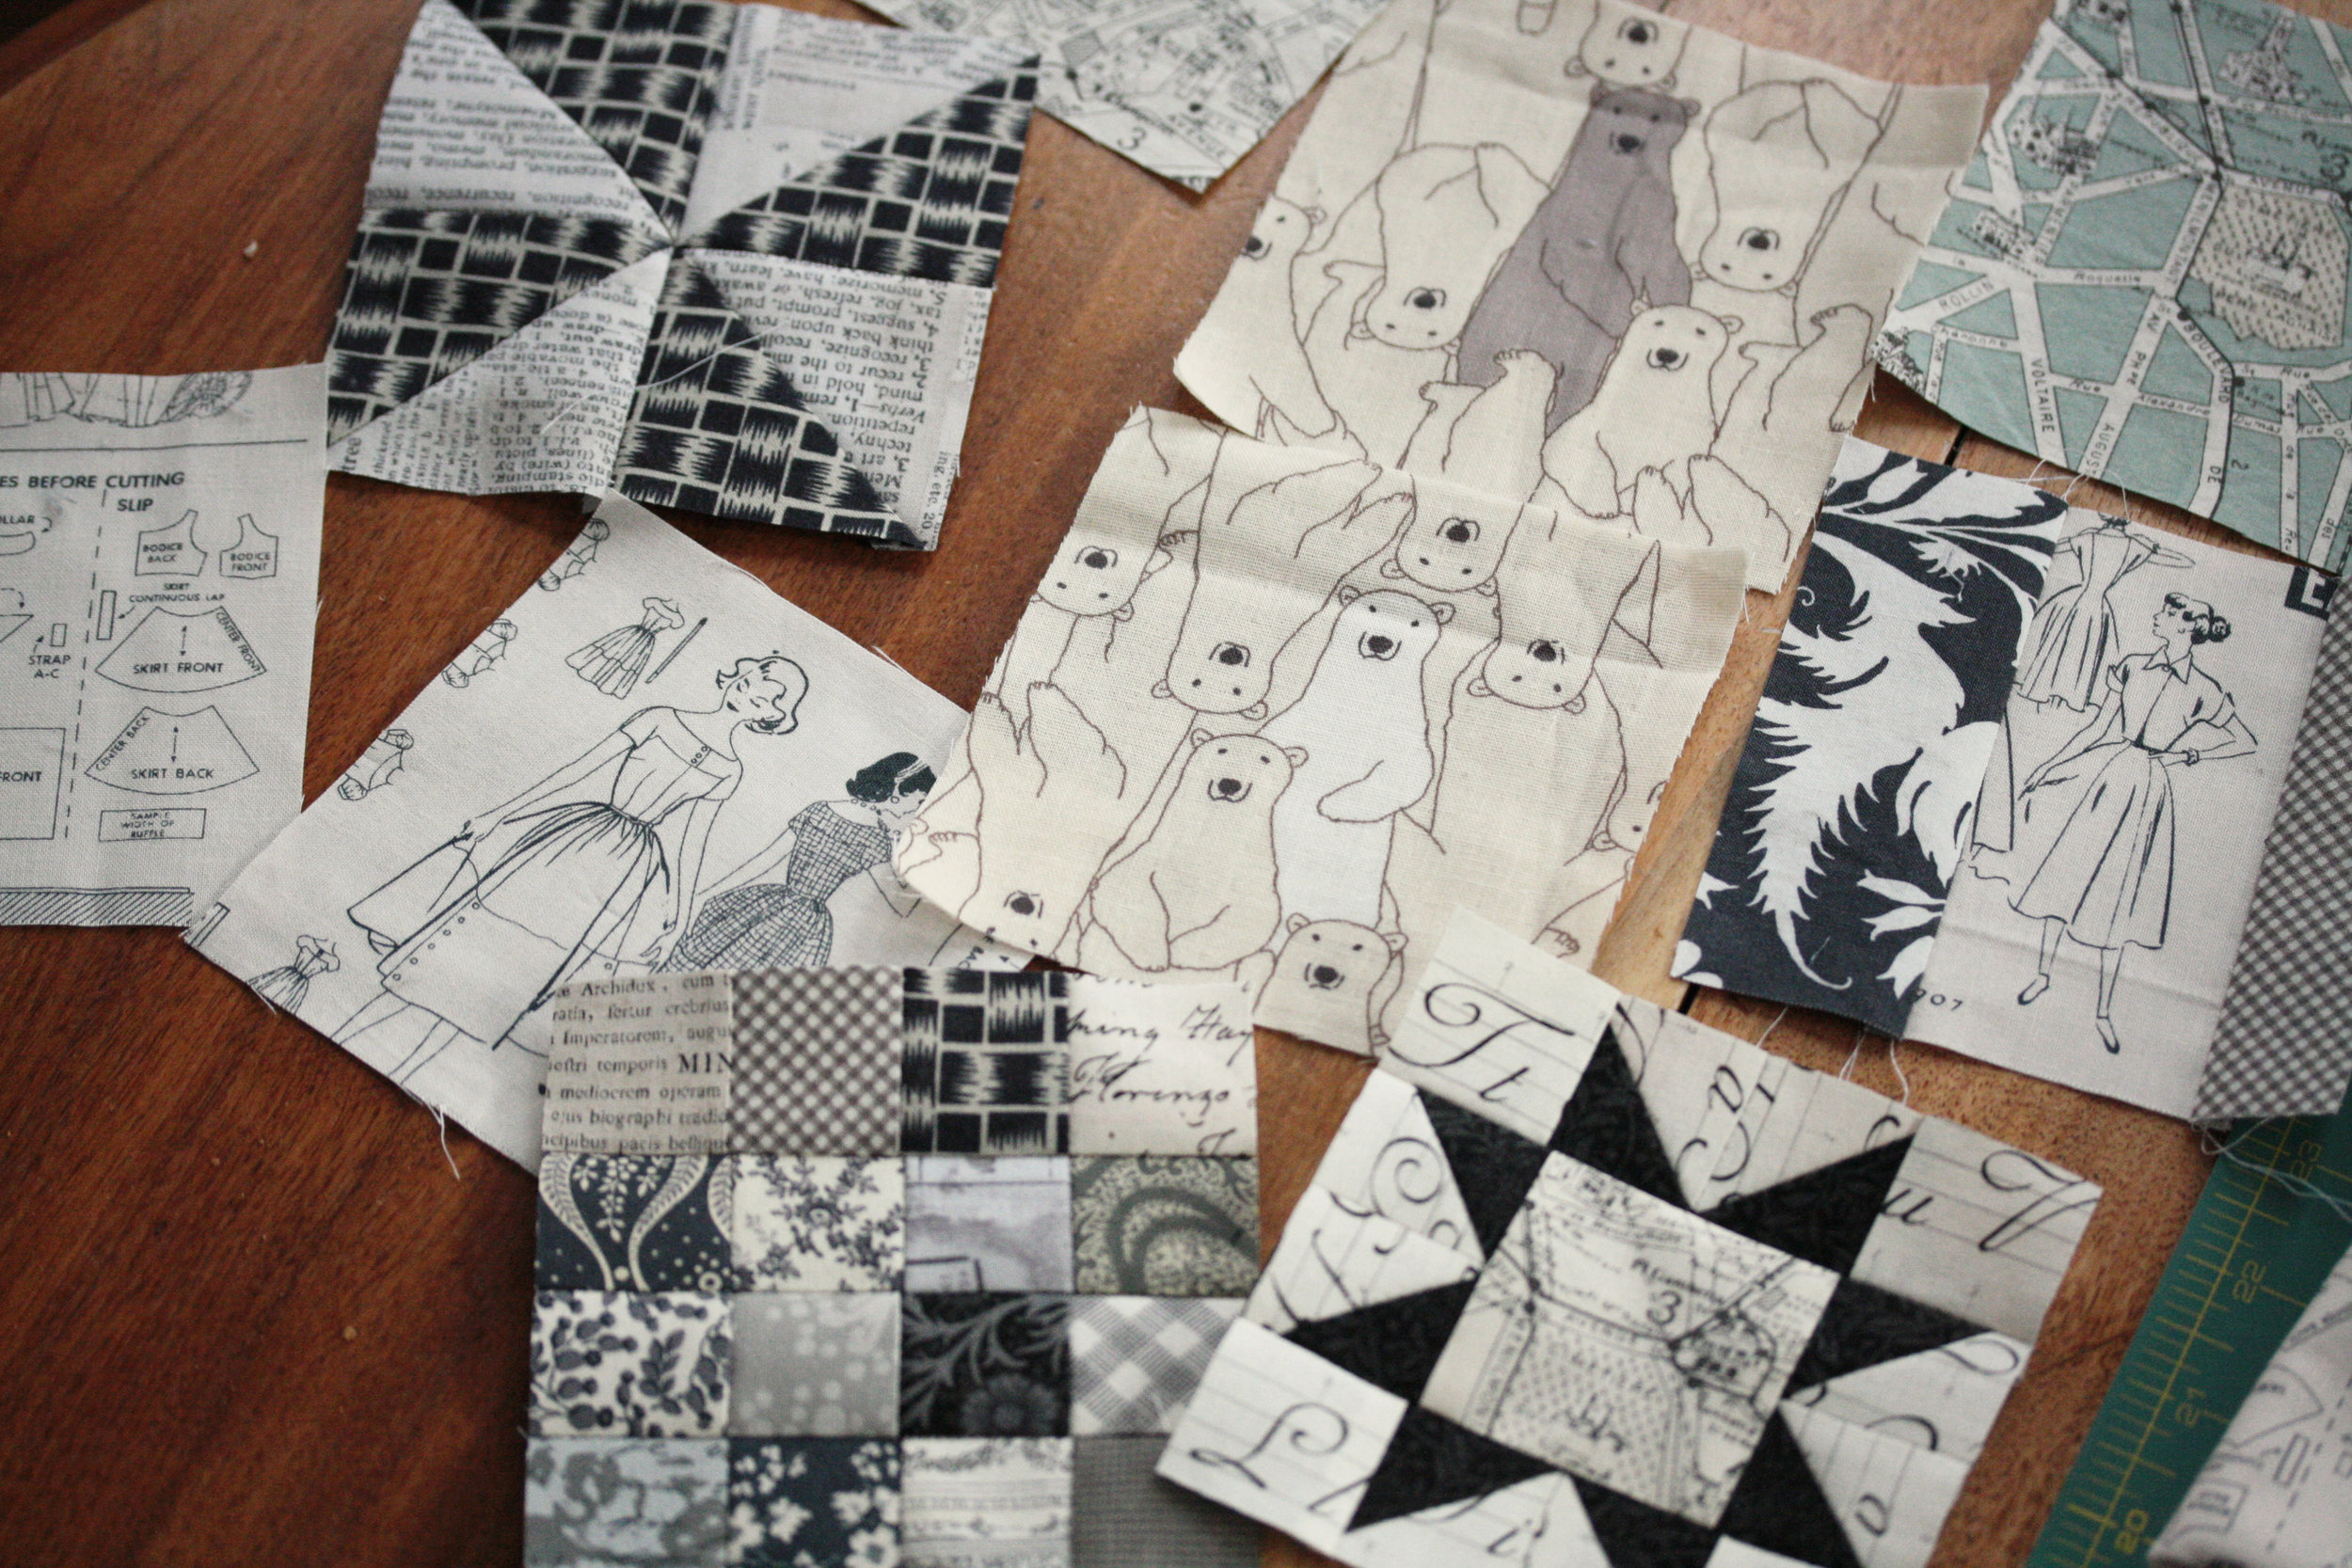
These bags use two different fabrics, one for the main panel and one for the accent band.

For the main panels cut a rectangle that is 9 1/2" by 14".  Cut that in half for two pieces that are 9 1/2" by 7".

For the accent band, start with a 9 1/2" by 6" rectangle and cut in half to get two 9 1/2" by 3" strips.

Attach the accent strips right sides together to the main panel with a 1/4" seam.  I serged the raw edges, but it's not necessary.  They could be zig-zagged, pinked, or left raw.  After stitching, press the seam allowance towards the main panel.

With right sides together, stitch the two pieced panels together, keeping in mind how you will insert the drawstring.  You could stitch it and then pick the stitches out for the ribbon.  I usually leave an opening in my stitched seam.  Using a 1/4" seam allowance, I stitch 2" down, back stitch to reinforce, leave a 1/2" space before I continue the seam around the rest of the bag.

To finish the top, fold over and press, 1/4" of the accent strip to the wrong side

Fold over the accent strip again to cover the accent seam.  Be sure to cover the seam completely because the stitching will go on the main panel side of the seam.

To create the channel for the drawstring, stitch 1/4" below the seam where the accent band and main panel meet.  Top stitch 3/4" from the top of the accent band.


Press.  Cut a length of ribbon 24"-36".  Using a safety pin, run ribbon through channel and knot the ends of the ribbon so they don't fray.

Fill bags with brownies and you have a great gift to share with your friends.

her weekender

This is lulu's weekender bag.

When it was all done, she threw it over her shoulder and told me it's her favorite of all the things I have a made for her.

I really don't think you can receive a better compliment.

It's made with Ty Pennigton's home dec fabric (Moorish) and the pattern is Amy Butler's Weekender.  And, I had no intention of having the fabric line up like it did.  I didn't even notice how nicely it matched up until I was looking at these pictures.  I know, I'm pathetic.

Now I can get started on mine.