diy name tag
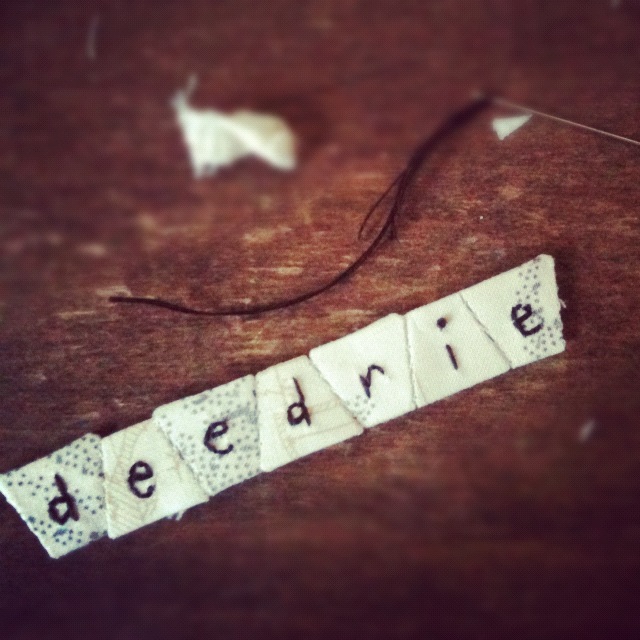
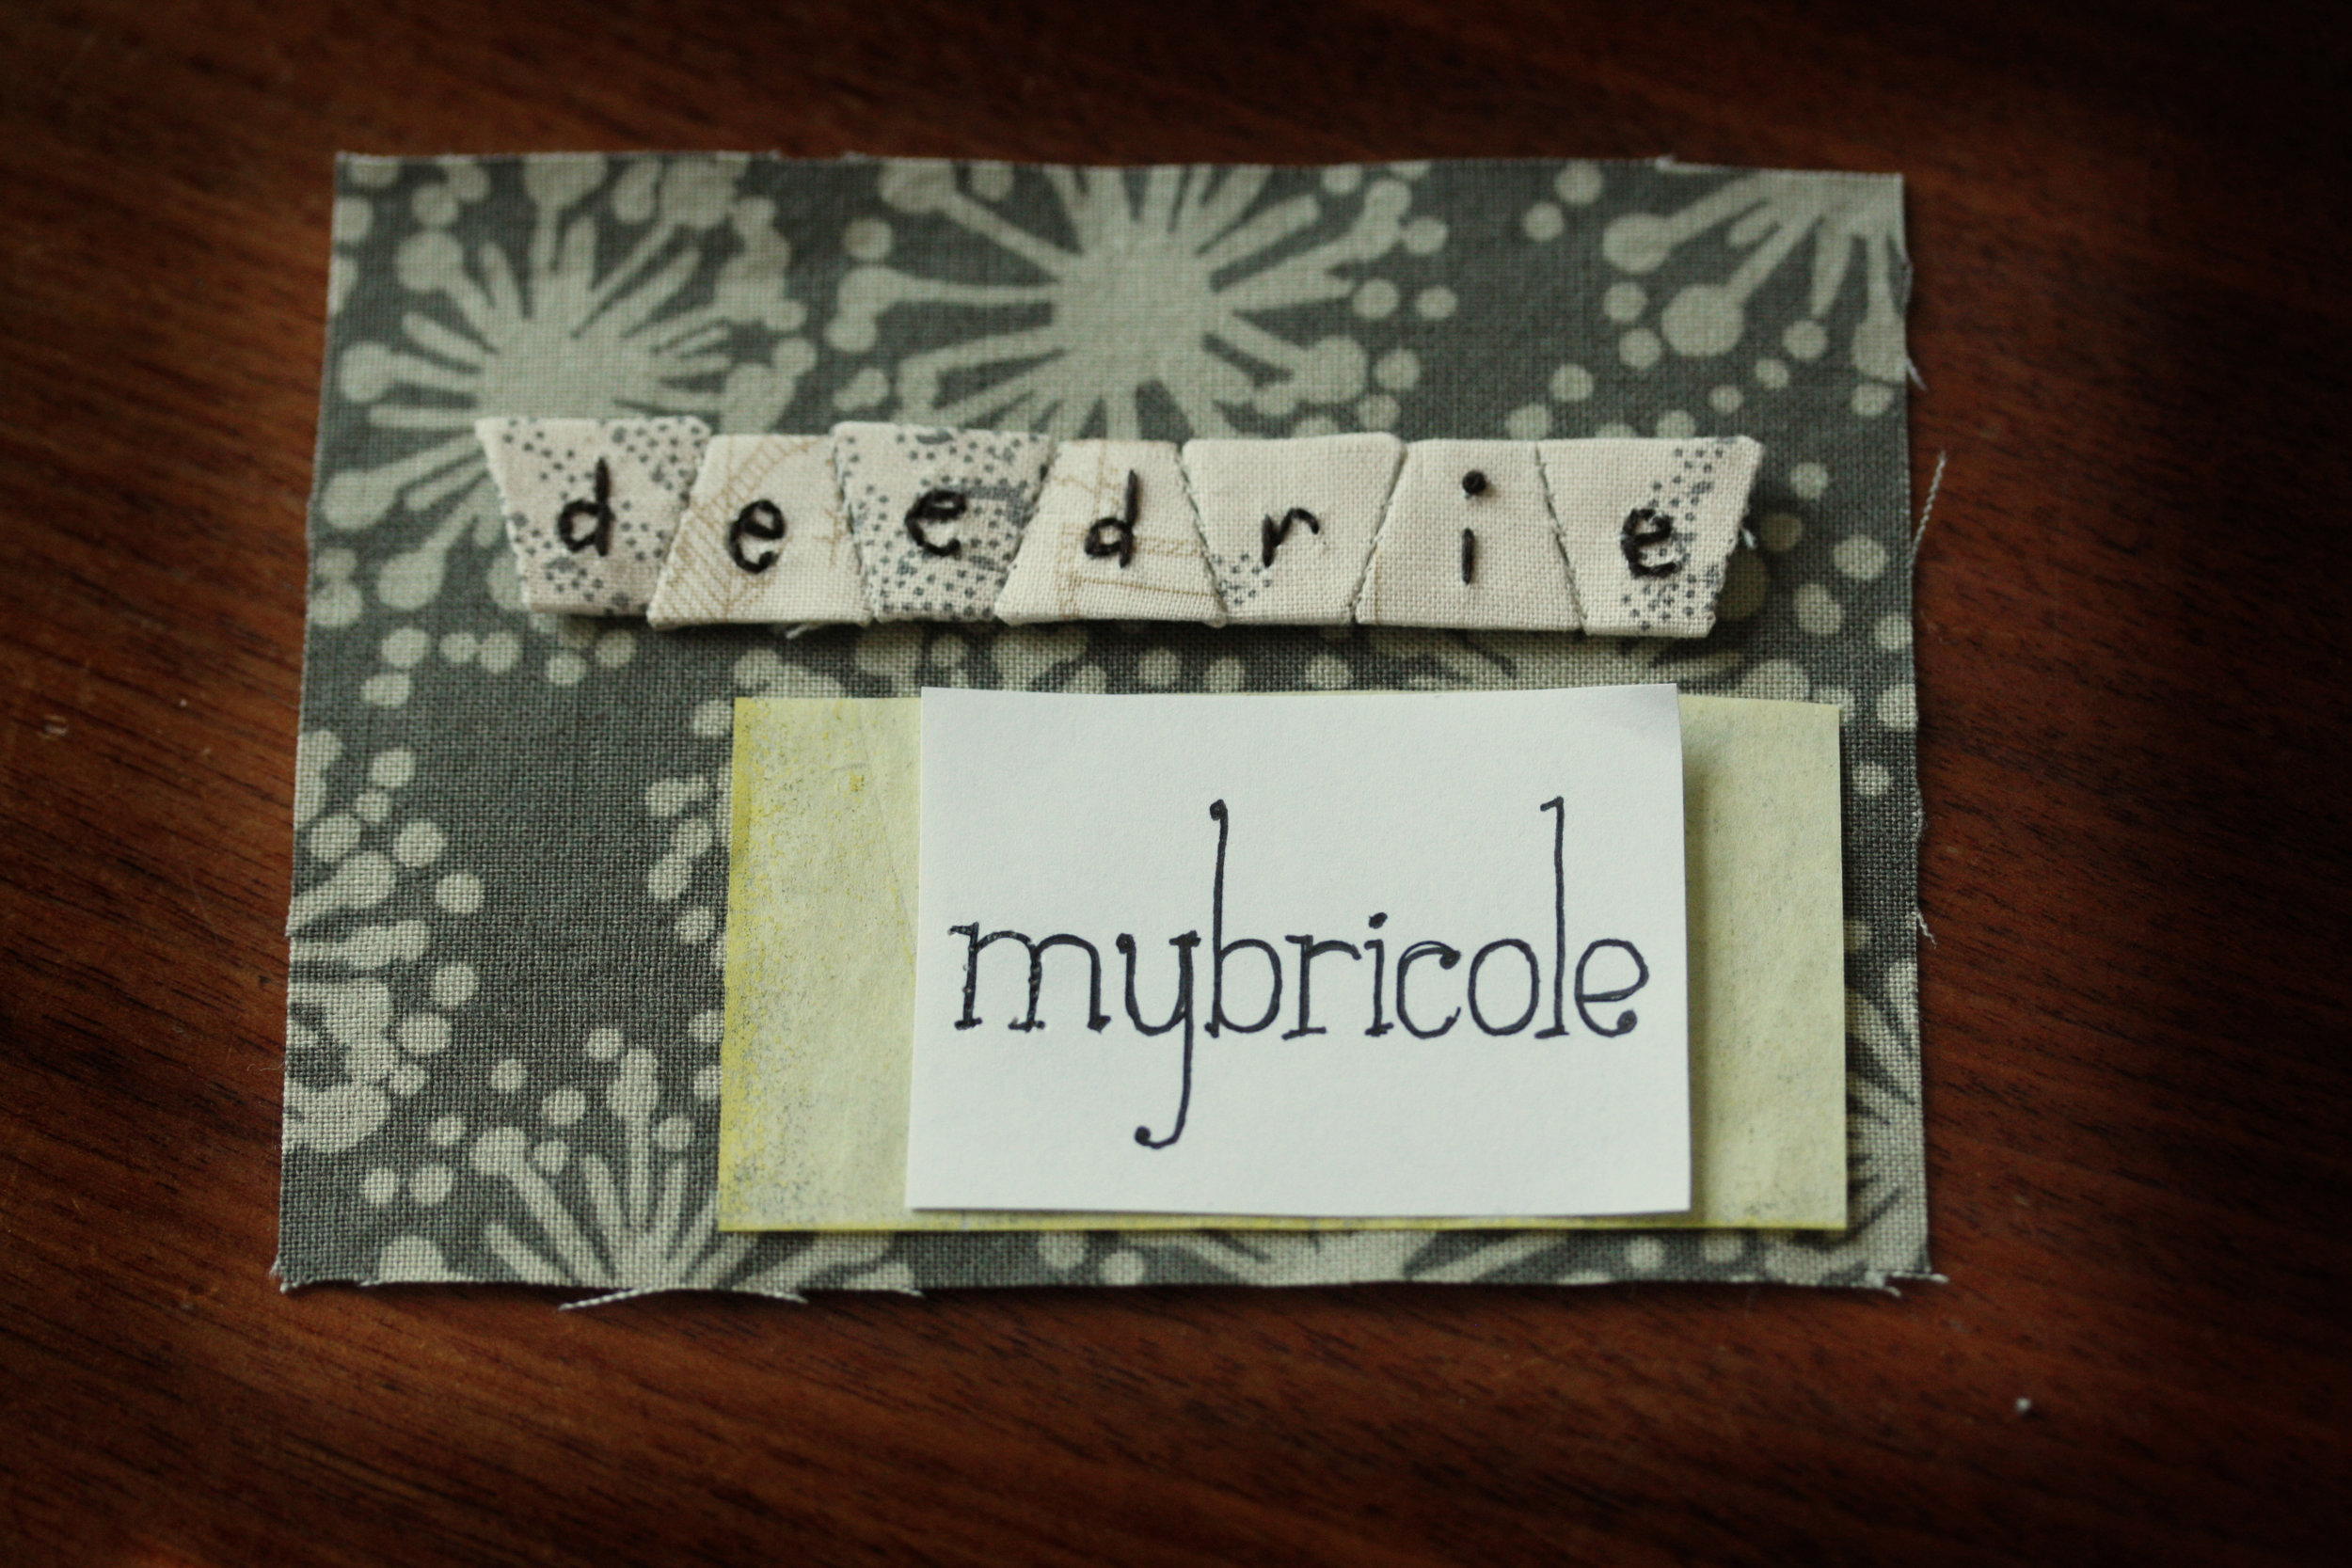
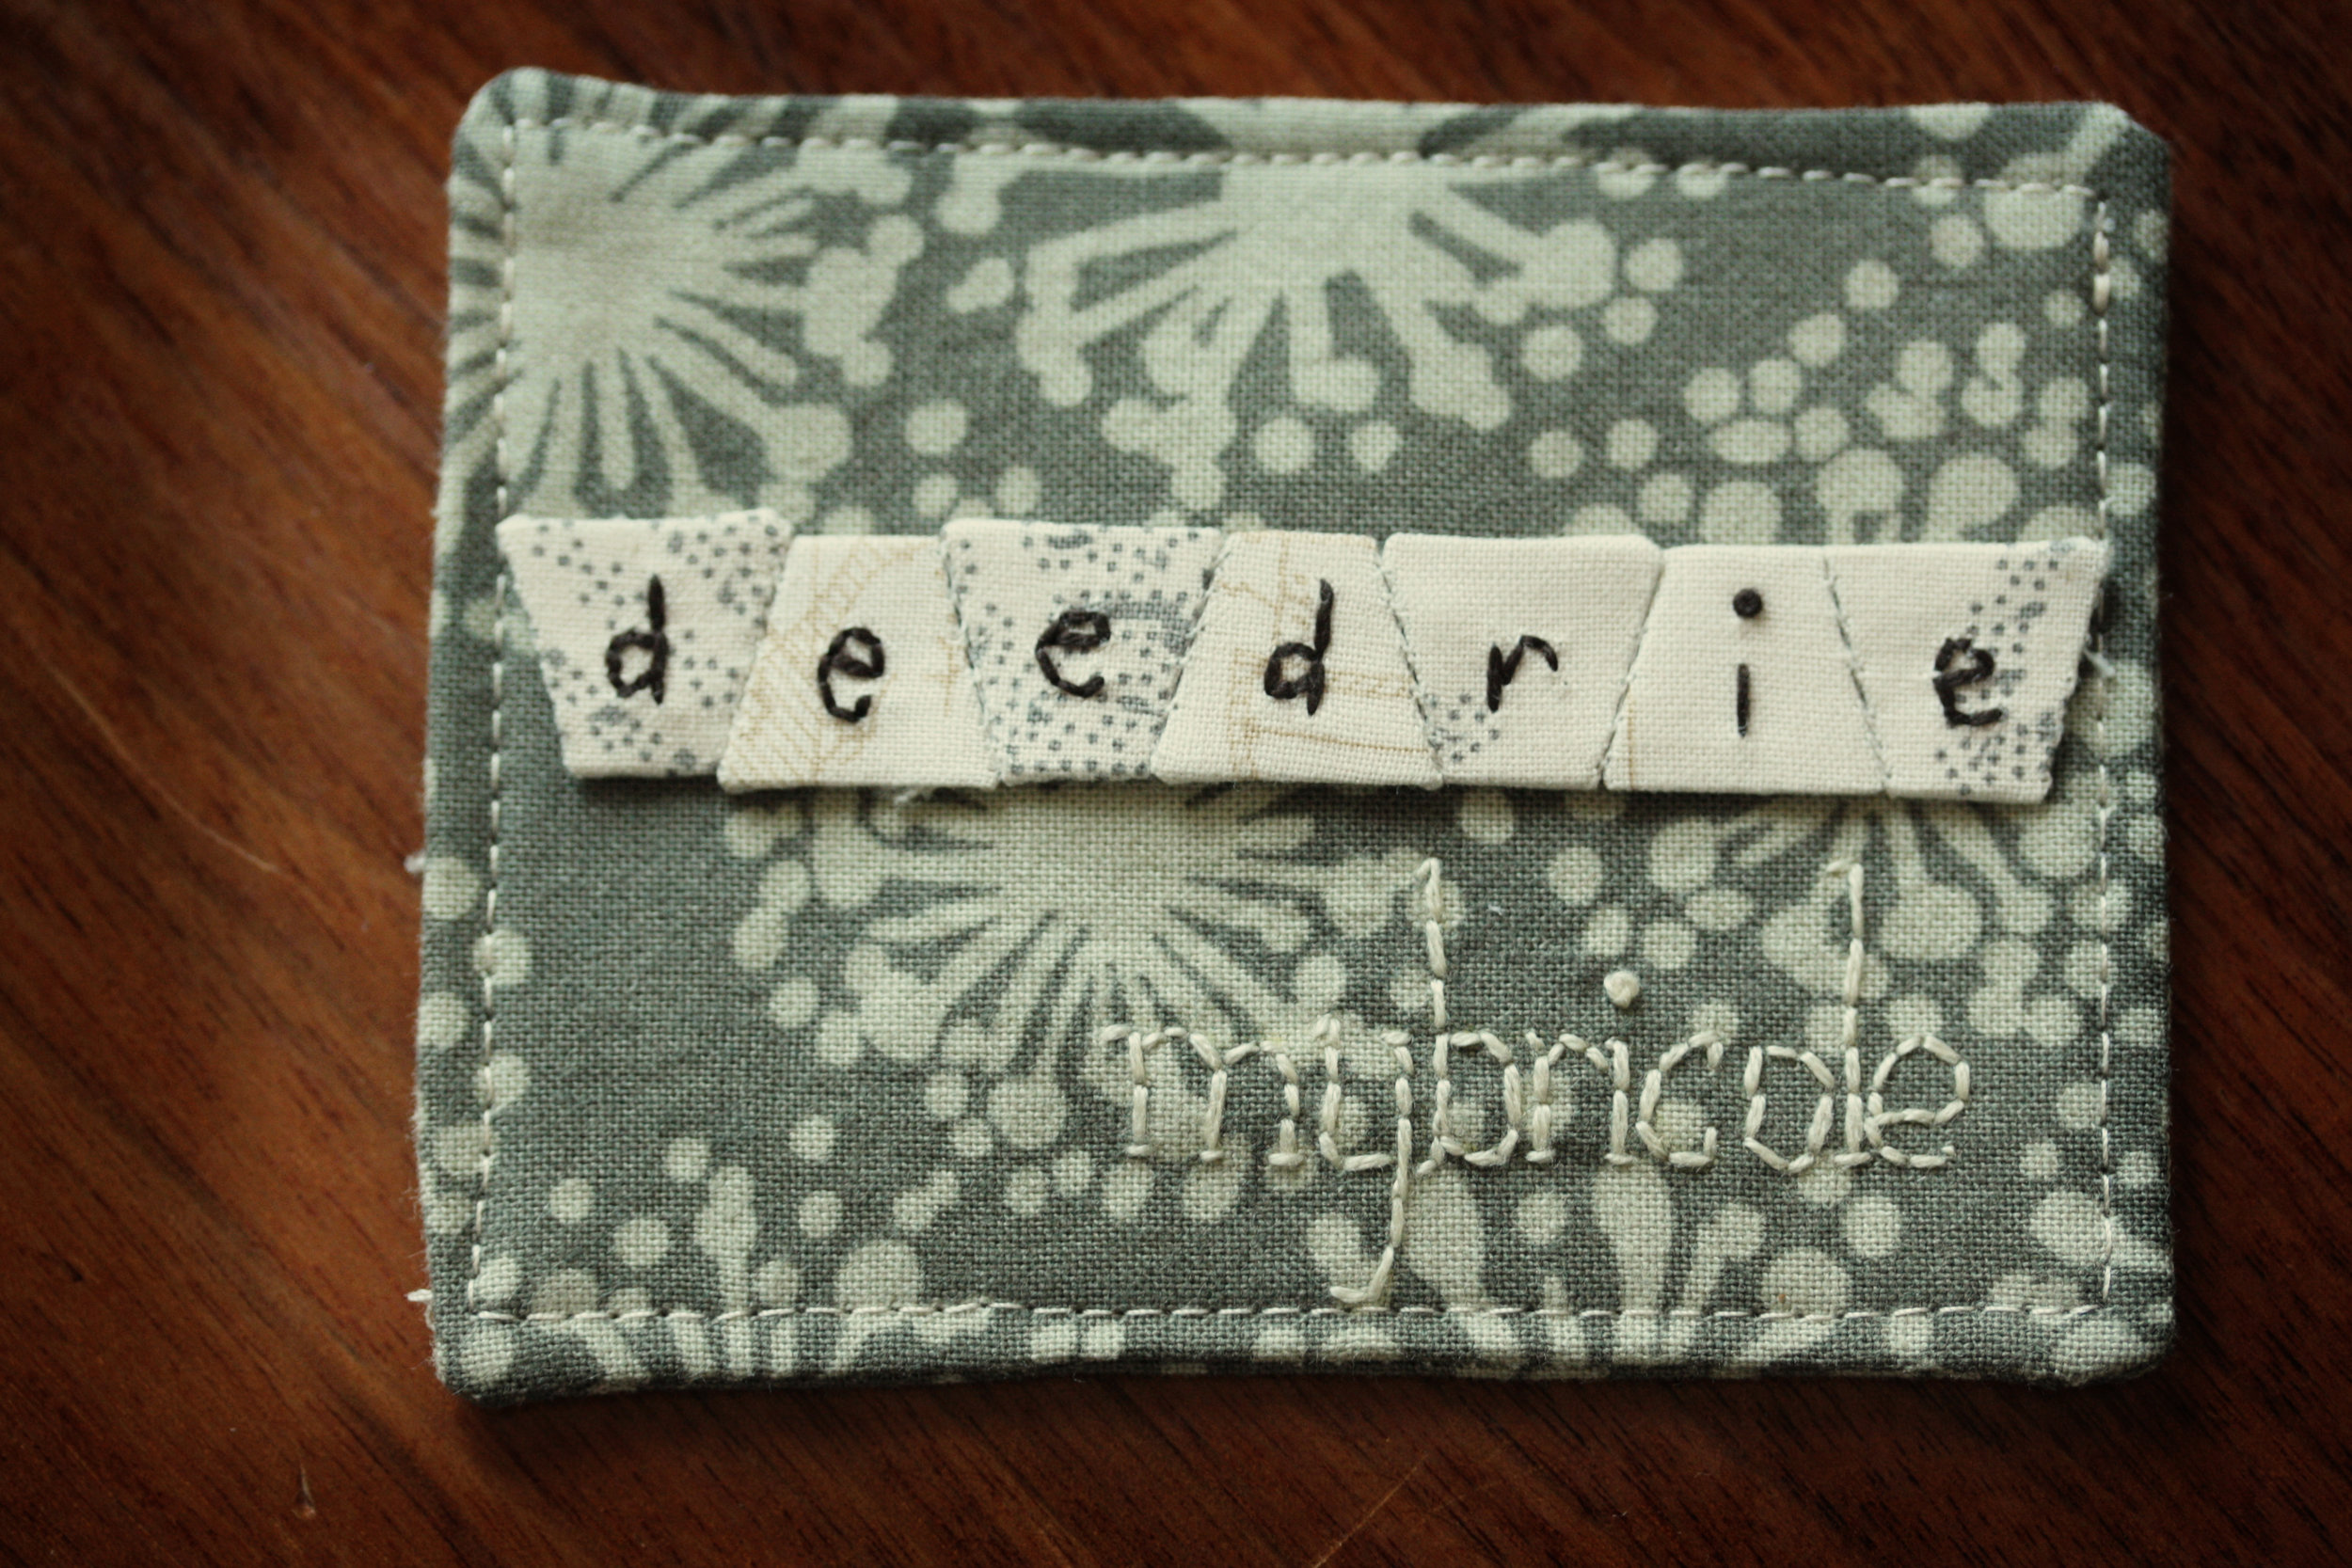
The Sewing Summit will be here before I know it. I spent the better part of the morning trying to remember how I made my name tag last year, so this year I kept notes. To start, I took my first attempt, ever, at paper piecing. Starting with 1/2" tumblers was probably not the best idea, but now 2" hexagons with be smooth sailing. Once I had them stitched together I embroidered my name on them.
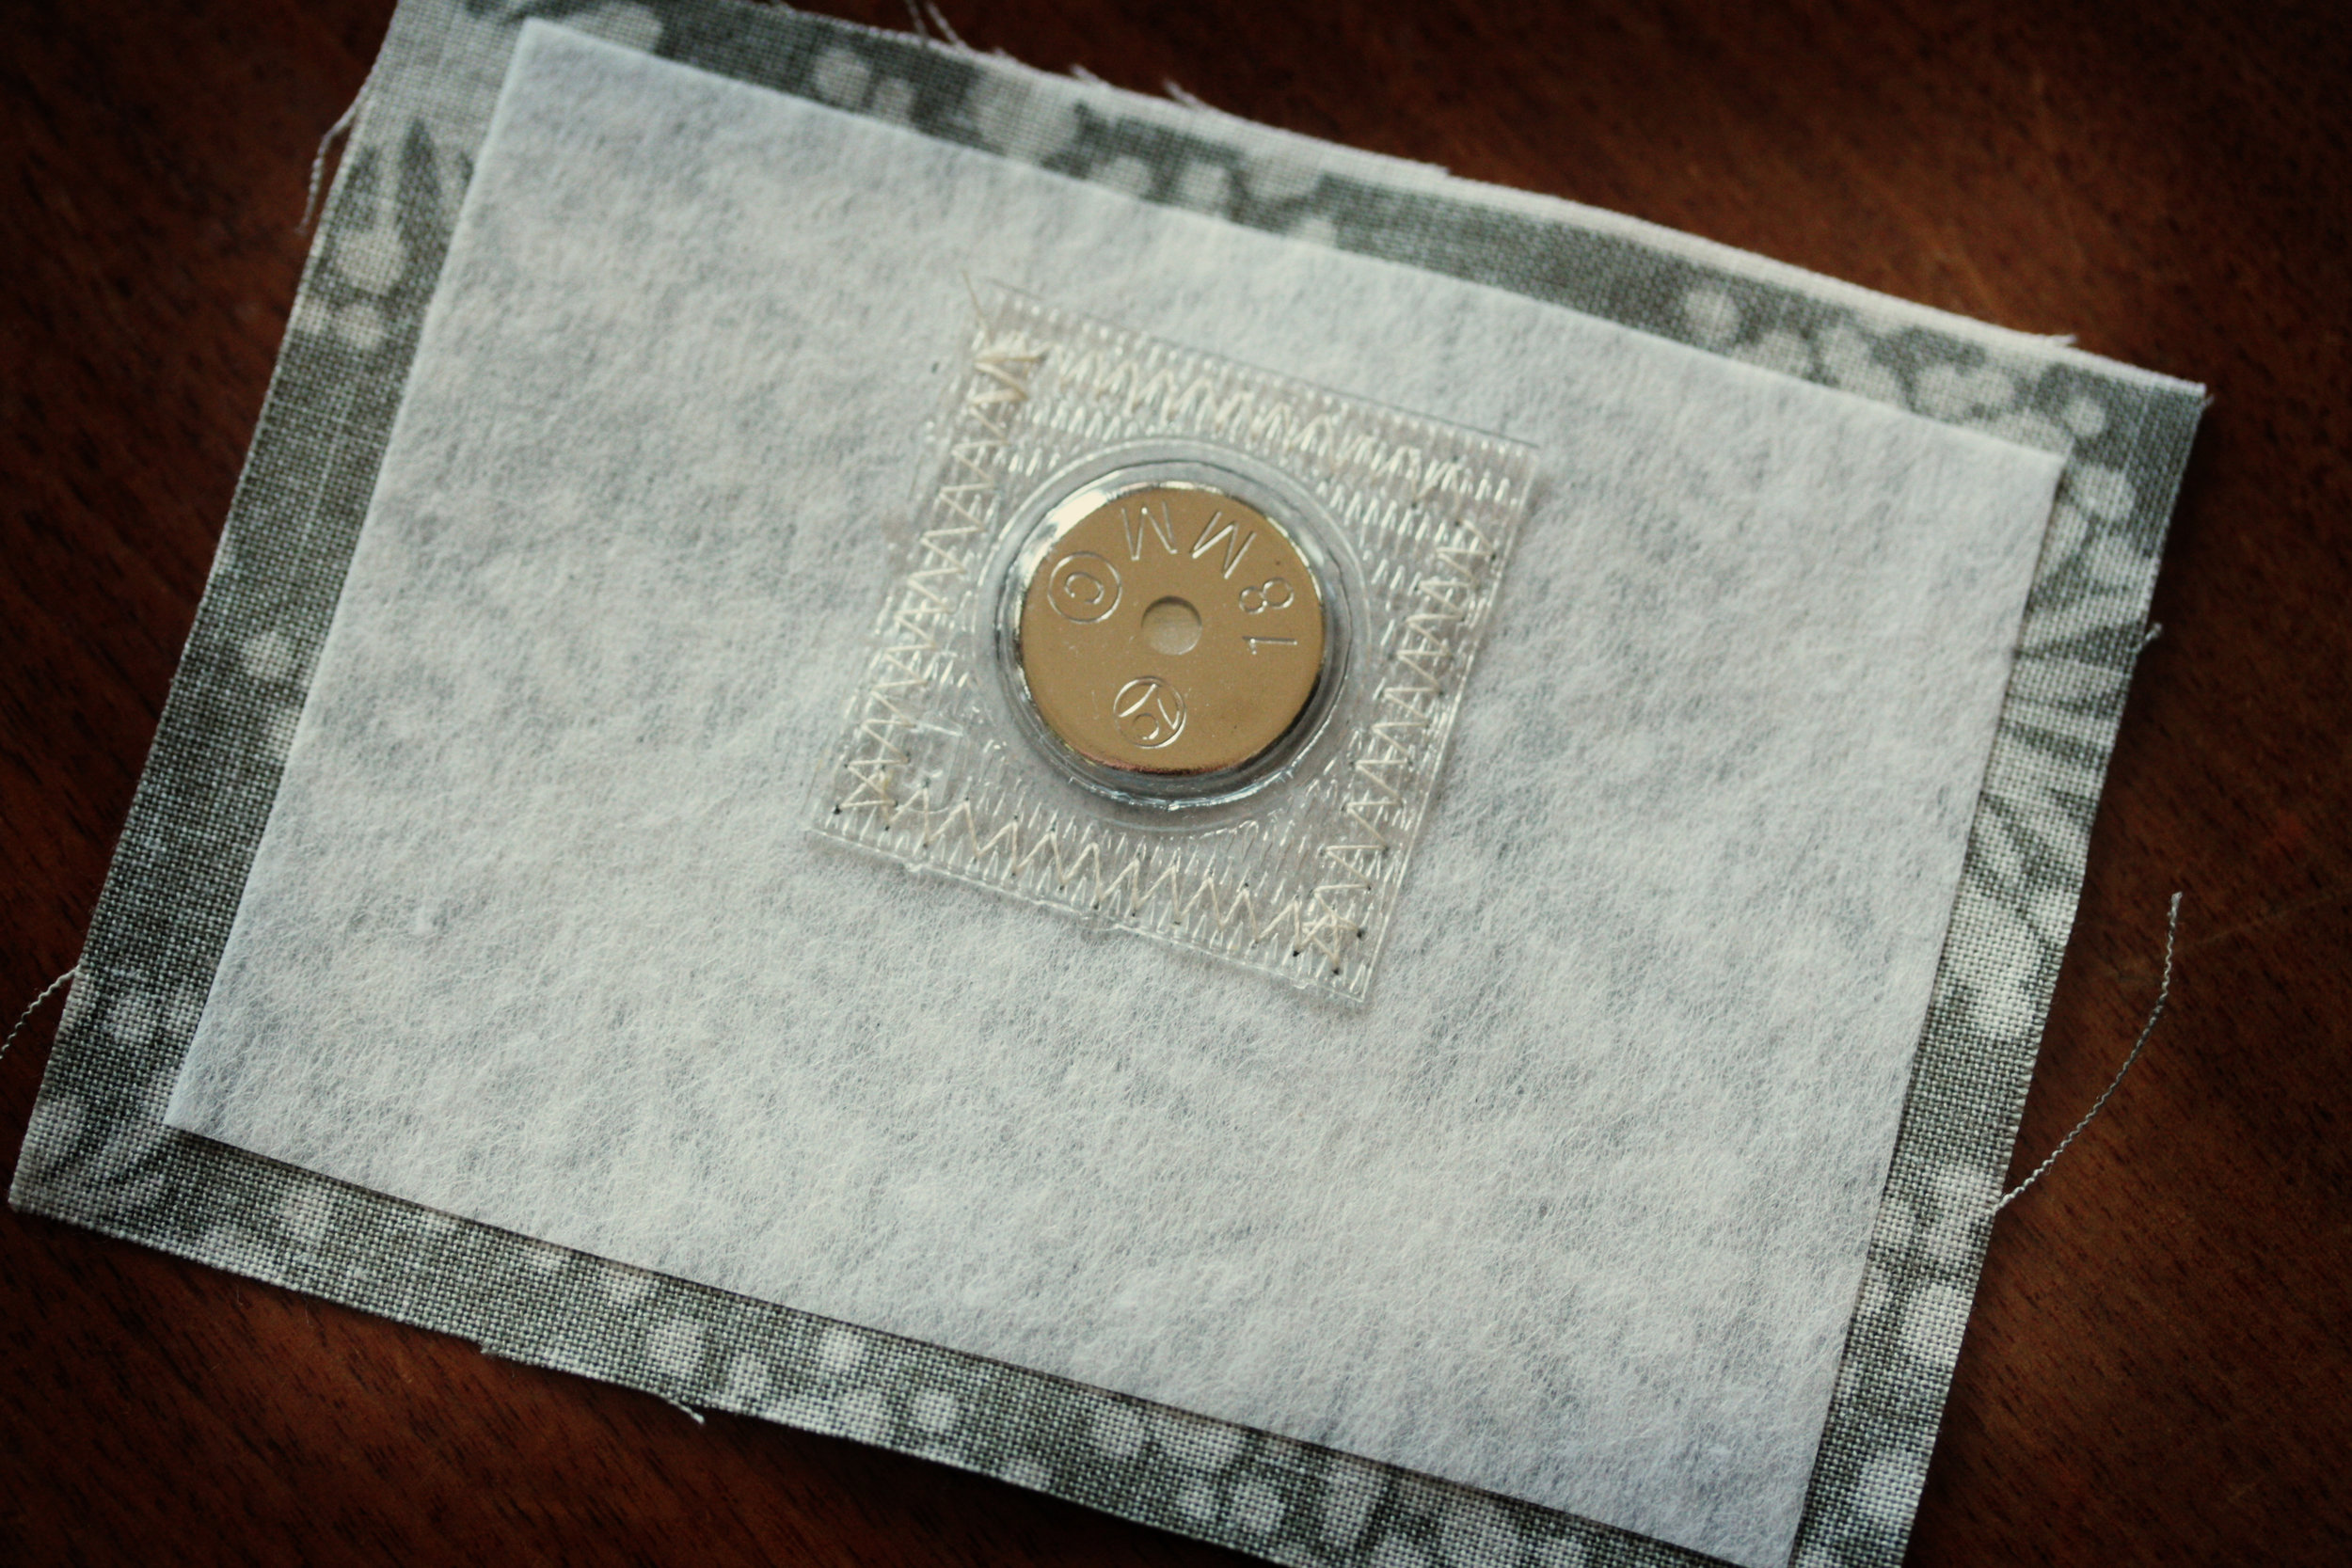
For the base of the tag, cut 2 rectangles for the front and back and fuse some 808 pellon on the back of each. Making sure to cut the pellon 1/4" smaller on each side for the seam allowance.
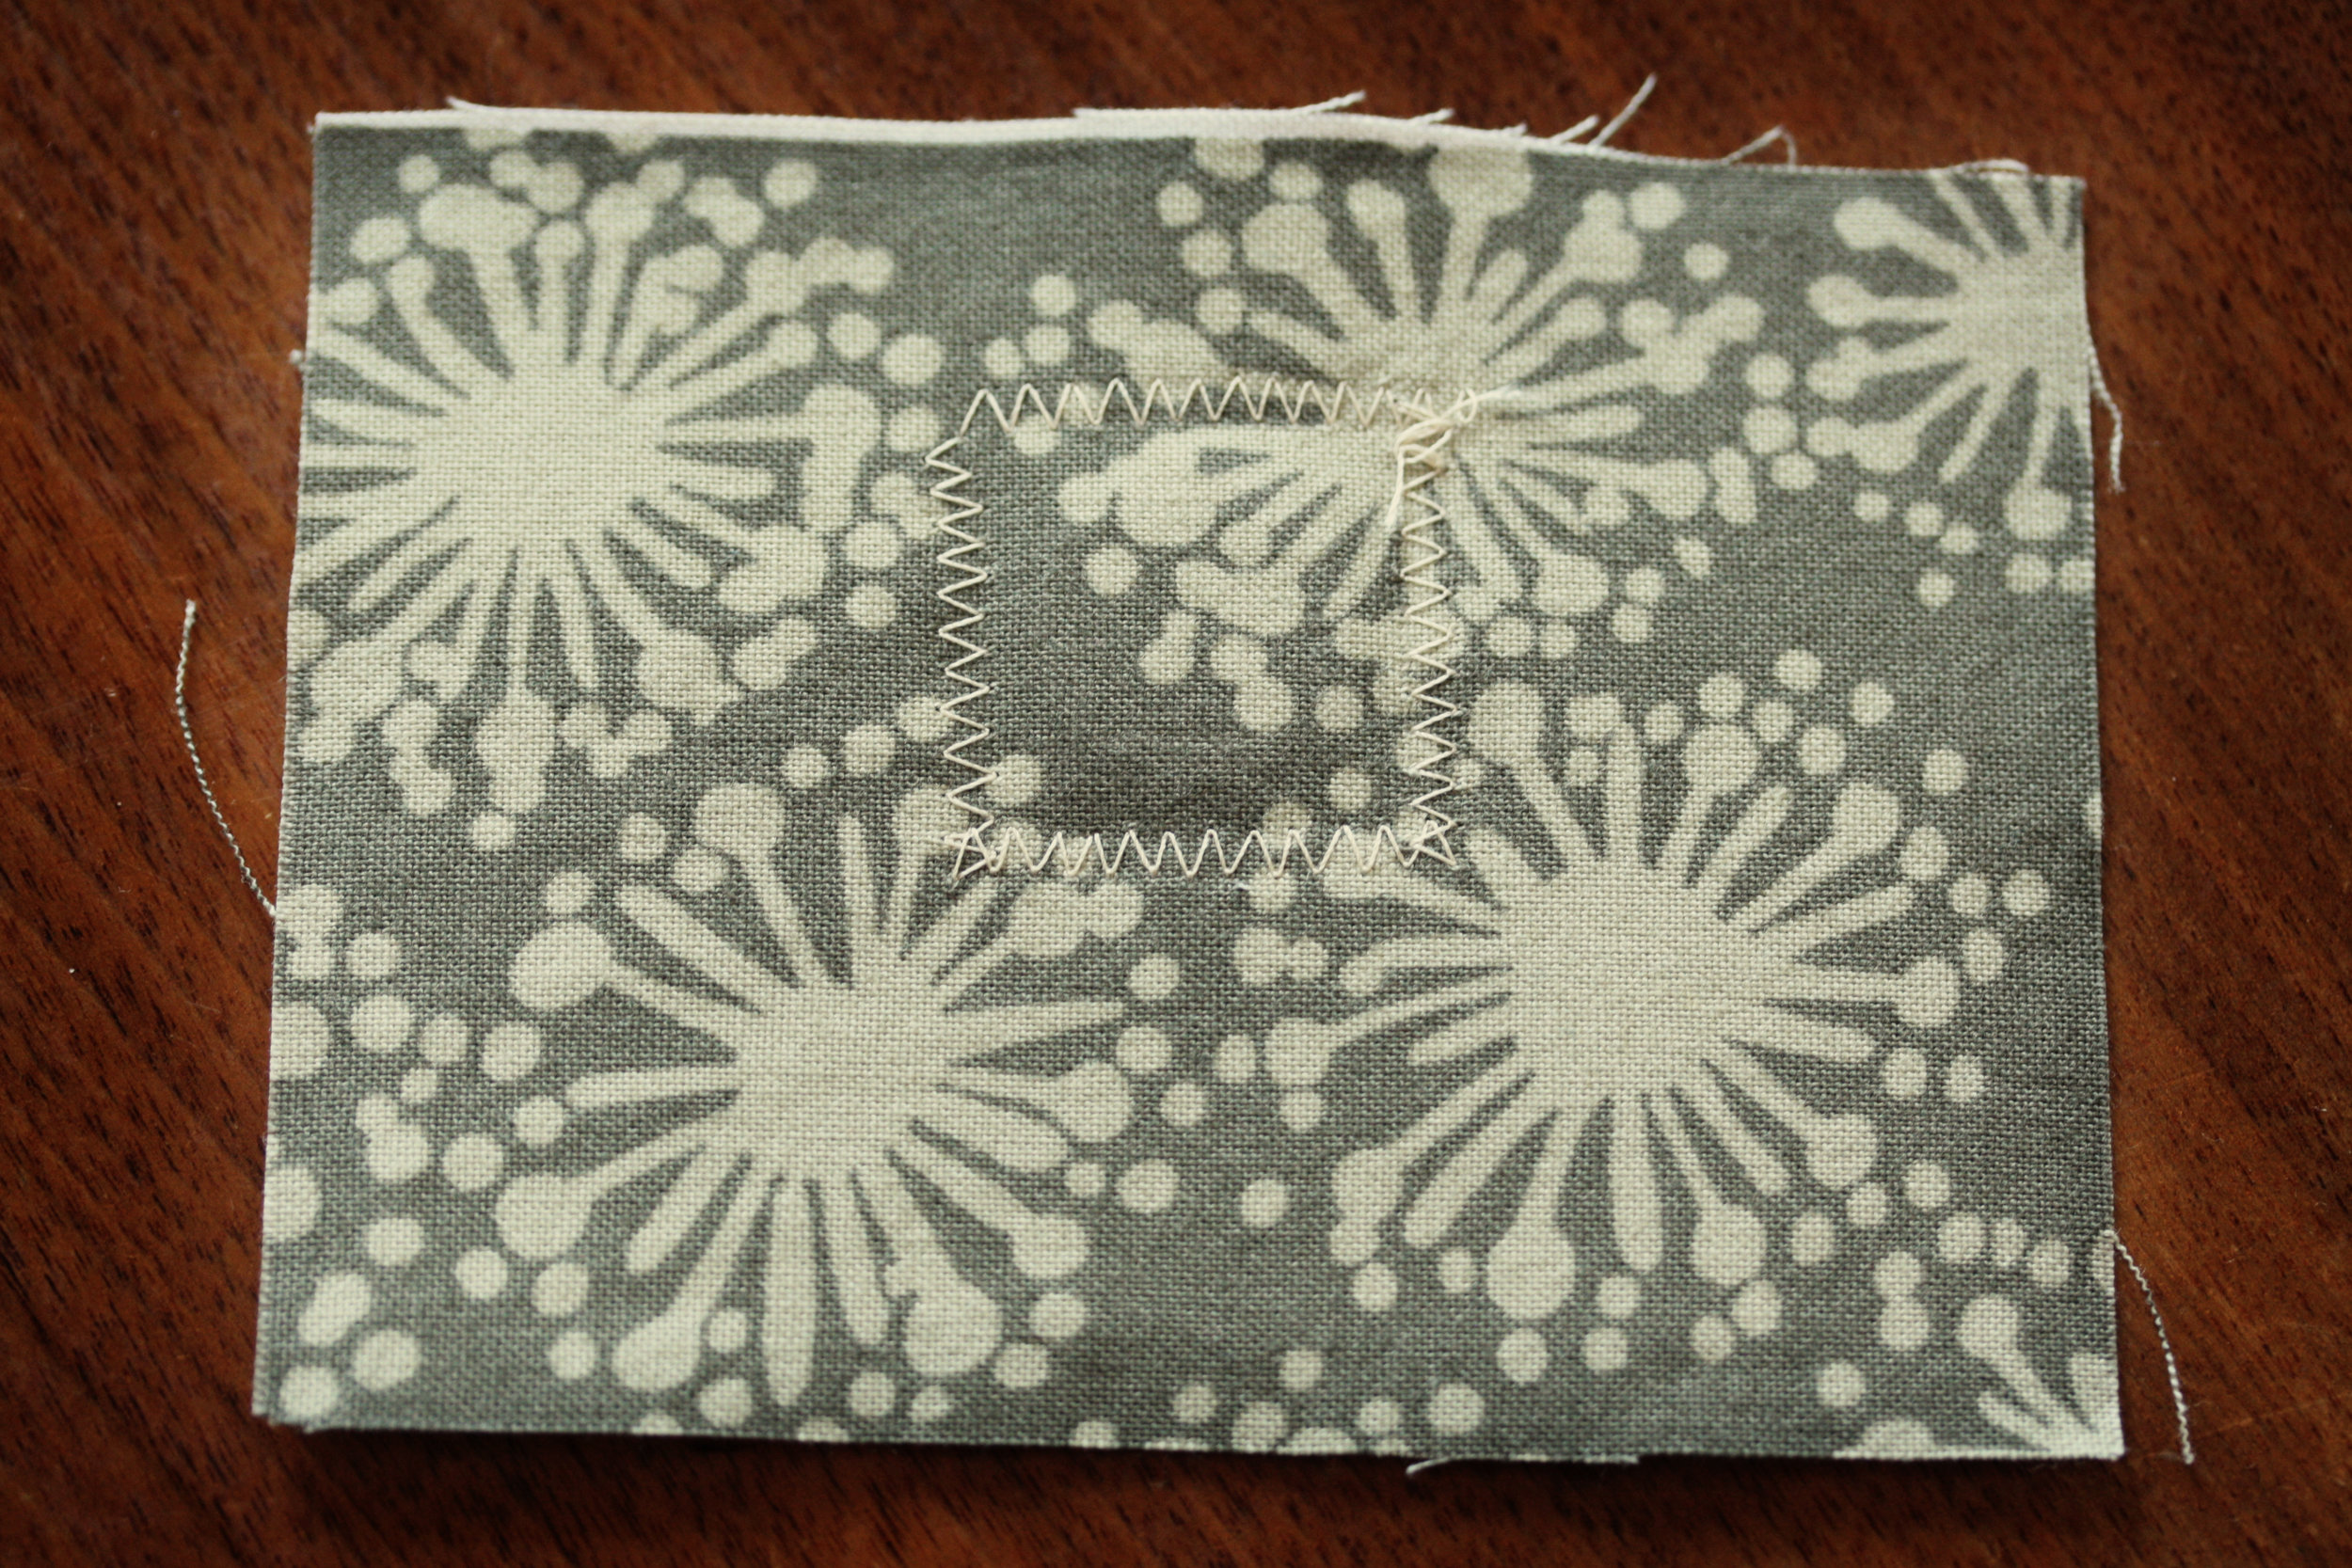
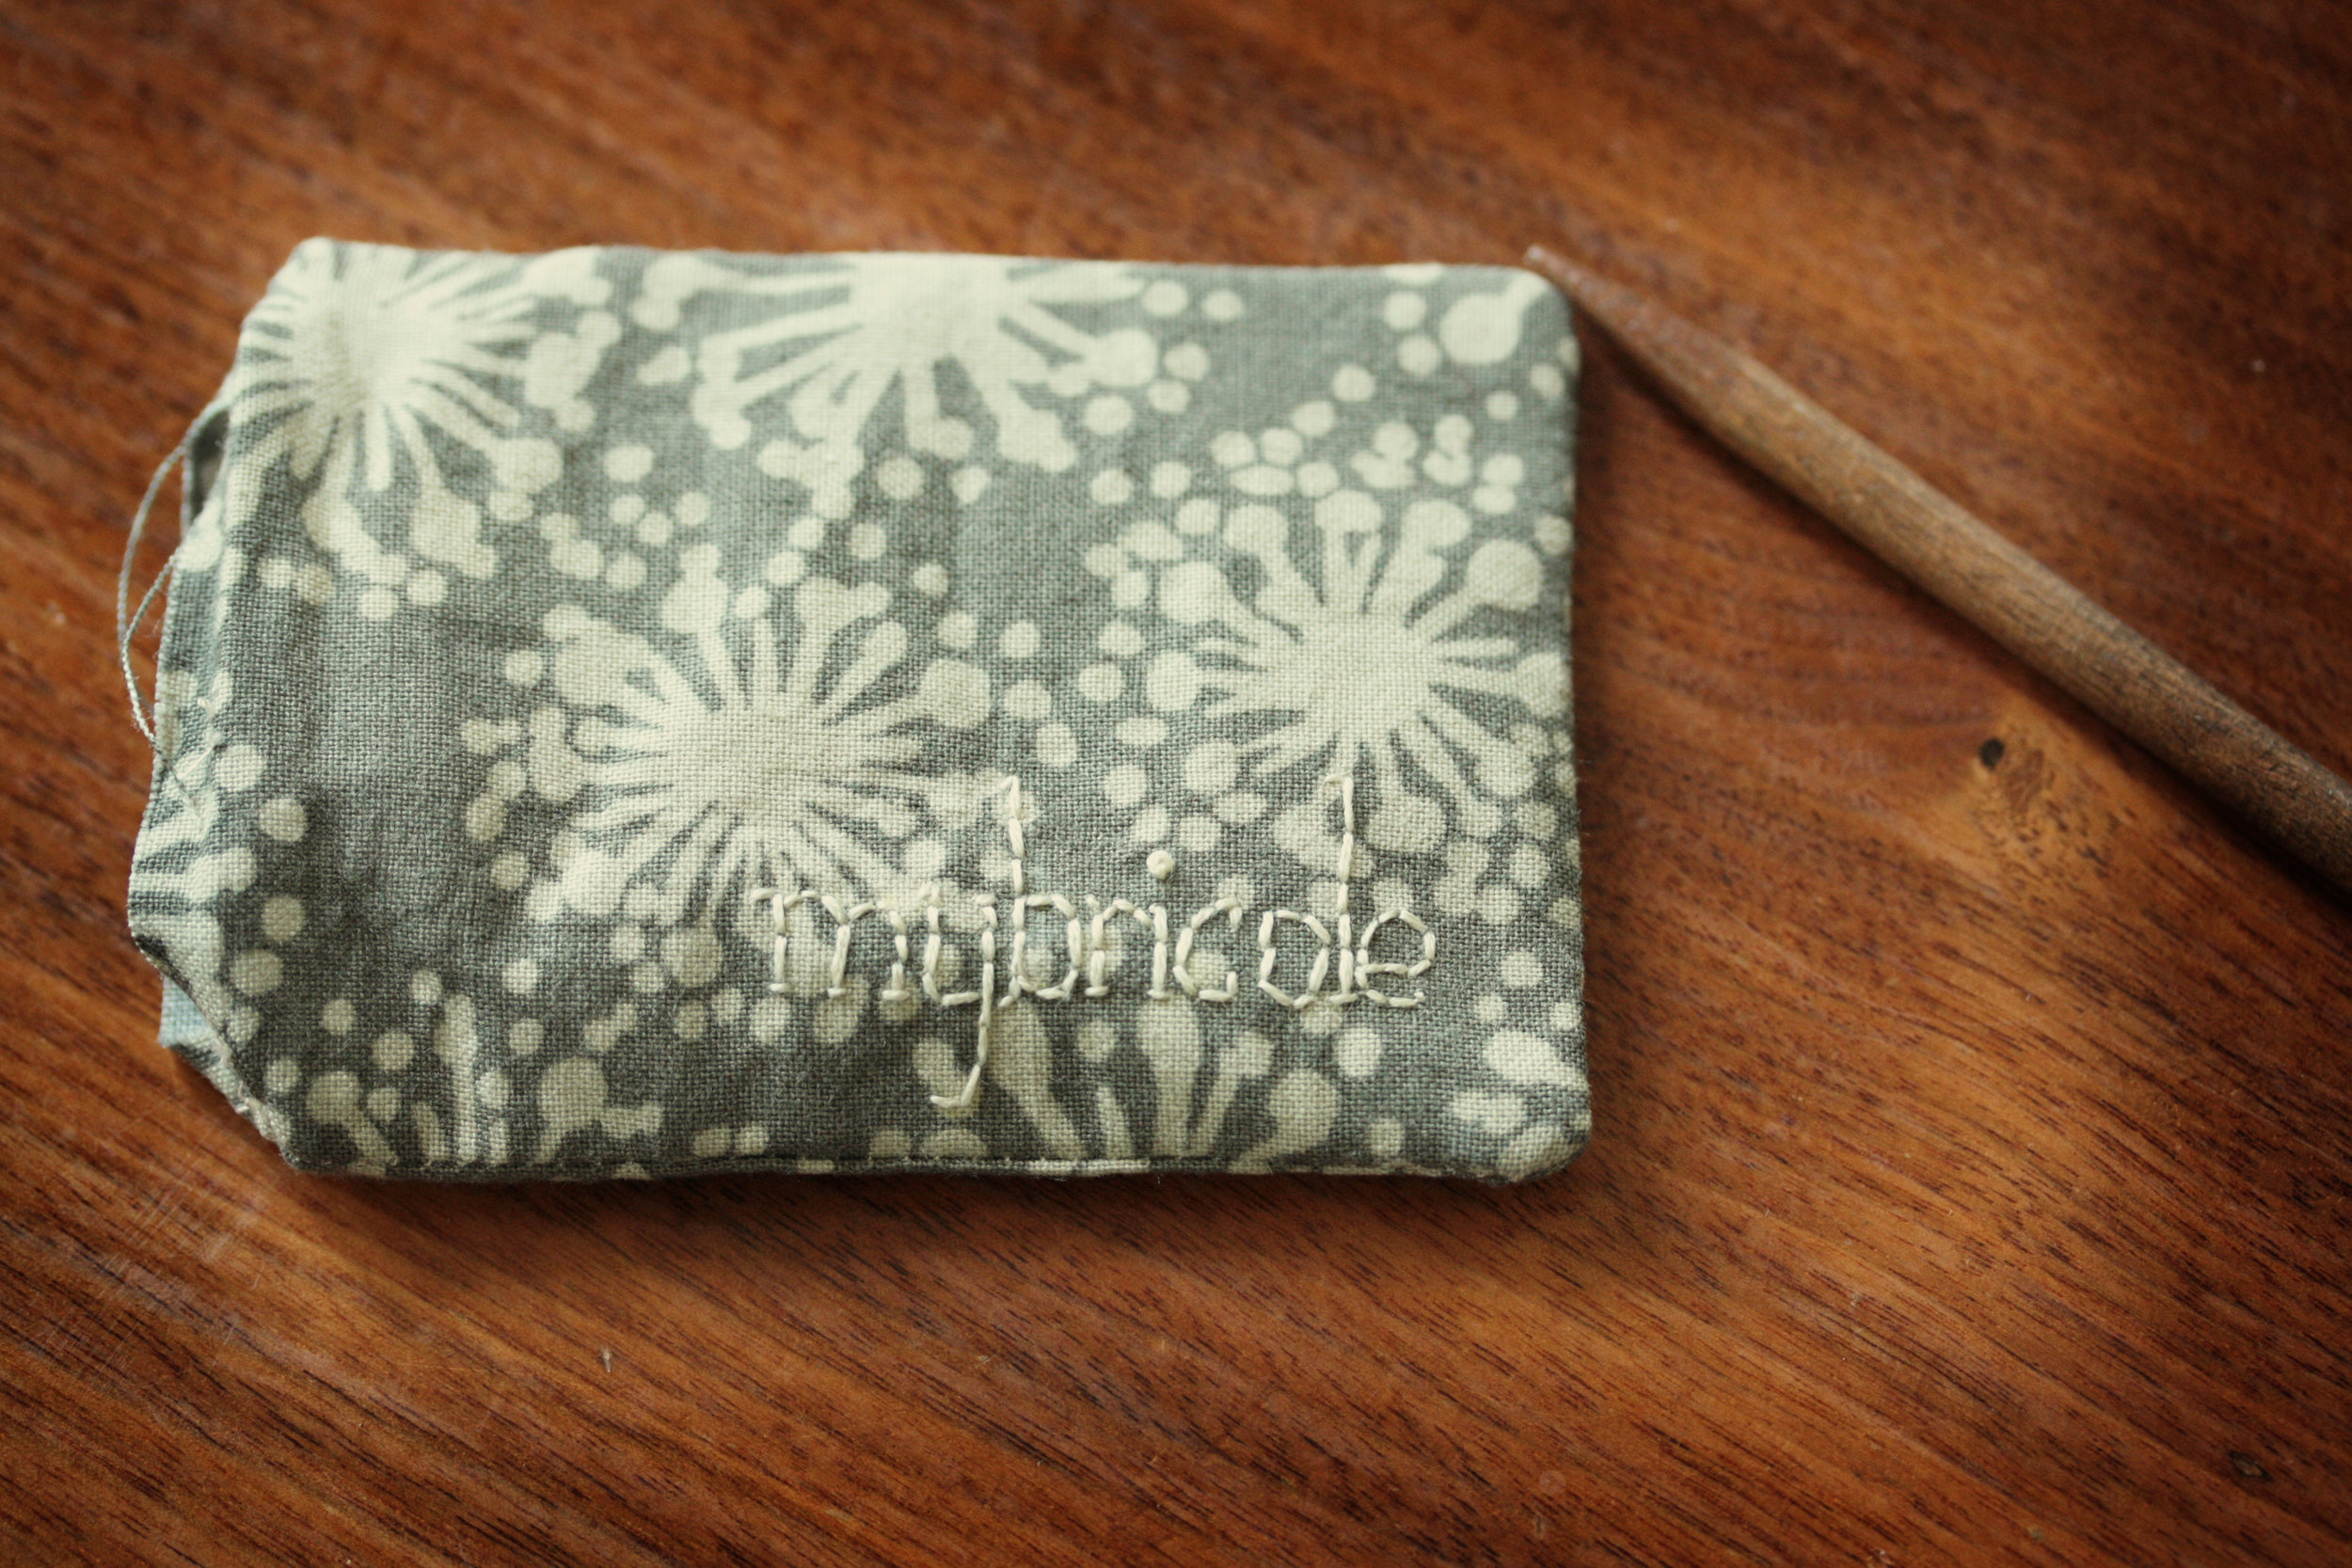
Using a zig-zag stitch attach one of the magnet clasps to one piece. This piece is now the back.
Switching to the front, using transfer paper, put my blog name on and then embroider over the transfer.
With right sides together I stitch three sides of the tag together with a 1/4'seam. Leaving the fourth open gives enough room to turn it right side out with the bulk of the magnet and the interfacing.
Use a knitting needle to push the corners to points. Press in the open edge and top stitched around the entire rectangle.
All that is left is attaching the tumblers. Fuse them with a strip of steam a seam and hand stitch them around the edge they are secure.
Cross "make name tag" off of the to do list.
