Posts in crafty
who's next?

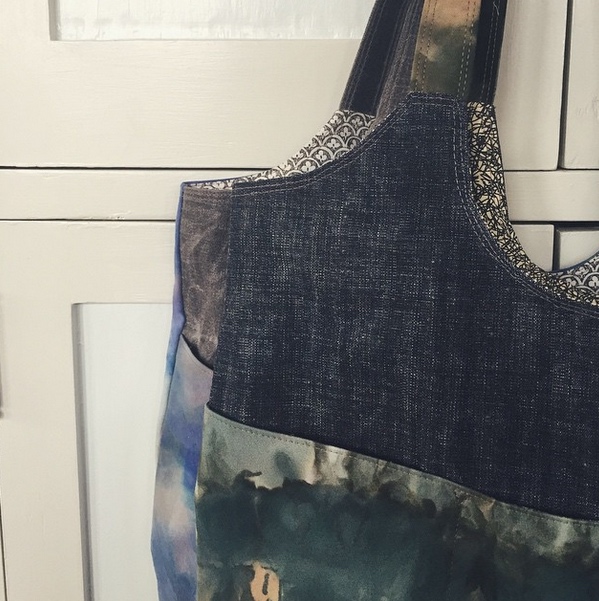
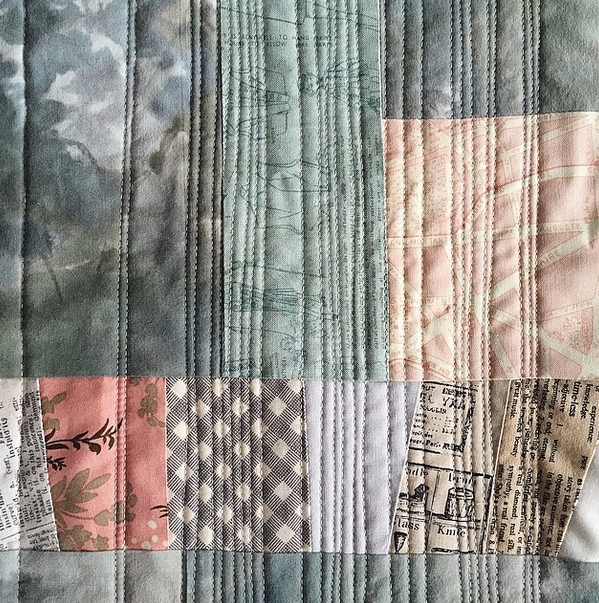
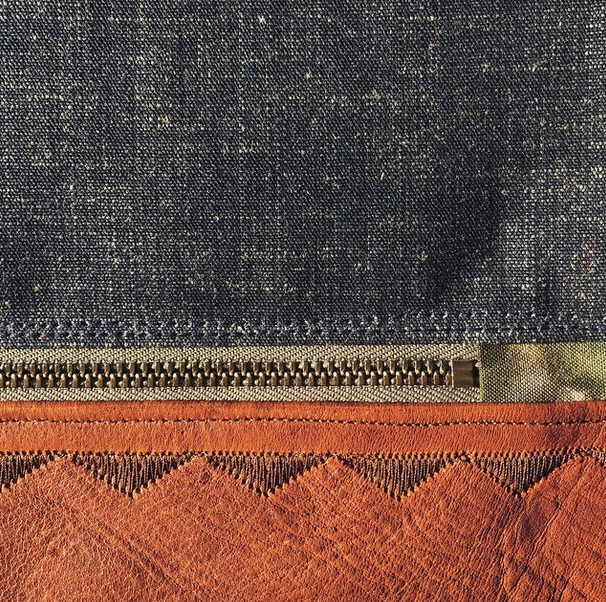
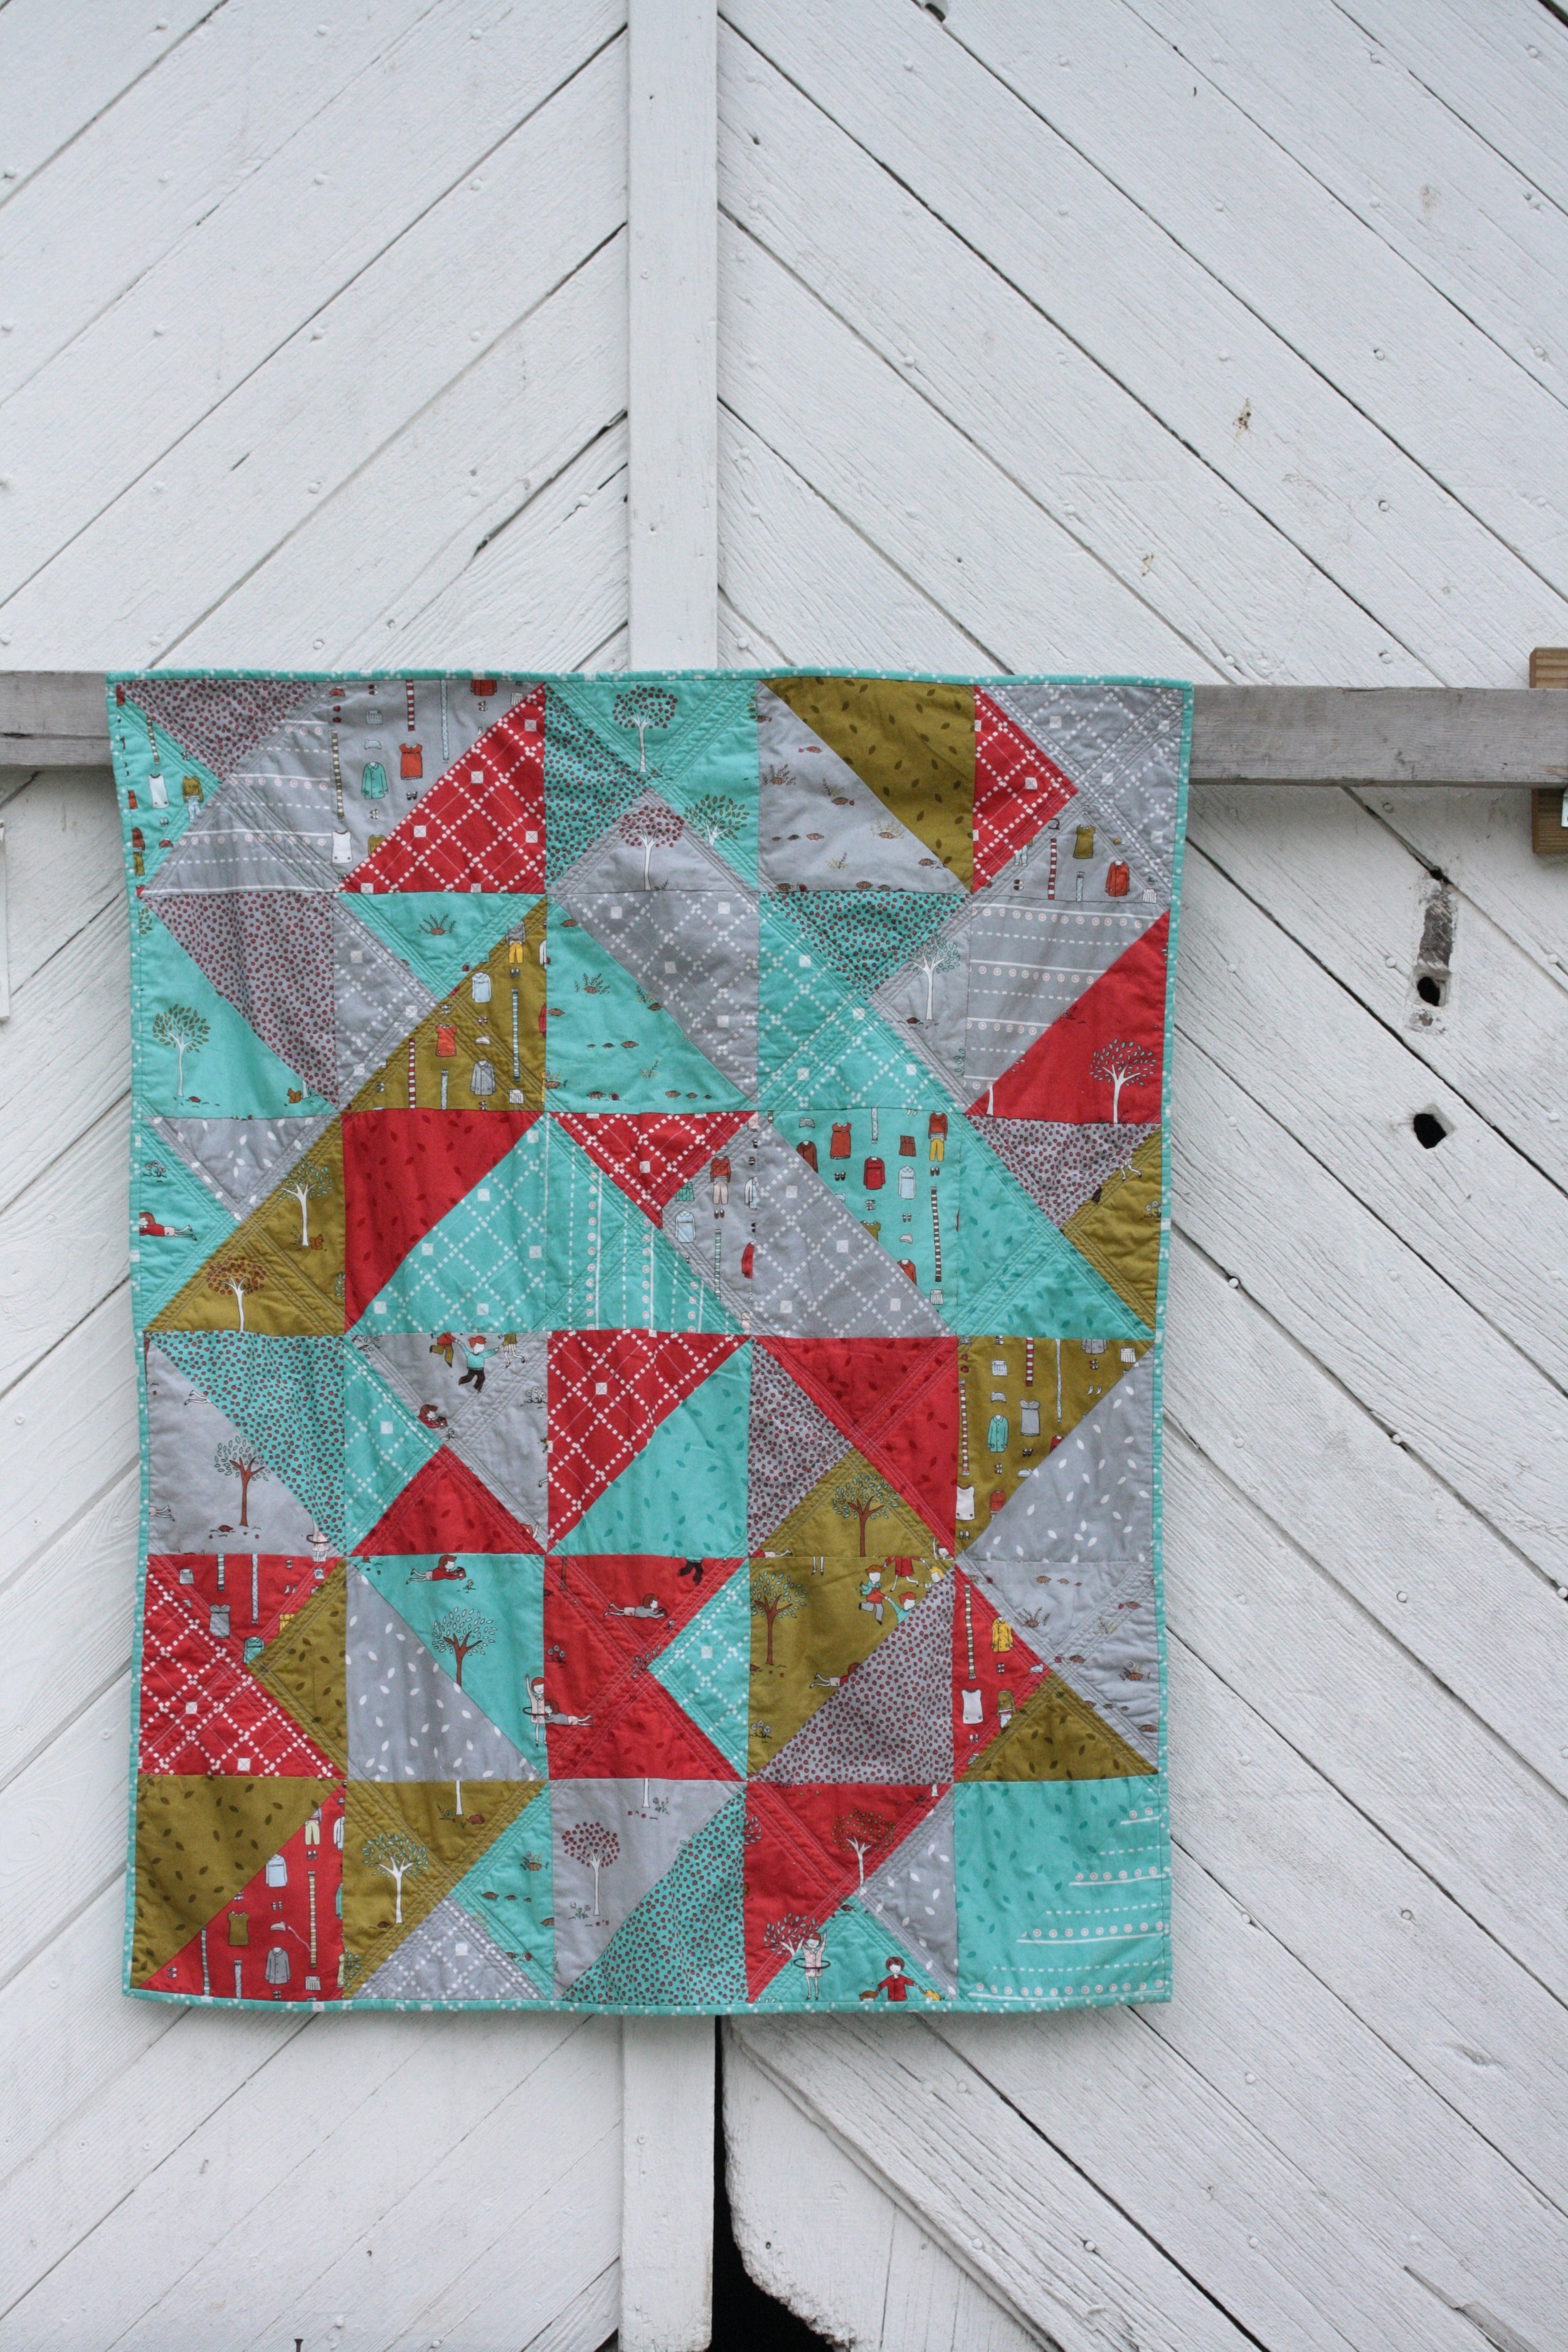
The past few months I've struggled with working consistently on any one project.   Bouncing from embroidering to piecing, to quilting, to knitting.  None of my works in progress are getting the attention they deserve.  It's kind of driving me crazy.  I have a couple of new projects in mind, but I dread having one join the stack. arabic lattice partial blocks
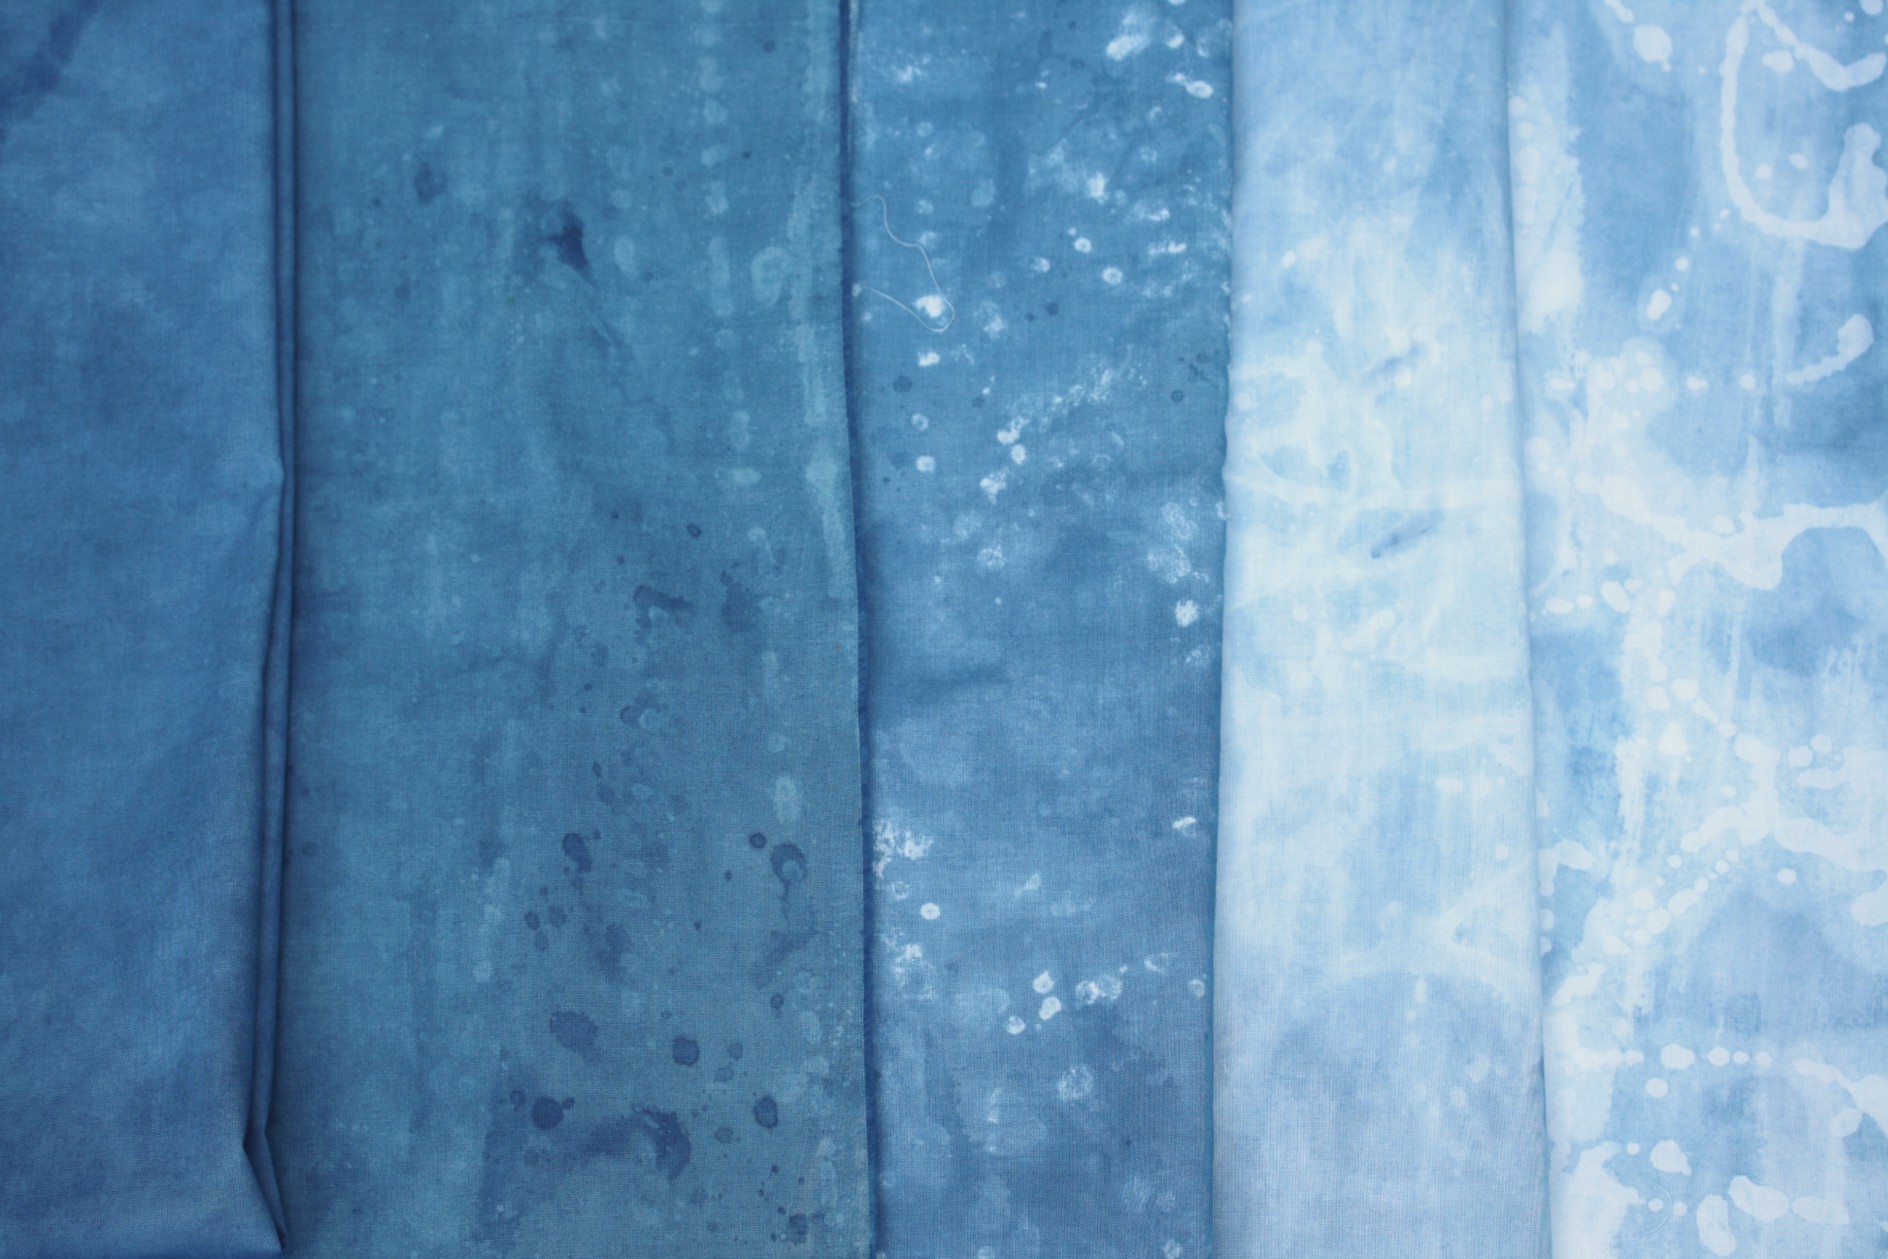
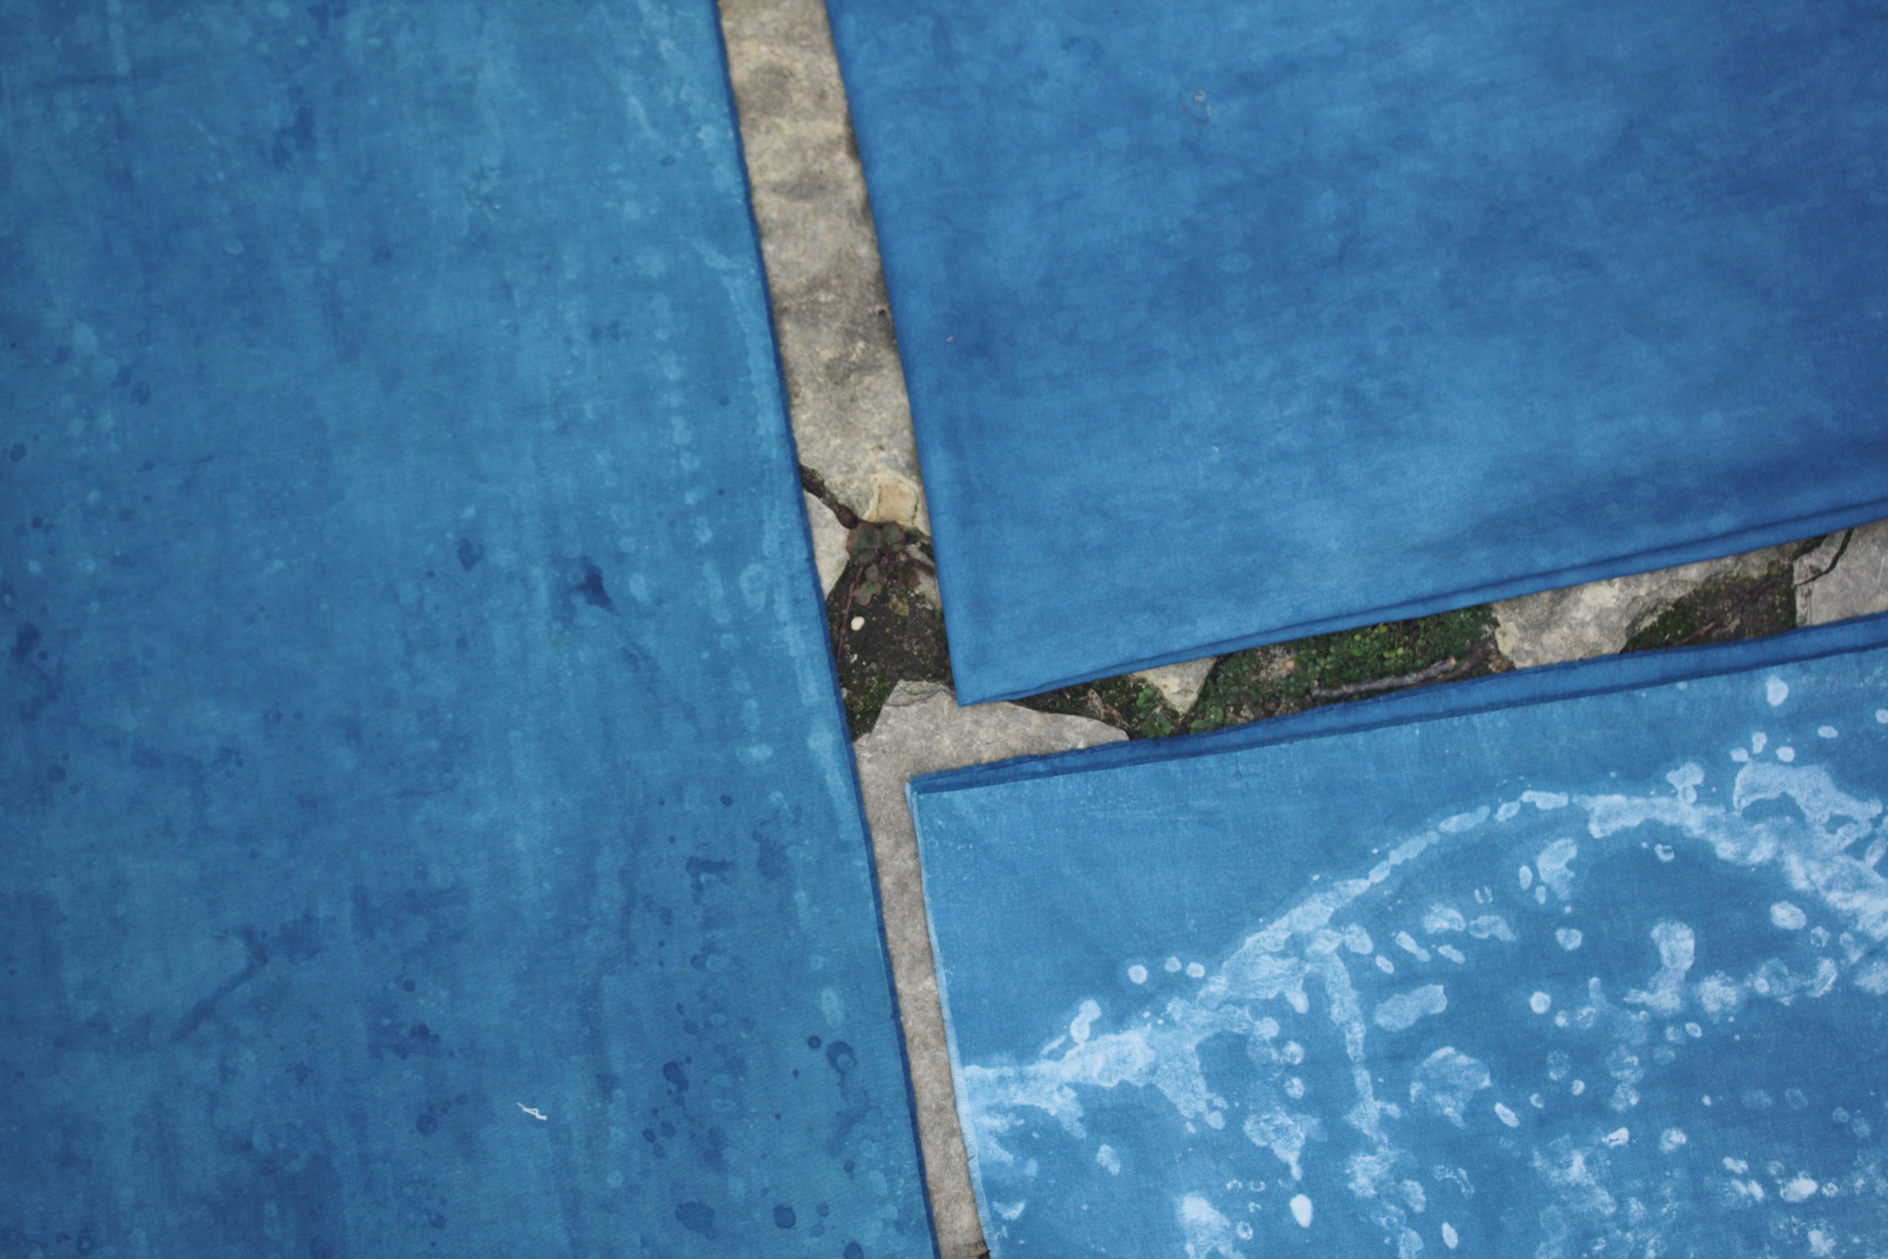
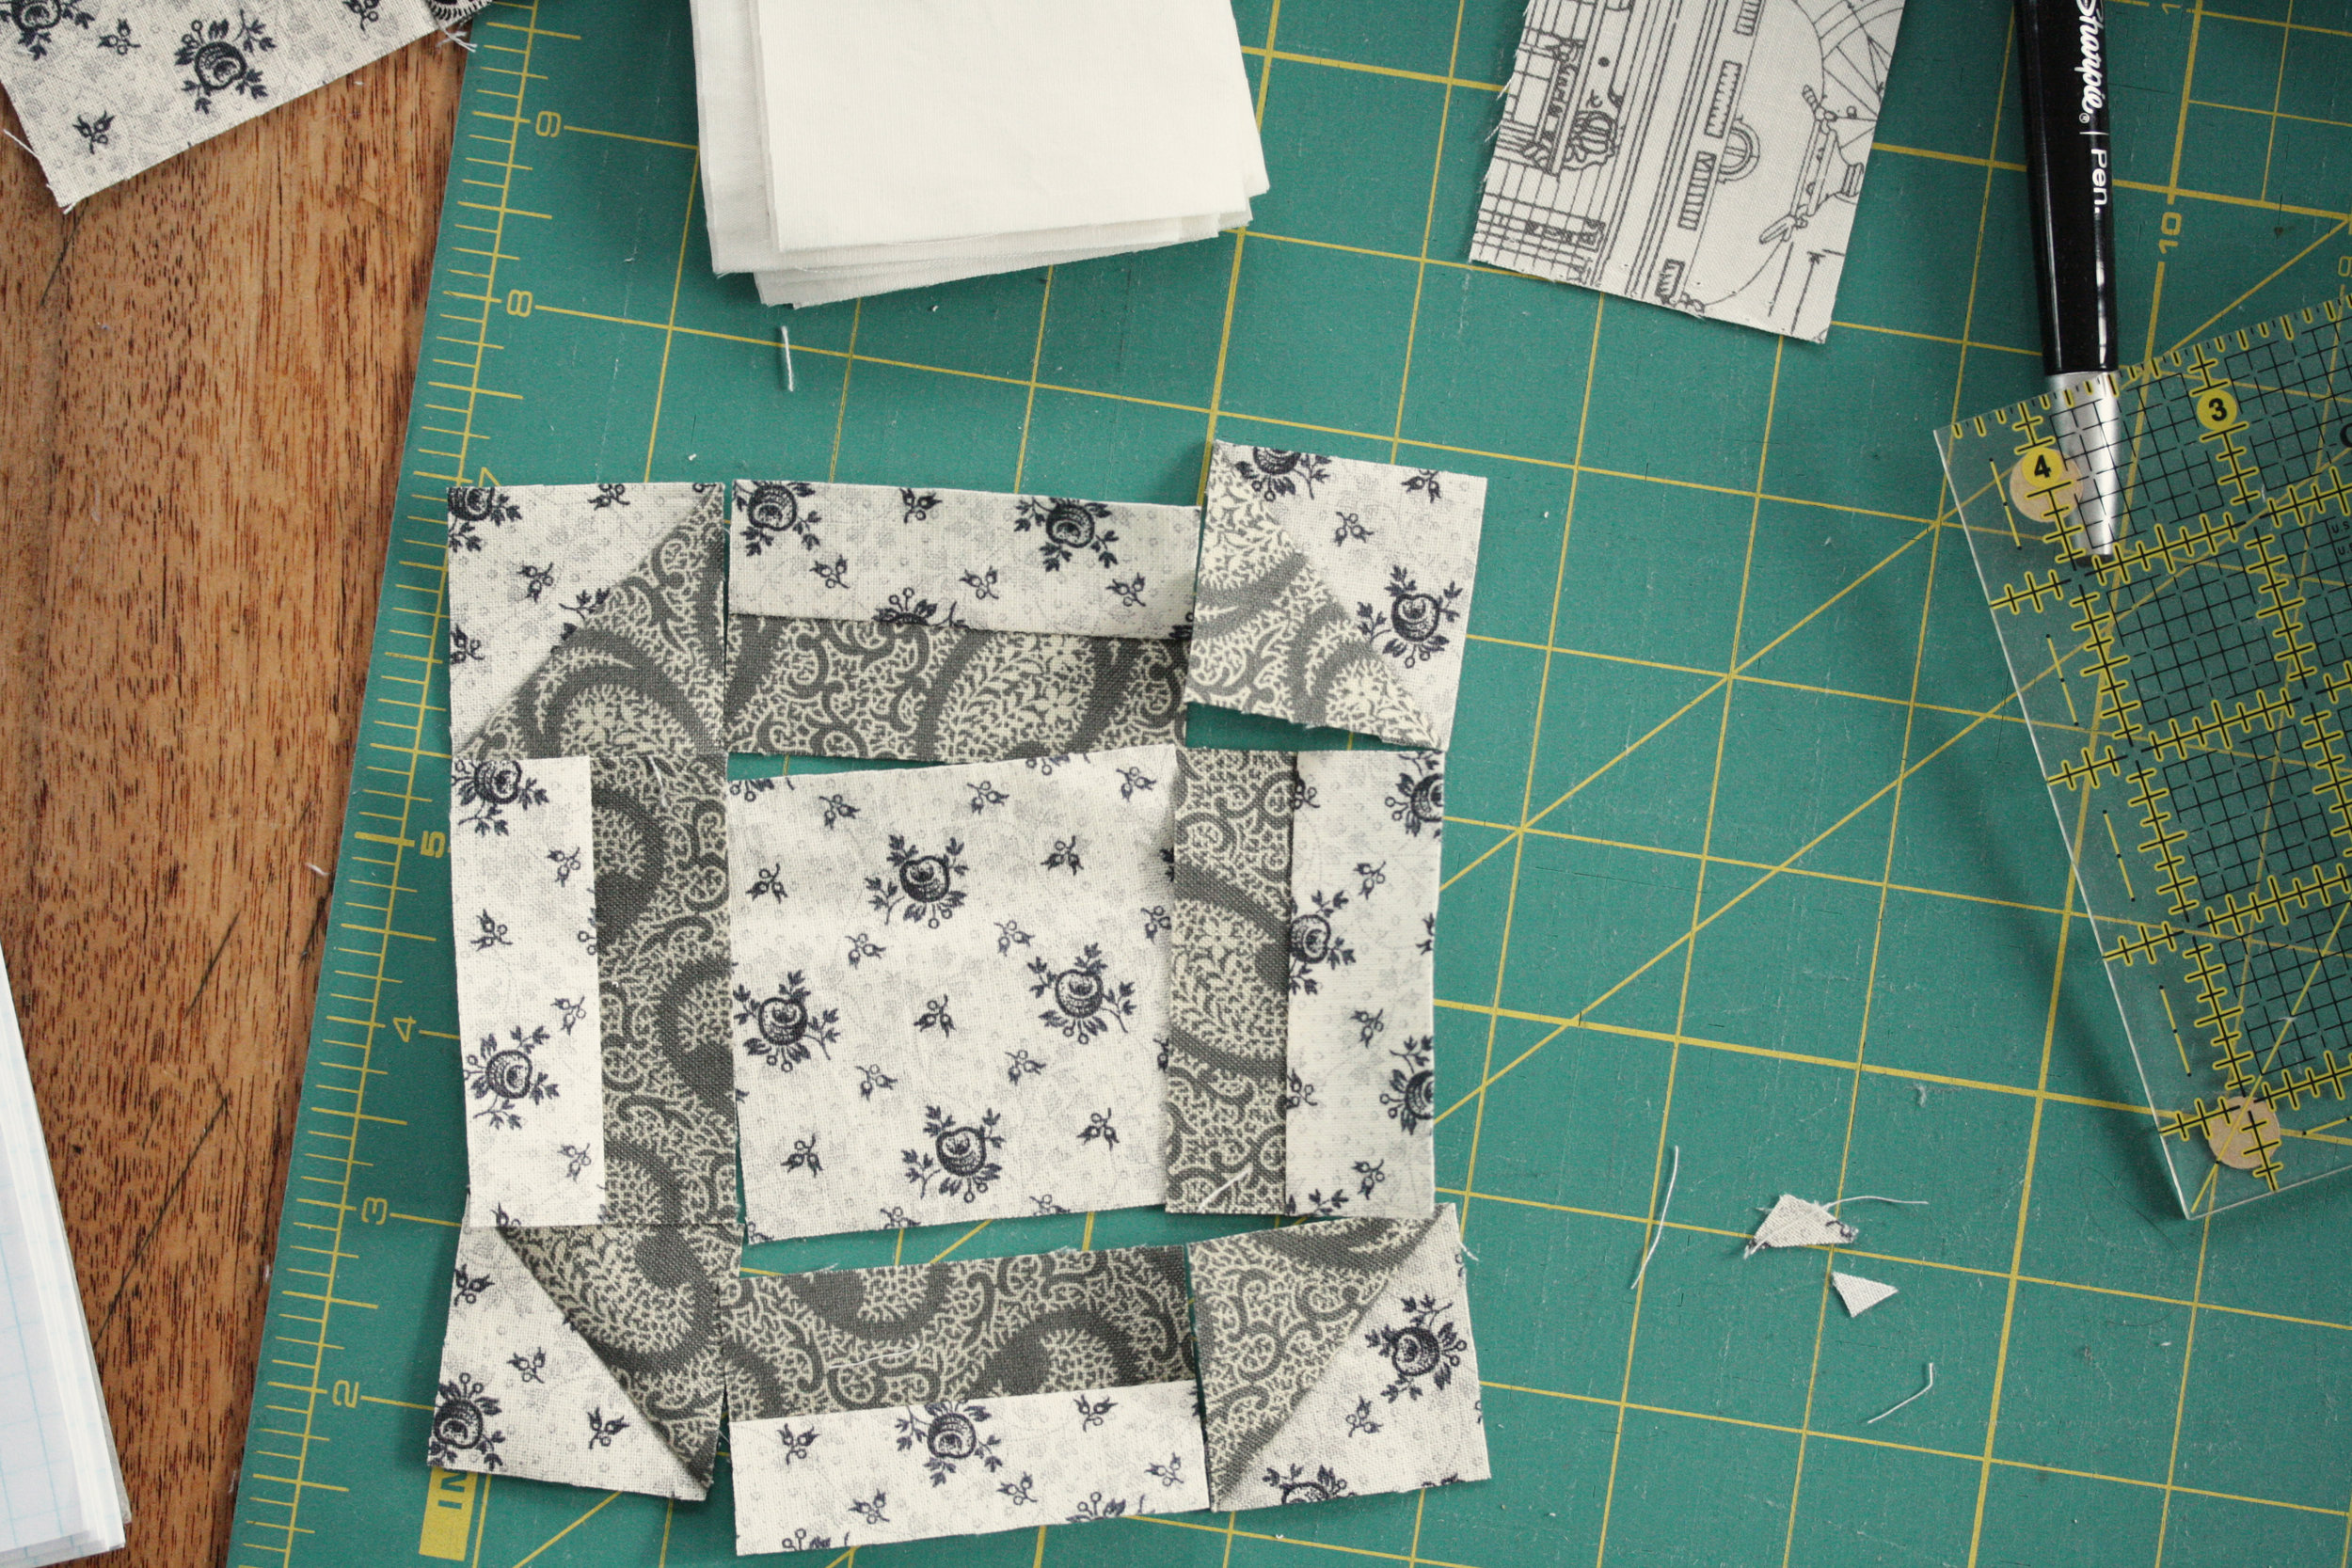
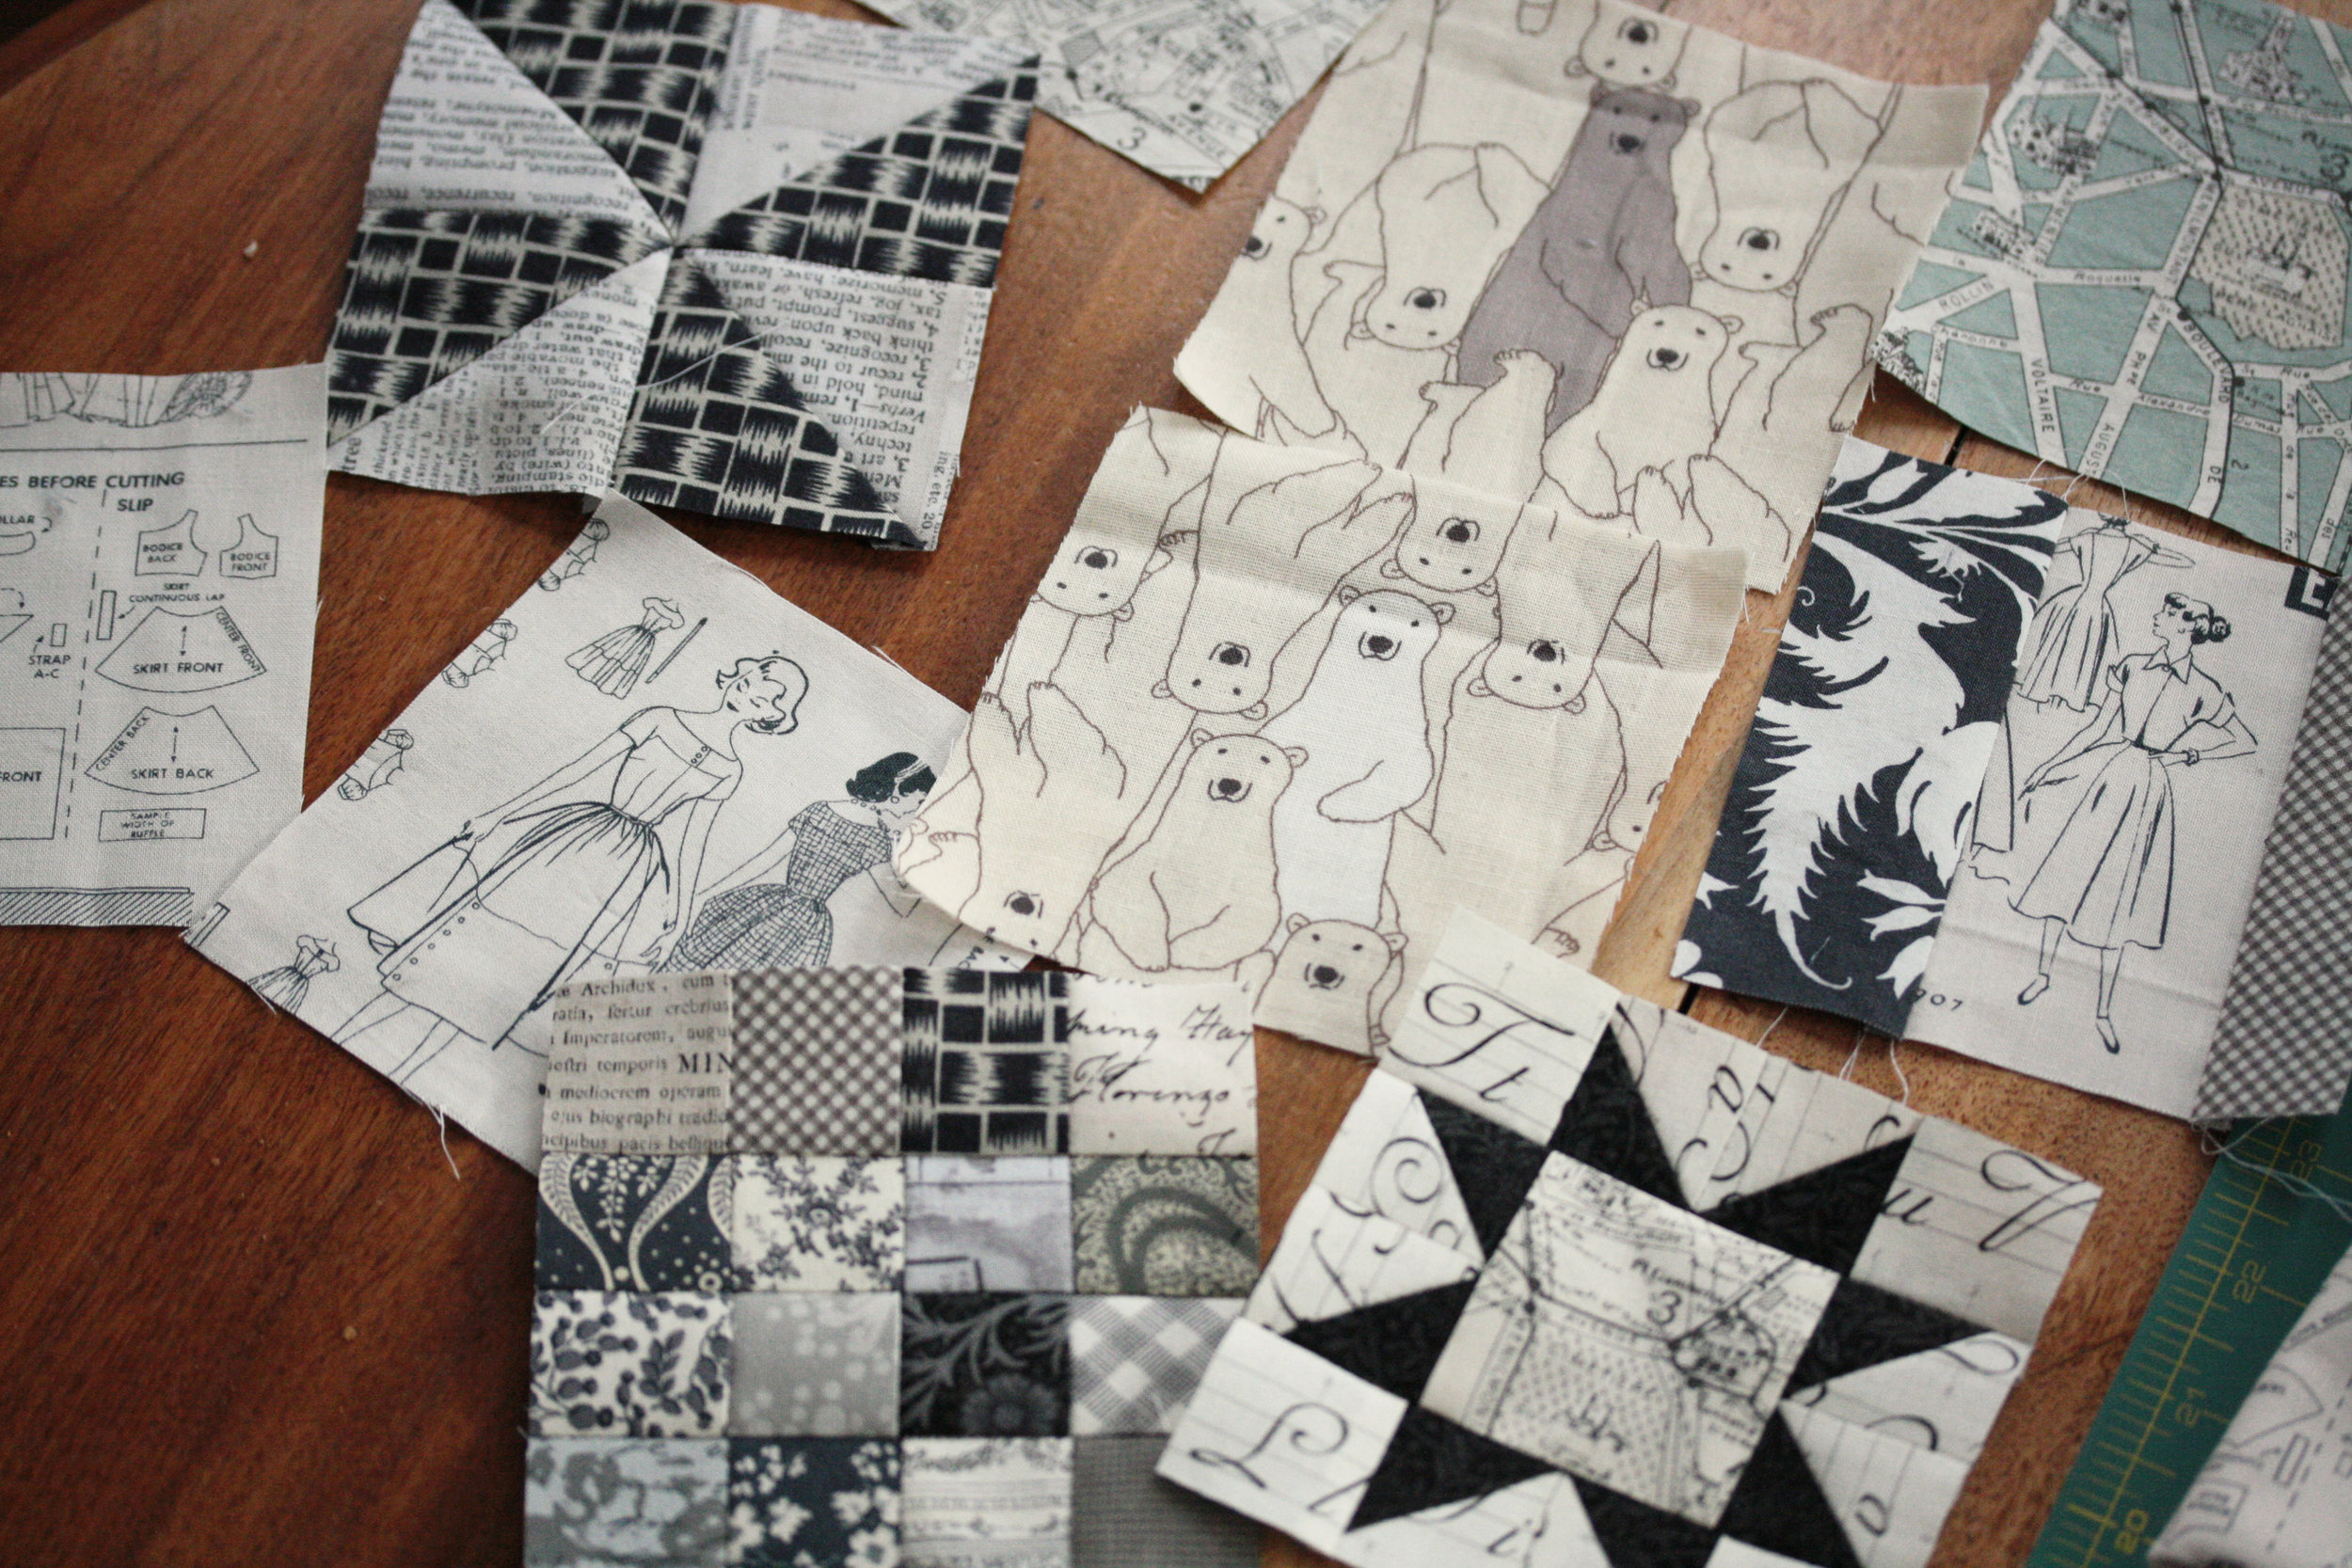
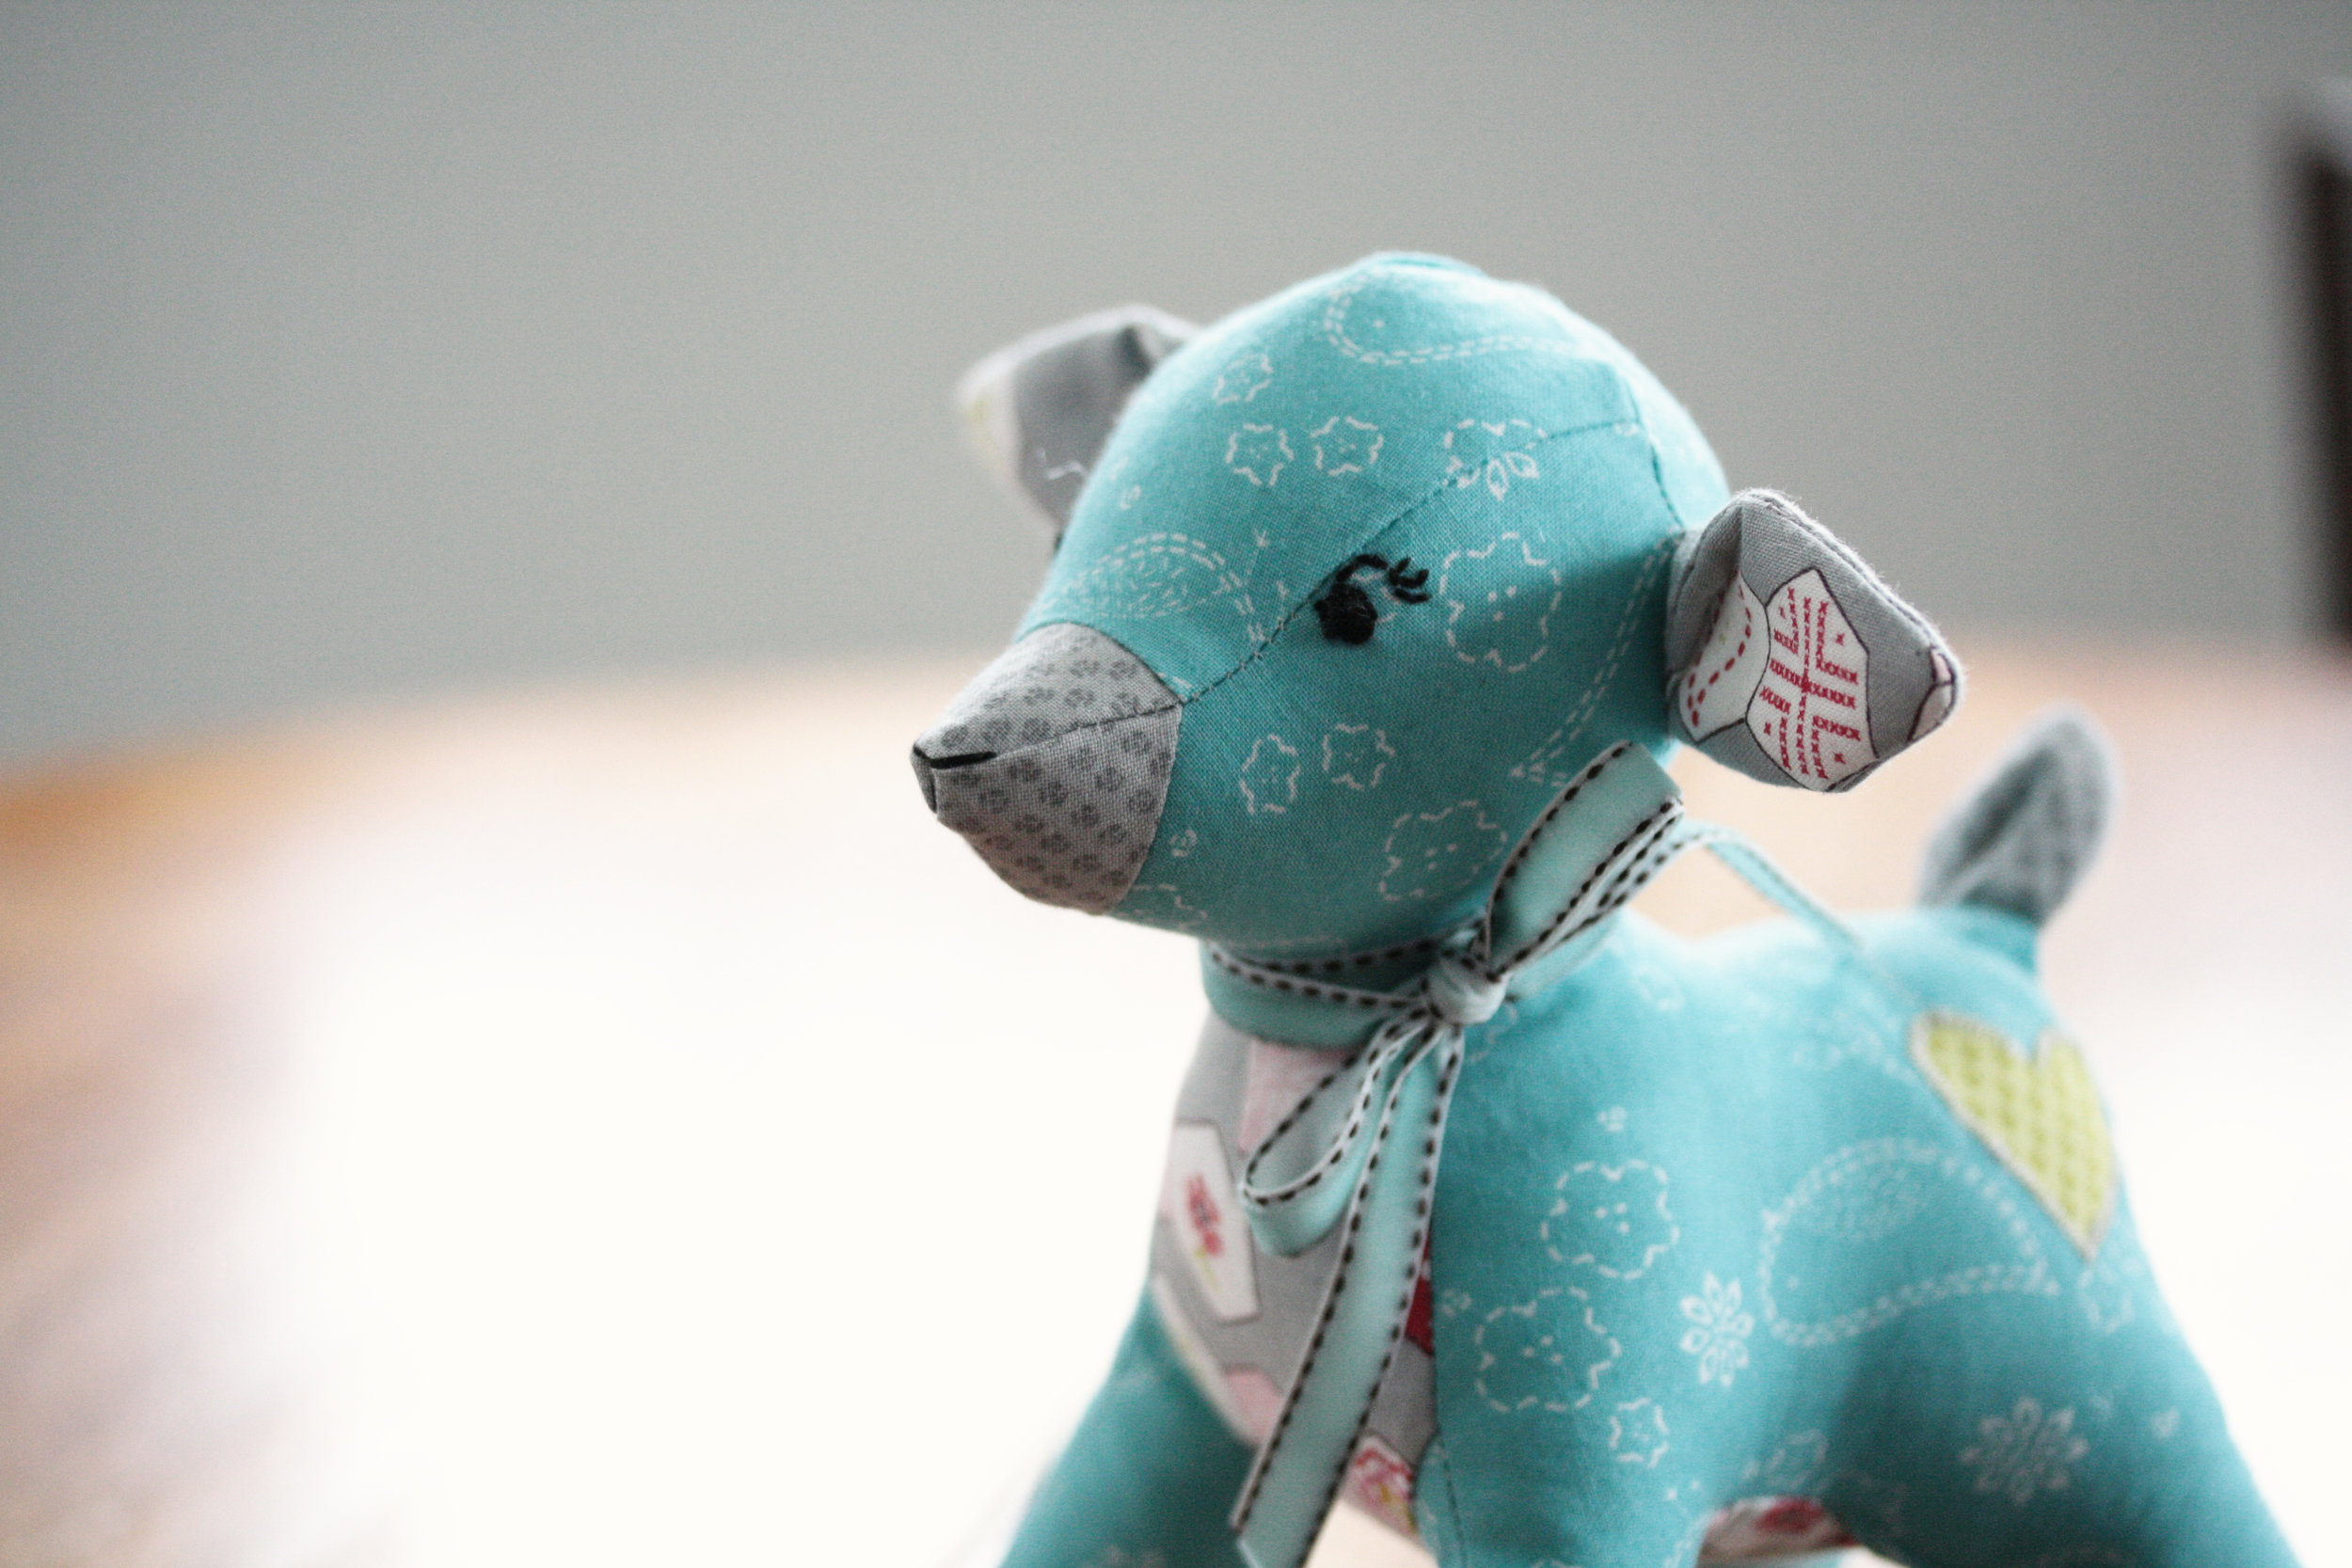
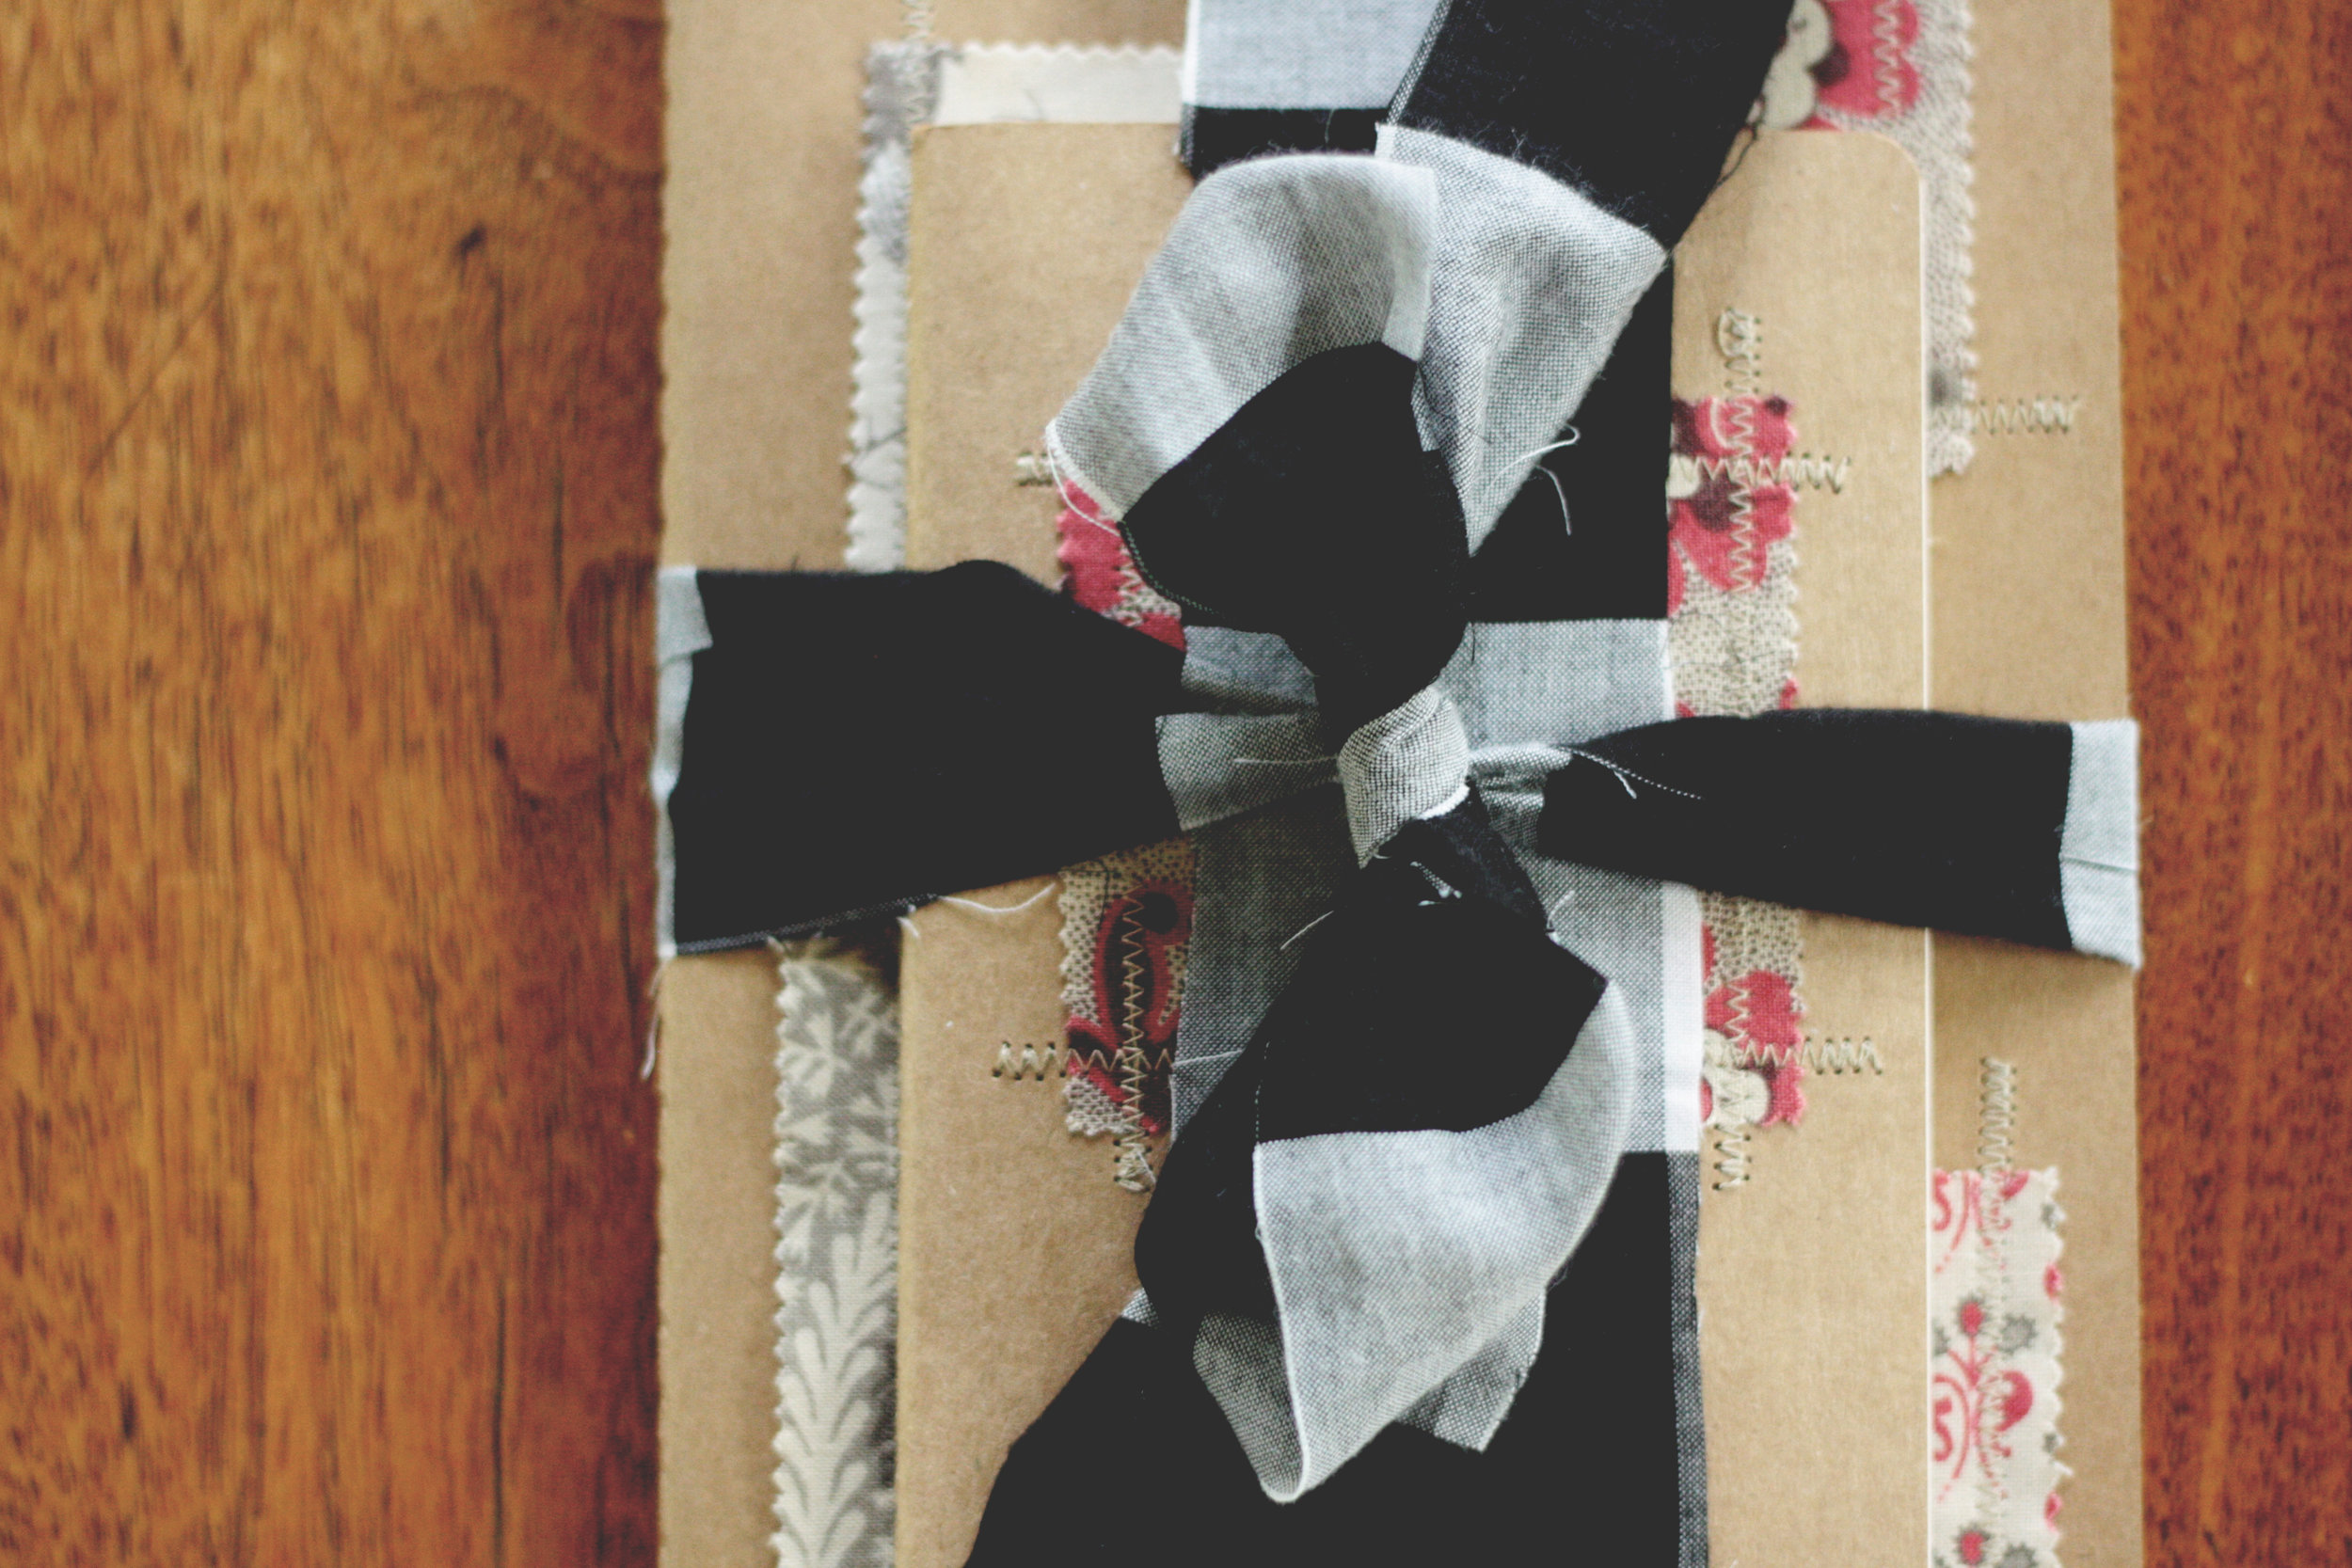
This is where I'm at with my Arabic Lattice quilt.  It's a hand piecing project that is going to be a large quilt.  Hand piecing is a one block at time process that I love, so I'm cool with how long it will take to get this from block to quilt top.  It's just that there are a lot of blocks left so I'm setting this one aside for a while.  I have another hand piecing project with paper pieced hexies.  It's so low on the list it's packed up for now.  I also tested an applique block that I'm dying to make some more of, but again, packed up for now.

partial spider web blocks
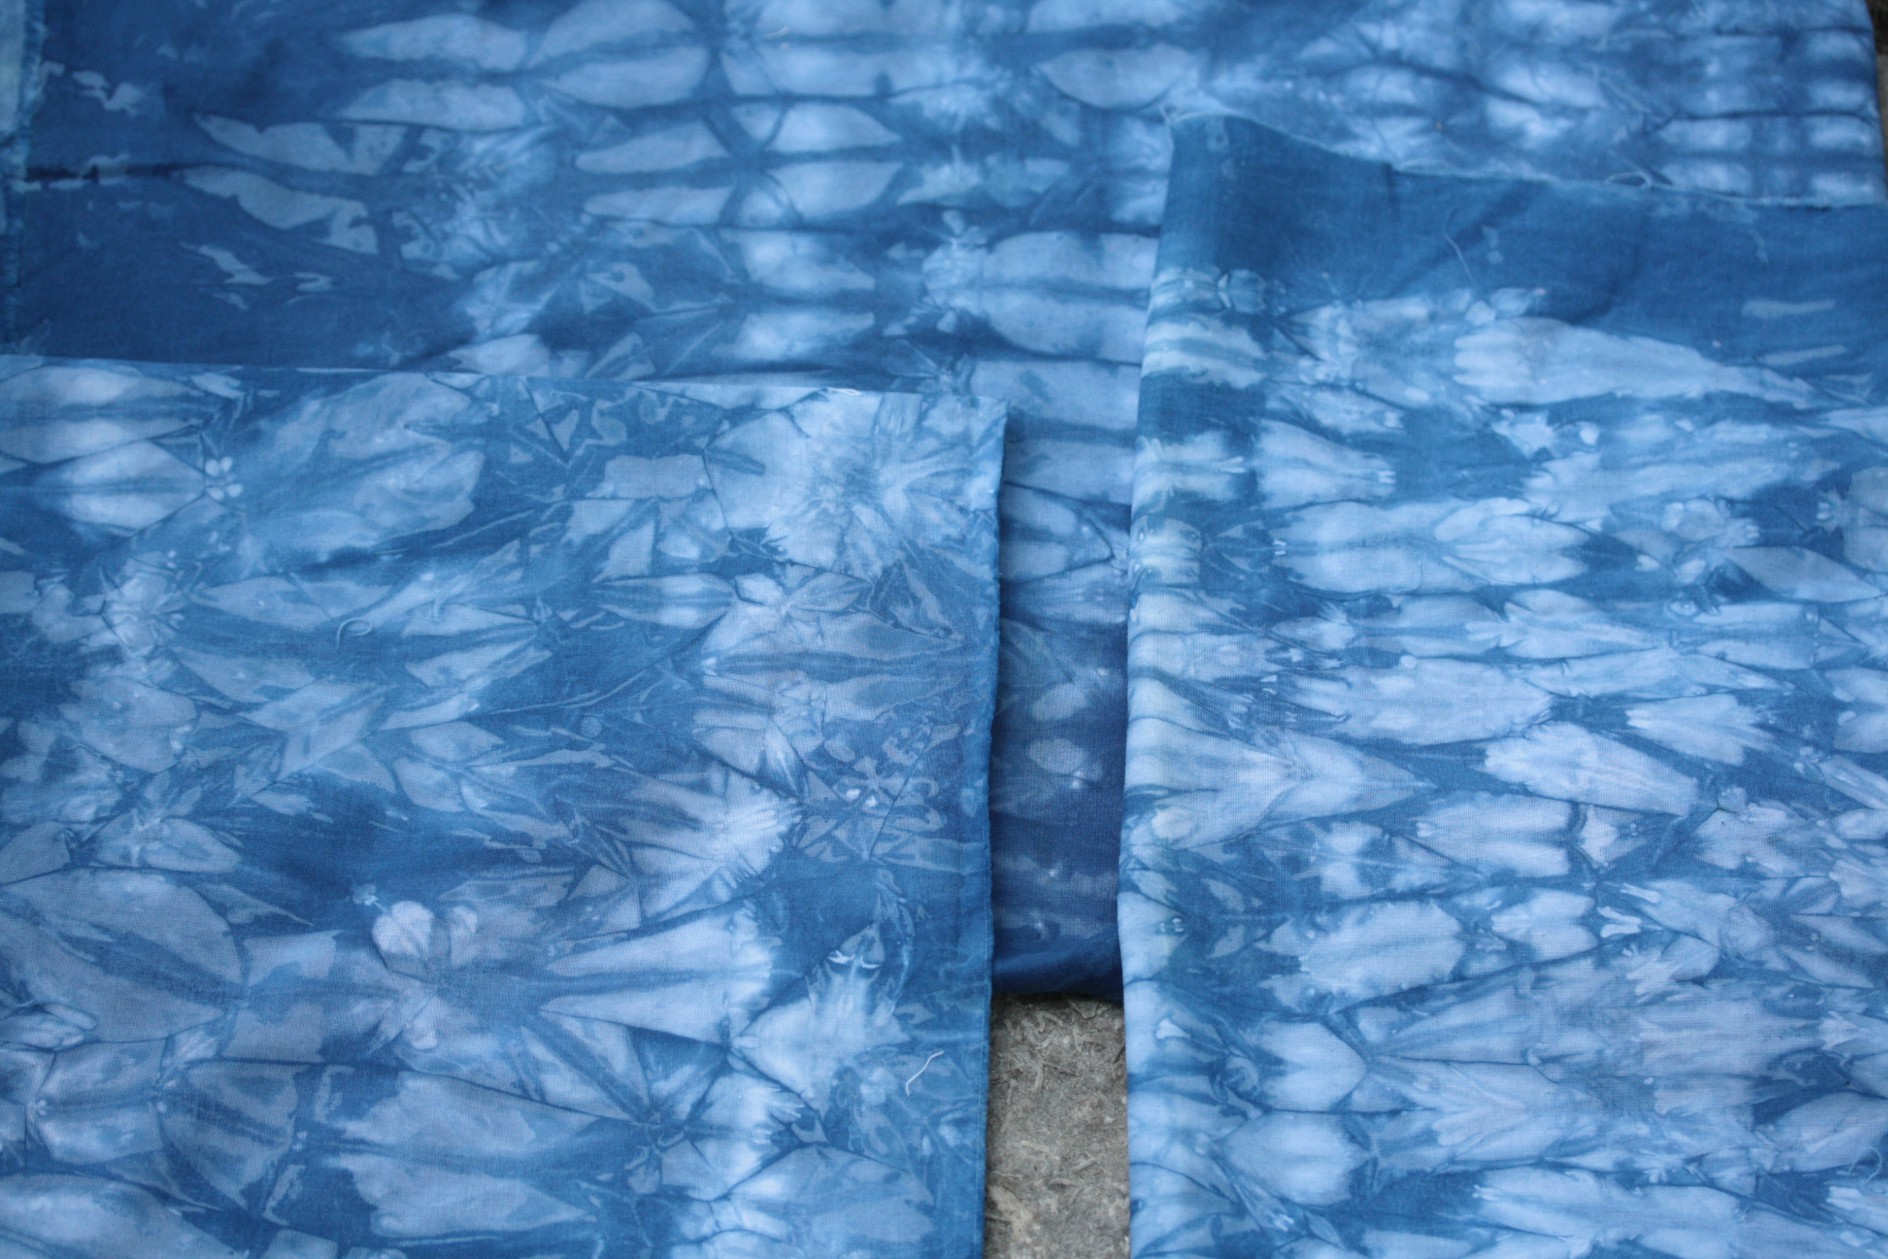
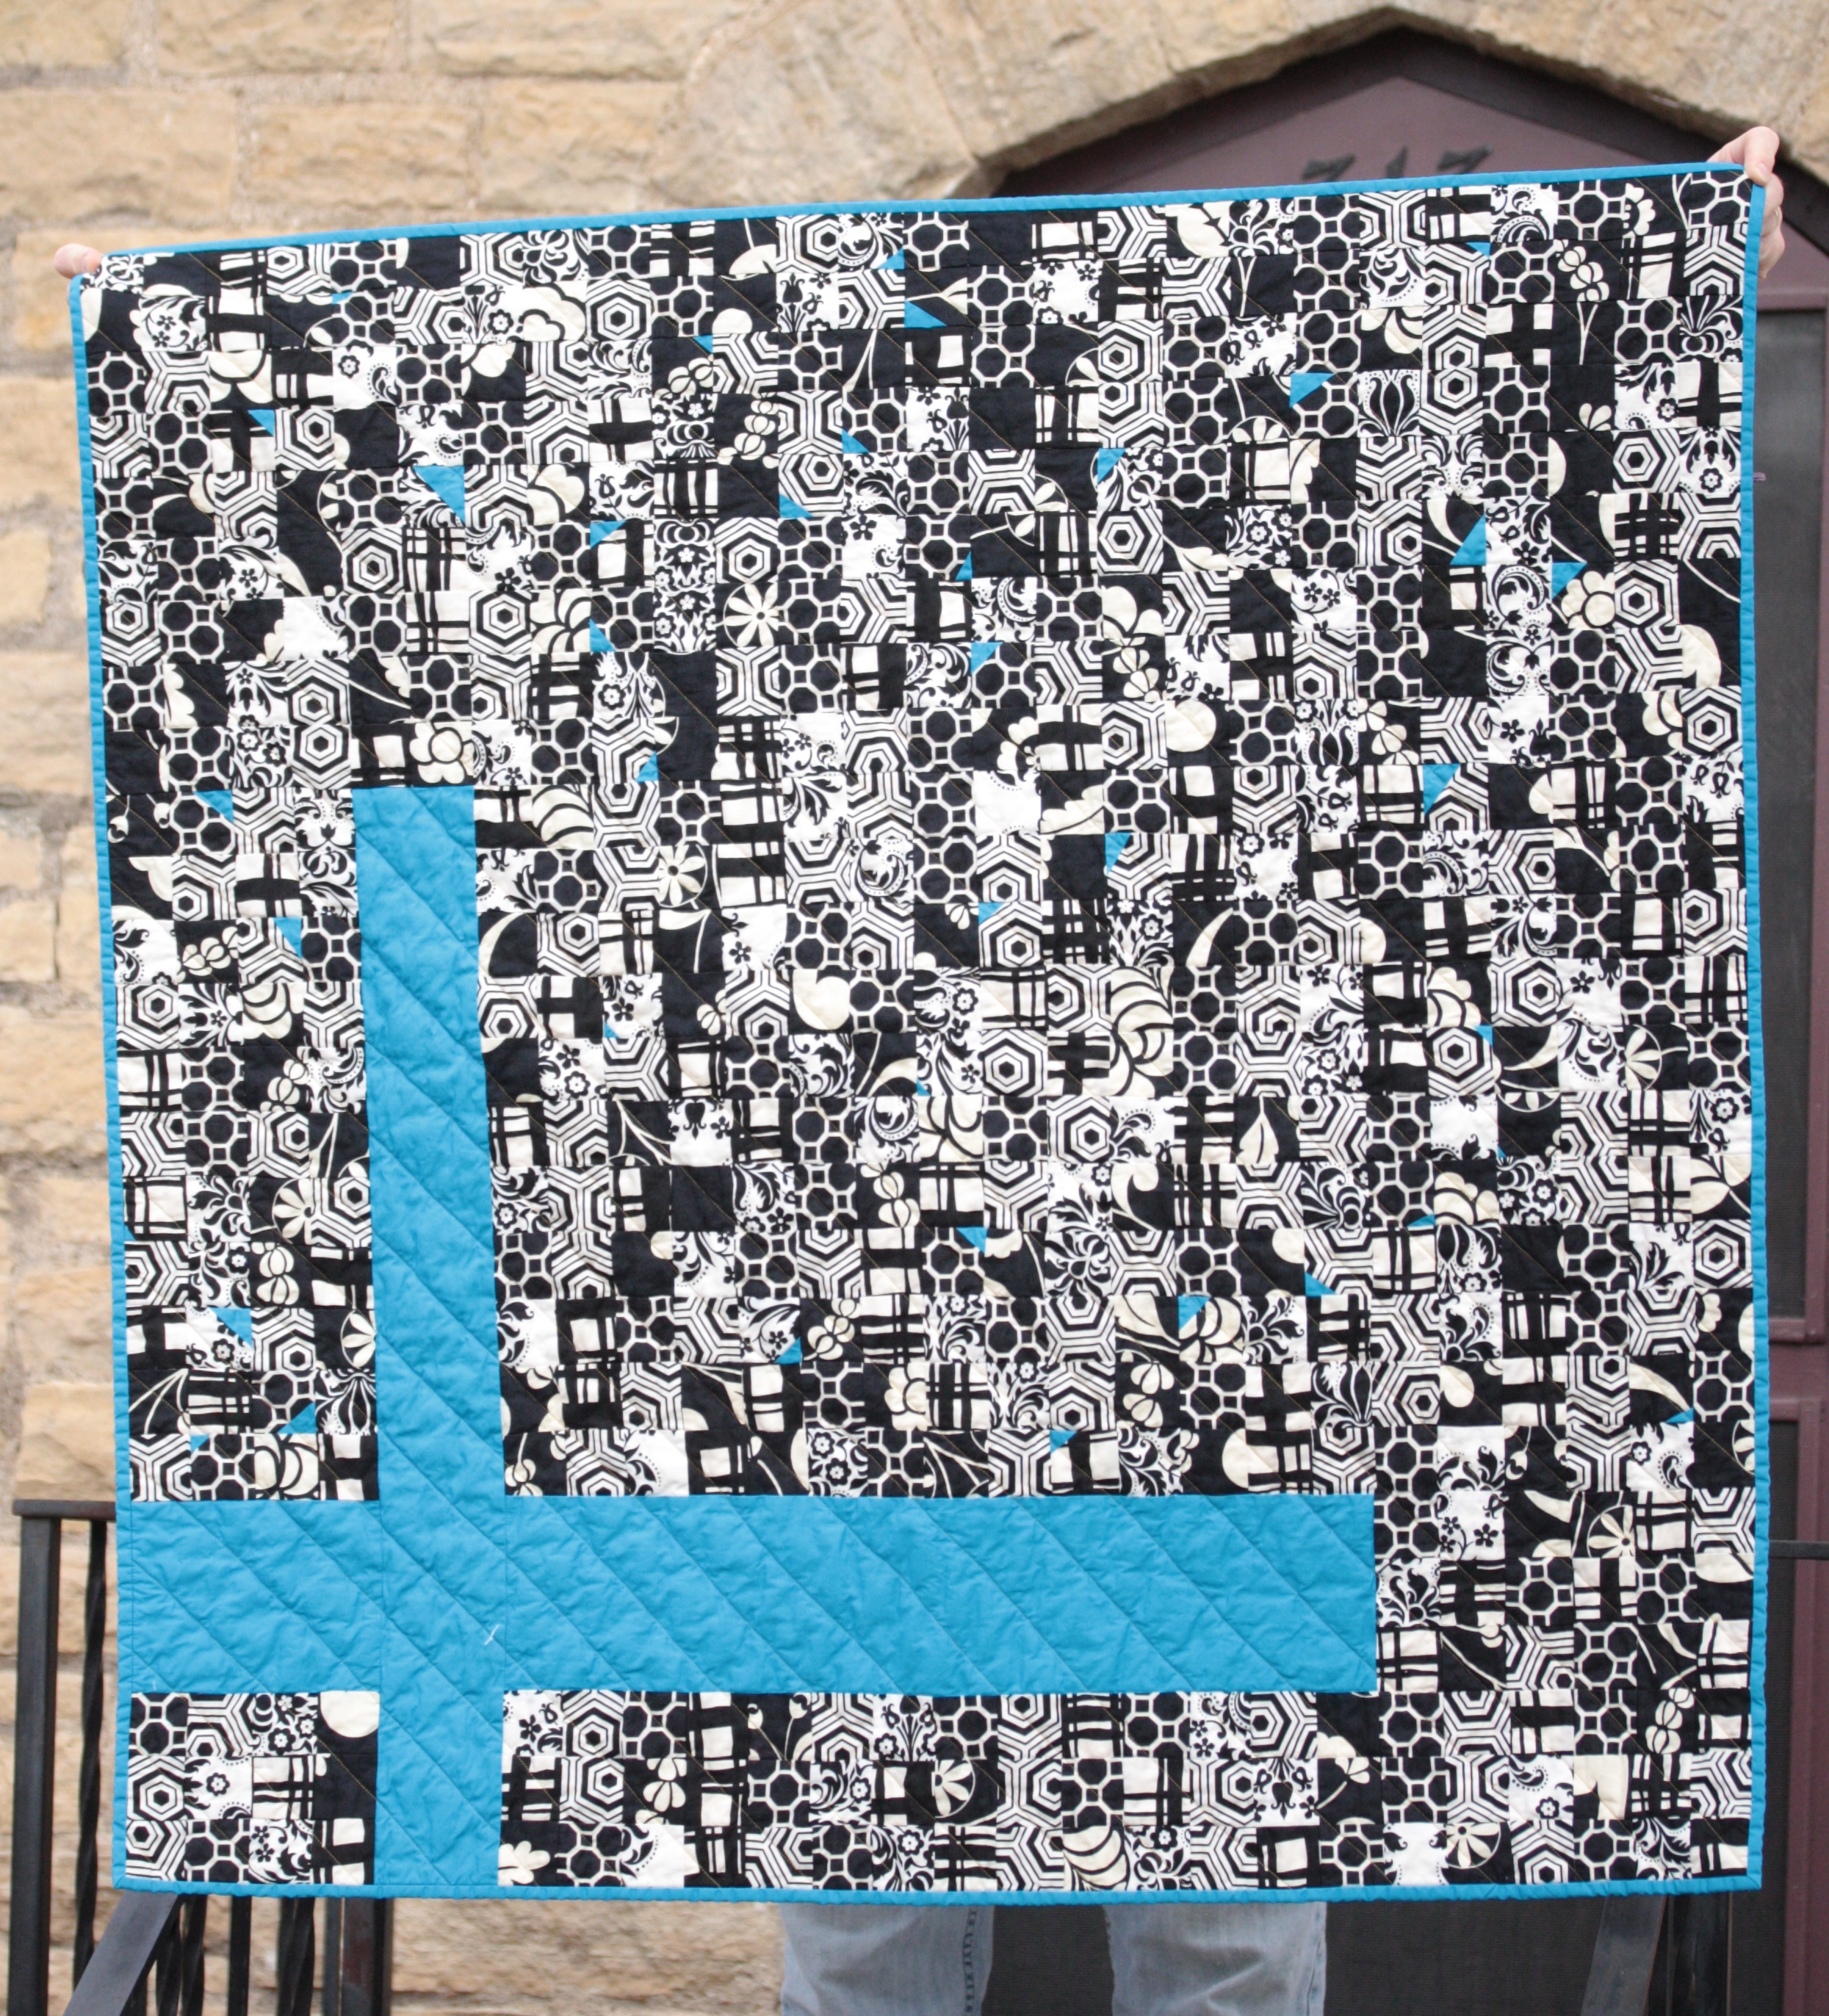
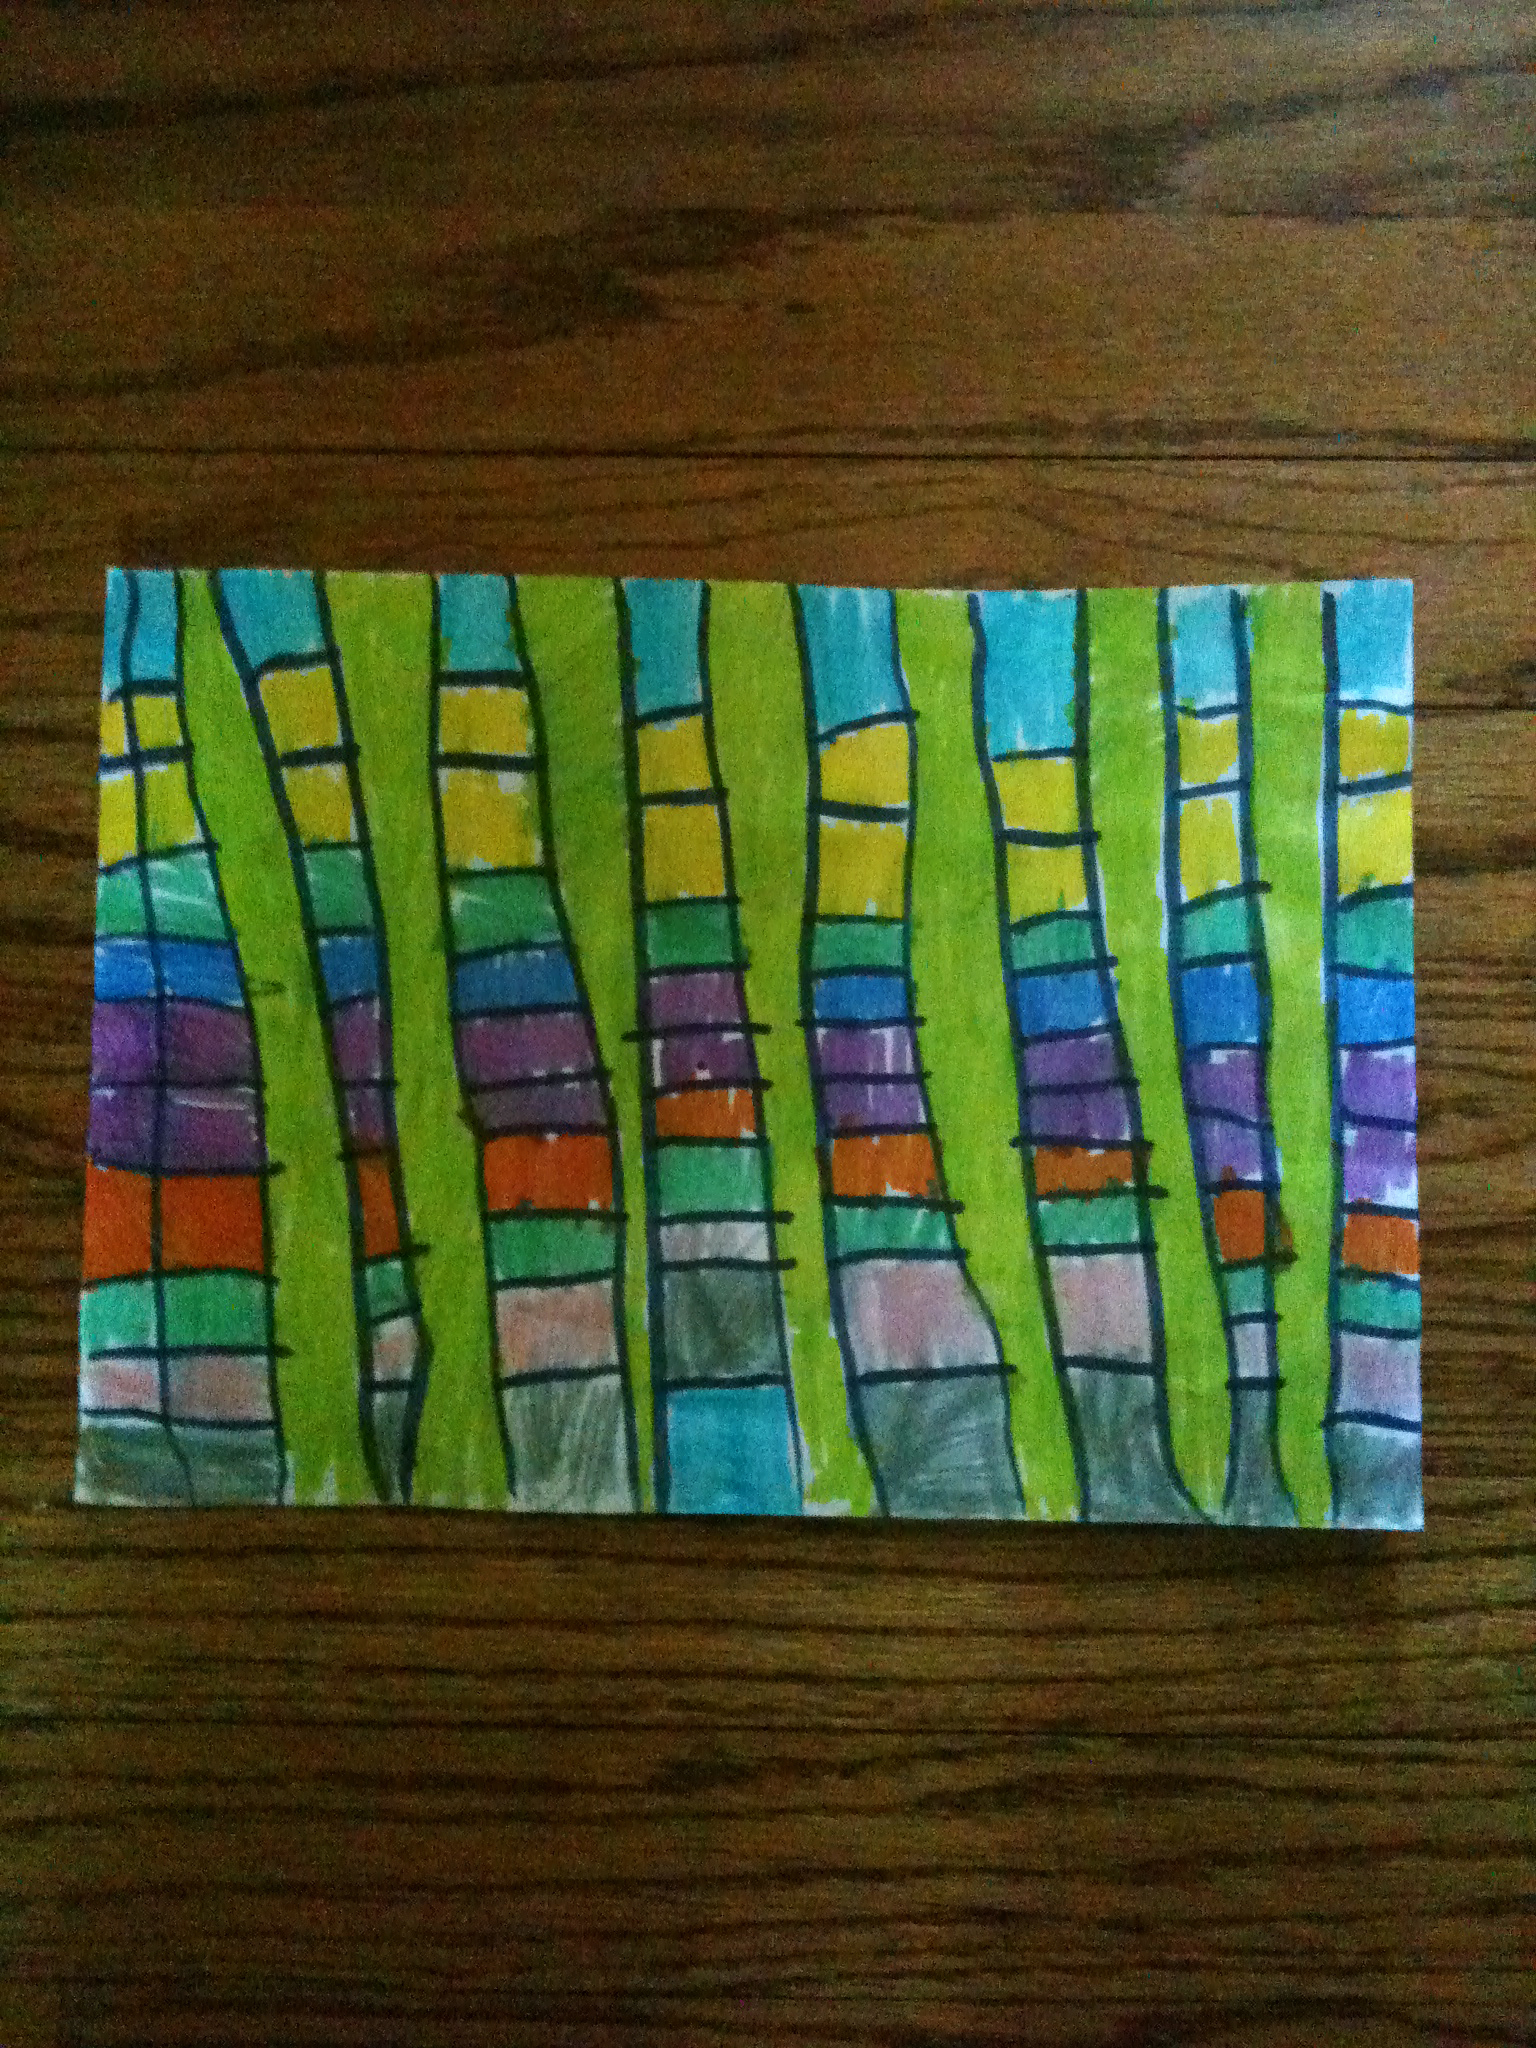
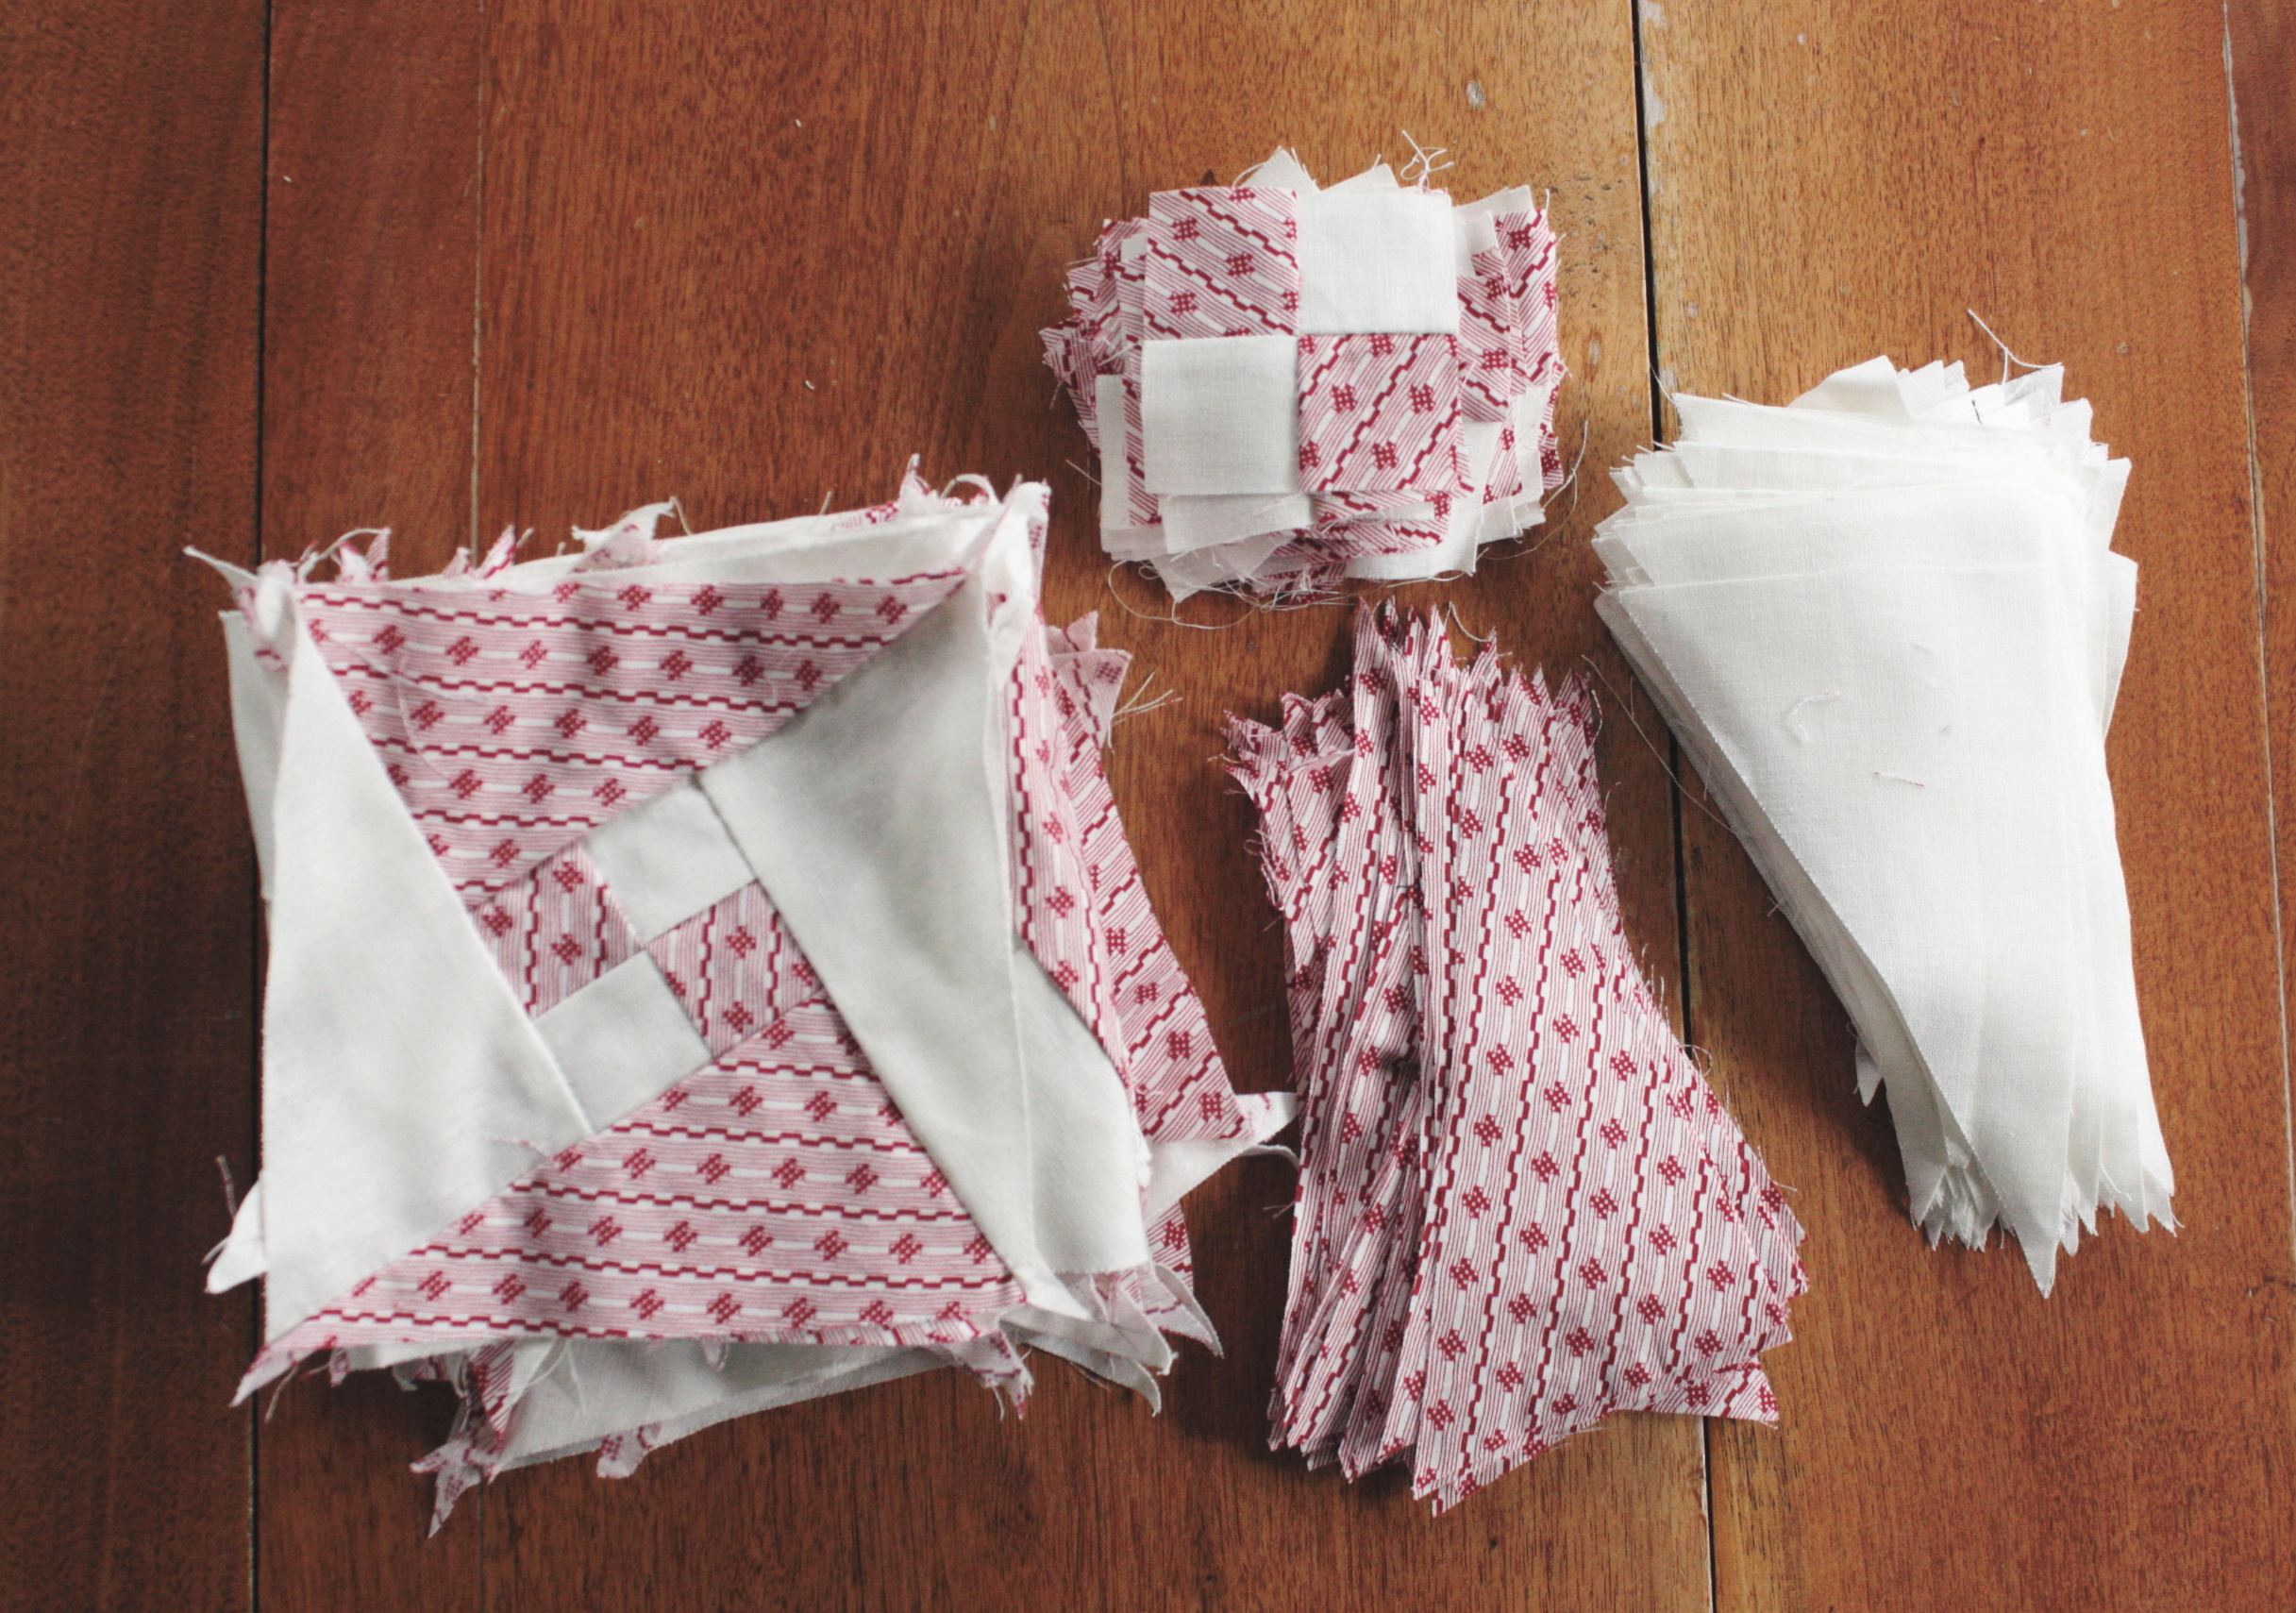
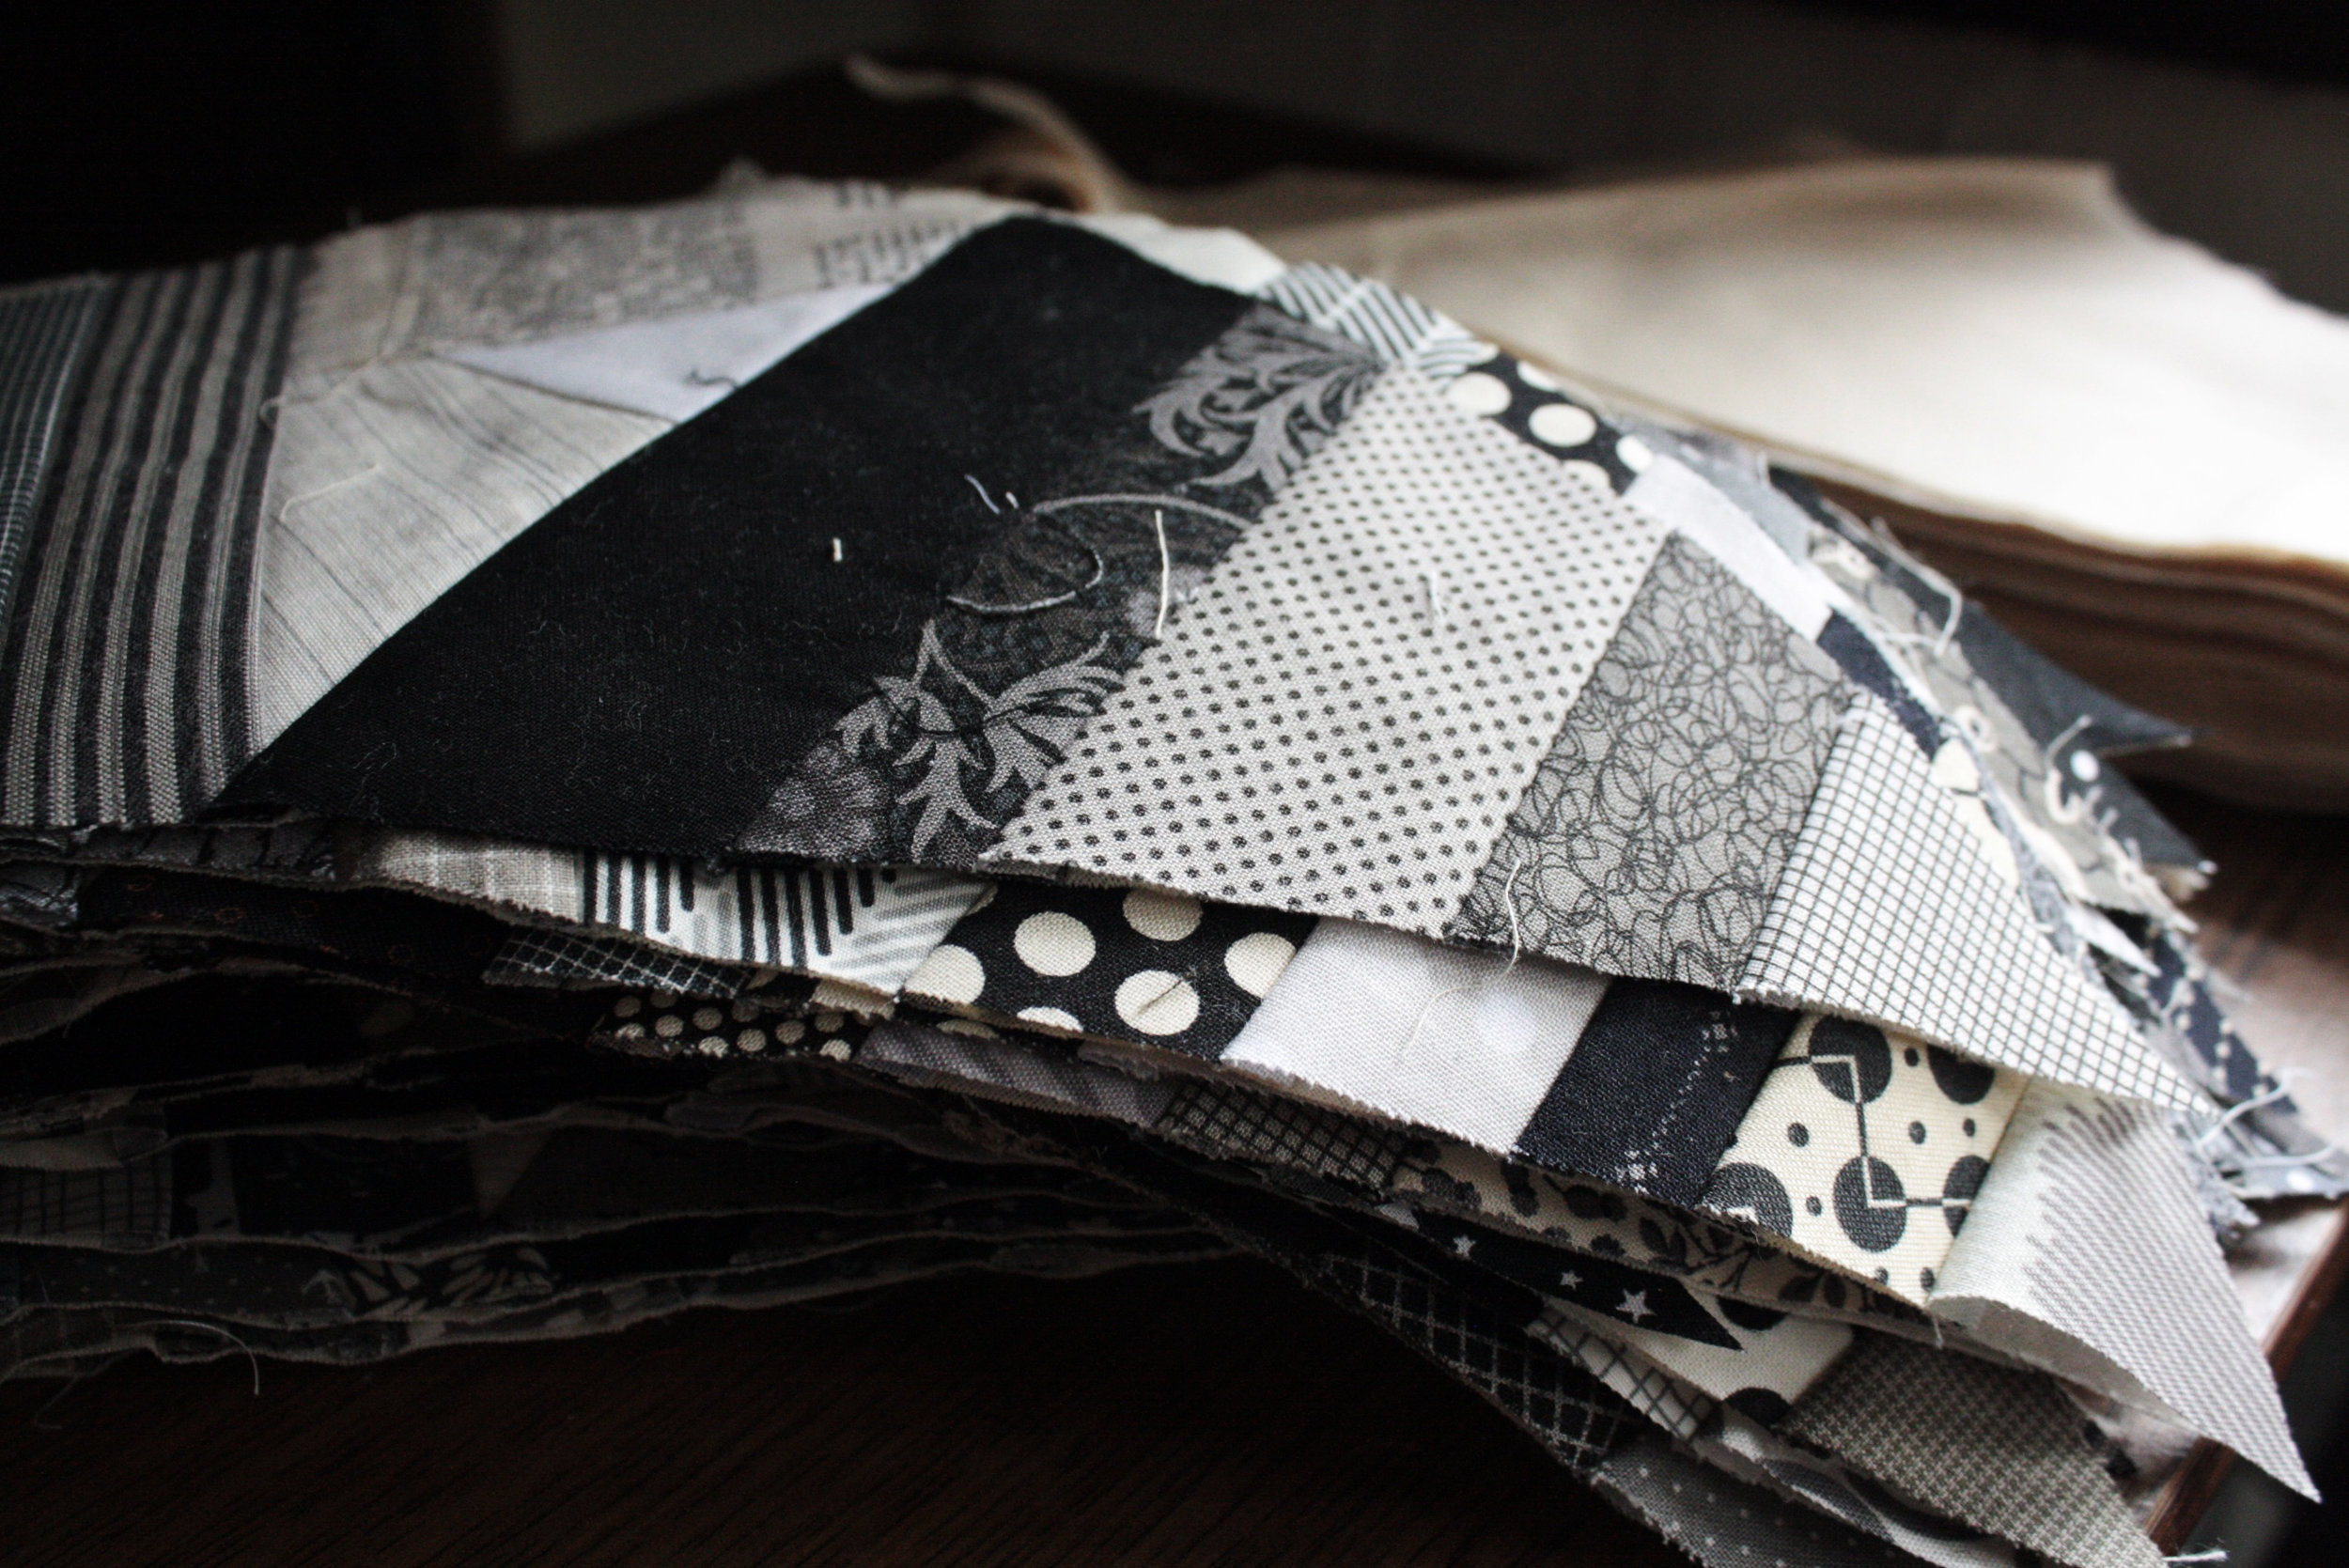
These are my spider web blocks.  A spider web quilt has been on my to stitch list for a mighty long time.  I'm machine stitching the blocks and plan on hand quilting this one.  These blocks are foundation pieced on to muslin.  The stack in the back is the triangles I still need to make.  I was thinking of focusing on this quilt top but then realized I couldn't hand quilt anything until I finish my paris embroidery.

haptic-paris.jpg
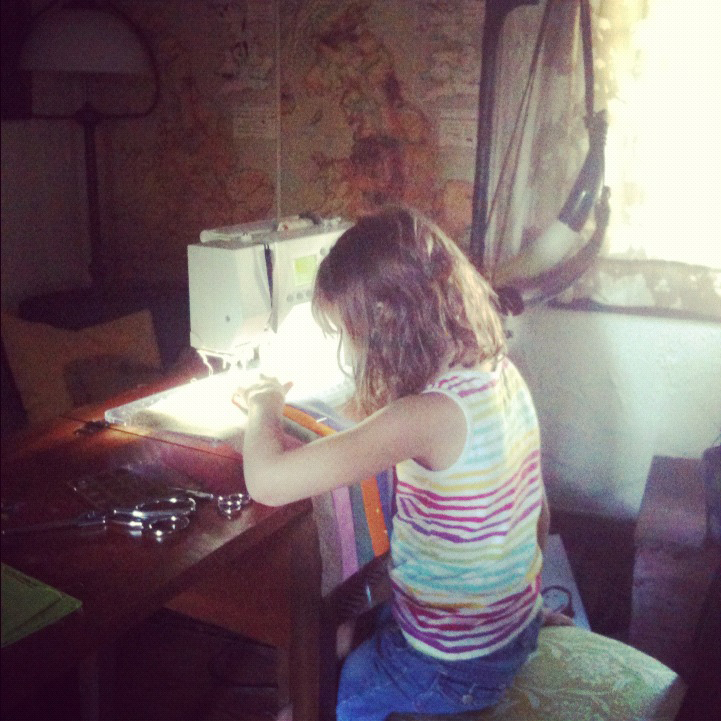
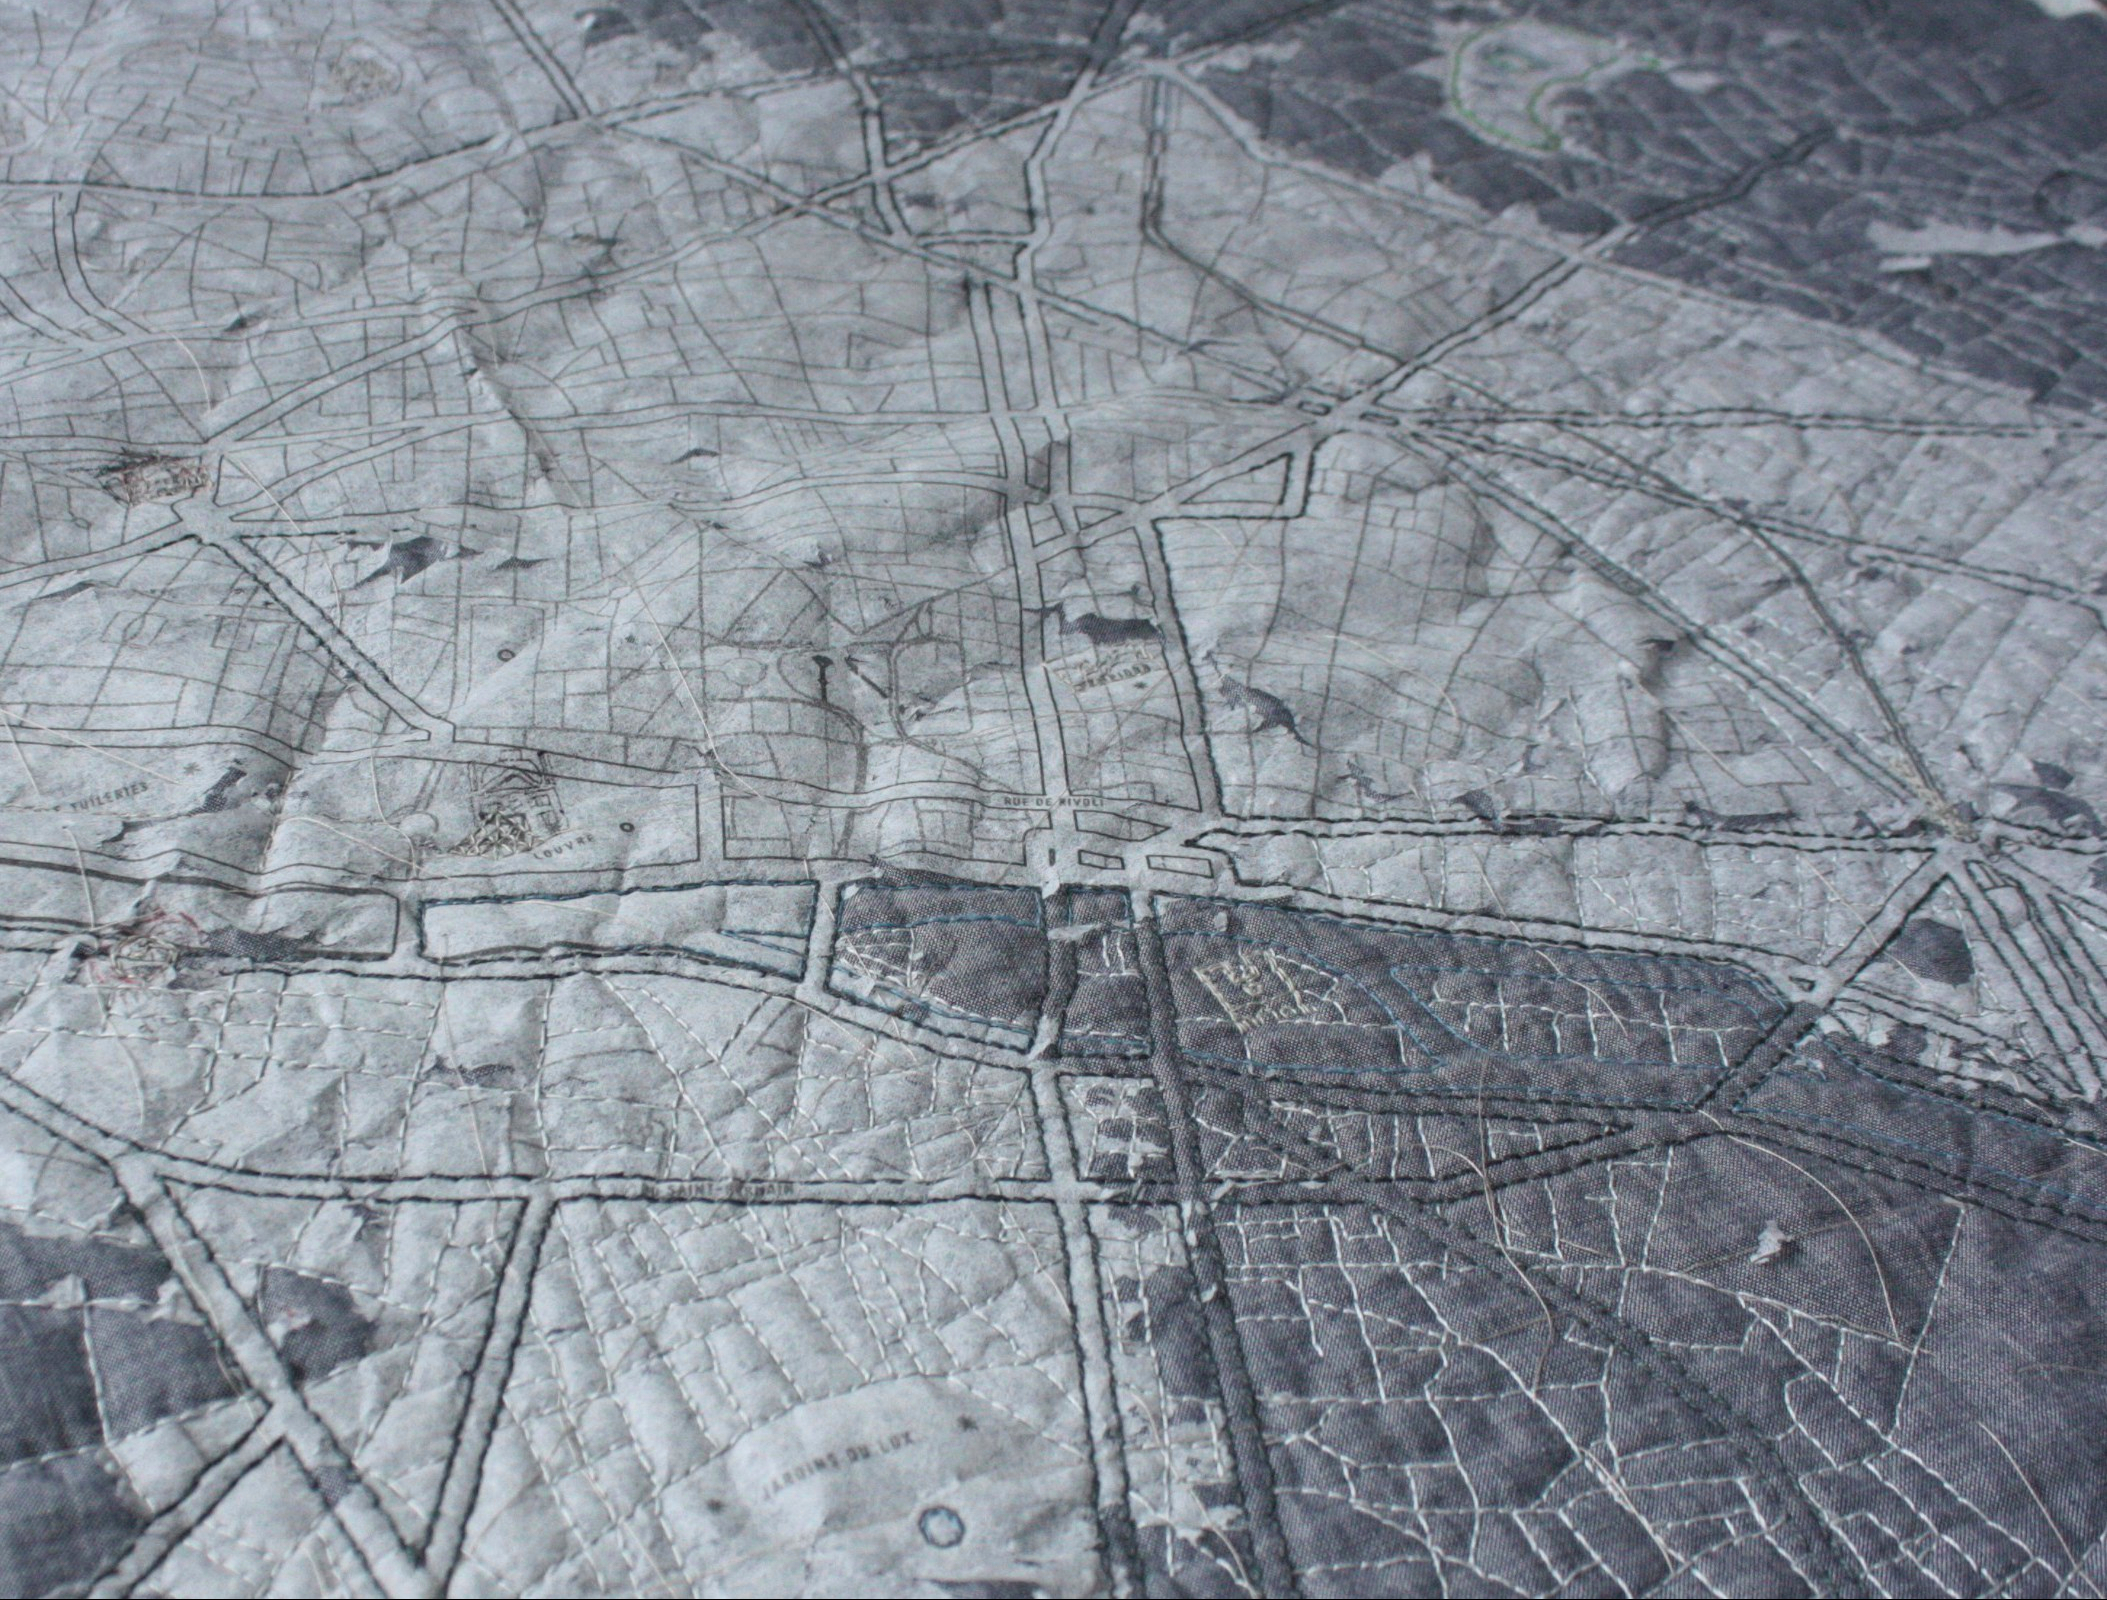
My Paris map haptic lab is on my quilting rack right now.  To be honest, it's been there for quite a while.  It's a massive embroidery project that I plan to use as a wall hanging.  I've finished up the left bank and am working my way through the right.  In order for anything else to be quilted, this has to be done.  The paper pattern on the top is fragile and starting to wear in spots so I'm officially moving it to the top of the list.

So once I have Paris done, it should be smooth sailing through the rest of my projects, right?

Citizens of Textile sale this weekend
go anywhere totes
go anywhere totes

I'm one of this month's featured artists over at Citizens of Textile this month.

I've made a small collection of totes, some zippered pouches, and a couple of special baby quilts.  Each piece uses some of the snow dyed cotton I made late this winter.

snow dye baby quilt
snow dye baby quilt

The range of shades and values created with the snow dye process are pretty inspiring.  It's made for a fun one a kind group of projects that I'm so excited to share.

detail of buckskin caravan tote

The Citizens of Textile shop is open through Sunday night 7pm CST.

Thanks!

little apples quilt

front of little apples quiltI finished a bunch of quilts last month.  It was an effort to work through a good chunk of my 2014 project list before I started my 2015 list. side of little apples print

This quilt went together extra quick.  It's made with a pre-cut layer cake and then some yardage for the back.  The prints on the front are all for Aneela Hoey's little apples line.  I love the trees and little hedgehogs.  The wardrobe print is one of my all-time favorite fabrics.   I machine quilted it with a pale grey thread with organic matchstick lines along the diagonals.

back of little apples quilt

I added some coordinating cardinals to the back.  They just looked so cute with the rest of the prints.

I've listed in my etsy shop and I'm hoping it finds a nice new home with someone who loves it as much as I do.

little apples quilt

summer indigo

indigo brushed and dipped with sugar syrup resist When I started this post I was going to link back to the tote I made with cotton I dyed last year with indigo.  Then I realized I never shared it here, only on instagram.

Luxe Tote in indigo and buckskin

It's the Luxe Tote pattern.  The handles and corners are buckskin.  The tote went together quickly and I will be making another one at some point, I'm sure.

I also wanted to take another try at indigo dying.  I love the shibori technique of long running stitches pulled tight and knotted.  That was how I created the fabric that was used for the tote.  I did a couple of pieces like that again.

indigo string shibori

I love the random shapes created by the tightening of the stitches.

I used some wooden drawer knobs and rubber bands for these.

indigo round drawer knobs as resist

I can't decide if I like the front or the back better with this pattern.   I also did a slow dip on a skein of wool.

indigo dyed yarn

I'm anxious to start knitting with this.

I won a copy of Visual Texture on Fabric a couple of years ago.  It's filled with great DIY ways to create texture on fabrics, many with things you probably already have on hand.

indigo brushed with sugar syrup resist

I used the sugar syrup method for these.  I scattered a lot of syrup at first in an attempt to create layers of color.  The longer the syrup sets, the more it will resist in the dying process.  My syrup was also thin, so it spread a bit leaving shadow lines around the white patterns.  I let the syrup set on the fabric for about an hour the first round and then used an old paint brush to apply the indigo.  Once the indigo oxidized, I rinsed it and scattered more syrup, waited, and rinsed.  I kept going with this process until I was happy with the color.  It was difficult to get that true indigo with the brush application, so I did a quick dip in the vat on a couple of yards.

indigo brush and dip with sugar syrup resist

I love the richness of color that appears after the dip.  I'm looking forward to cutting into these for more totes and maybe even a quilt.

indigo with string shibori resist

all in a weeks work

I managed to ignore a good portion of the housework this week in favor of some fun sewing projects. I've started a new quilt for our bed.  I've had a fabric stack set aside to make a bear paw quilt for our bed for over a year now.

fabric stack for bear paw

Then Dana from Old Red Barn started up a little scrappy bear paw quilt along over on instagram.  It was just the kickstart I needed.

churn dash for bear paw

I'm planning to do one special accent paw in each block so I spent some time this week working on some of those.

blocks for bearpaw

Lulu's friend has a birthday coming up so she chose the fabric and I did the stitching on this very dear deer.  The pattern is from Issue 2 of Love Patchwork and Quilting.  (one of the cutest quilting and stitching magazines around)

dear deer

I was also lucky enough to get a request from Anna of Noodlehead to try out her new road trip case pattern.  I'm already thinking about what fabrics I will use on my next one.

I love the button and loop closure.

road trip case

There are two pocket options.  I chose the four pocket version with flaps.

inside of road trip case

I'm filling mine with some of my hand piecing supplies.

It was my first time working with vinyl.  I was nervous because I have heard so much over the years about how it can get stuck on presser feet while you are stitching, but I used my walking foot and it was a breeze!  I have to admit, I did get over confident and think that I could machine finish the binding.  A skill I've never been able to master and managed to get some stitches on the vinyl.  In the end, I couldn't take the sloppy stitching lines so I picked them out and finished it by hand.  I was left with some tiny holes in the vinyl, but I think they are less distracting than the line of stitching so I'm happy.

Thankfully this one wasn't a gift so I was able to accept my mistake and stitch on.  Well, again I have to admit first I ate a handful of chocolate covered almonds and then I stitched on.  I think those tiny holes might be a little reminder of how important it is to slow down and finish a project the right way.

Sometimes stubbornness just gets in the way doesn't it?

a shop update

blue cross quilt A downside of quilting is at a certain point you have more quilts than you can use in one house.

front of low volume HST quilt

I give lots away each year, as gifts and also if there is a charity auction in need of items, but they still pile up.

front of basket of chips quilt

I have posted several for sale in my shop, along with a bunch of tooth fairy pockets I found in with the quilts when I was cleaning.  (You can also click to my shop on the link over on the right sidebar where you see my cool new logo)

IMG_9406

Happy Weekend!!

liberty lifestyle poinsettia tea cozy

I'm so excited to share this fun holiday project today. tea cozy from above

Liberty Lifestyle was kind enough to ask me to put together a holiday guest post for Liberty Craft Blog.  You can follow the tutorial here and make your very own poinsettia tea cozy.

I made mine with the Mackintosh print from the Stile line.  Mackintosh has such a rich mix of colors.  They somehow manage to be nostalgic and modern at the same time.  I think the flowers looks extra festive made in this print.

tea cozy with cup and presentAnd of course, Christmas tea wouldn't be complete without cookies.  So I'm also sharing my gingersnap recipe.  It came from a dear friend of my mom's and it has always been a family favorite.

marie's gingersnaps

3/4 cup butter

1 cup sugar (plus 1/2 cup for rolling dough)

1 egg

1/4 cup sorghum (similar to molasses, but I prefer the sorghum)

2 cups flour

1 teaspoon ground cinnamon

1 teaspoon ground ginger

1 teaspoon ground cloves

1 teaspoon baking soda

Cream butter and sugar with an electric mixer.  Add egg, mix well. Add sorghum.  Slowly add dry ingredients.  Chill dough for at least 4 hours but it's even better if you let it chill overnight.  Chilling the dough helps the flavors to blend and also keeps the cookies from spreading too much when they are baking.

Once chilled, roll dough into 1 inch balls, roll each ball in granular sugar.  Place on parchment lined cookies sheet 2" apart.  Bake 375 degrees for 12 minutes.  They should crack on the tops.  Makes around 2 dozen.  This recipe can be doubled.

enjoy

gingersnaps

big-city bags book show and tell

The uber clever Sara Lawson from Sew Sweetness has put together a collection of some of the cutest bags ever in her brand spanking new book, Big-City Bags, Sew Handbags with Style, Sass, and Sophistication. big city bags by Sara Lawson

(photo from Big-City Bags by Sara Lawson, Martingale, 2013; used by permission. Photo by Brent Kane. All rights reserved)

I was lucky enough to be a pattern tester for her Fireside Bowl Bag.

fireside bowl bag in chair print

I was excited to try it because the pattern uses some techniques I hadn't tried before.  So I jumped in and learned lots about fusible fleece and using different hardware like swivel clips and D rings.  Sara's step by step directions made the pattern a breeze.  So when it was all stitched up I felt pretty much like I could conquer any bag.  Plus her book has directions on zippers, locks, feet, leather handles and more.  I think I may try the miss independent bag next.

miss independent bag(photo from Big-City Bags by Sara Lawson, Martingale, 2013; used by permission. Photo by Brent Kane. All rights reserved)

Cute right?!

You can order your own copy of Big-City Bags, or if you are feeling lucky, some of Sara's sponsors are hosting Big-City Bags ebook giveaways and if I were you, I would definitely get myself entered to win a copy of this one.

October 28 - Craft Buds October 29 - Sew Mama Sew October 30 - Aurifil October 31 - Fat Quarterly November 1 - Craft Gossip

November 4 - Fat Quarter Shop November 5 - Pellon November 6 - Craftsy November 7 - Pat Sloan Gen Q Magazine November 8 - Sew Can She Martingale

sewing retreat with a side of iced mocha cheesecake

At the end of June, I had the chance to spend some quality sewing time with friends.  Holly, Jeni, Jacey, Anna, Faith and I met up in Wisconsin at the most amazing vacation house. view from the loft of the chalet

charley harper poster

table in loft at chalet

We talked about everything, we ate giant pretzels and amazing belgian frites, we checked out Madison (including a chance to meet George), we dyed fabric, we even managed to fit in a whole lot of stitching.

I finished up a new york beauty that will soon be shipped off to someone special.

new york beauty quilt

I tried fabric dying for the first time.  We used an indigo kit and learned a lot about what works well and what doesn't.  These are my pieces before the dye bath.

ready to dye

Here's the top piece after dying.  I will most definitely be doing more with this technique.

indigo

It was fun to see what everyone was working on.  There were a lot of secret projects that I'm sure you will see popping up soon.

jeni's basket of strips

I brought along a cheesecake.  I didn't want us to go without sweets while we were sewing in the middle of nowhere.

iced mocha cheesecake on plate

iced mocha cheesecake

crust

1 cup graham cracker crumbs

1 cup chocolate wafer crumbs

1 teaspoon espresso powder

1 stick butter (softened at room temperature)

1 teaspoon vanilla extract

cheesecake filling

3 bricks (8oz. each) of cream cheese at room temp

1 cup sugar

3 large eggs

1 cup heavy cream

1 Tablespoon vanilla extract

1 Tablespoon coffee extract

ganache

1 1/4  cup heavy cream

7 oz. bittersweet chocolate (chopped)

1/4 teaspoon espresso powder

Preheat oven to 350 degrees.  Put a kettle of water on to boil for the water bath.

Mix crust ingredients in bowl of food processor until combined.  Use a straight sided glass or measuring cup to press crumb mixture along the bottom and up the side of a springform pan.  Chill crust while preparing the filling.

Combine cream cheese and sugar in bowl of food processor or mixer until creamy and smooth.  Add eggs, one at a time, fully incorporating each before adding the next.  Make sure to scrape down the sides of the bowl between each egg.  Add heavy cream, vanilla, and coffee extract and blend until smooth and creamy.

Wrap pan tightly in multiple layers of aluminum foil to make water tight for water bath.  Pour batter into prepared crust.  Place pan in larger pan (I use an oversized skillet) and pour hot water into the larger pan until it comes about half way up the sides of the cheesecake pan.

Bake 45-55 minutes,until almost done - this can be hard to judge, but you're looking for the cake to hold together , but still have a lot of jiggle in the center.  You don't want it to be completely firm at this stage.  Close the oven door, turn the heat off, and let it rest in the cooling oven for one hour.  This lets the cake finish cooking and cool down gently and reduce chances of it cracking on the top.  After one hour, removed the cheesecake from the oven and lift it carefully out of the water bath.  Let it finish cooling off on a rack on the counter.

Once cooled, cover with ganache.

To make the ganache, mix the espresso powder and cream and bring to a boil.. Pour cream mixture over the chopped chocolate and let sift for 45 seconds then begin to mix.  It will become creamy when fully incorporated.  Pour in center of cheesecake.  Allow ganache to cool, then cover and put in refrigerator to cool overnight.

top of iced mocha cheese cake on plateI was thrilled when Jeni mentioned she could bring along some of her homemade salted caramel sauce because this cheesecake is extra delicious topped with whipped cream and caramel sauce.

It was a blast of a weekend that flew by so quickly, so I can't wait to do it again!

hashtag chalet sewing rock

my new go to birthday gift

Welcome to crazy week.  The spouse is doing some traveling, someone little has a birthday, and I'm getting ready for a long weekend of sewing with friends.  Truth be told, in all the chaos, I forgot to take Lulu to her yoga class yesterday.  So when I was asked to join in with some friends to celebrate some birthdays, there was a moment of panic about what to give as a gift. It can be difficult to come up with a quick gift that works for anybody, any age, any time, but these heavy duty cardboard covered notebooks fit the bill.

stitched notebooks sets

Simply choose your layout and stitch them down with a small zigzag stitch.  Be sure to lock your stitches by reversing one or two stitches at the beginning and end of each line so the stitches don't unravel on you.

small stitched notebookTie a set of books up with a bow and you are set to celebrate the next birthday on your calendar.

06-13 notebooks with bow

sketch to stitches

About a year ago, Lulu came to me with this drawing she had just finished.  She thought it would make a great design for a quilt. lulu's sketch for quilt top

I agreed and shortly after that we pulled the fabrics we needed.  I took care of the rotary cutting and she took care of the stitching.

lulu sewing her quilt top

Last June she finished the quilt top.

lulu's sketch and quilt top

Then like most of us, she was distracted by something else, likely swimming lessons, then the start of school, then tumbling classes, and the next thing you know it's 2013 and her quilt top still didn't have a quilt back.  She chose a great blue print from a local designer and now it's done.

back of lulu's quilt

From sketch to reality...

lulu's quilt on fence

her first finished quilt.

diy name tag

The Sewing Summit will be here before I know it.  I spent the better part of the morning trying to remember how I made my name tag last year, so this year I kept notes. To start, I took my first attempt, ever, at paper piecing.  Starting with 1/2" tumblers was probably not the best idea, but now 2" hexagons with be smooth sailing.  Once I had them stitched together I embroidered my name on them.

For the base of the tag, cut 2 rectangles for the front and back and fuse some 808 pellon on the back of  each.  Making sure to cut the pellon 1/4" smaller on each side for the seam allowance.

Using a zig-zag stitch attach one of the magnet clasps to one piece.  This piece is now the back.

Switching to the front, using transfer paper, put my blog name on and then embroider over the transfer.

With right sides together I stitch three sides of the tag together with a 1/4'seam.  Leaving the fourth open gives enough room to turn it right side out with the bulk of the magnet and the interfacing.

Use a knitting needle to push the corners to points.  Press in the open edge and top stitched around the entire rectangle.

All that is left is attaching the tumblers.  Fuse them with a strip of steam a seam and hand stitch them around the edge they are secure.

Cross "make name tag" off of the to do list.


poinsettia pillow

Every year my bunco group does one of those gift exchanges where you draw numbers and take turns opening packages.  It's the kind of thing that starts out civil but ends with stealing and fits of laughter.

I made this pillow for the swap.

It's made with a khaki cotton that has a linen look that's on a 12 inch pillow form.  The poinsettia petals are cut out of ivory felt and stitched down with linen floss.  I used buttonhole twist thread to stitch the jingle bells.

Today I'm doing my best to finish up some presents and getting started on this years teacher gifts - hope the oven is ready.


put a bow on it

We have our Christmas tree, but we haven't put it up yet.  In the meantime, I've been decorating around the house. I usually hang ornaments from  all the windows, but this year I wanted to do something different.

This year every thing gets a bow -

frames...

doorways...

stairways...

sconces...

plates...

even plates, sconces, and frames...

and when the ribbon is gone, put a garland on it...

advent

The calendar is ready. The kids were up bright and early and ready to put on the first decoration.  Seriously, cj was up at 5 am.  He came downstairs dressed for the day, asking about getting the house ready for Christmas.  They both love peeking at the days ahead to see what ornament is next.  All the while lulu reminding cj that they have to wait for each day before the ornament goes on the tree.

Their tree will be filled before we know it.

a bit of home improvement

We are lucky to still have a lot of great original features in our home. Our mantle is not one of them.  The previous owner bulked it up.  So much so, when you open the window next to the fireplace, it hits right into the corner of the mantle.  I do love having a great big shelf for display, but wasn't loving the trim.

I went scouring my files for before pictures of our mantle.  This was more difficult than I thought it would be.

Here you can see where my dad chiseled off the scrolly things for me.

I knew I wanted them off, but wasn't sure what to do once they were off.  Matching stain would be a pain, but I didn't want to paint the whole thing.  Since we couldn't decide what to do, we left it...

for over two years...

Then my mom called to tell me about a fireplace she saw on This Old House that was just painted on the bottom...

done...

We swapped out the bullseye blocks that didn't go with anything in the house and were wider than the boards beneath them, that were also replaced with something more understated.  I'm still not 100% committed to the tile, but at least I can look at the fireplace without frustration.

party for 7

Turning seven that is... I spent an evening last week knotting strips of scrap fabric on to a piece of twine.

Lulu wanted a camp theme so we set a plan for an afternoon in the backyard with a tent full of balloons and games like bocce and basketball.  Then it turned out to be the hottest and most humid day we've had this year.  We still had the tent, but went with a water fight to try to cool off. Then they painted birdhouses.

They decorated bangle bracelets made from popsicle sticks. (here they are undecorated)

They made paper fortune tellers and signs for their rooms.

We had a sundae bar with all the fixin's along with cupcakes.

After all of that, they each went home with their own hobo bindle filled with goodies...

...and I slumped into a chair and didn't move for hours.