Posts tagged present
liberty lifestyle poinsettia tea cozy

I'm so excited to share this fun holiday project today. tea cozy from above

Liberty Lifestyle was kind enough to ask me to put together a holiday guest post for Liberty Craft Blog.  You can follow the tutorial here and make your very own poinsettia tea cozy.

I made mine with the Mackintosh print from the Stile line.  Mackintosh has such a rich mix of colors.  They somehow manage to be nostalgic and modern at the same time.  I think the flowers looks extra festive made in this print.

tea cozy with cup and present
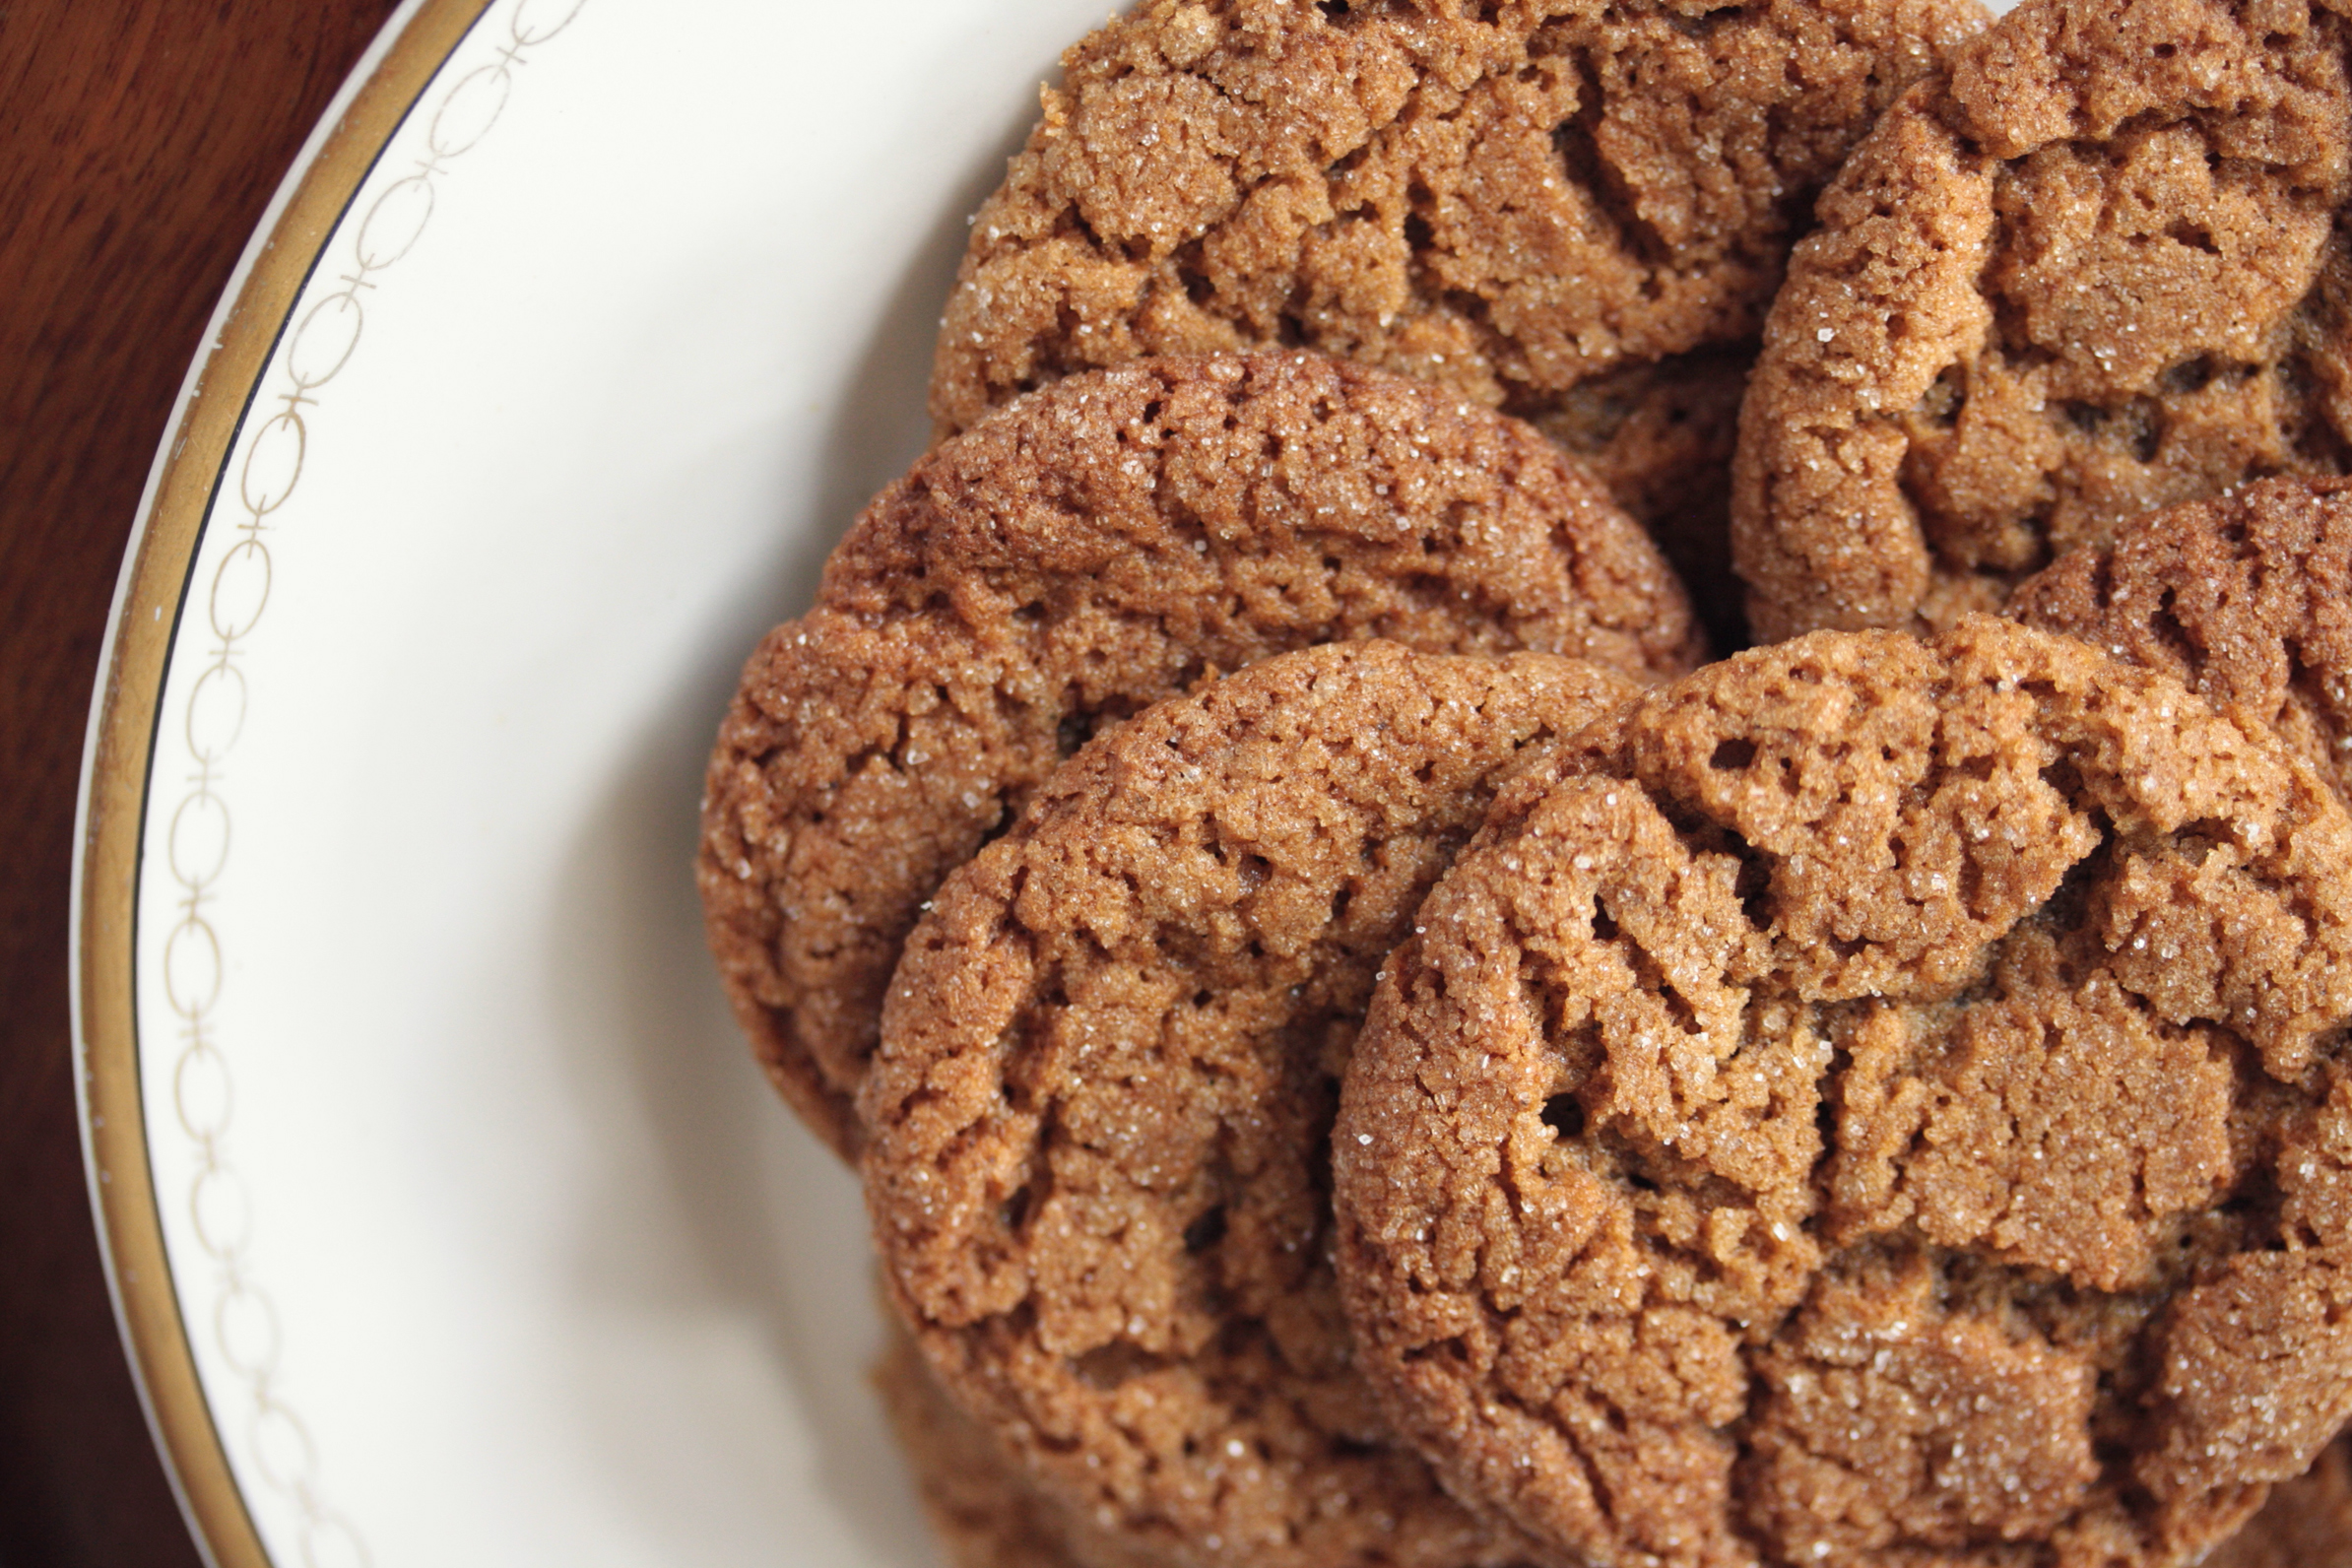
And of course, Christmas tea wouldn't be complete without cookies.  So I'm also sharing my gingersnap recipe.  It came from a dear friend of my mom's and it has always been a family favorite.

marie's gingersnaps

3/4 cup butter

1 cup sugar (plus 1/2 cup for rolling dough)

1 egg

1/4 cup sorghum (similar to molasses, but I prefer the sorghum)

2 cups flour

1 teaspoon ground cinnamon

1 teaspoon ground ginger

1 teaspoon ground cloves

1 teaspoon baking soda

Cream butter and sugar with an electric mixer.  Add egg, mix well. Add sorghum.  Slowly add dry ingredients.  Chill dough for at least 4 hours but it's even better if you let it chill overnight.  Chilling the dough helps the flavors to blend and also keeps the cookies from spreading too much when they are baking.

Once chilled, roll dough into 1 inch balls, roll each ball in granular sugar.  Place on parchment lined cookies sheet 2" apart.  Bake 375 degrees for 12 minutes.  They should crack on the tops.  Makes around 2 dozen.  This recipe can be doubled.

enjoy

gingersnaps

basic drawstring bag

I use these little bags for all sorts of things.  They are great for travel, keeping dresser drawers organized, but most often I use them as gift bags.  The only thing better than a wrapped present is when the wrapping is part of the present too.  They are quick and easy to make, especially when you assembly line the process to make multiple bags.

These bags use two different fabrics, one for the main panel and one for the accent band.

For the main panels cut a rectangle that is 9 1/2" by 14".  Cut that in half for two pieces that are 9 1/2" by 7".

For the accent band, start with a 9 1/2" by 6" rectangle and cut in half to get two 9 1/2" by 3" strips.

Attach the accent strips right sides together to the main panel with a 1/4" seam.  I serged the raw edges, but it's not necessary.  They could be zig-zagged, pinked, or left raw.  After stitching, press the seam allowance towards the main panel.

With right sides together, stitch the two pieced panels together, keeping in mind how you will insert the drawstring.  You could stitch it and then pick the stitches out for the ribbon.  I usually leave an opening in my stitched seam.  Using a 1/4" seam allowance, I stitch 2" down, back stitch to reinforce, leave a 1/2" space before I continue the seam around the rest of the bag.

To finish the top, fold over and press, 1/4" of the accent strip to the wrong side

Fold over the accent strip again to cover the accent seam.  Be sure to cover the seam completely because the stitching will go on the main panel side of the seam.

To create the channel for the drawstring, stitch 1/4" below the seam where the accent band and main panel meet.  Top stitch 3/4" from the top of the accent band.


Press.  Cut a length of ribbon 24"-36".  Using a safety pin, run ribbon through channel and knot the ends of the ribbon so they don't fray.

Fill bags with brownies and you have a great gift to share with your friends.