Posts in sewing
fall sewing

I'm working like a madman to make a deadline, because next week is my stop in Sew Sweetness's Tula Pink Sew along. I'm also getting ready for my trip to Sewing Summit.  I've managed to finish some travel handmade projects.

I've made a few of these Noodlehead zipper pouches.

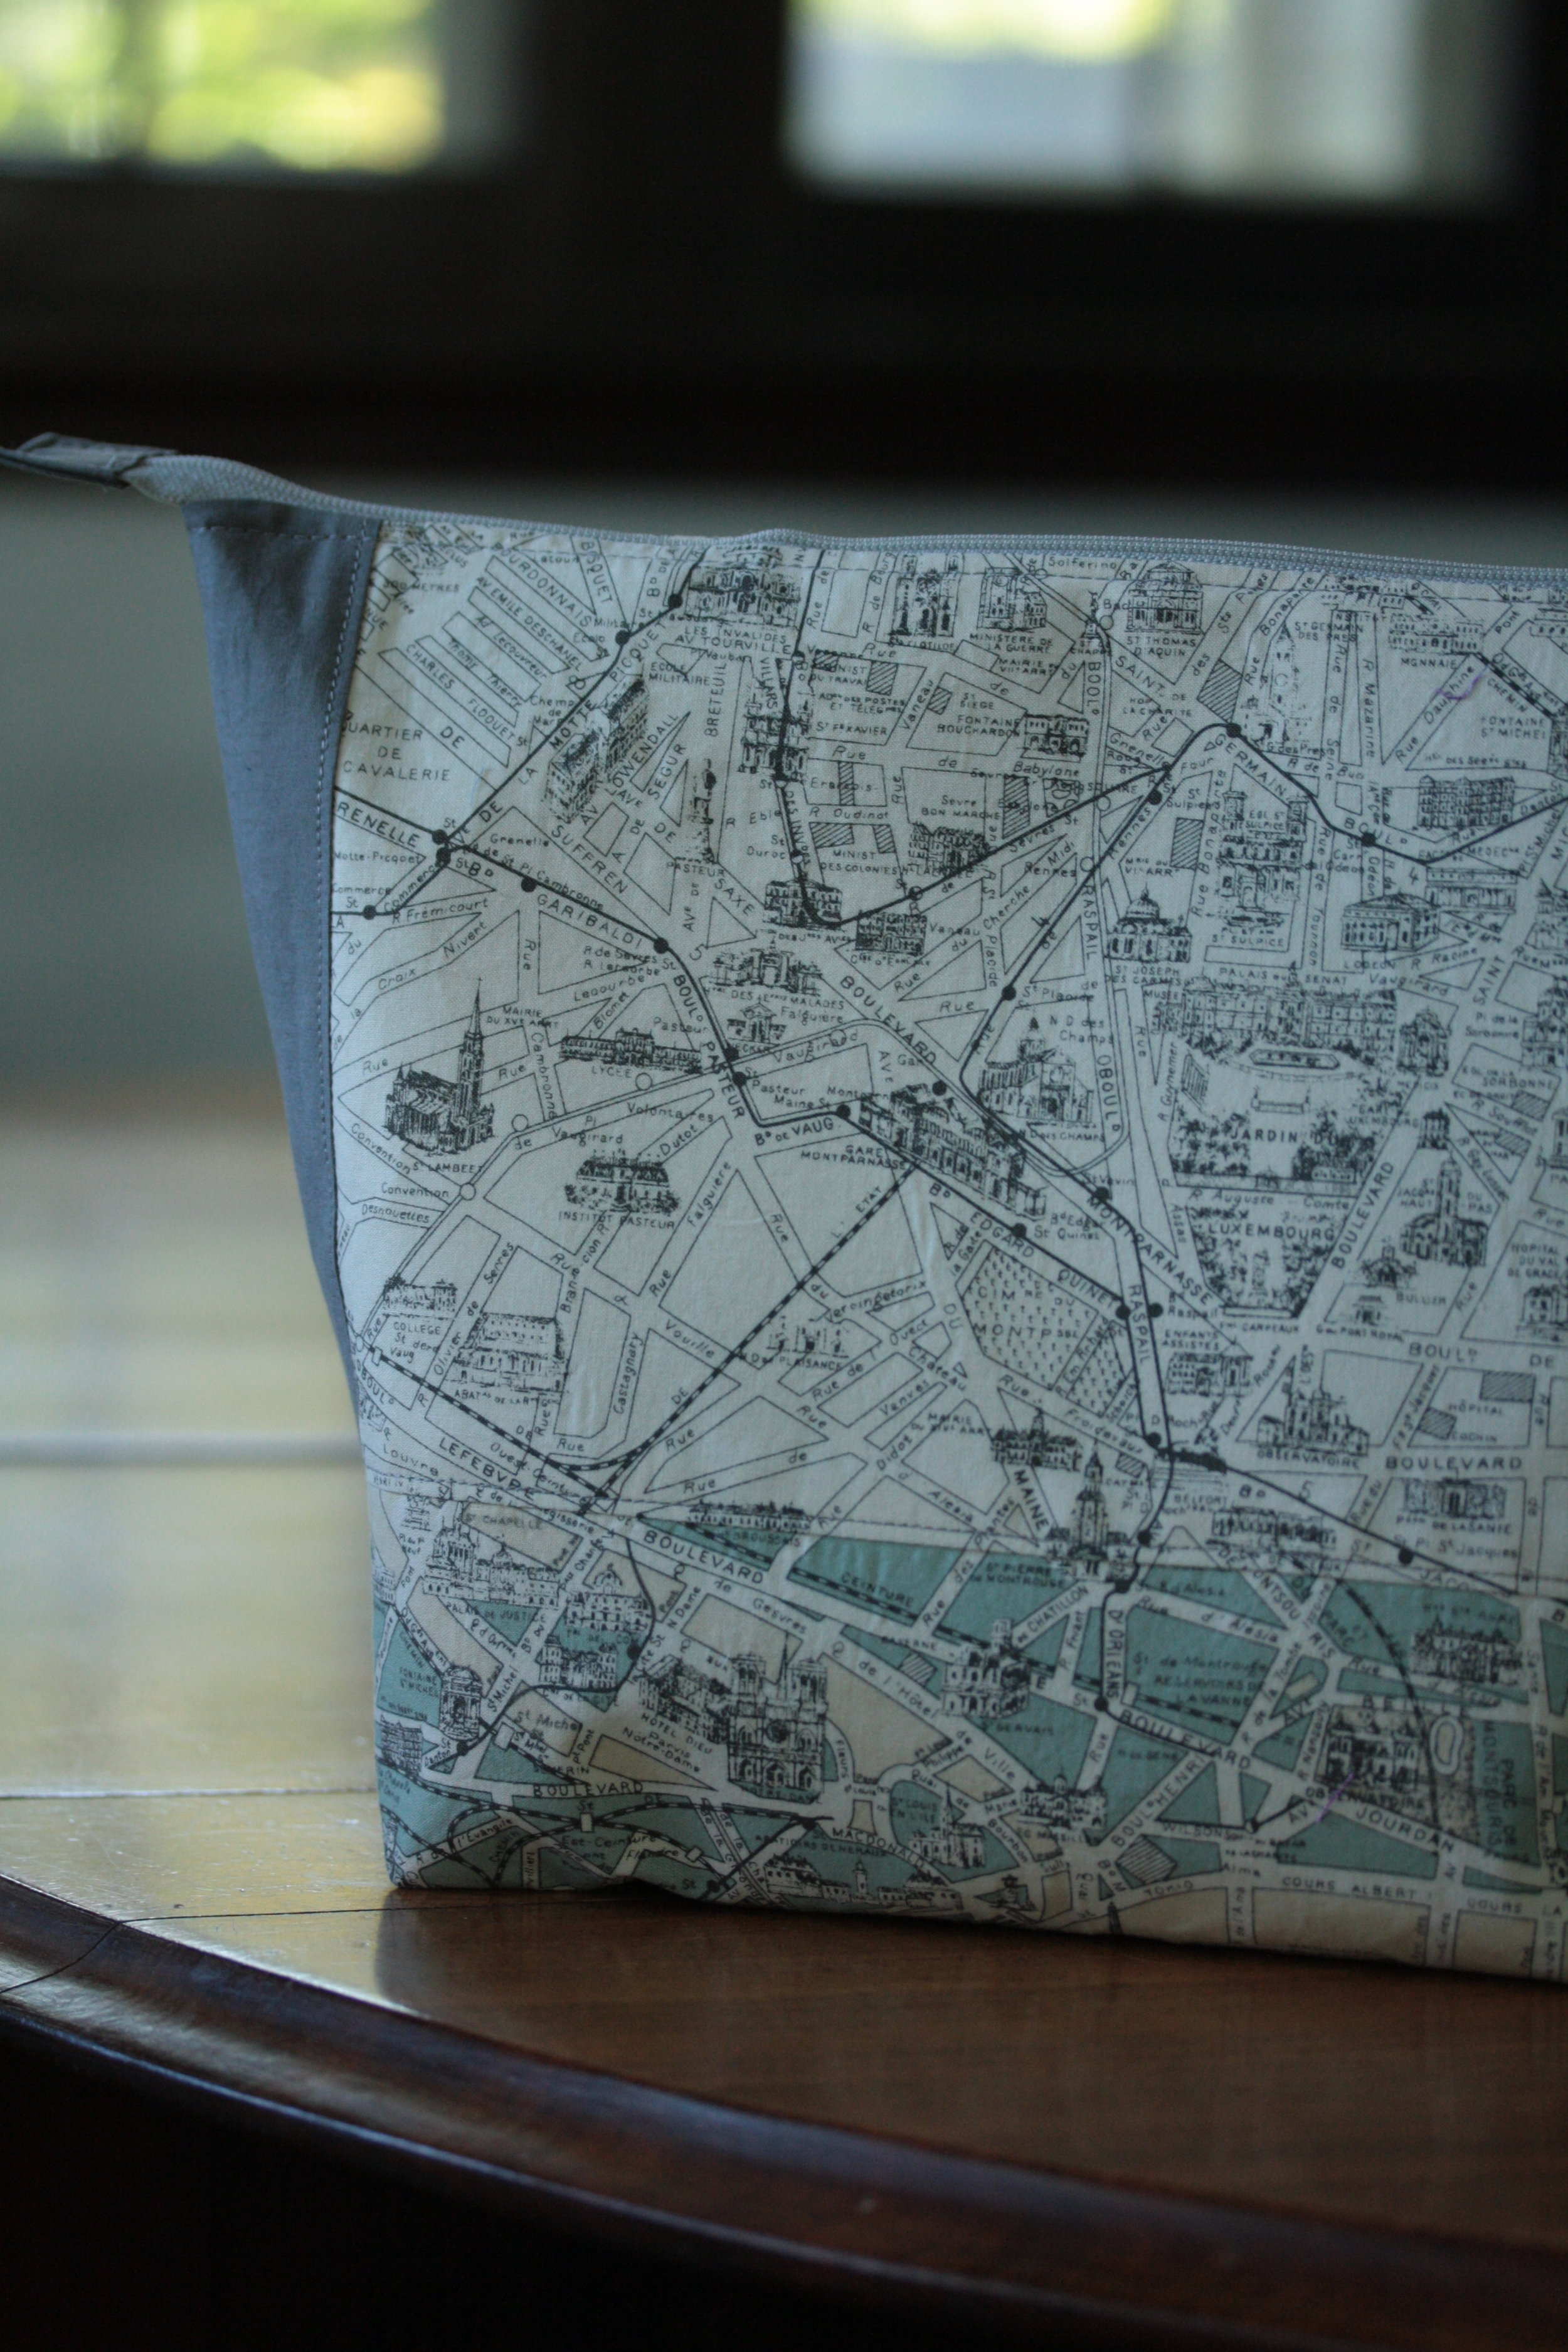
Lulu promptly stole the blue deer bag so I made another one in my favorite paris print to keep my hand sewing supplies together.

I'm especially happy with how the two different colorways matched up.

Both kids have grown out of the their pajamas.

 I made pants for Cj.  (Simplicity 2290)

lulu pjs
lulu pjs

These are the tops from Lulu's set.  (McCall's M6239)

I still need to make my skirt.  I have done a muslin of the pattern so I'm hoping the actual skirt will come together quickly.

To add to the fun, both our modem and router gave out on us this week.  I always feel a bit like I have conquered the world when I solve those sorts of techy issues, but now it's back to hand quilting.

a wedding gift

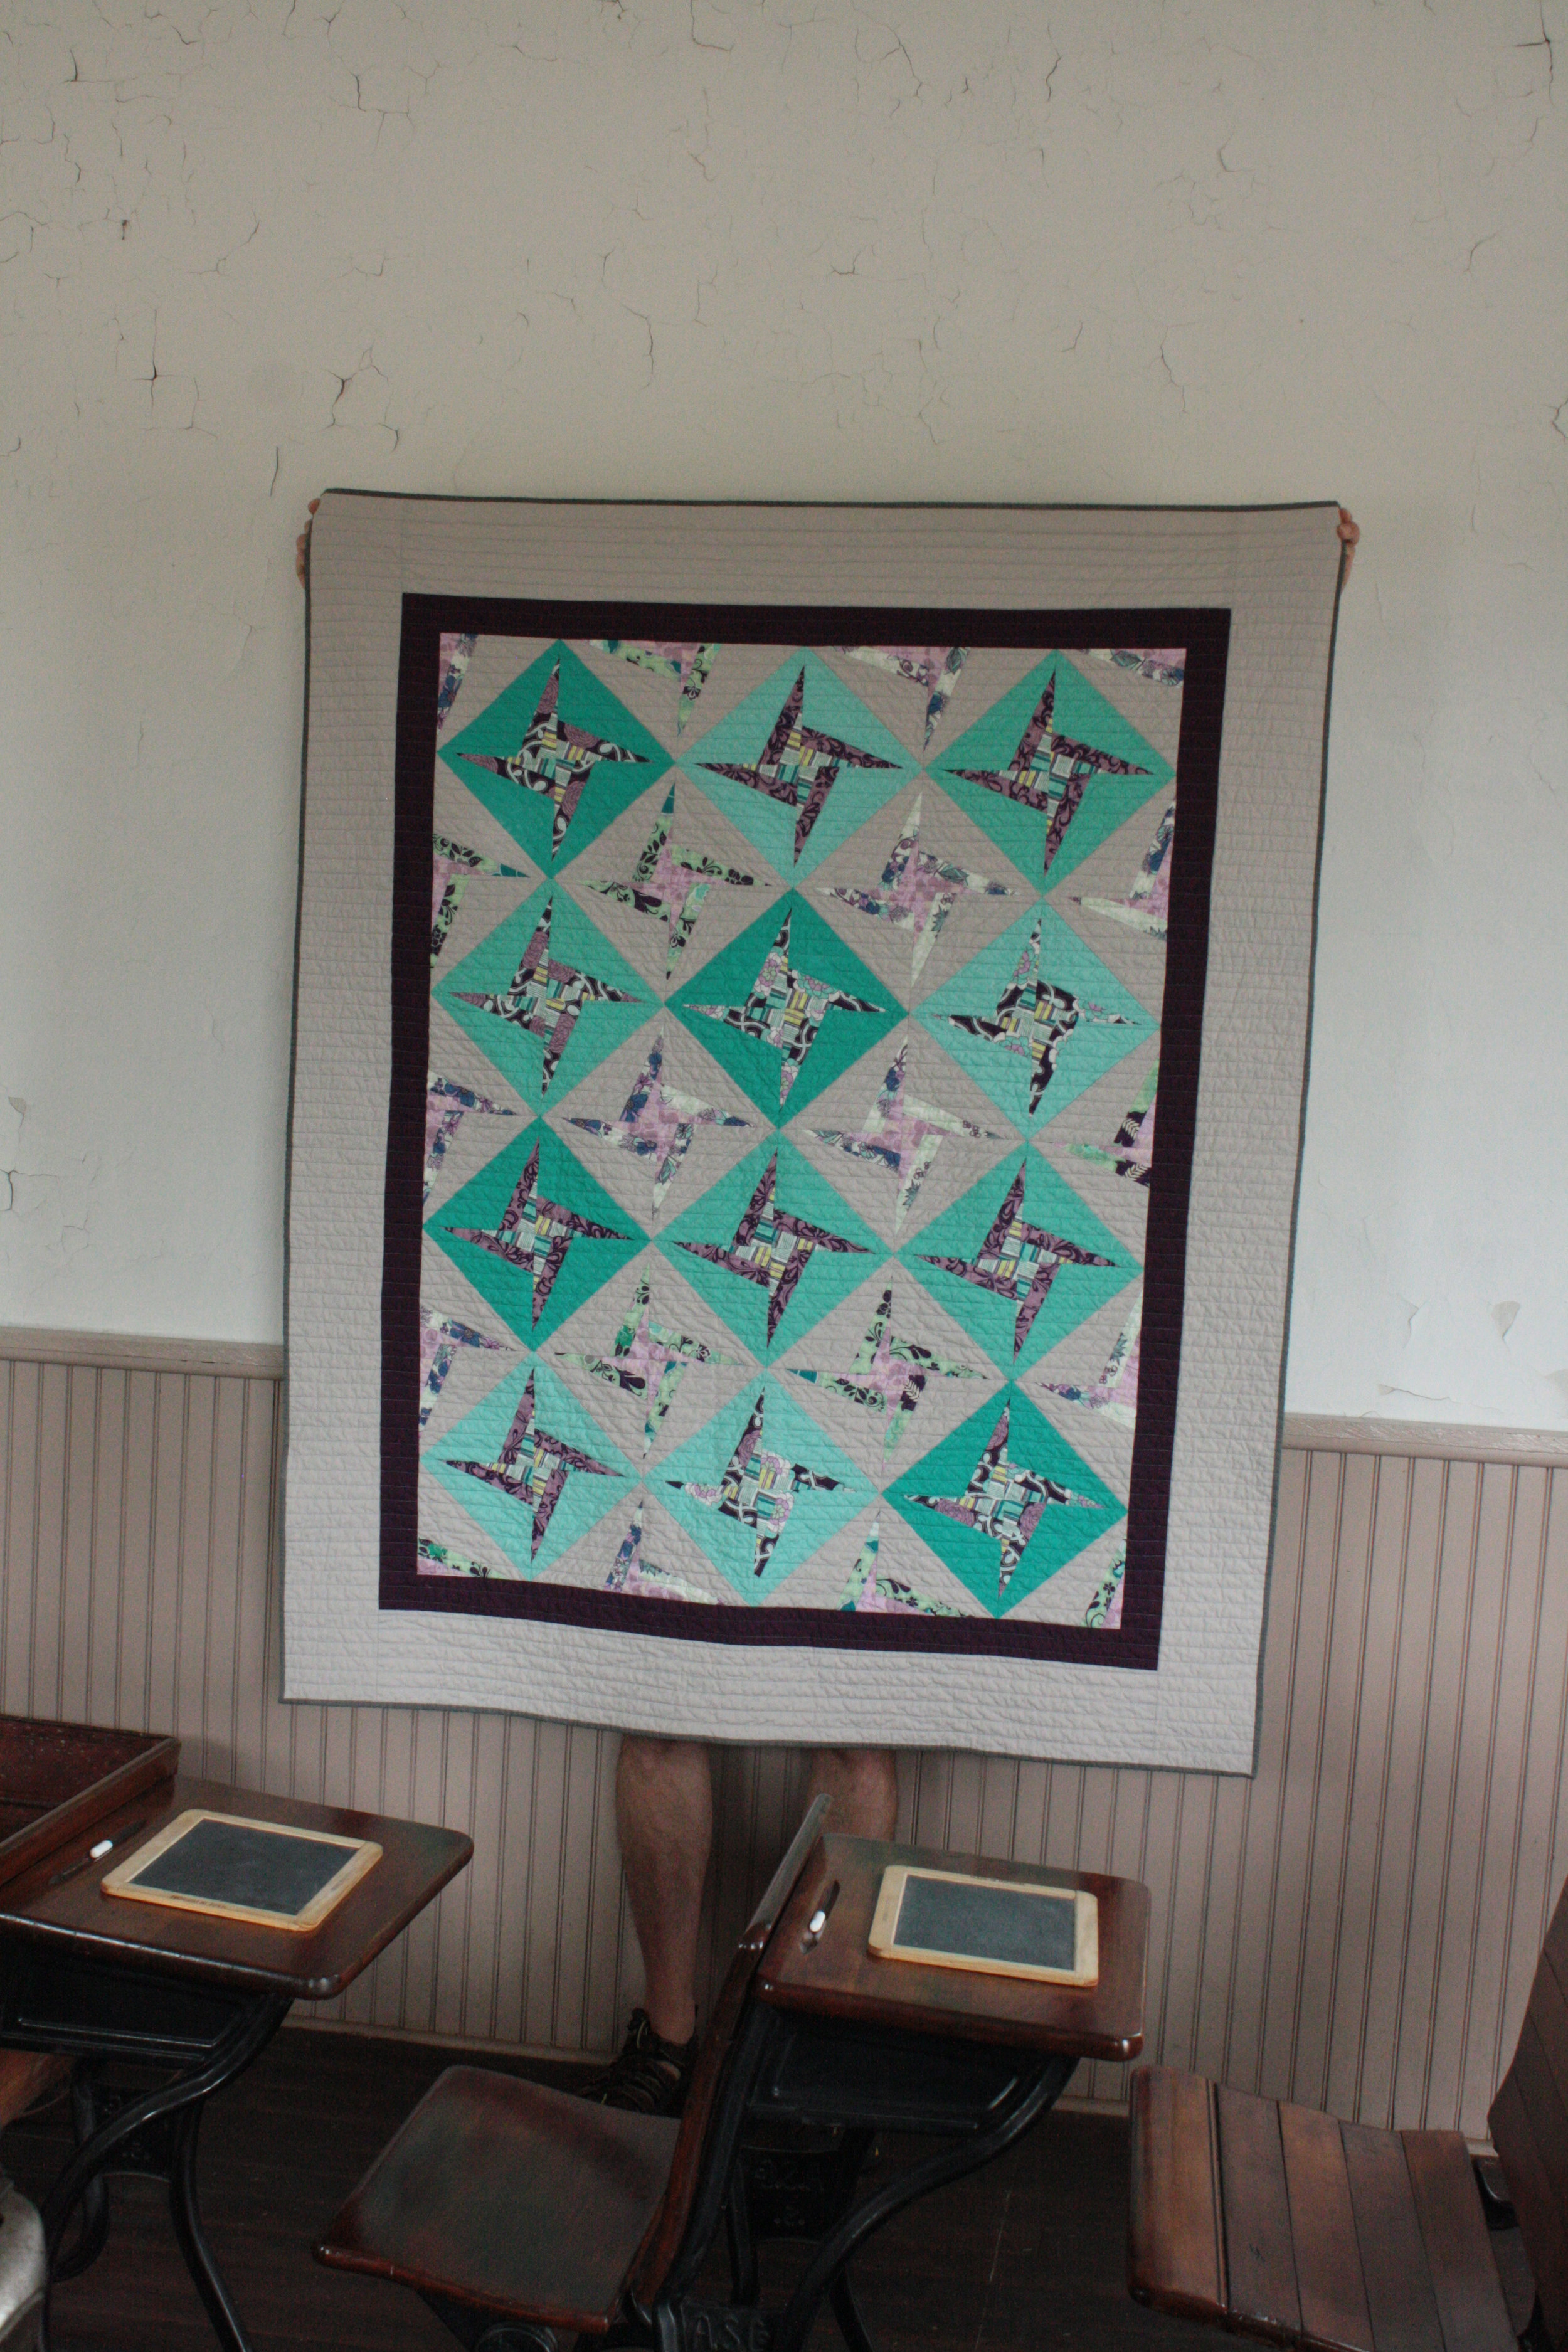
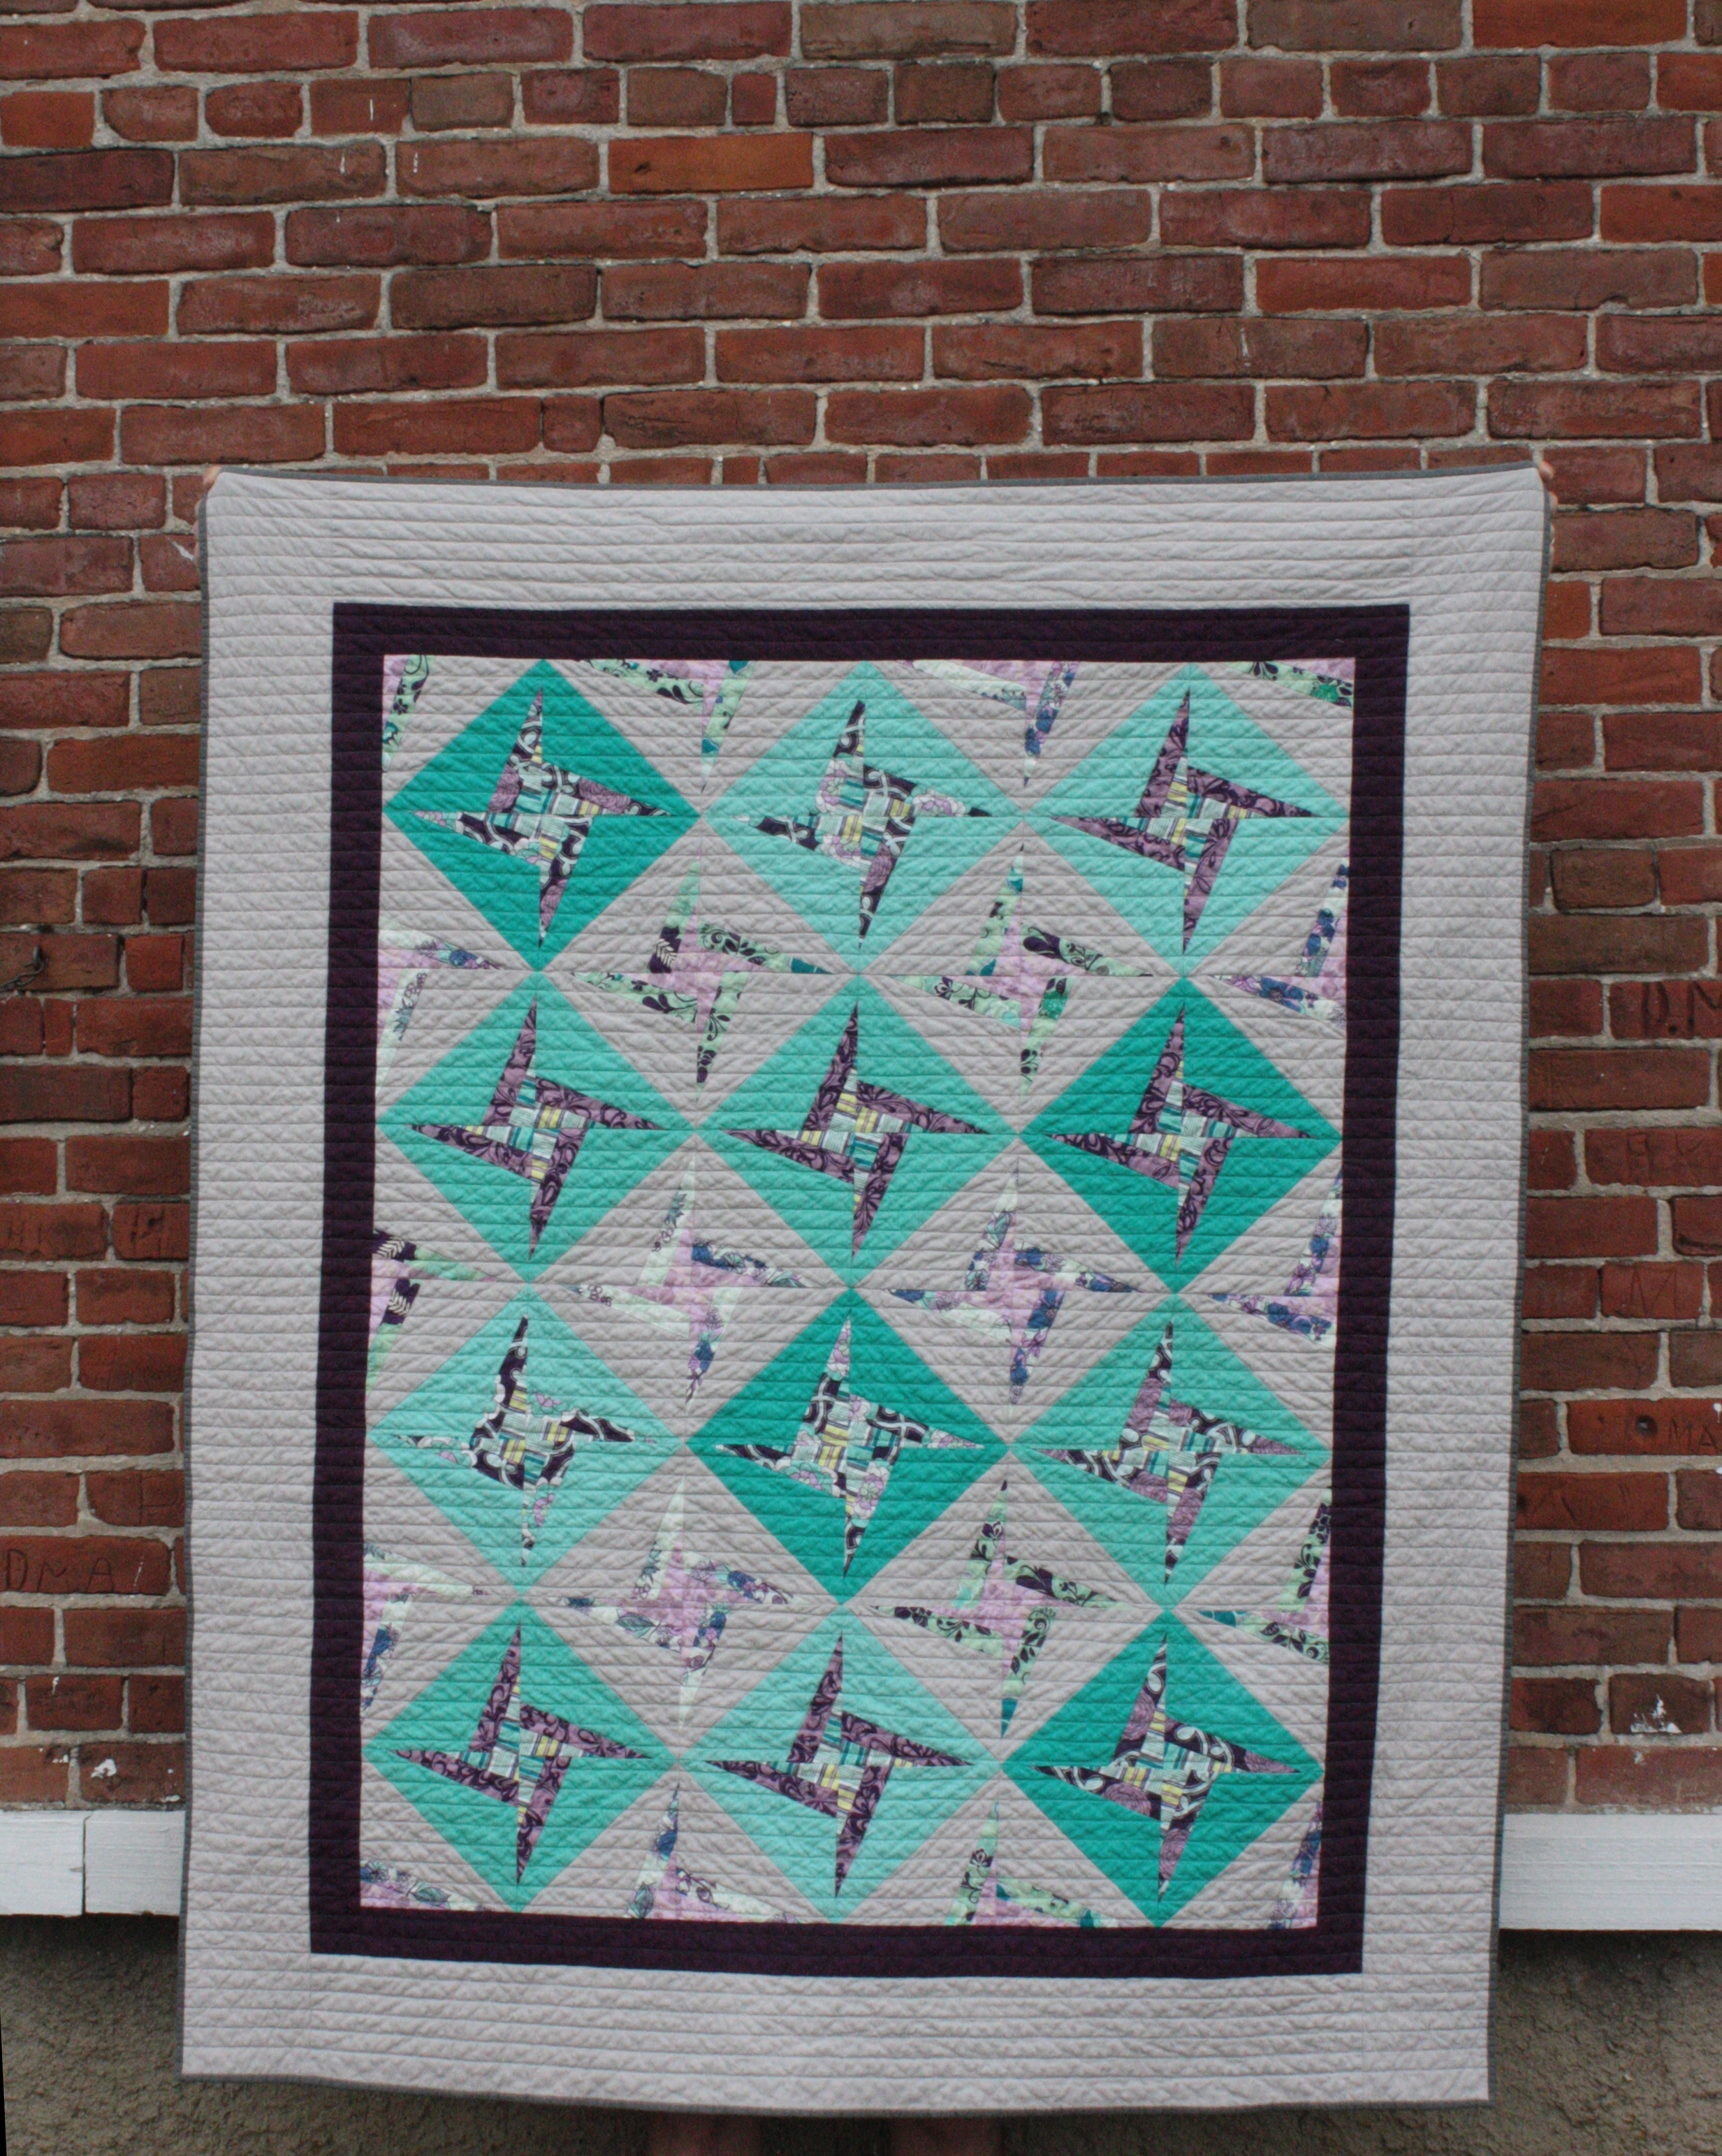
I like to take quilt pictures at the one room school-house site just outside of town.  It's usually closed but on this day they were open for visitors so we were finally able to see the inside.

One of my cousins was married this past summer.  I wavered back and forth about what type of quilt to make and finally landed on this pattern from a craftsy class I had signed up for a few months before.  The solid grey is Kona ash and the rest of the fabrics are a mix from Art Gallery.

diy name tag

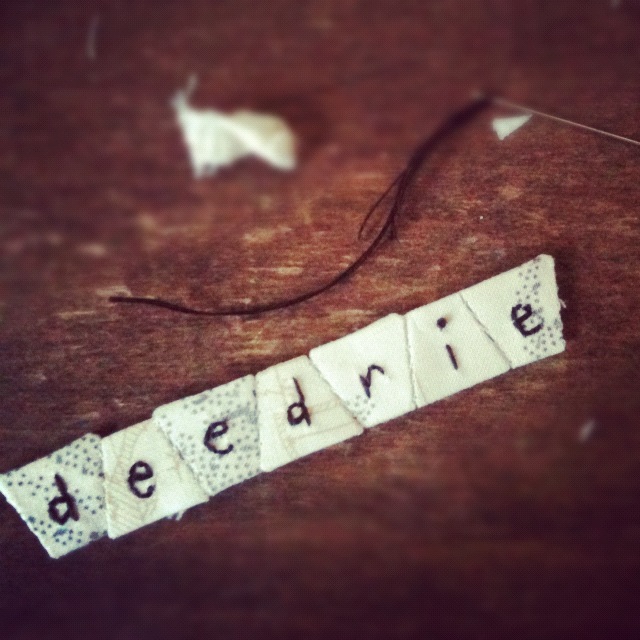
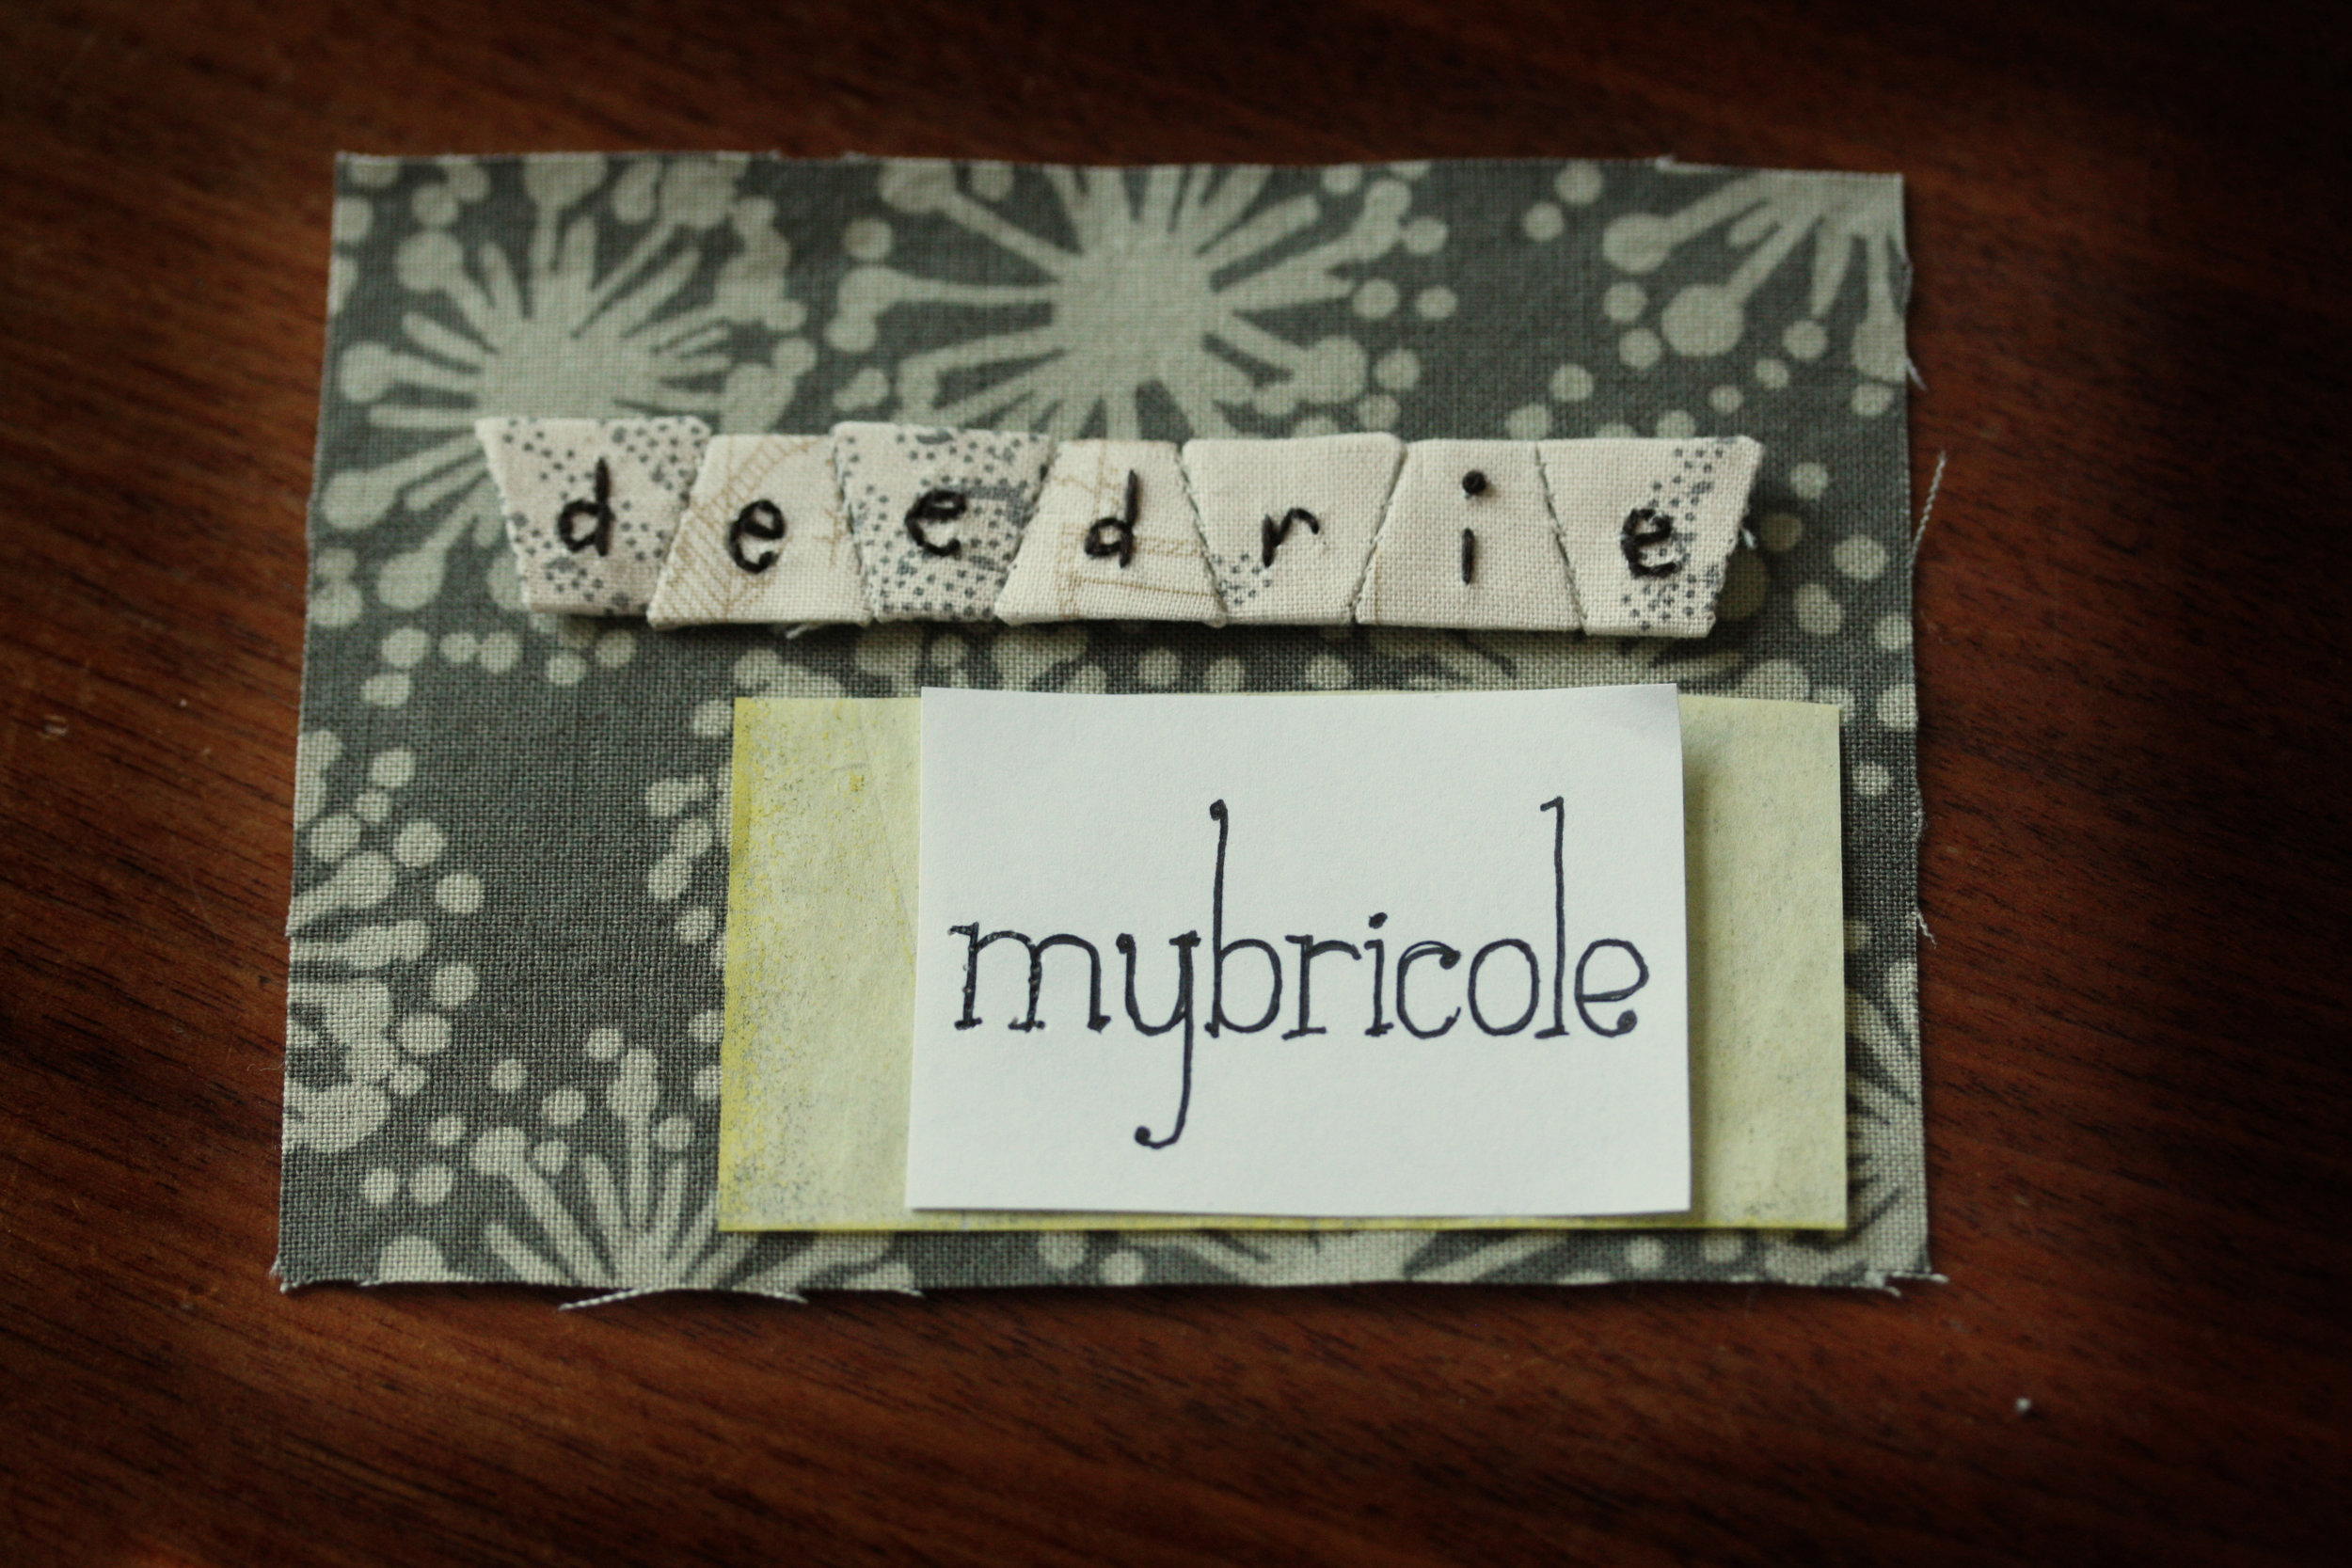
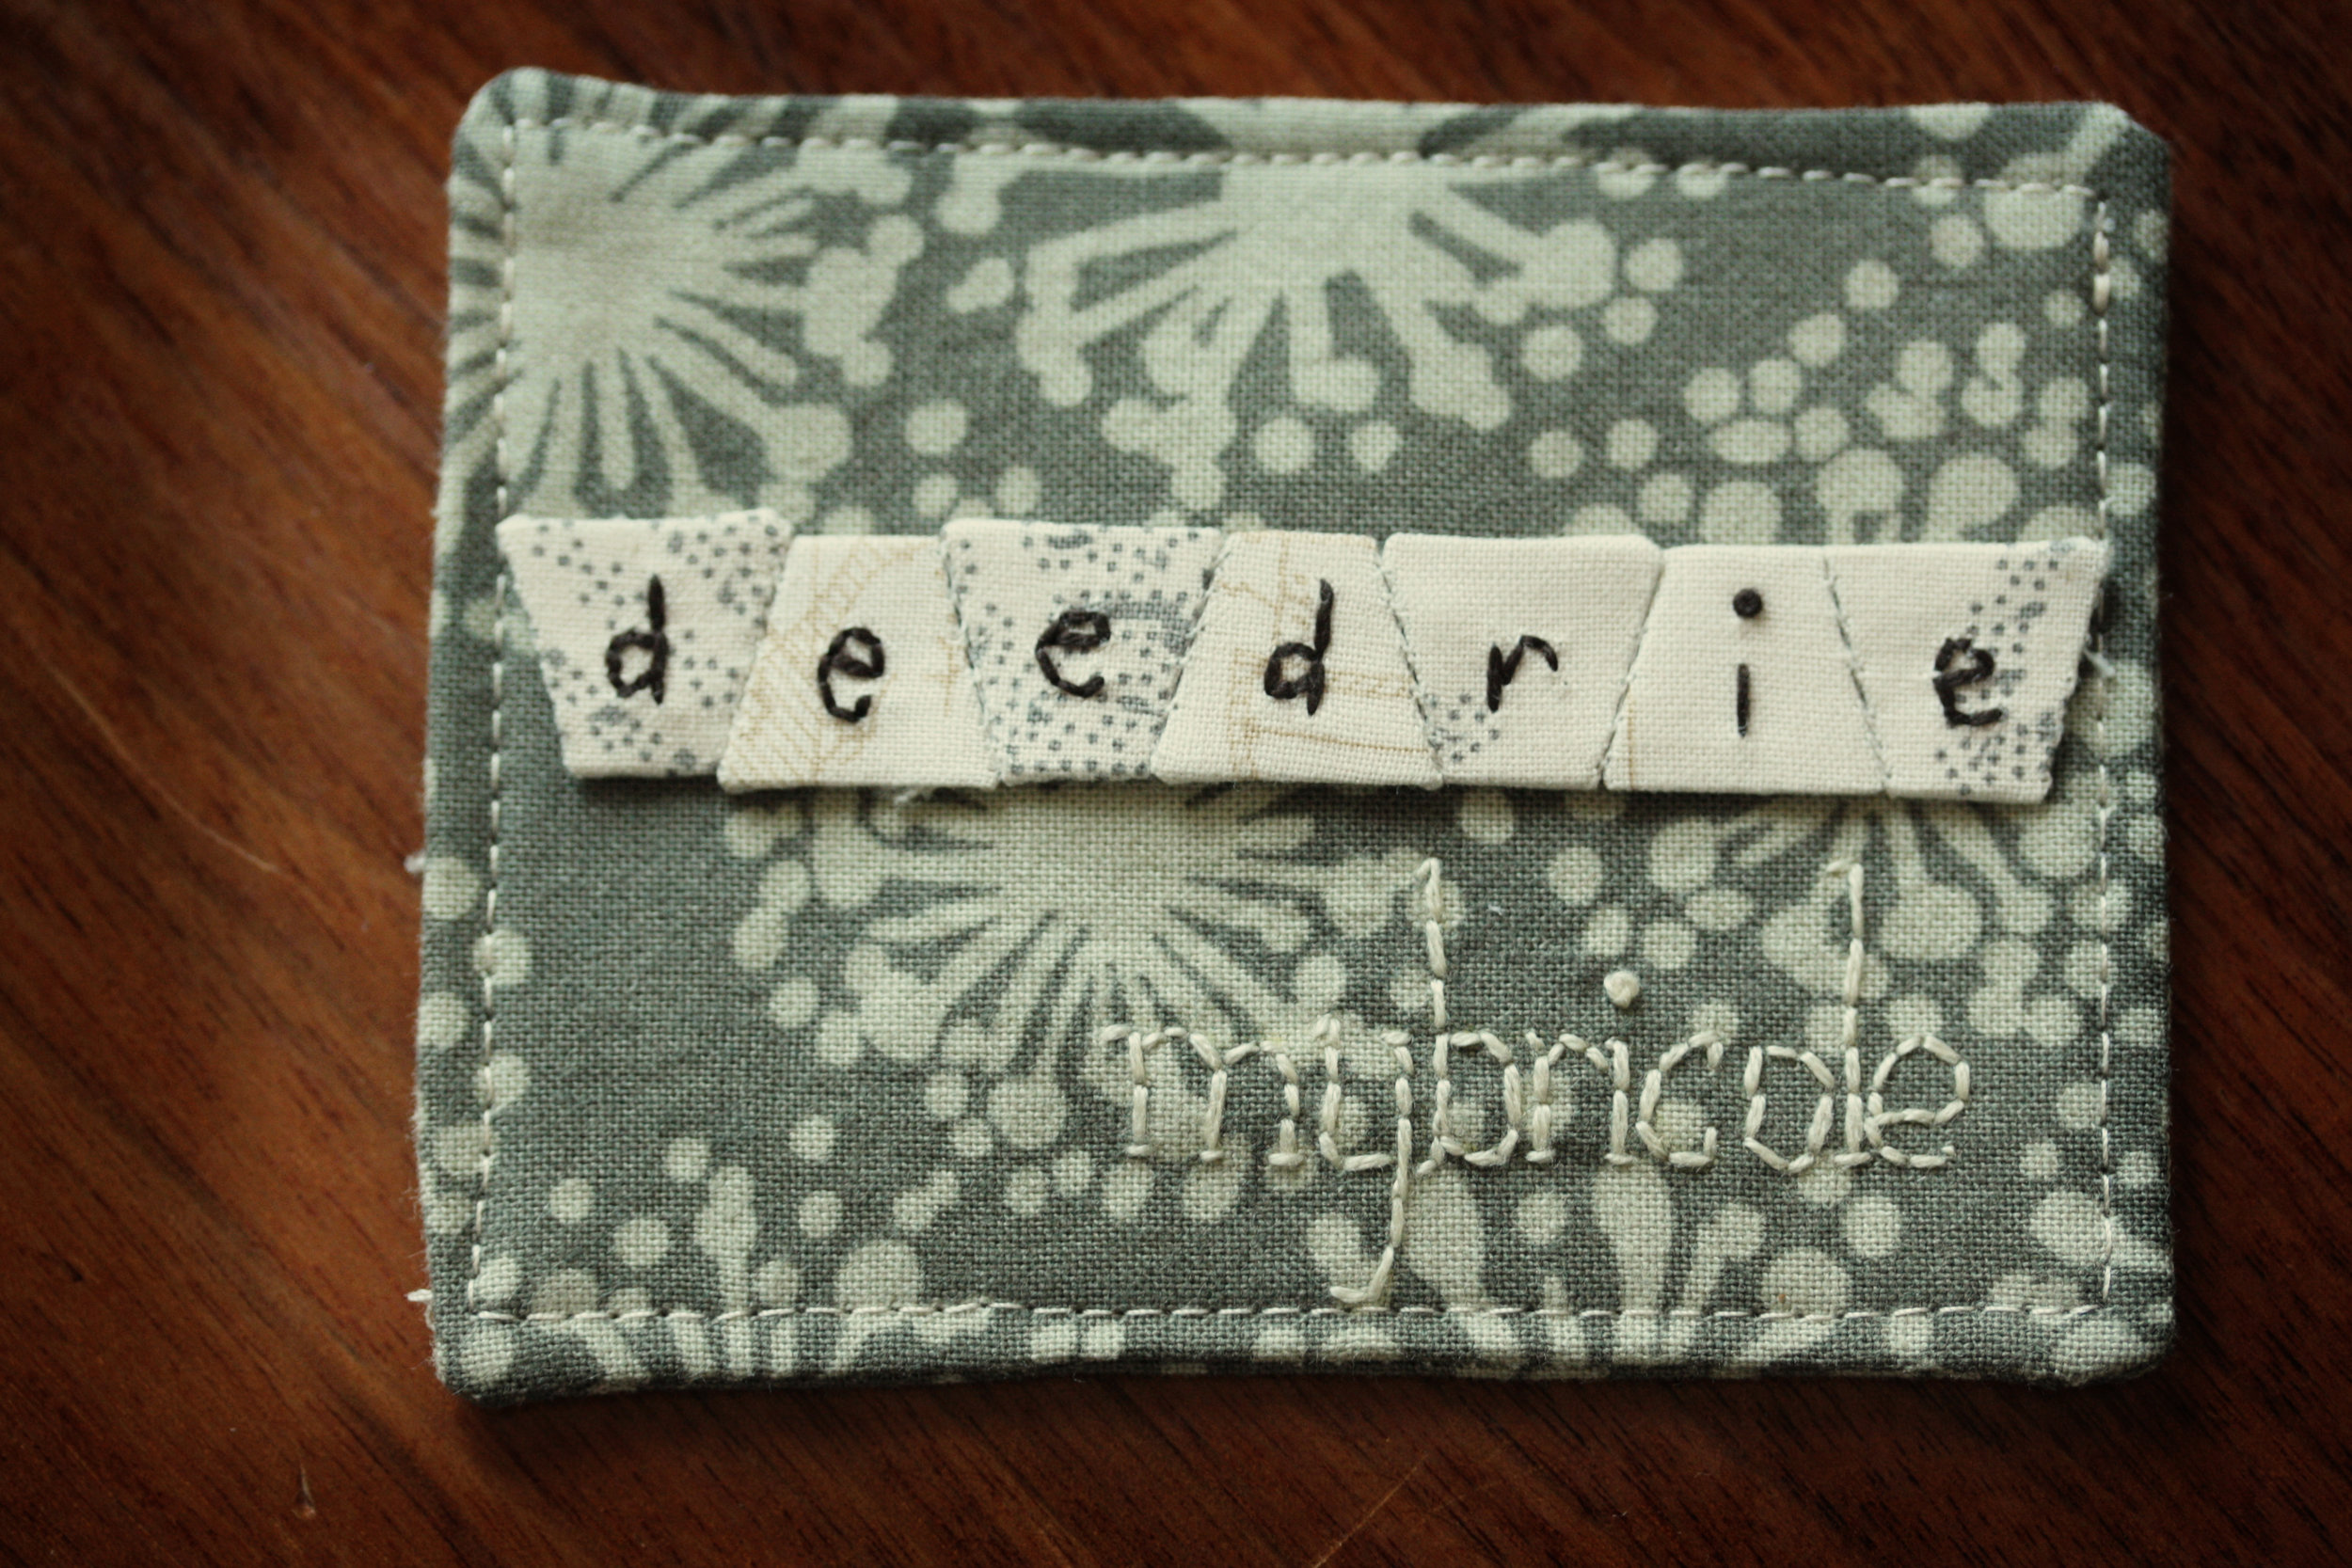
The Sewing Summit will be here before I know it.  I spent the better part of the morning trying to remember how I made my name tag last year, so this year I kept notes. To start, I took my first attempt, ever, at paper piecing.  Starting with 1/2" tumblers was probably not the best idea, but now 2" hexagons with be smooth sailing.  Once I had them stitched together I embroidered my name on them.

For the base of the tag, cut 2 rectangles for the front and back and fuse some 808 pellon on the back of  each.  Making sure to cut the pellon 1/4" smaller on each side for the seam allowance.

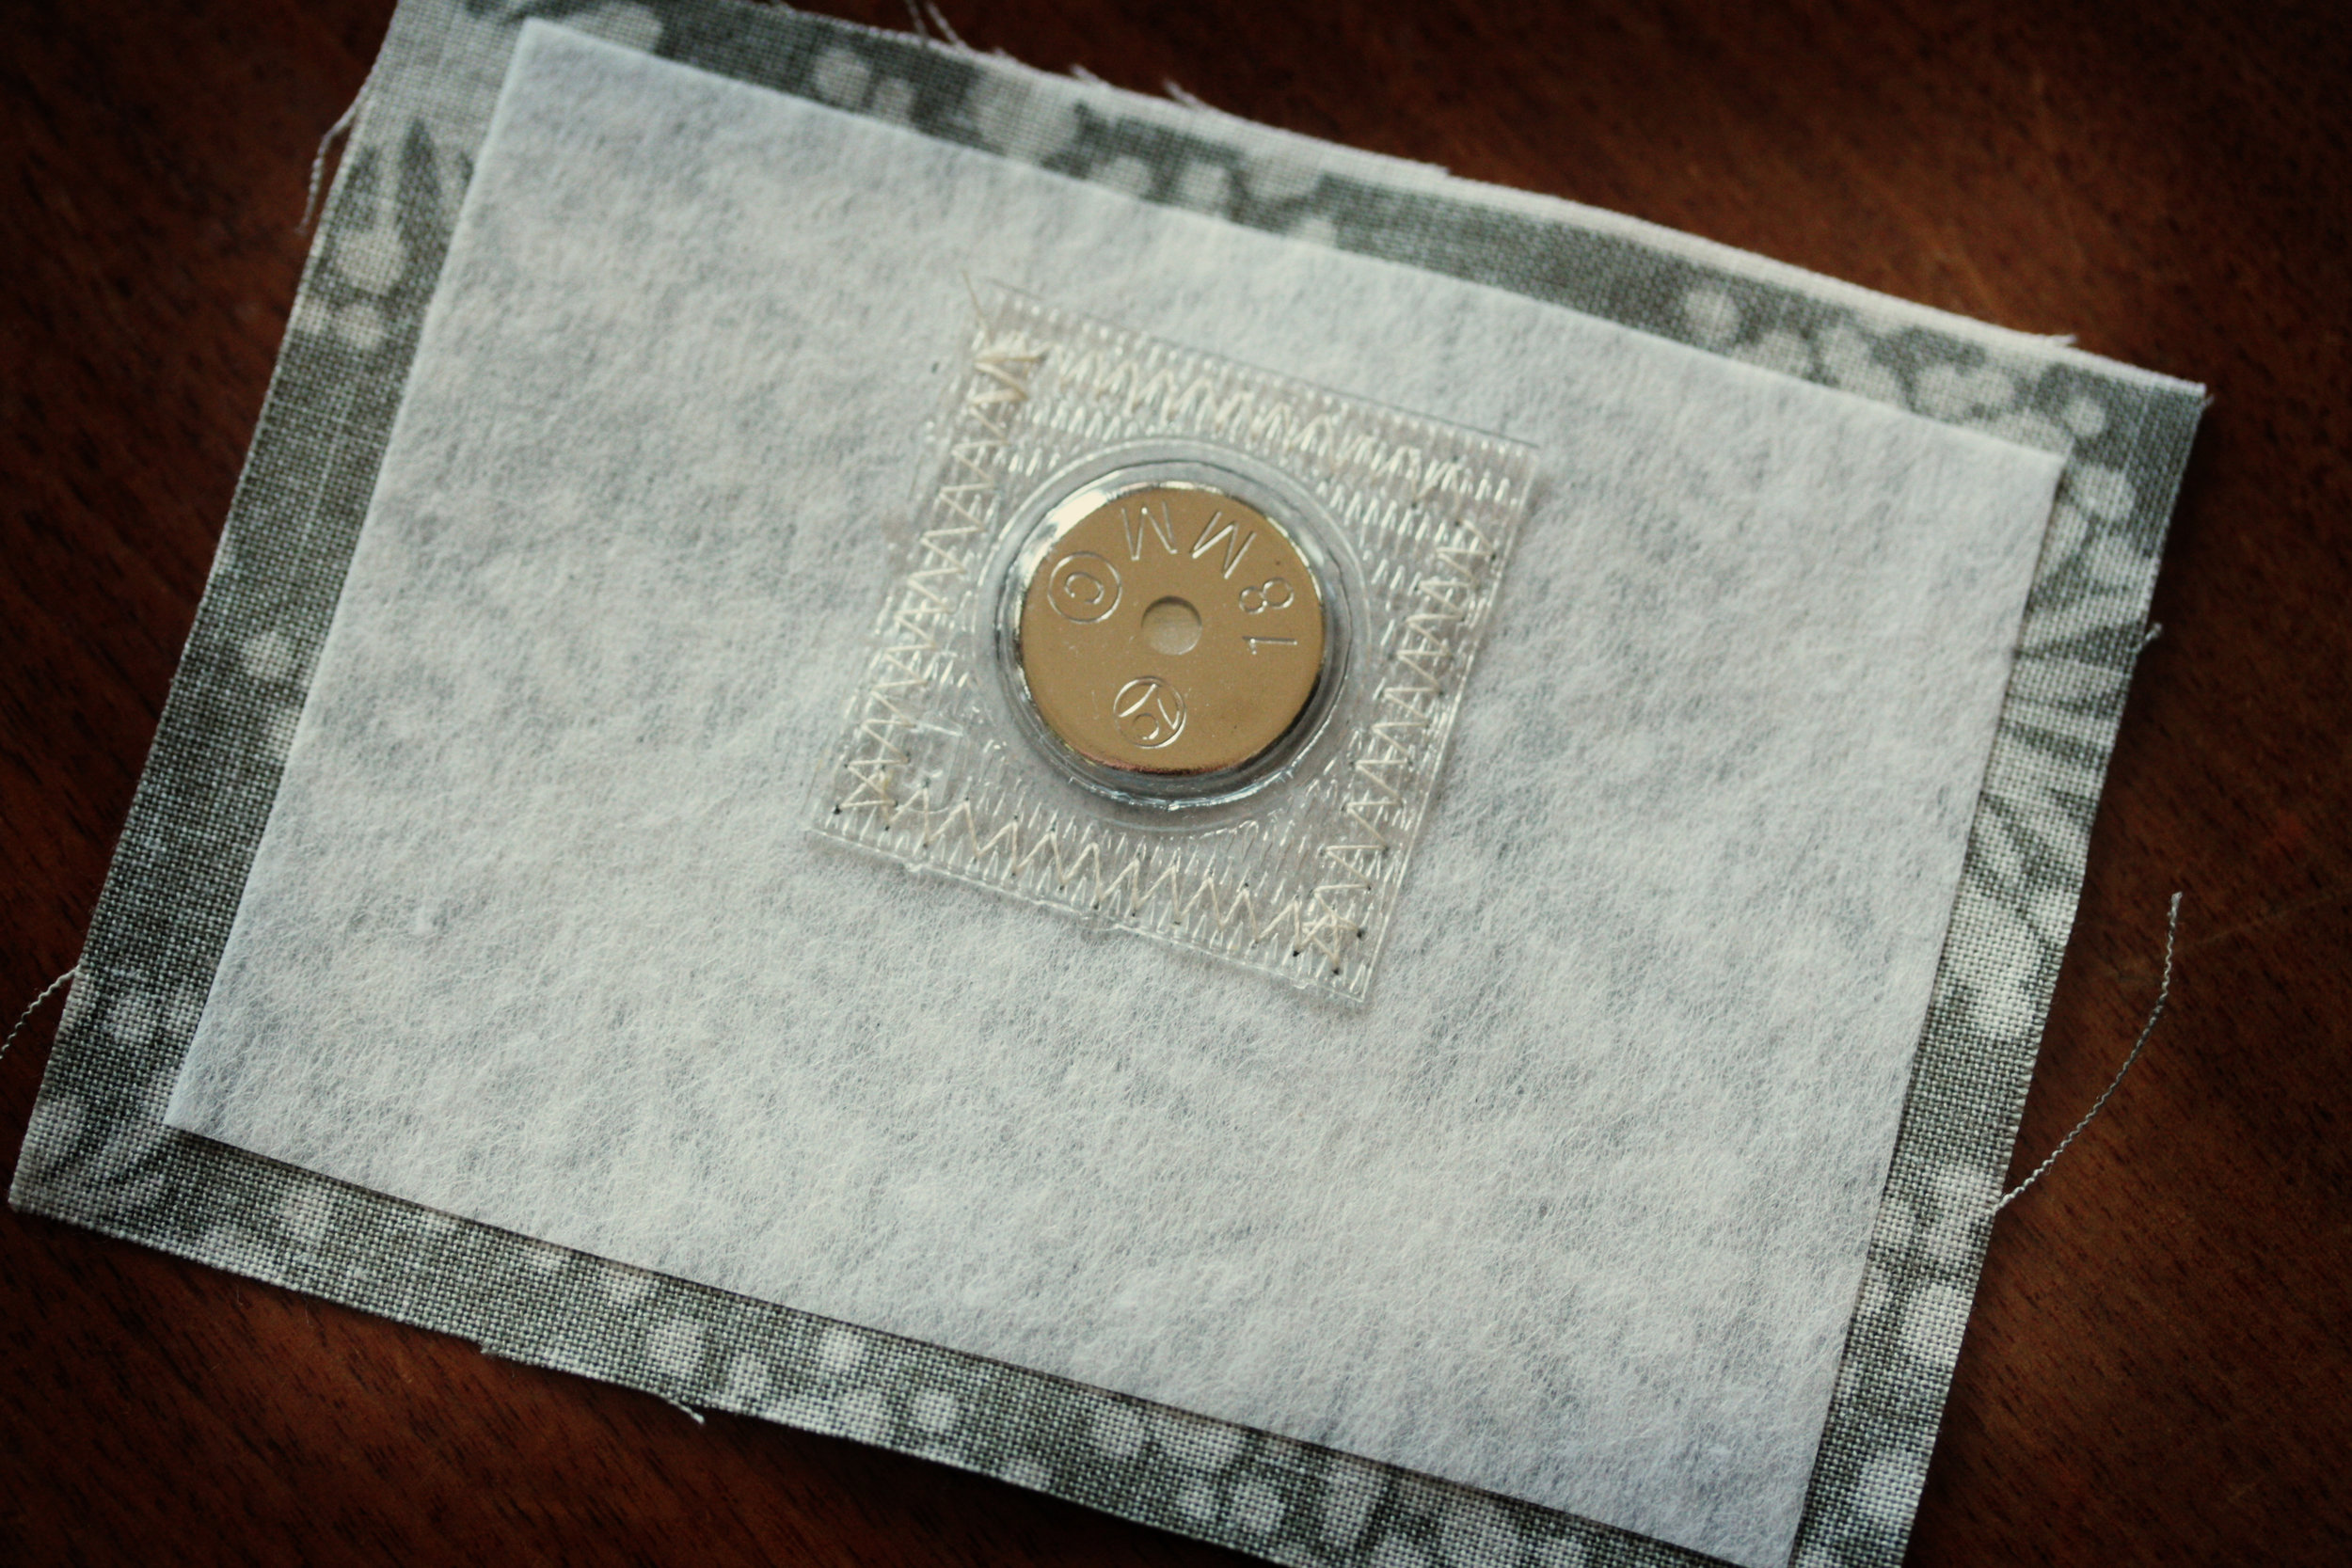
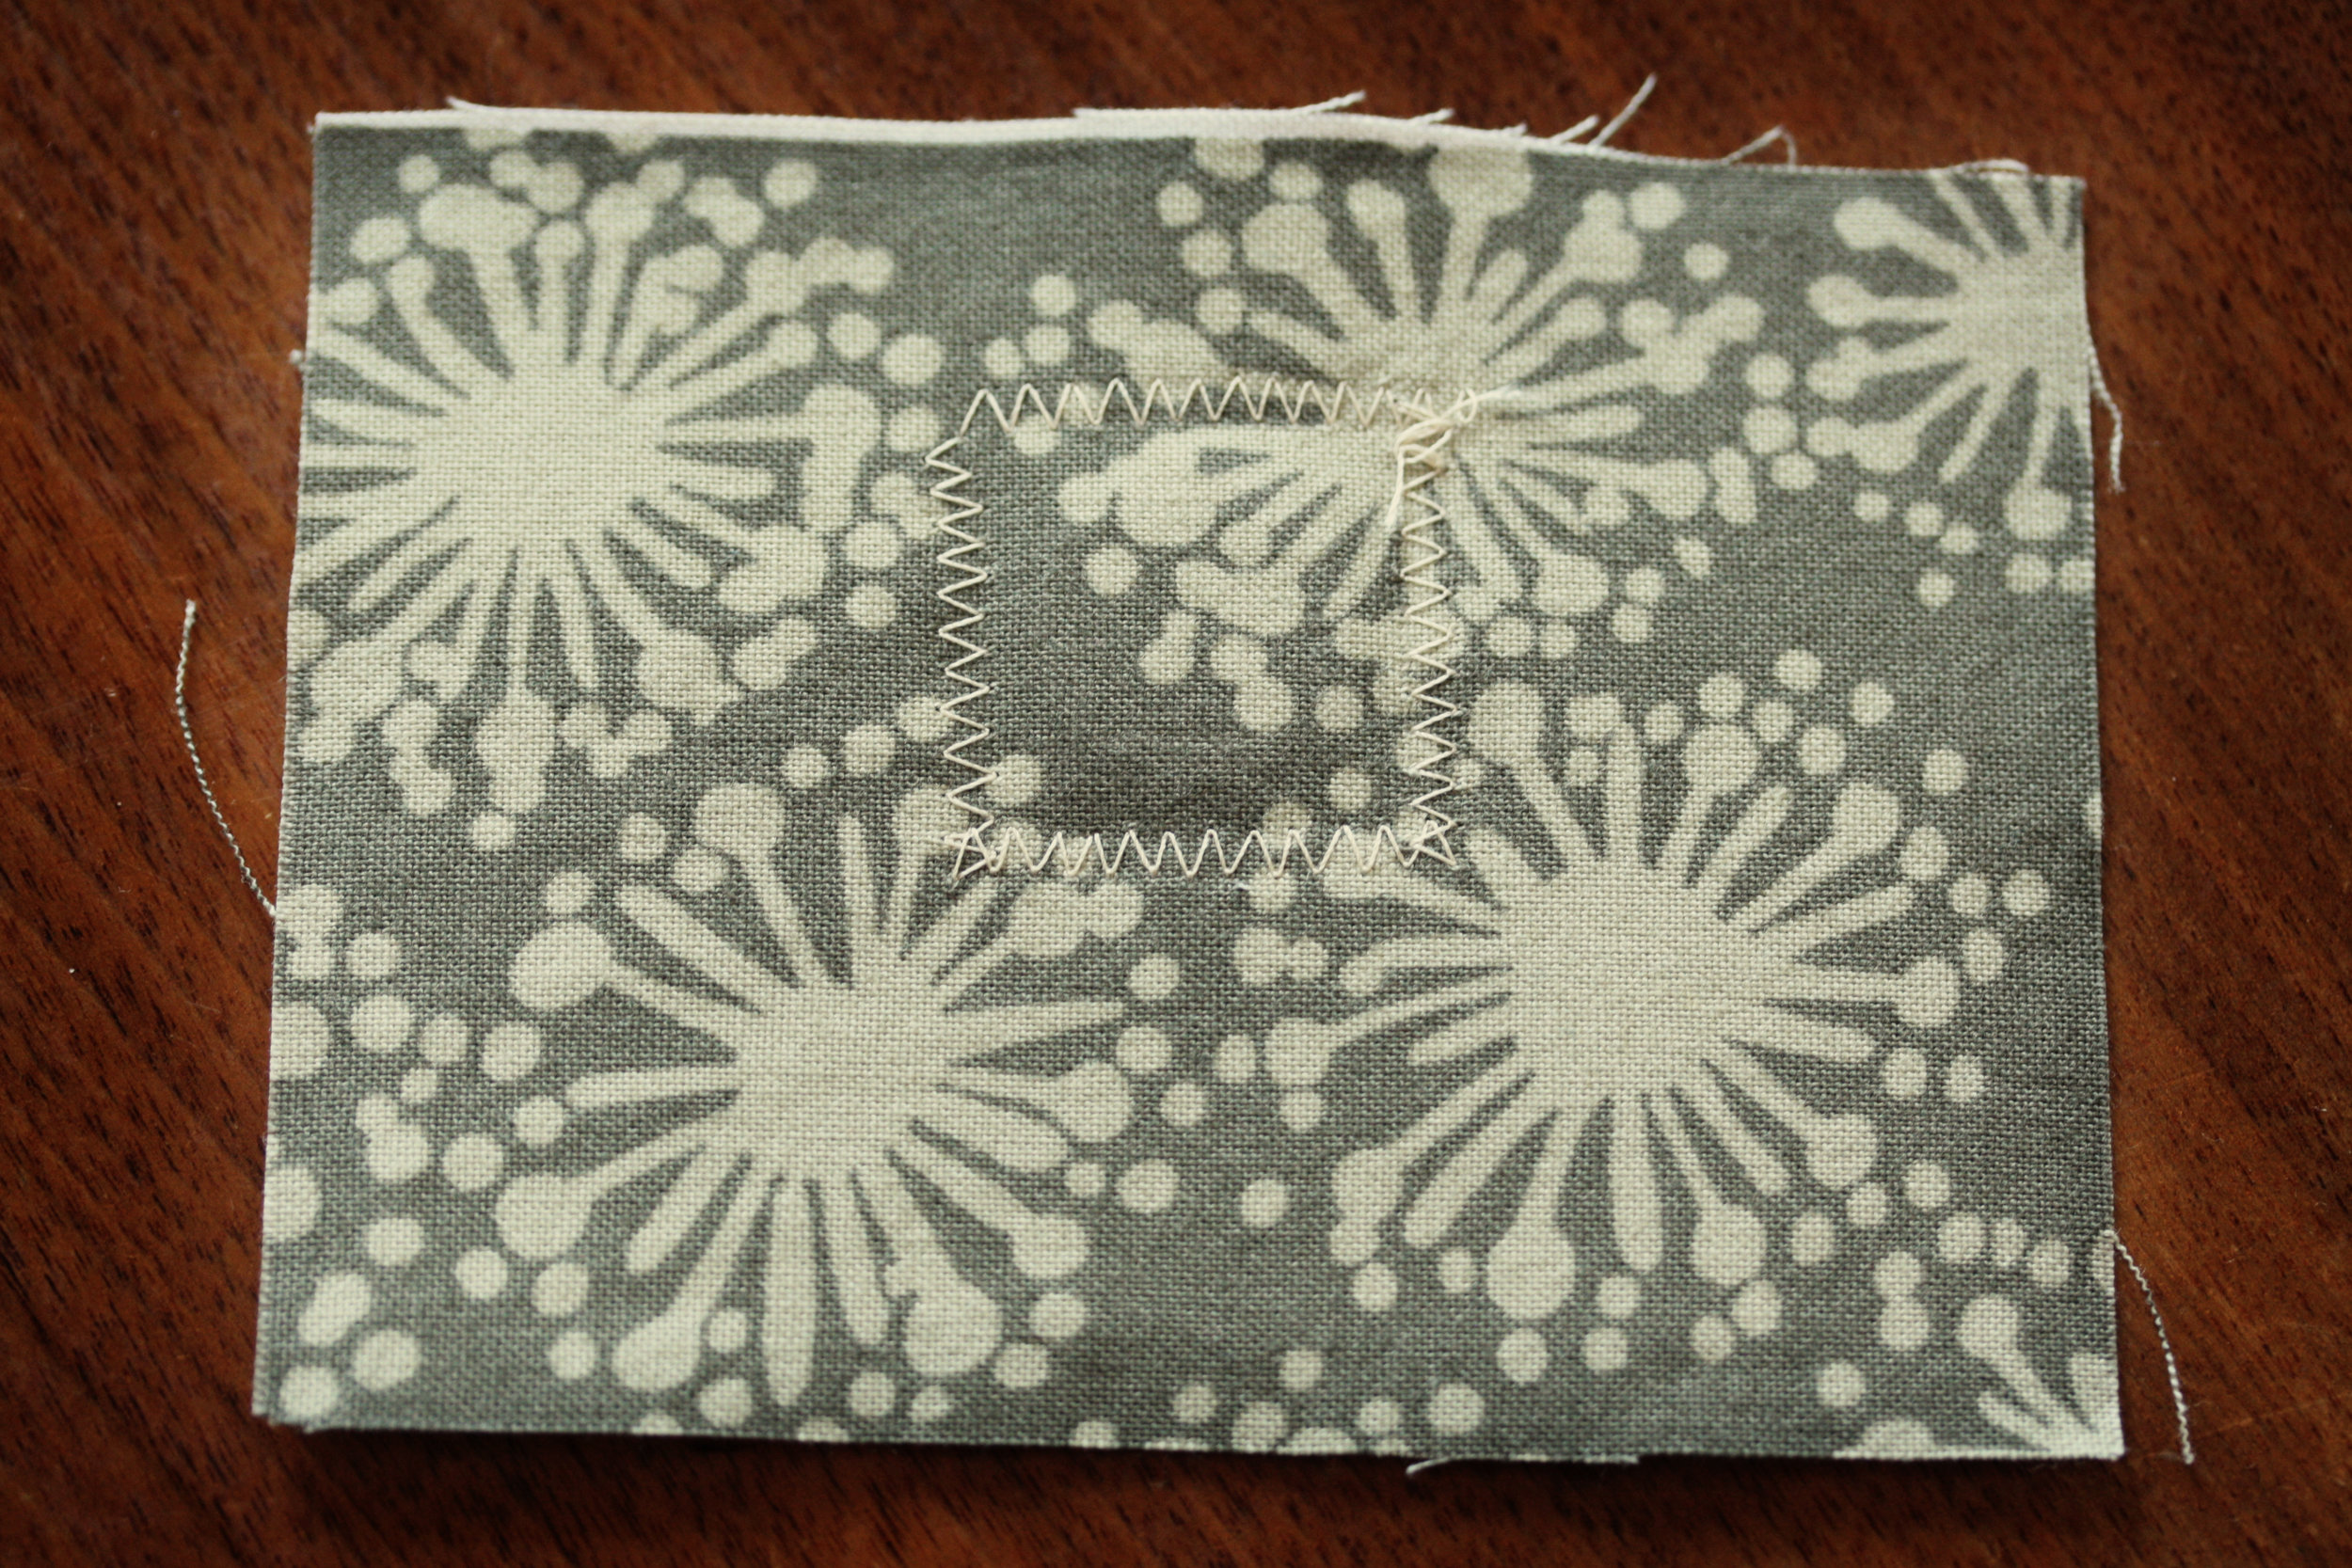
Using a zig-zag stitch attach one of the magnet clasps to one piece.  This piece is now the back.

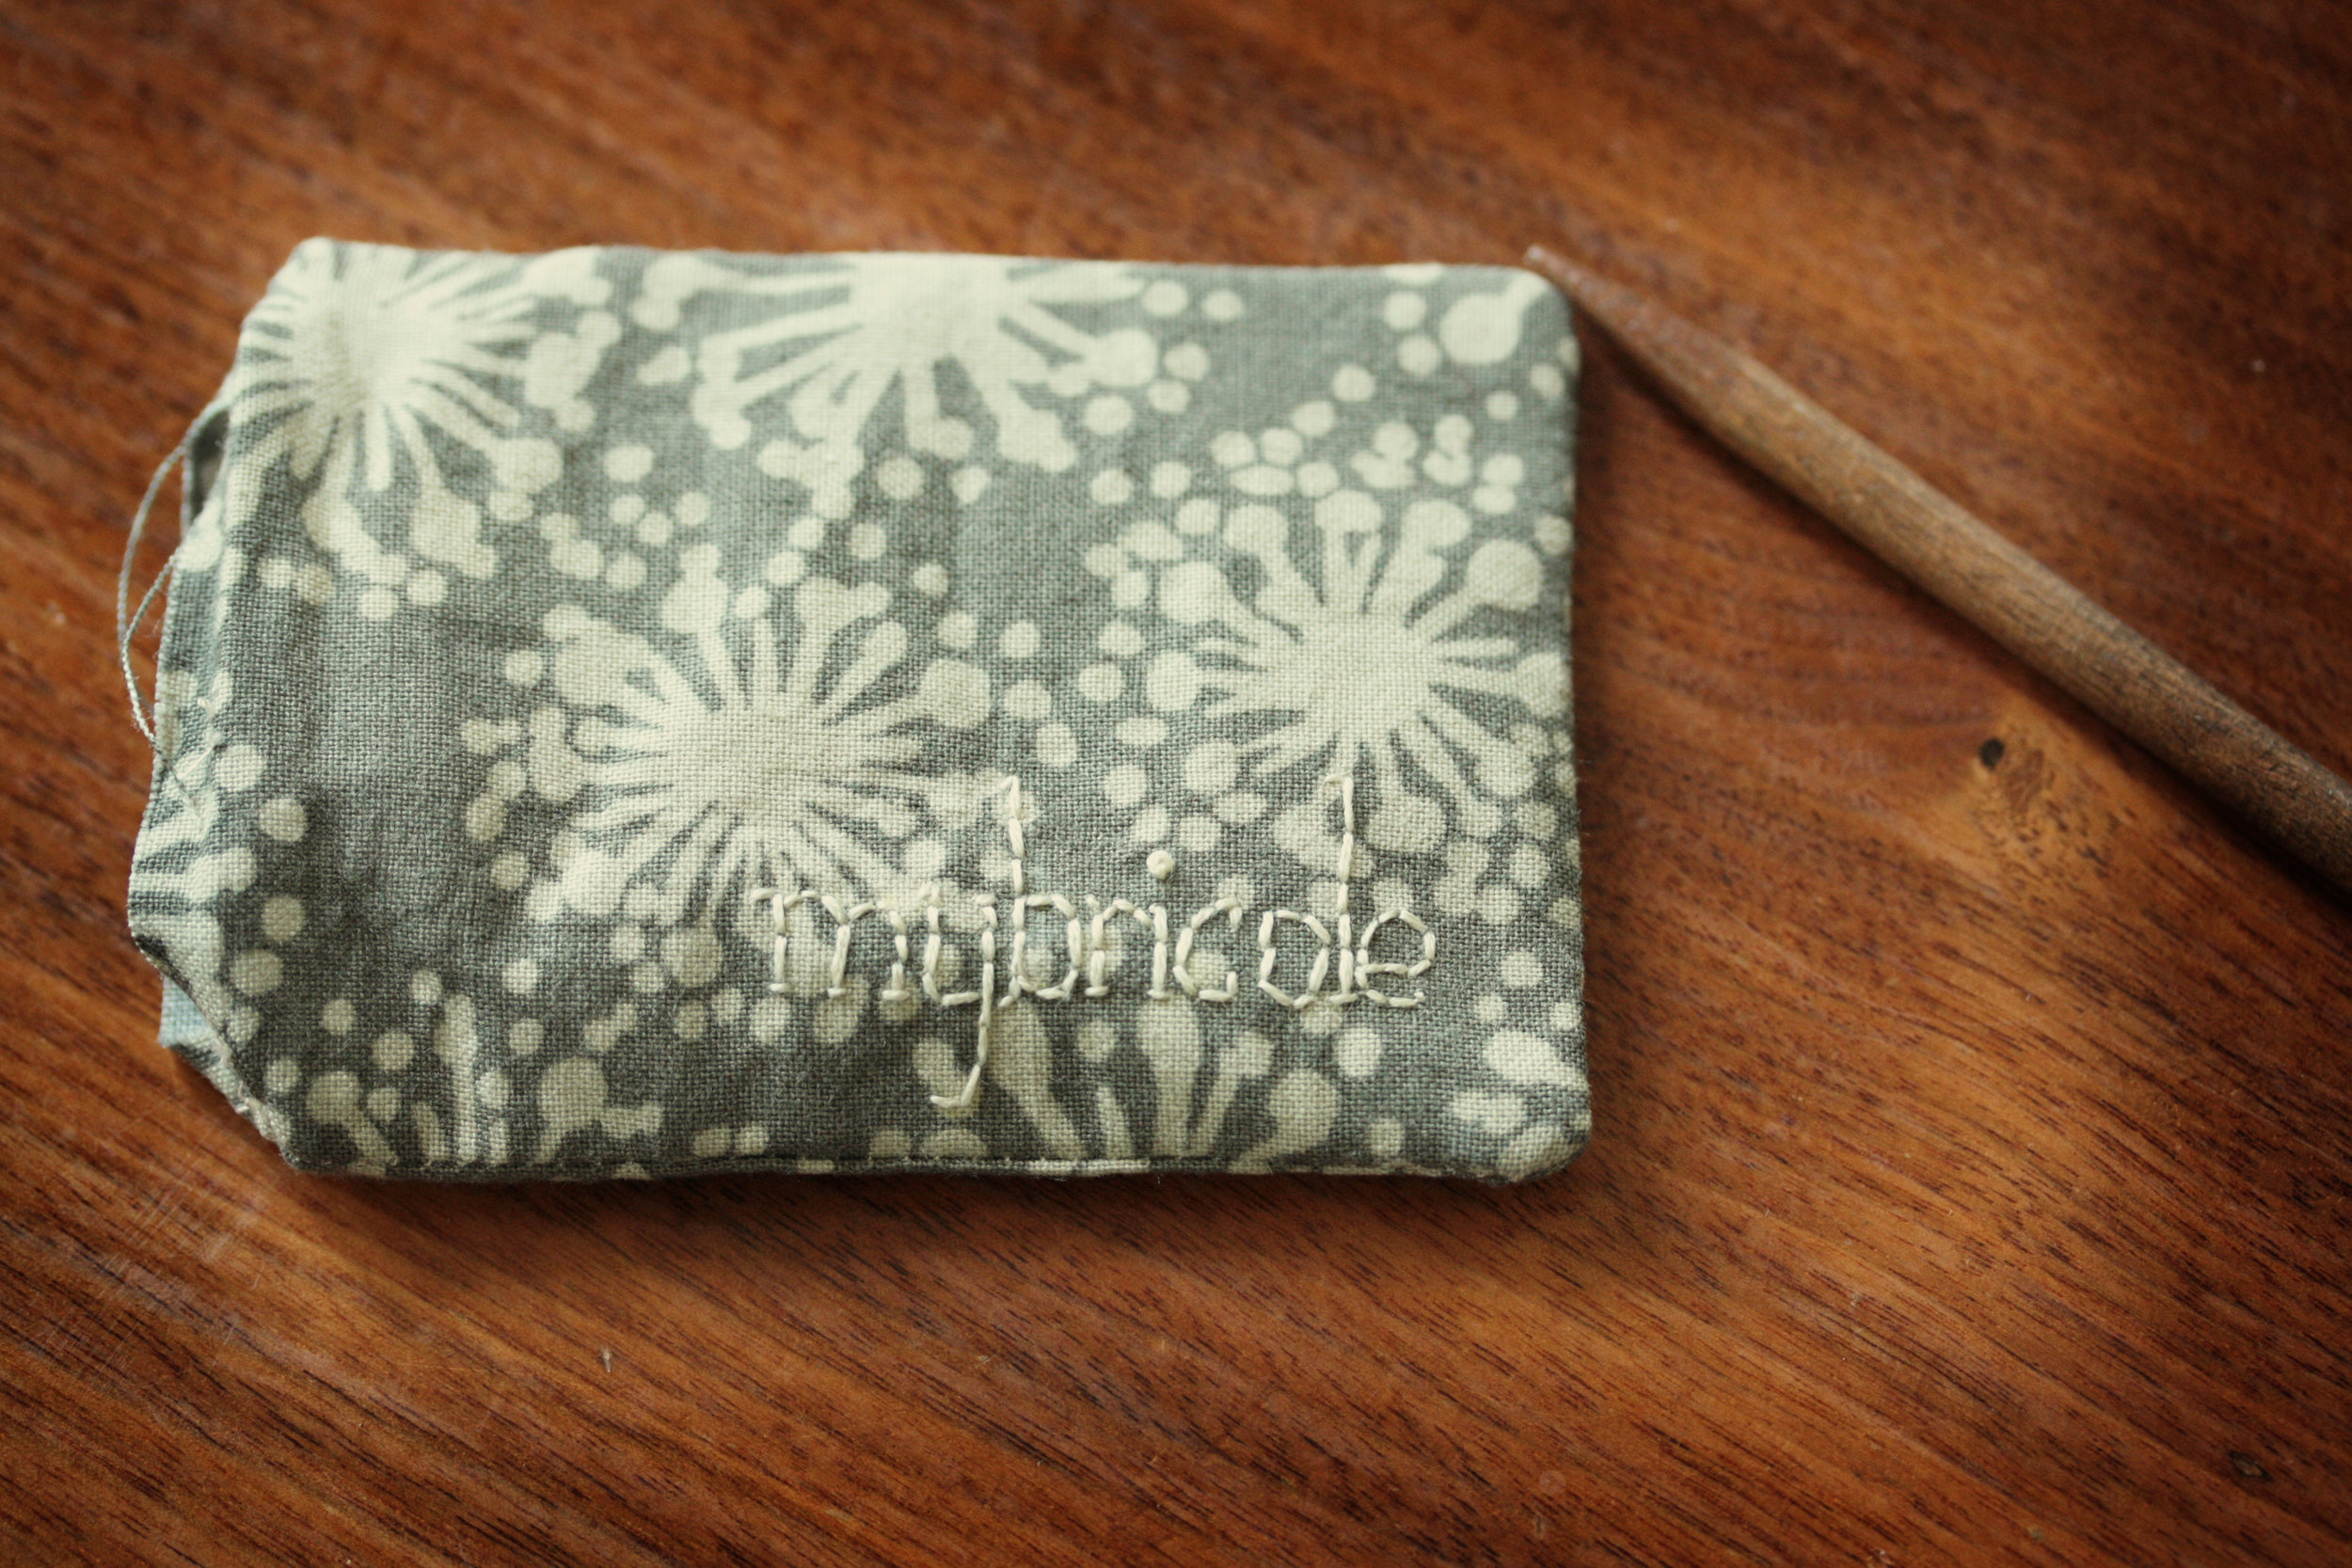
Switching to the front, using transfer paper, put my blog name on and then embroider over the transfer.

With right sides together I stitch three sides of the tag together with a 1/4'seam.  Leaving the fourth open gives enough room to turn it right side out with the bulk of the magnet and the interfacing.

Use a knitting needle to push the corners to points.  Press in the open edge and top stitched around the entire rectangle.

All that is left is attaching the tumblers.  Fuse them with a strip of steam a seam and hand stitch them around the edge they are secure.

Cross "make name tag" off of the to do list.


welcome fall...

It's the first week of school. To be more precise, it's the second day of school which for our district is the first full day.

I'm normally the first one to cheer the first day of school.  I'm the mom who has the countdown for the first day of school started on the last day of school.  I usually host a brunch for friends on the first day of school to celebrate the quiet.

Even as a kid I looked forward to the first day of school...

...not this year.

Cj started middle school.  This means a new building, new teachers, new paras, new pick up and drop off plans.  Somewhere mid summer I started waking up in the middle of night with my heart pounding...Does he have to change for PE?  Will they continue his binder schedule system?  How will we get him to work a padlock?  When will his teacher have her baby?  Who will be his para?  Will his shoes fit?  Will he be able to open his new water bottle?  The answer to all these questions?  I could say, doesn't matter, it will all work out, but you know that's not my style.  The answers are as follows, no, yes, I found a padlock you that you turn wheels to make a word, in 8 days, two great ladies, no, yes.

From the sounds of things, both the kids had a great day and were ready to head back for more today.

I survived.  I did not cry as I left the school yesterday.  I almost did.  I was incredibly grateful for a group of friends who distracted me with eggy casserole, chocolate pecan coffee cake and lots of laughs.

Lulu has her bestie and the therapy dog in her classroom so she's set. (Her teacher is the dog's caretaker so she spends the first half of every day in their class.)

Cj woke up the night yelling about monsters, but fell back to sleep.  He woke up this morning ready for the day.  On the walk to school, he reminded me 3 times of our pick up meeting place and double checked to make sure he had chocolate chip cookies in his lunch.  Take that autism!!

Now on to something completely different.

My brother's flag quilt is finished.  My aunt did a great meander on her long arm with variegated blue to grey thread.

If he doesn't like it, I'm keeping it.  Well, first I will kick him in the shin and then I will keep it.

liberty lifestyle napkins

I was lucky enough to go to quilt market this spring. Where I was also lucky enough to get to chat with the lovely people at the Liberty Art Fabrics booth, check out their new Lifestyle line, and was given a swatch pack of the new collection. Each square of fabric is about the size of a charm square. Because of the that I had to come up with something that would make the most of each piece. Also, it's such a pretty line that I wanted to come up with a project that I could look at or use on a regular basis.

I went with a set of napkins. We go through napkins like crazy, but most cloth napkins are so big that the kids end up sliding them on to their spaghetti when they try to wipe their mouth. I think these might qualify as more of a cocktail size, but they work perfect for us.

I started with a 10" square of a linen cotton blend from the yards of french general that I hoard in my stash and then trimmed that with strips of liberty lifestyle. If I would have been working with yardage, I probably would have attached the binding just like I do on a quilt. But, I was working with smaller pieces, so I tried to get as much as I could out of the strips.

First I grouped them by colorway and cut two 2" strips from each swatch.

Then I stitched each colorway end to end so I had 8 strips (2 strips of each print)

I pressed in each edge 1/4" and pressed each strip in half.

I pinned the binding around each fabric square.

When I got to a corner

I made sure the crease in the binding butted up to the fabric square.

Once the edges were lined up,

I pulled the binding down to the crease and formed the angle.

Then I pulled down the back edge,
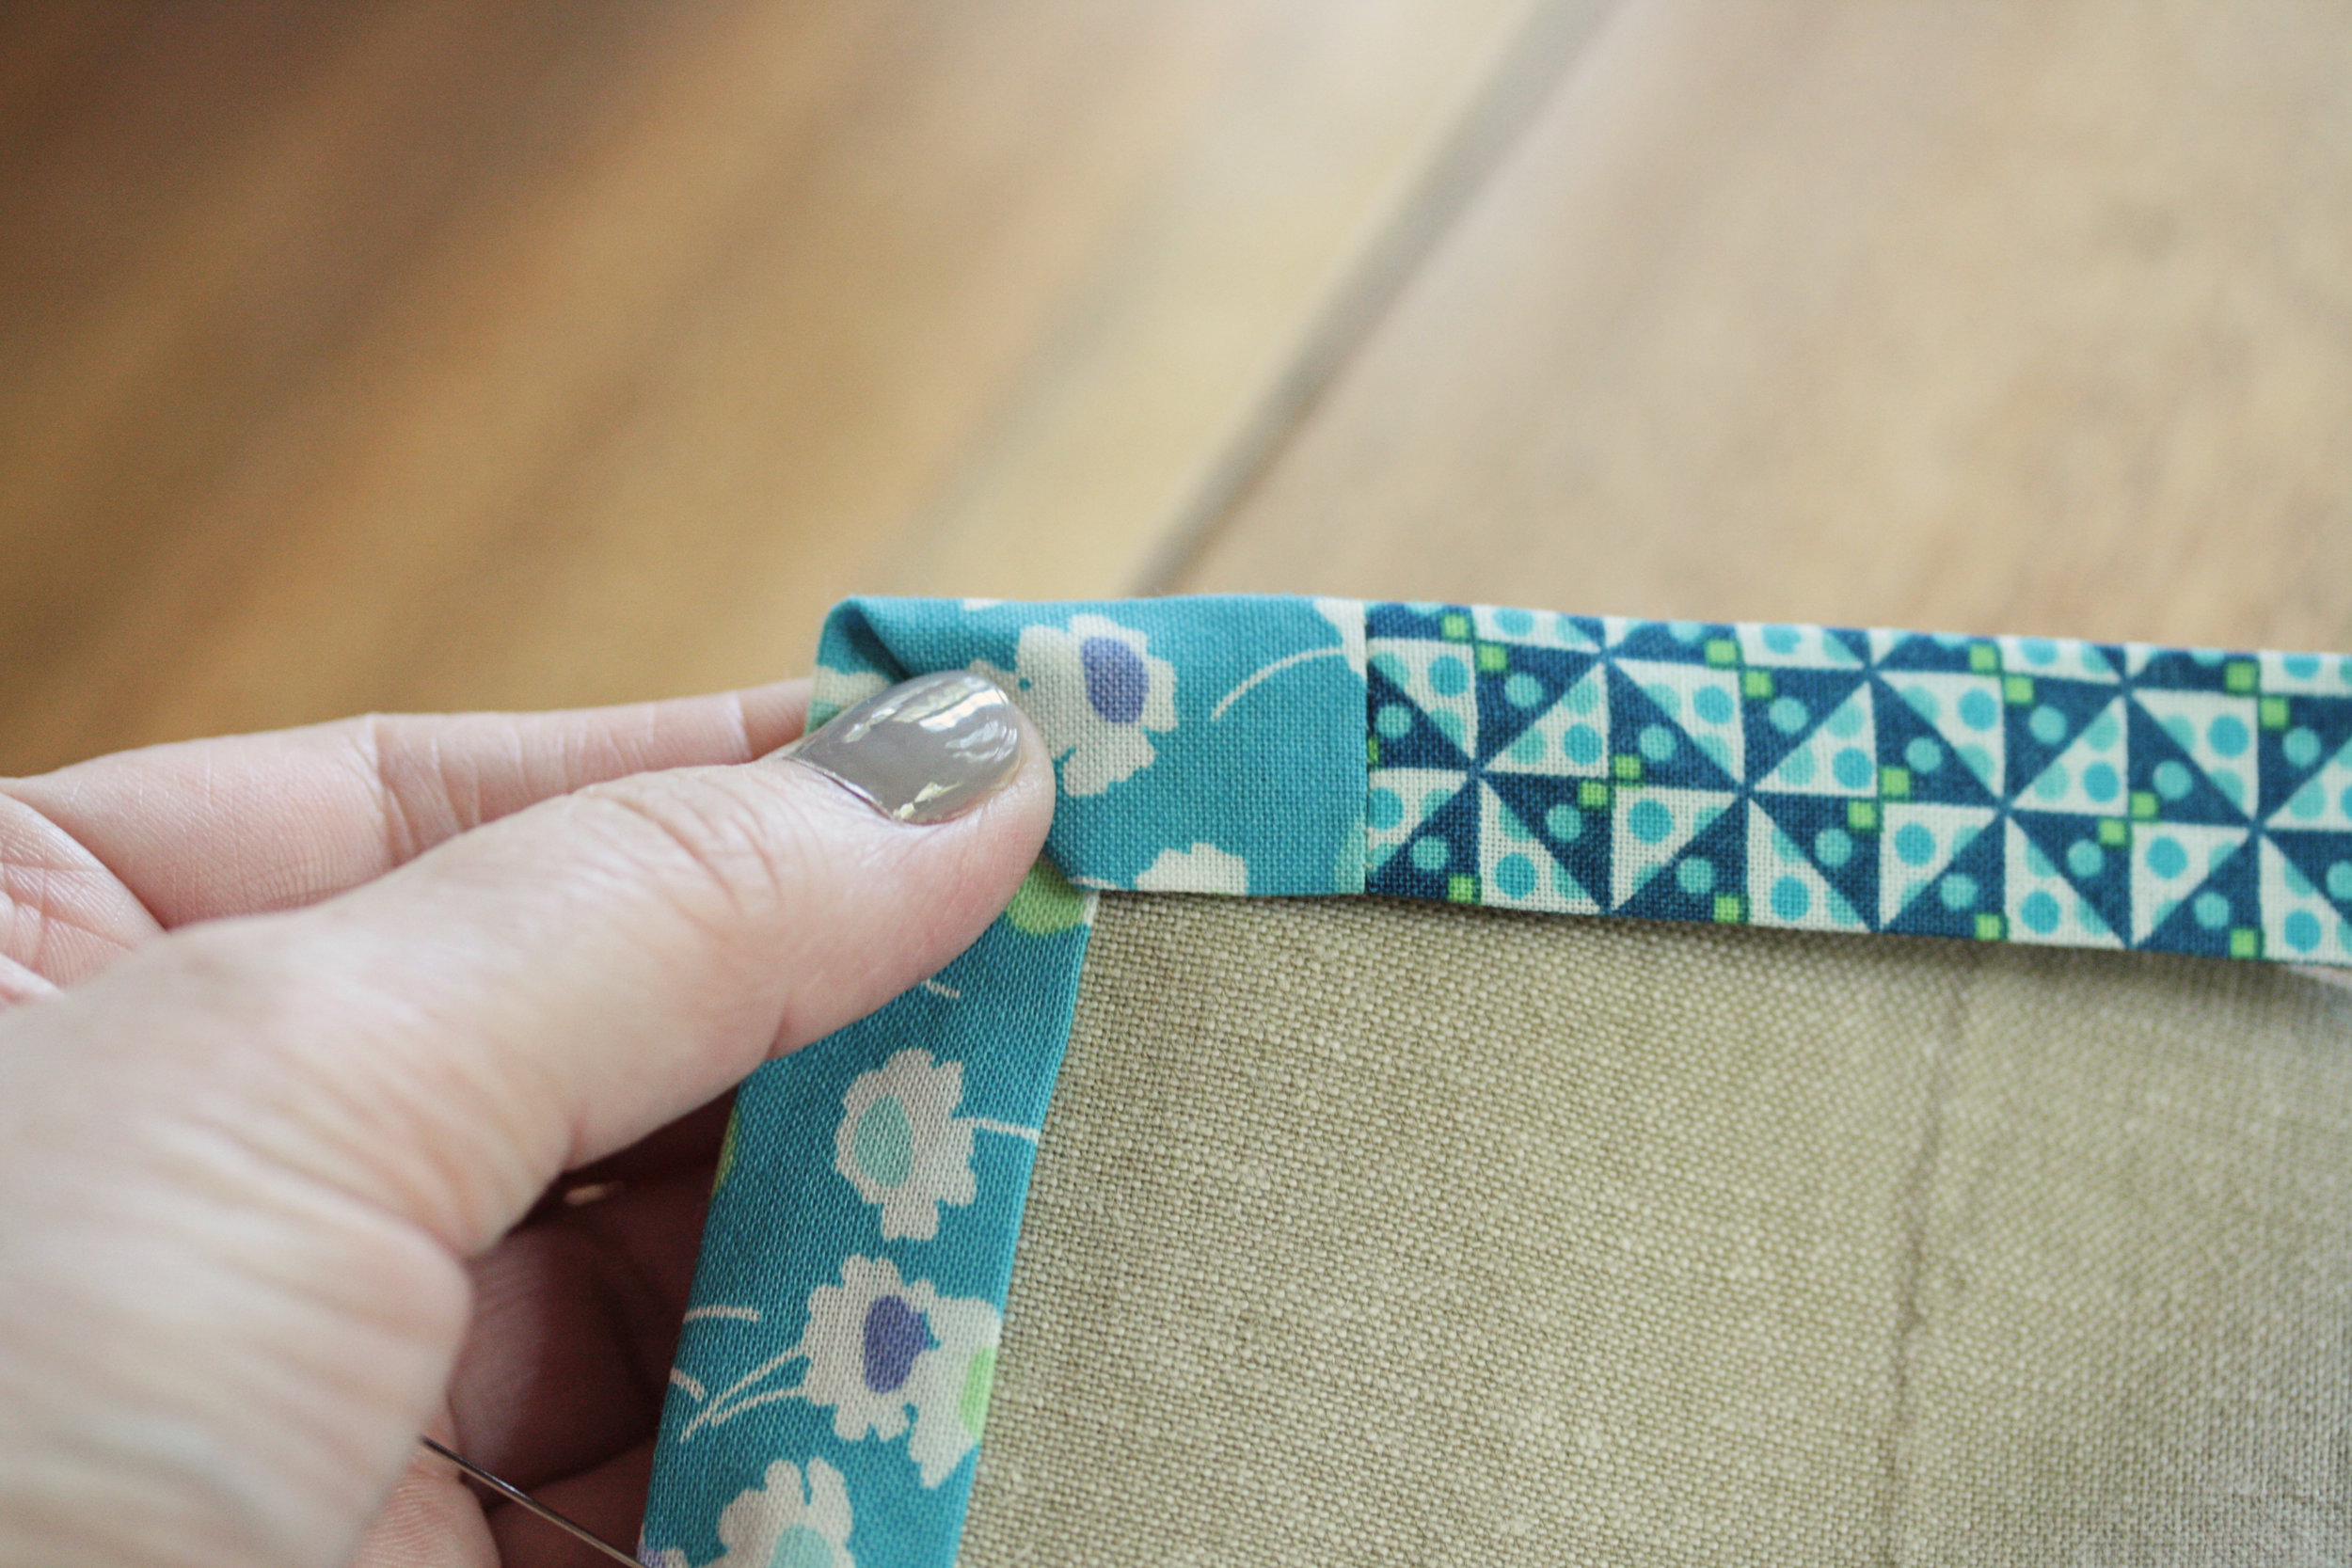
and double checked to make sure the back lined up as well.
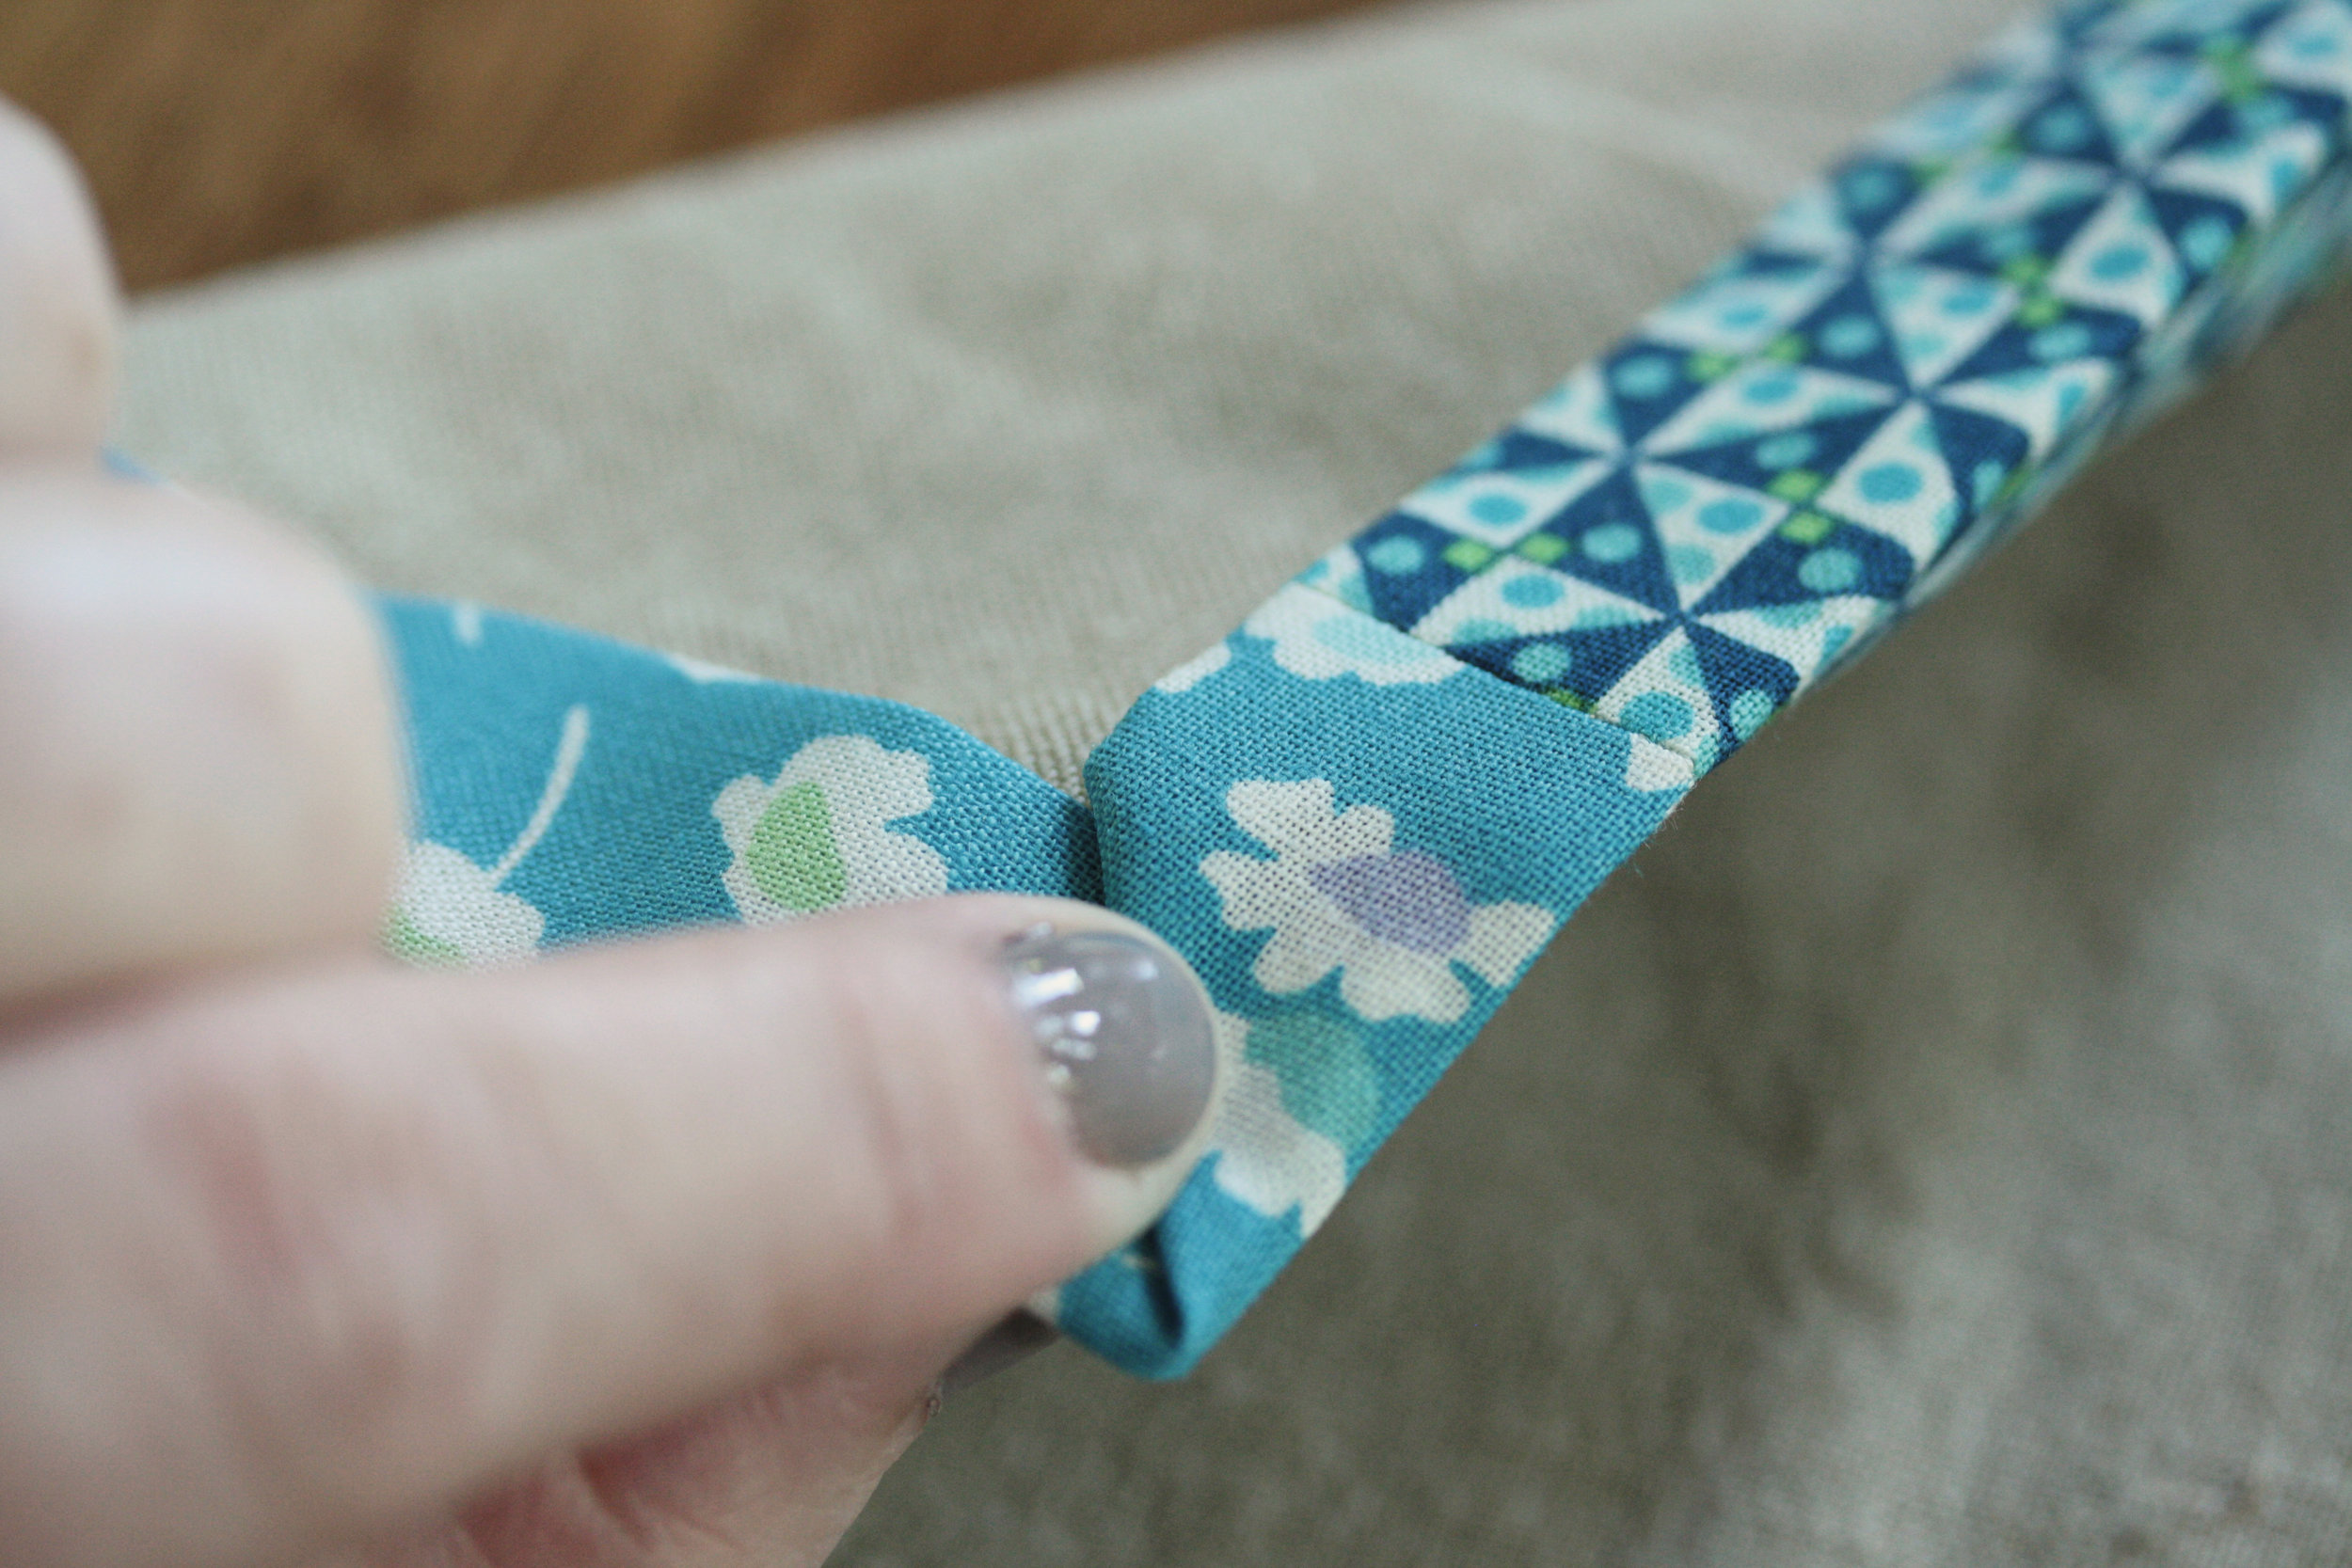
Then I pinned the corner.

When I made it around the square, I marked where I wanted seam to be with a pin in each strip.

I matched them up right sides together, being careful not to twist the strips. Once the seam was stitched,
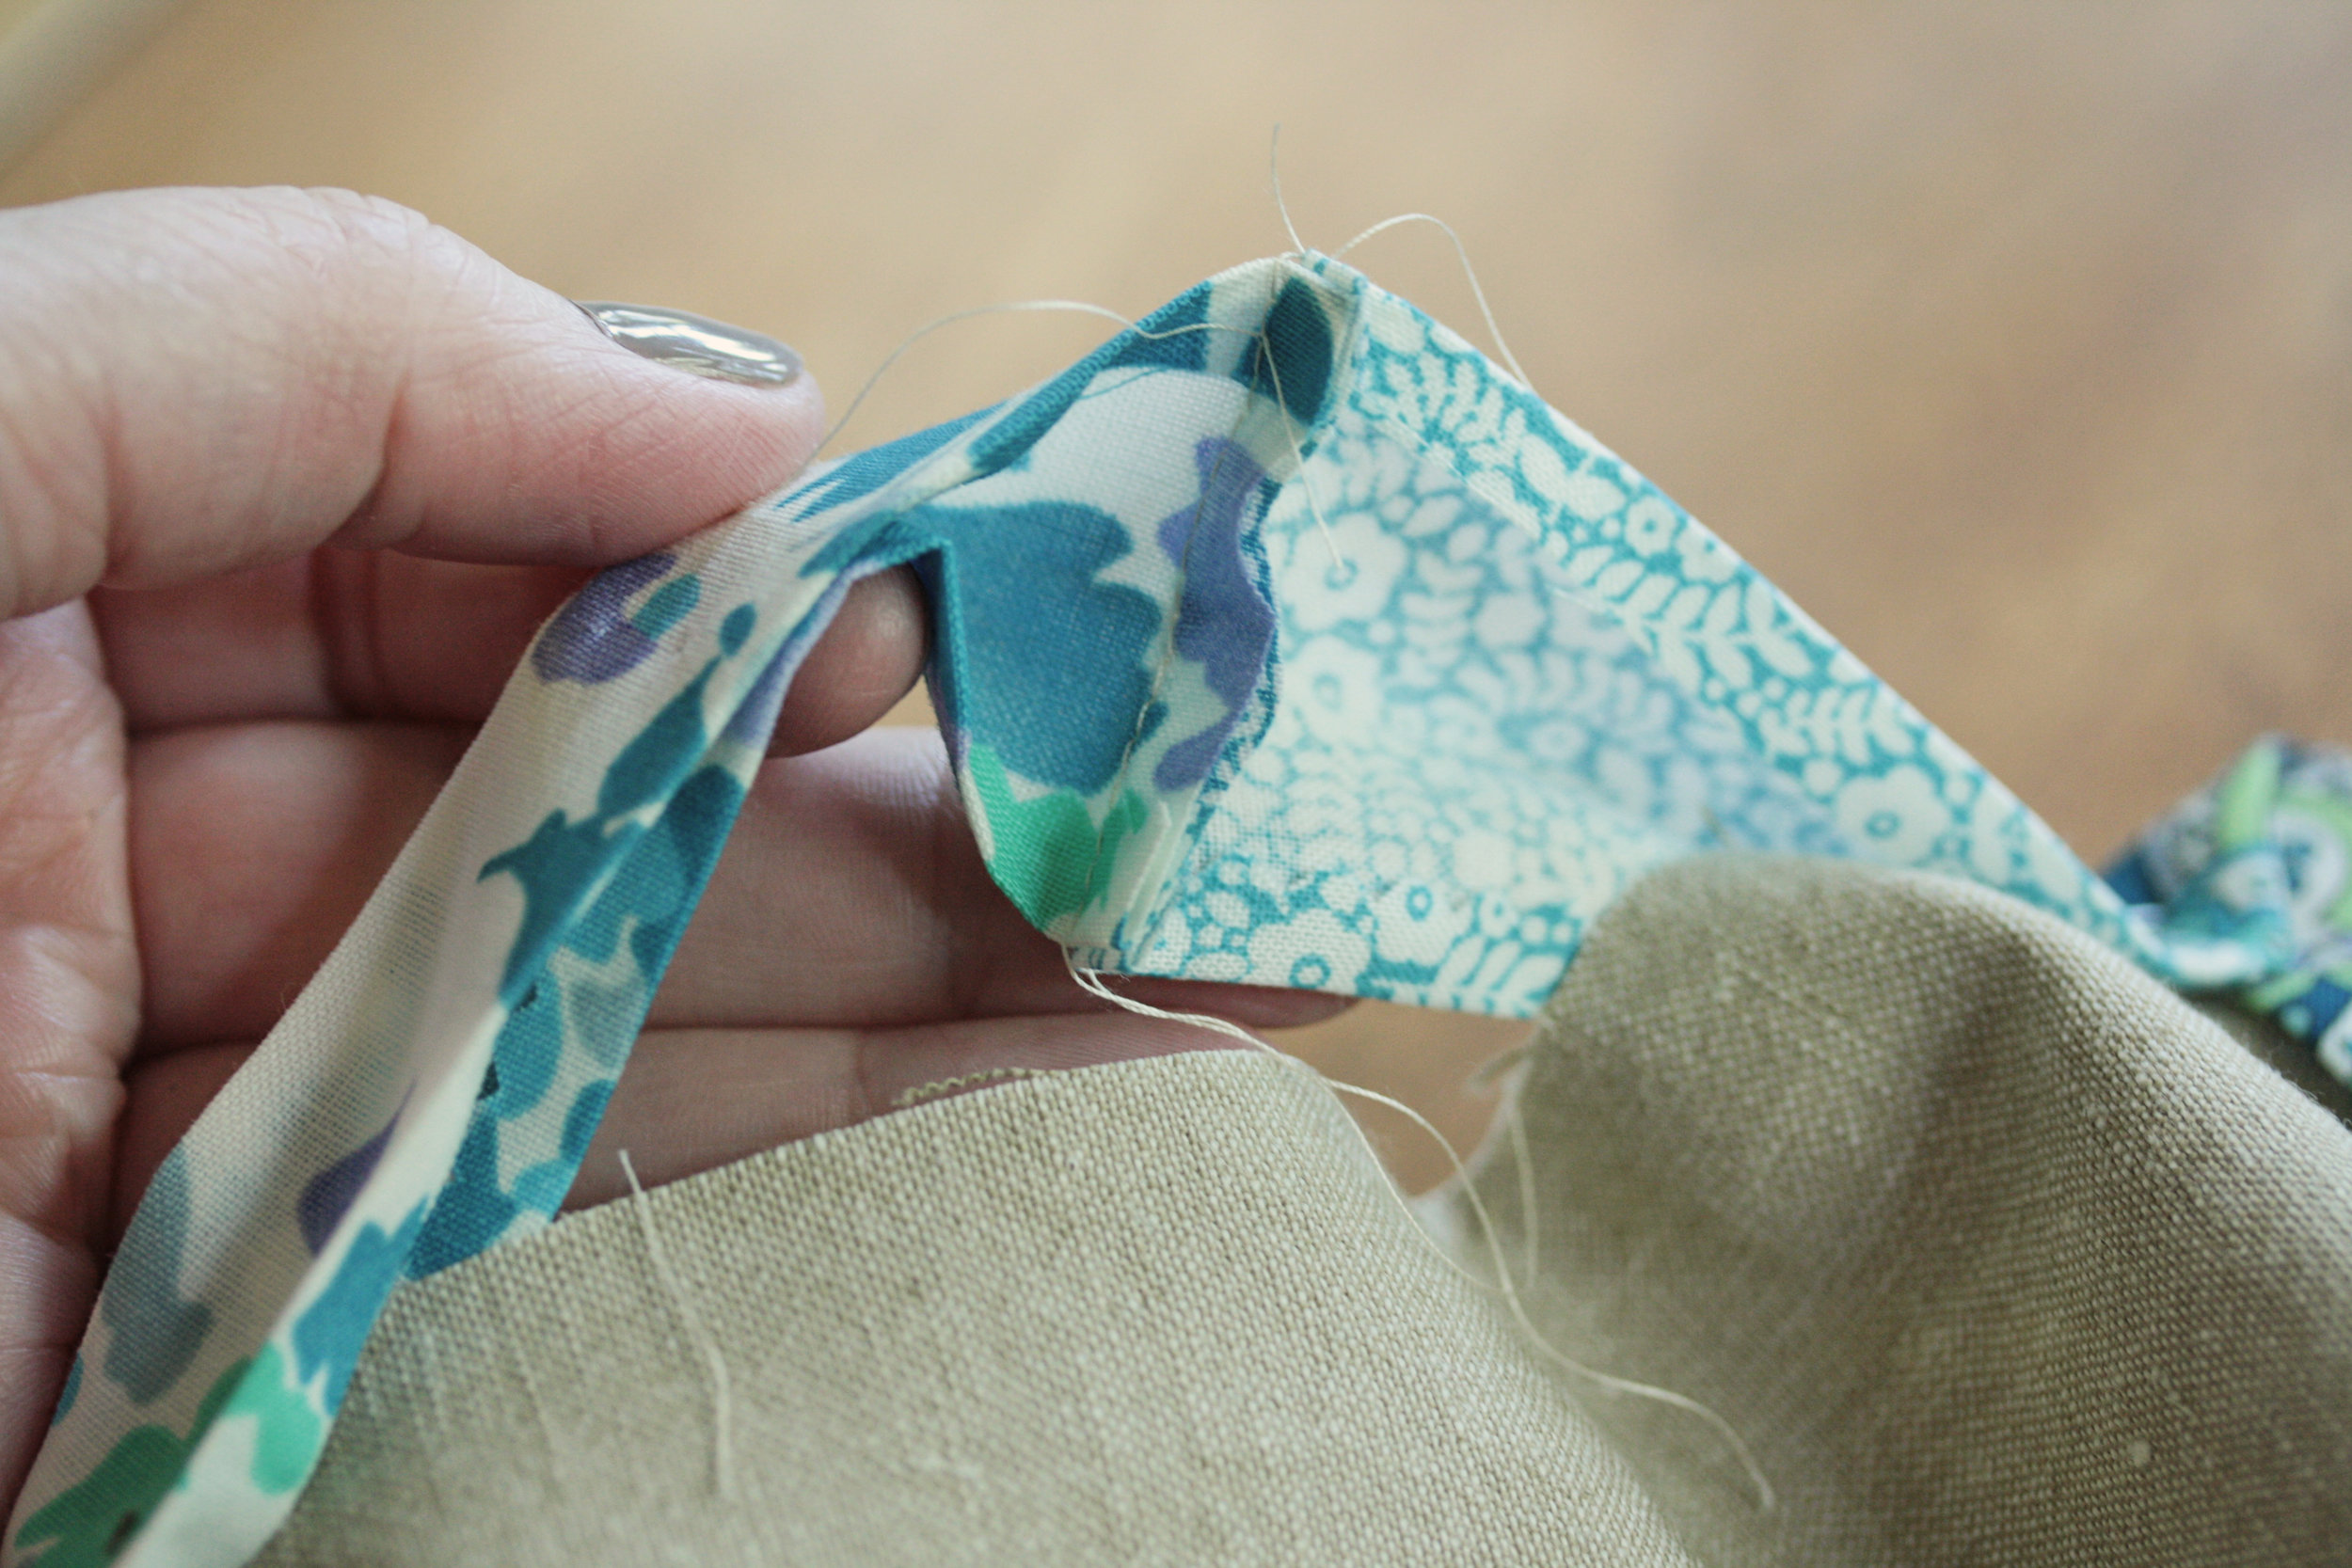
I pressed it open and then pressed the binding in half and pinned it.

I found a zig zag stitch to be more forgiving when it came to catching the back of the binding.

At the corners, I went half way in to the corner, backstitched to the edge, and then with my needle down, I turned the napkin and stitched down the next edge.

Lulu has already claimed the blue ones, the spouse really likes the brown print.

Actually I really like the browns too. They remind me of a dress and pinafore that my mom made me way back when in the '70's - it was very little house on the prairie chic.

Sounds like liberty lifestyle will be hitting stores this fall so that gives me just enough time to plan a quilt with it, maybe something inspired by little house on the prairie chic. It's about time for it to come around again.
scooter girls and puppies

I finished this quilt a few weeks ago.  It's a mix of three jelly rolls - sherbet pipsputting on the ritz, and bella solid (off white).  I quilted it in a plaid pattern of groups of five lines on the vertical and groups of three lines on the horizontal.

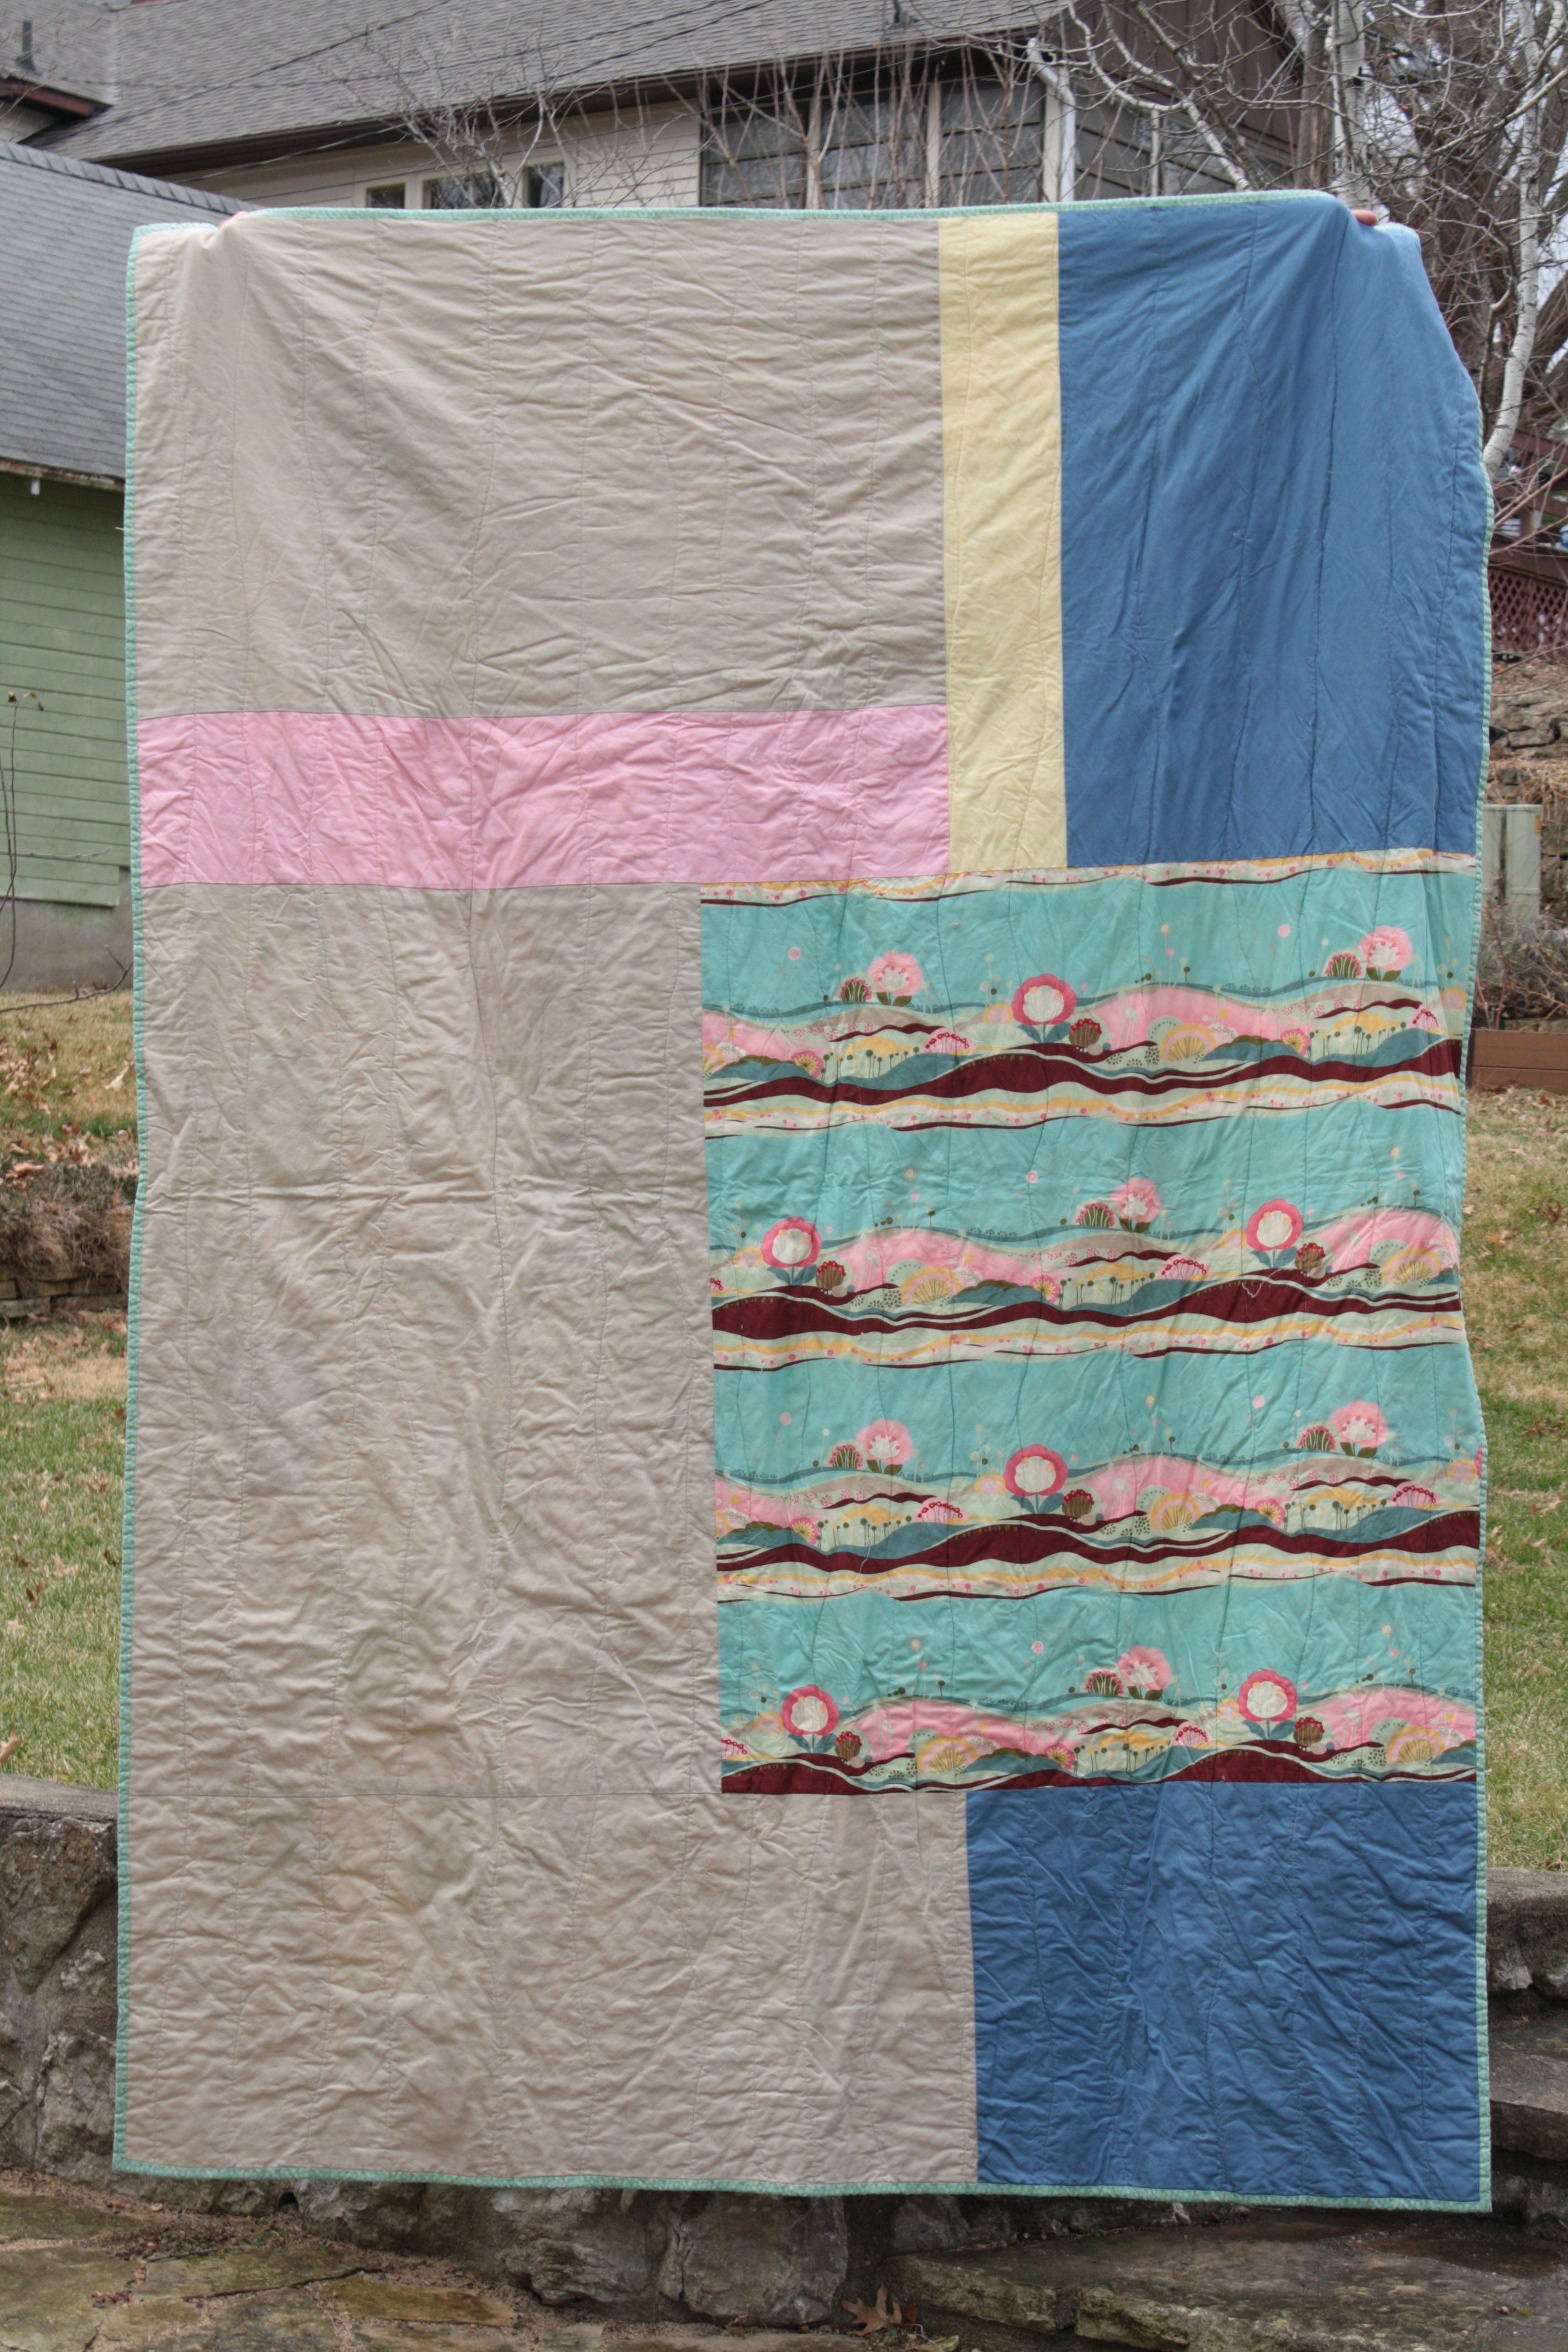
The back is mostly a mix of Putting on the Ritz yardage along with a floral block from Barbara Brackman's Encyclopedia of Pieced Quilt Block Patterns.

This quilt was part of a silent auction at a benefit for the mother of a girl in cj's class who is battling cancer for a second time.  The bids went down to the wire with one of cj's para getting the final bid and the quilt.

I am still sewing around here

I just finished this quilt for a very dear friend of our family.

It's made with Freebird by MoMo for Moda.

The piecing is my design that evolved from playing with scraps and half square triangles.

It's quilted with straight lines every 5/8" in a chocolate brown thread.

I really love the denseness of the quilting.  It gives the quilt such great texture.

It's summer break here now, which means I have even less time to work on projects.  I will be spending the next week or two trying to find a "new" routine around here.  Which will most likely involve a lot of groaning and complaining when I pull out the workbooks and flashcards.

and now it's heading off to be long armed

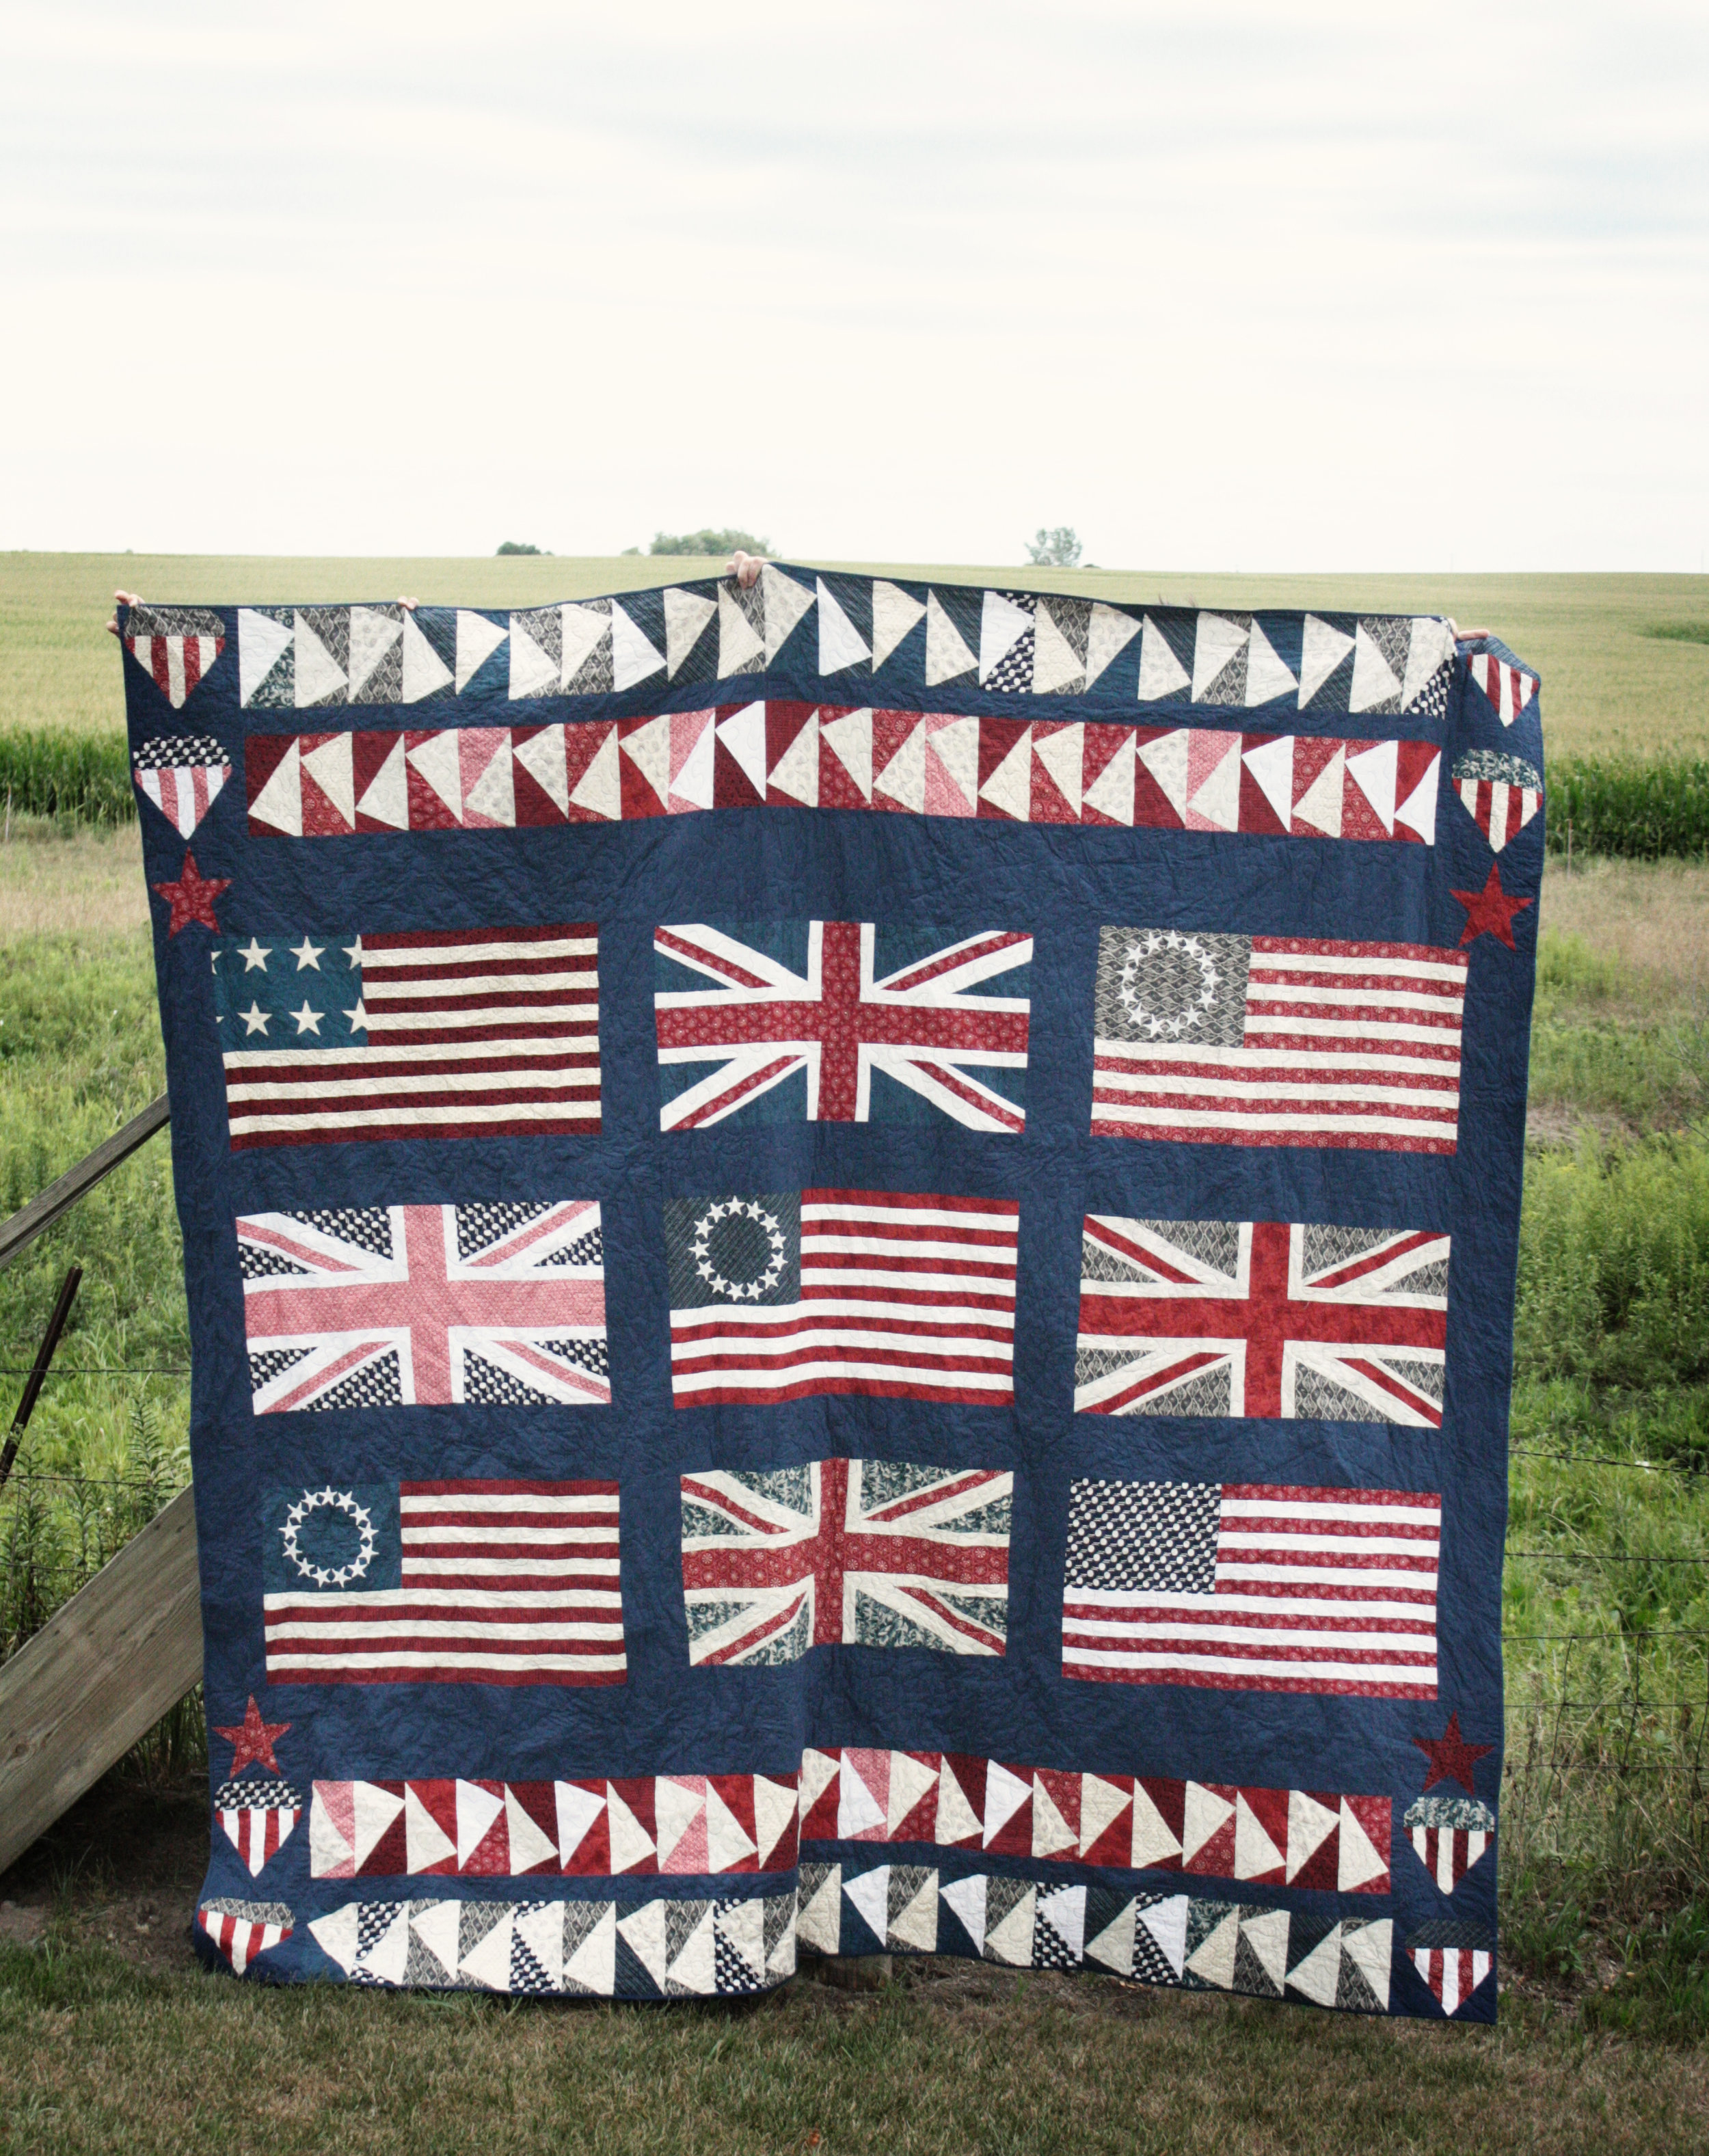
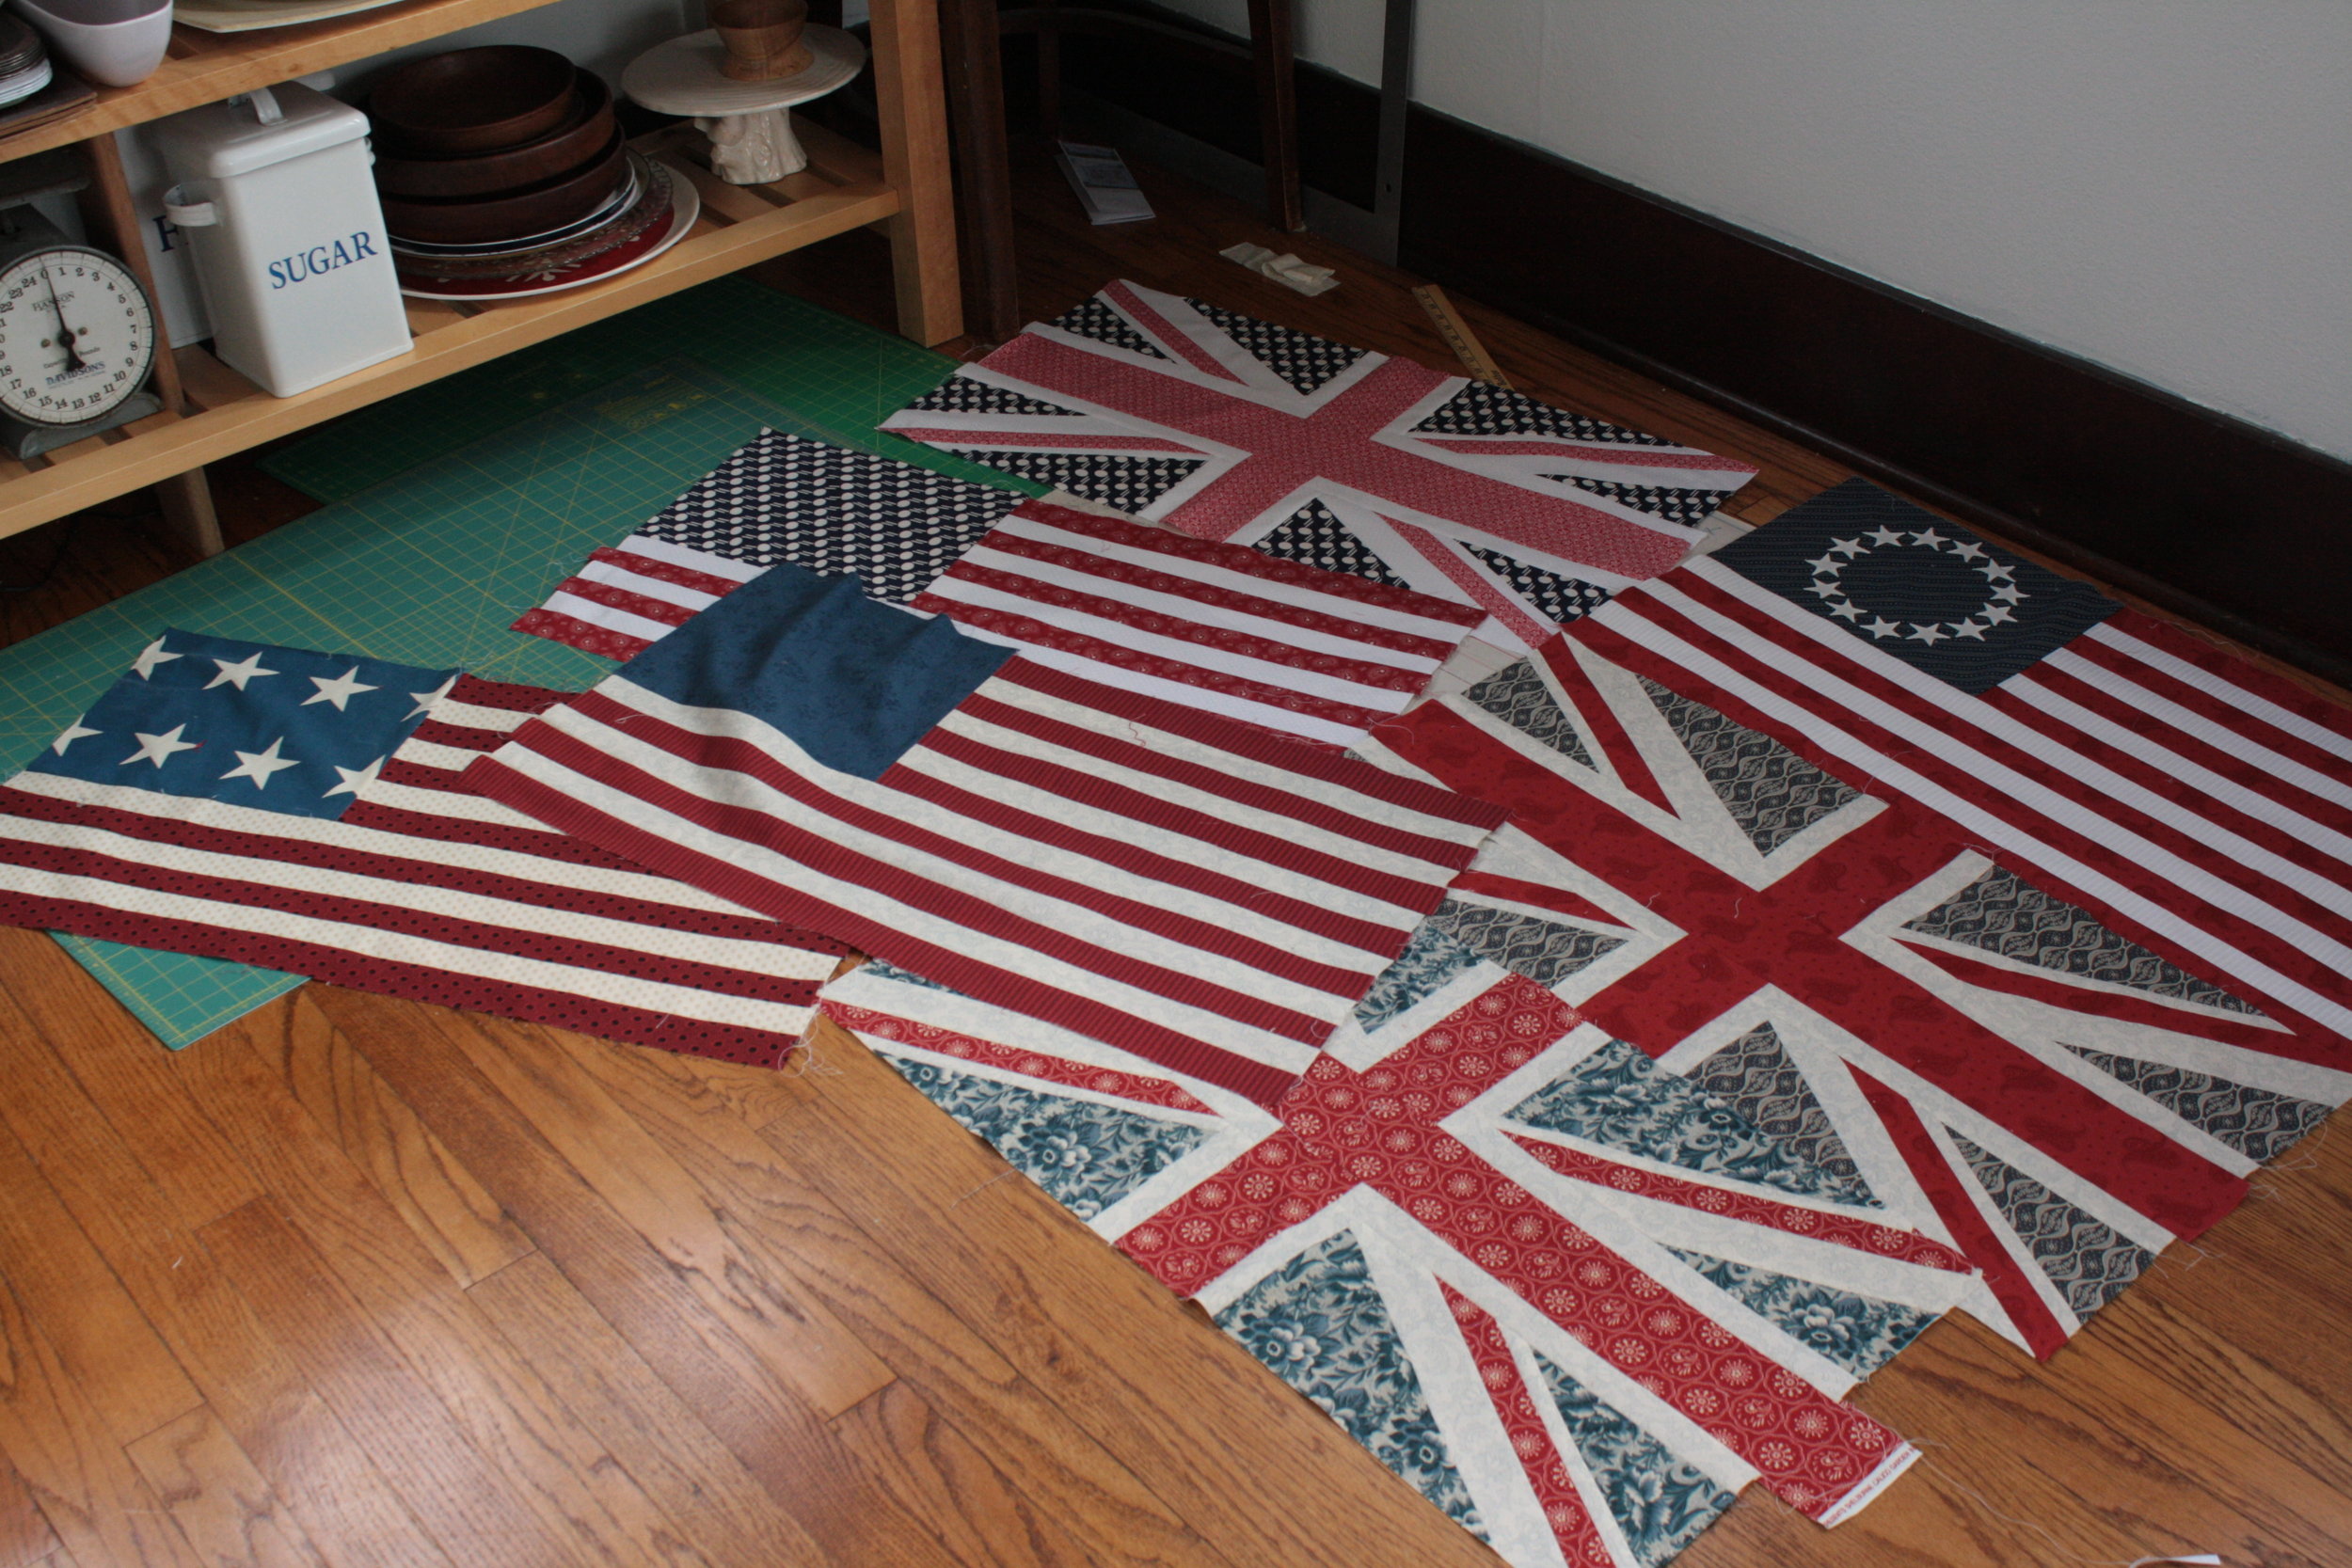
This quilt is for my brother and his fiance.  He is a serious history buff and she lived in Great Britain for many years.  They asked for a quilt last year and when I suggested something with flags, they loved the idea.  Then he told me it needed to be king size.  Then I panicked, then I made them this kickin' quilt top. This quilt by Amy Smart became my jumping off point.

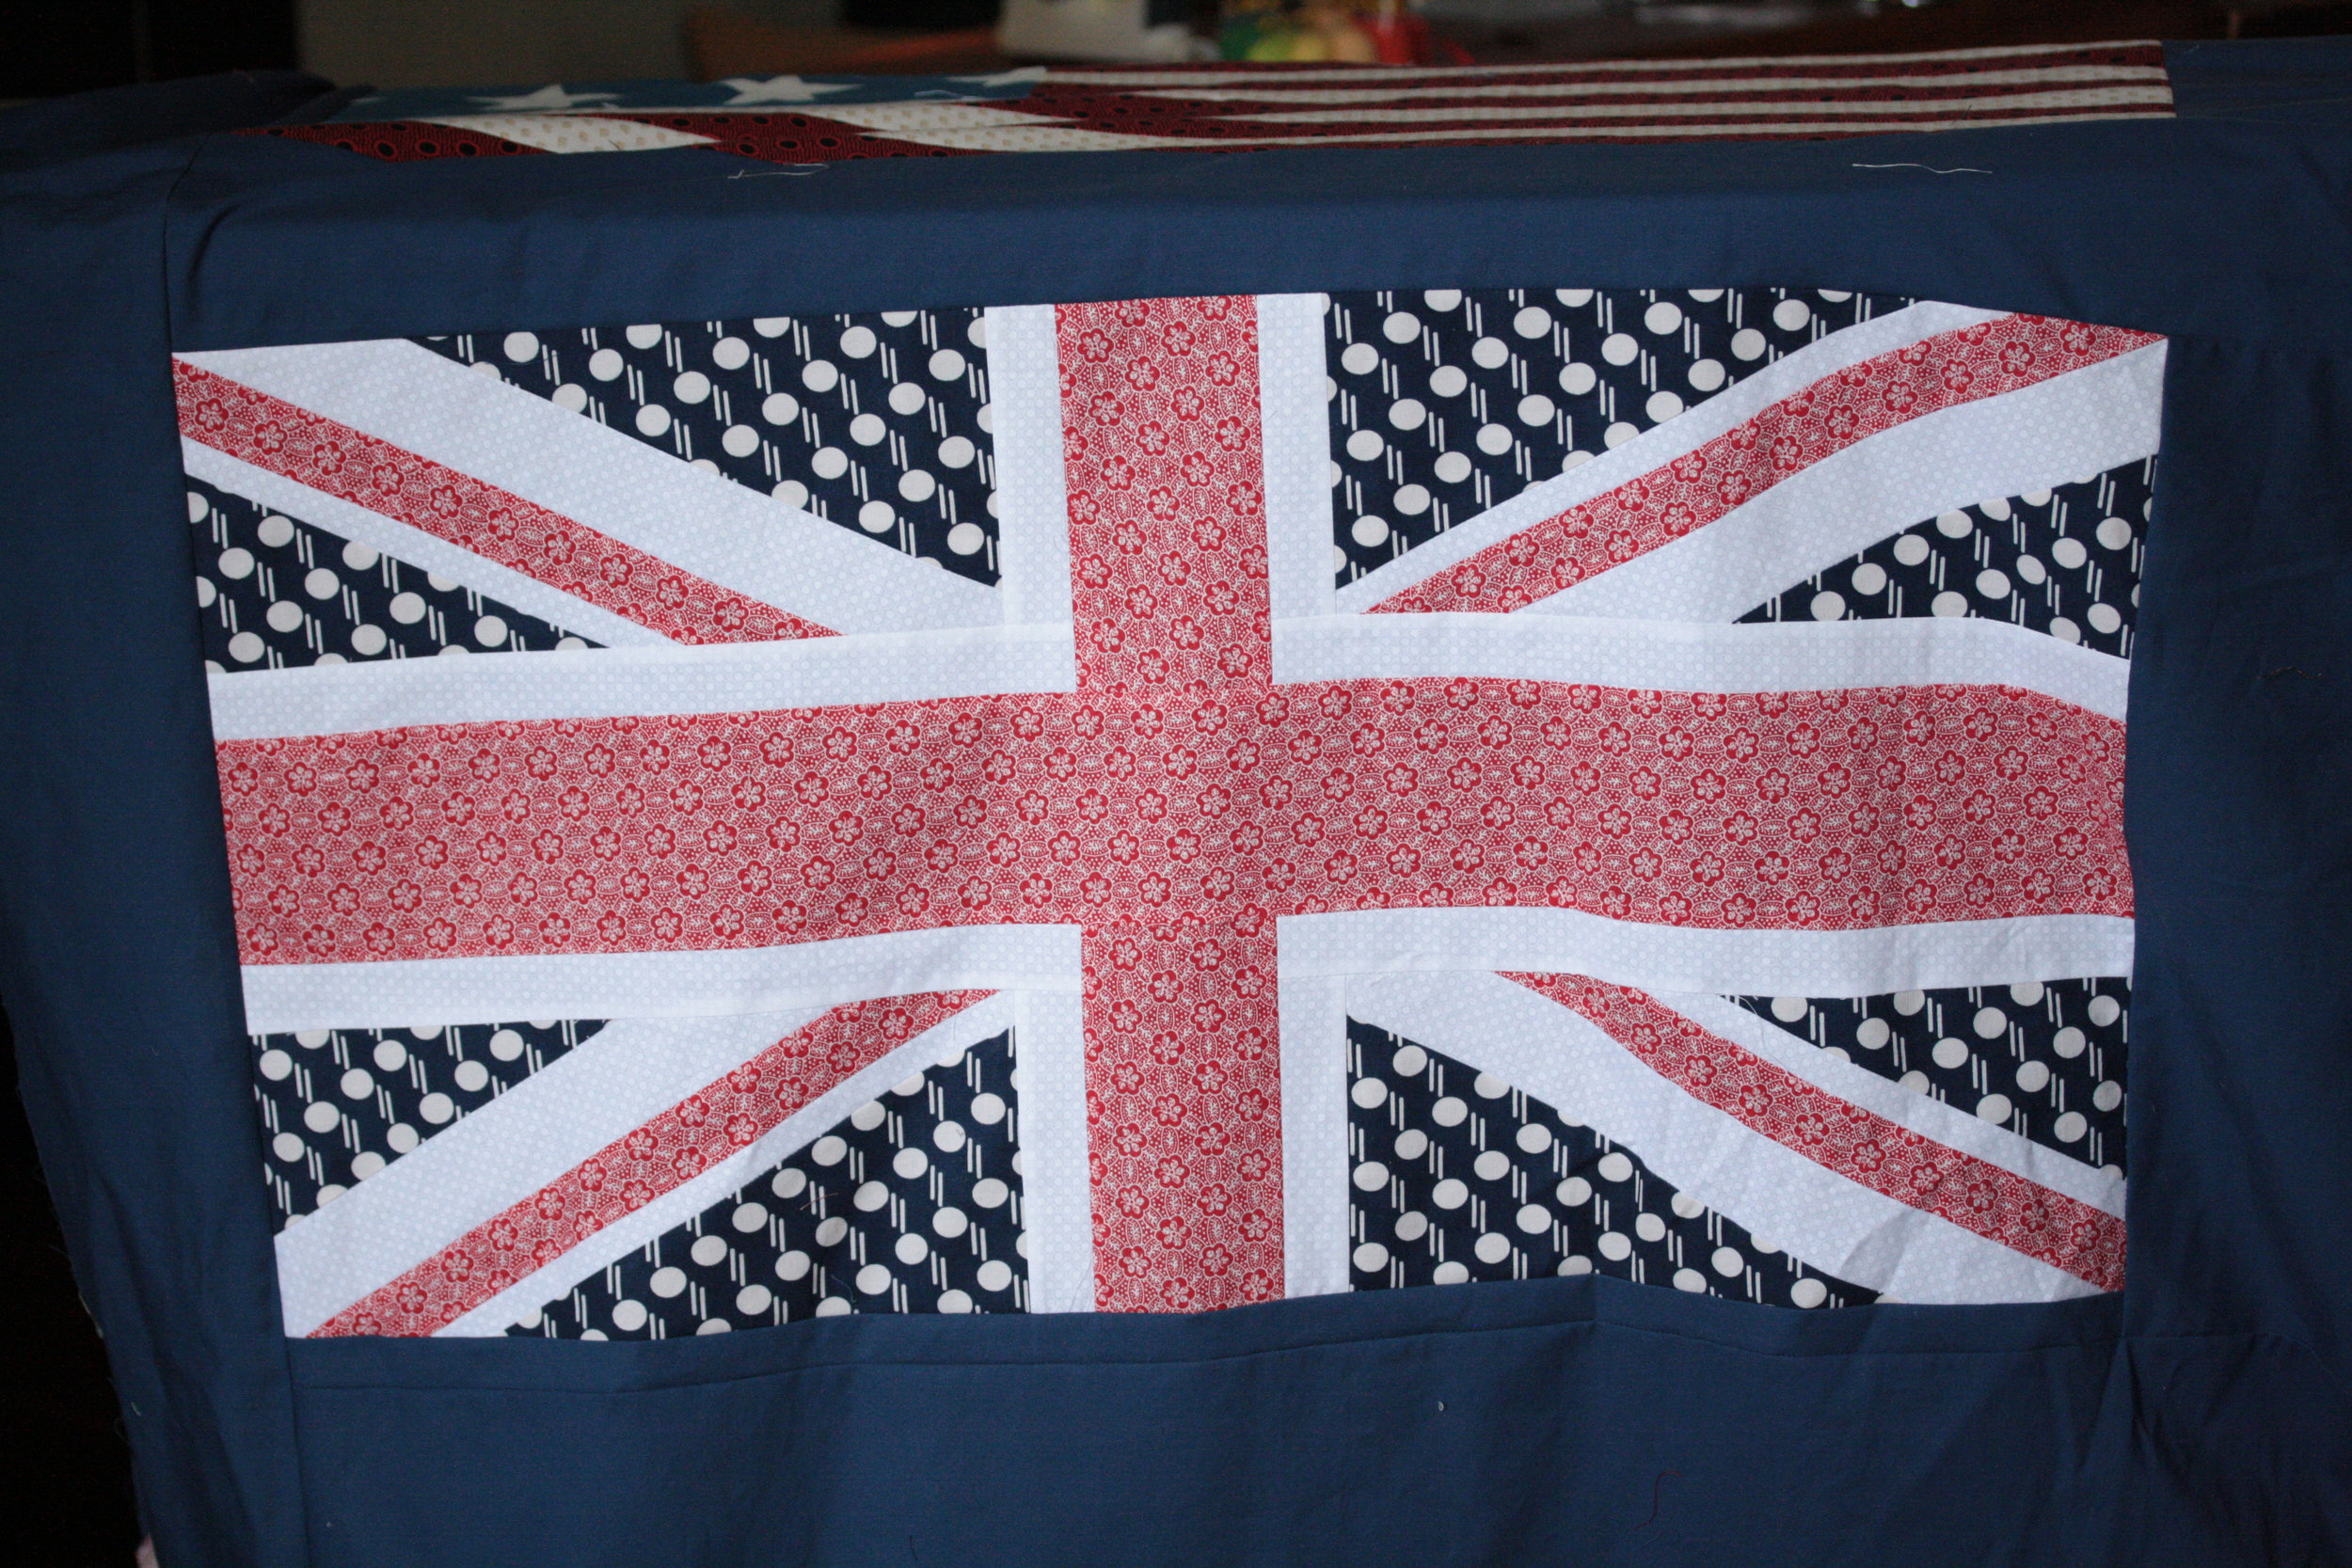
Both the Union and American flags are pieced according to their official sizes.

Three of the American flags have 13 stars that have been hand appliqued.

The flags were my starting point and from there I looked to history for my next step.  I loved the idea of a central motif surrounded by border upon border as seen in quilts from the late 1700's to early 1800's.  Unfortunately by the time I came up with this plan, my panel of flags was too wide to have all that extra border on the sides.

Things like this tend to happen when you plan as you sew.

So I went with bands at the top and bottom.  This book cover gave me the idea to make rows of off kilter flying geese.

I kept the feel of the historic quilts by adding corner blocks to the borders.

A red star in each corner that was closest to the flags and then Union shields on the corners of the flying geese rows.

Here's the completed quilt top.

Did I mention it's huge!  We had to bring it outside for a picture and call in our neighbor for an assist.

I've sent it off to my aunt to long arm and I can't wait to see it when it's done.

the neglectful blogger

hi  

I've been sewing, honest, I have.  I've been sewing so much that a lot of other things have been thrown by the wayside.  Important things like taking pictures of projects and writing posts and ironing.

I'm doing surprisingly well at keeping up with my 365.


These are a couple of photos from February.

I'm also following along with Faith's Solstice series over at Fresh Lemons Quilts.

Here's what I have so far...

I'm loving how they are coming together.


a log cabin for Christmas

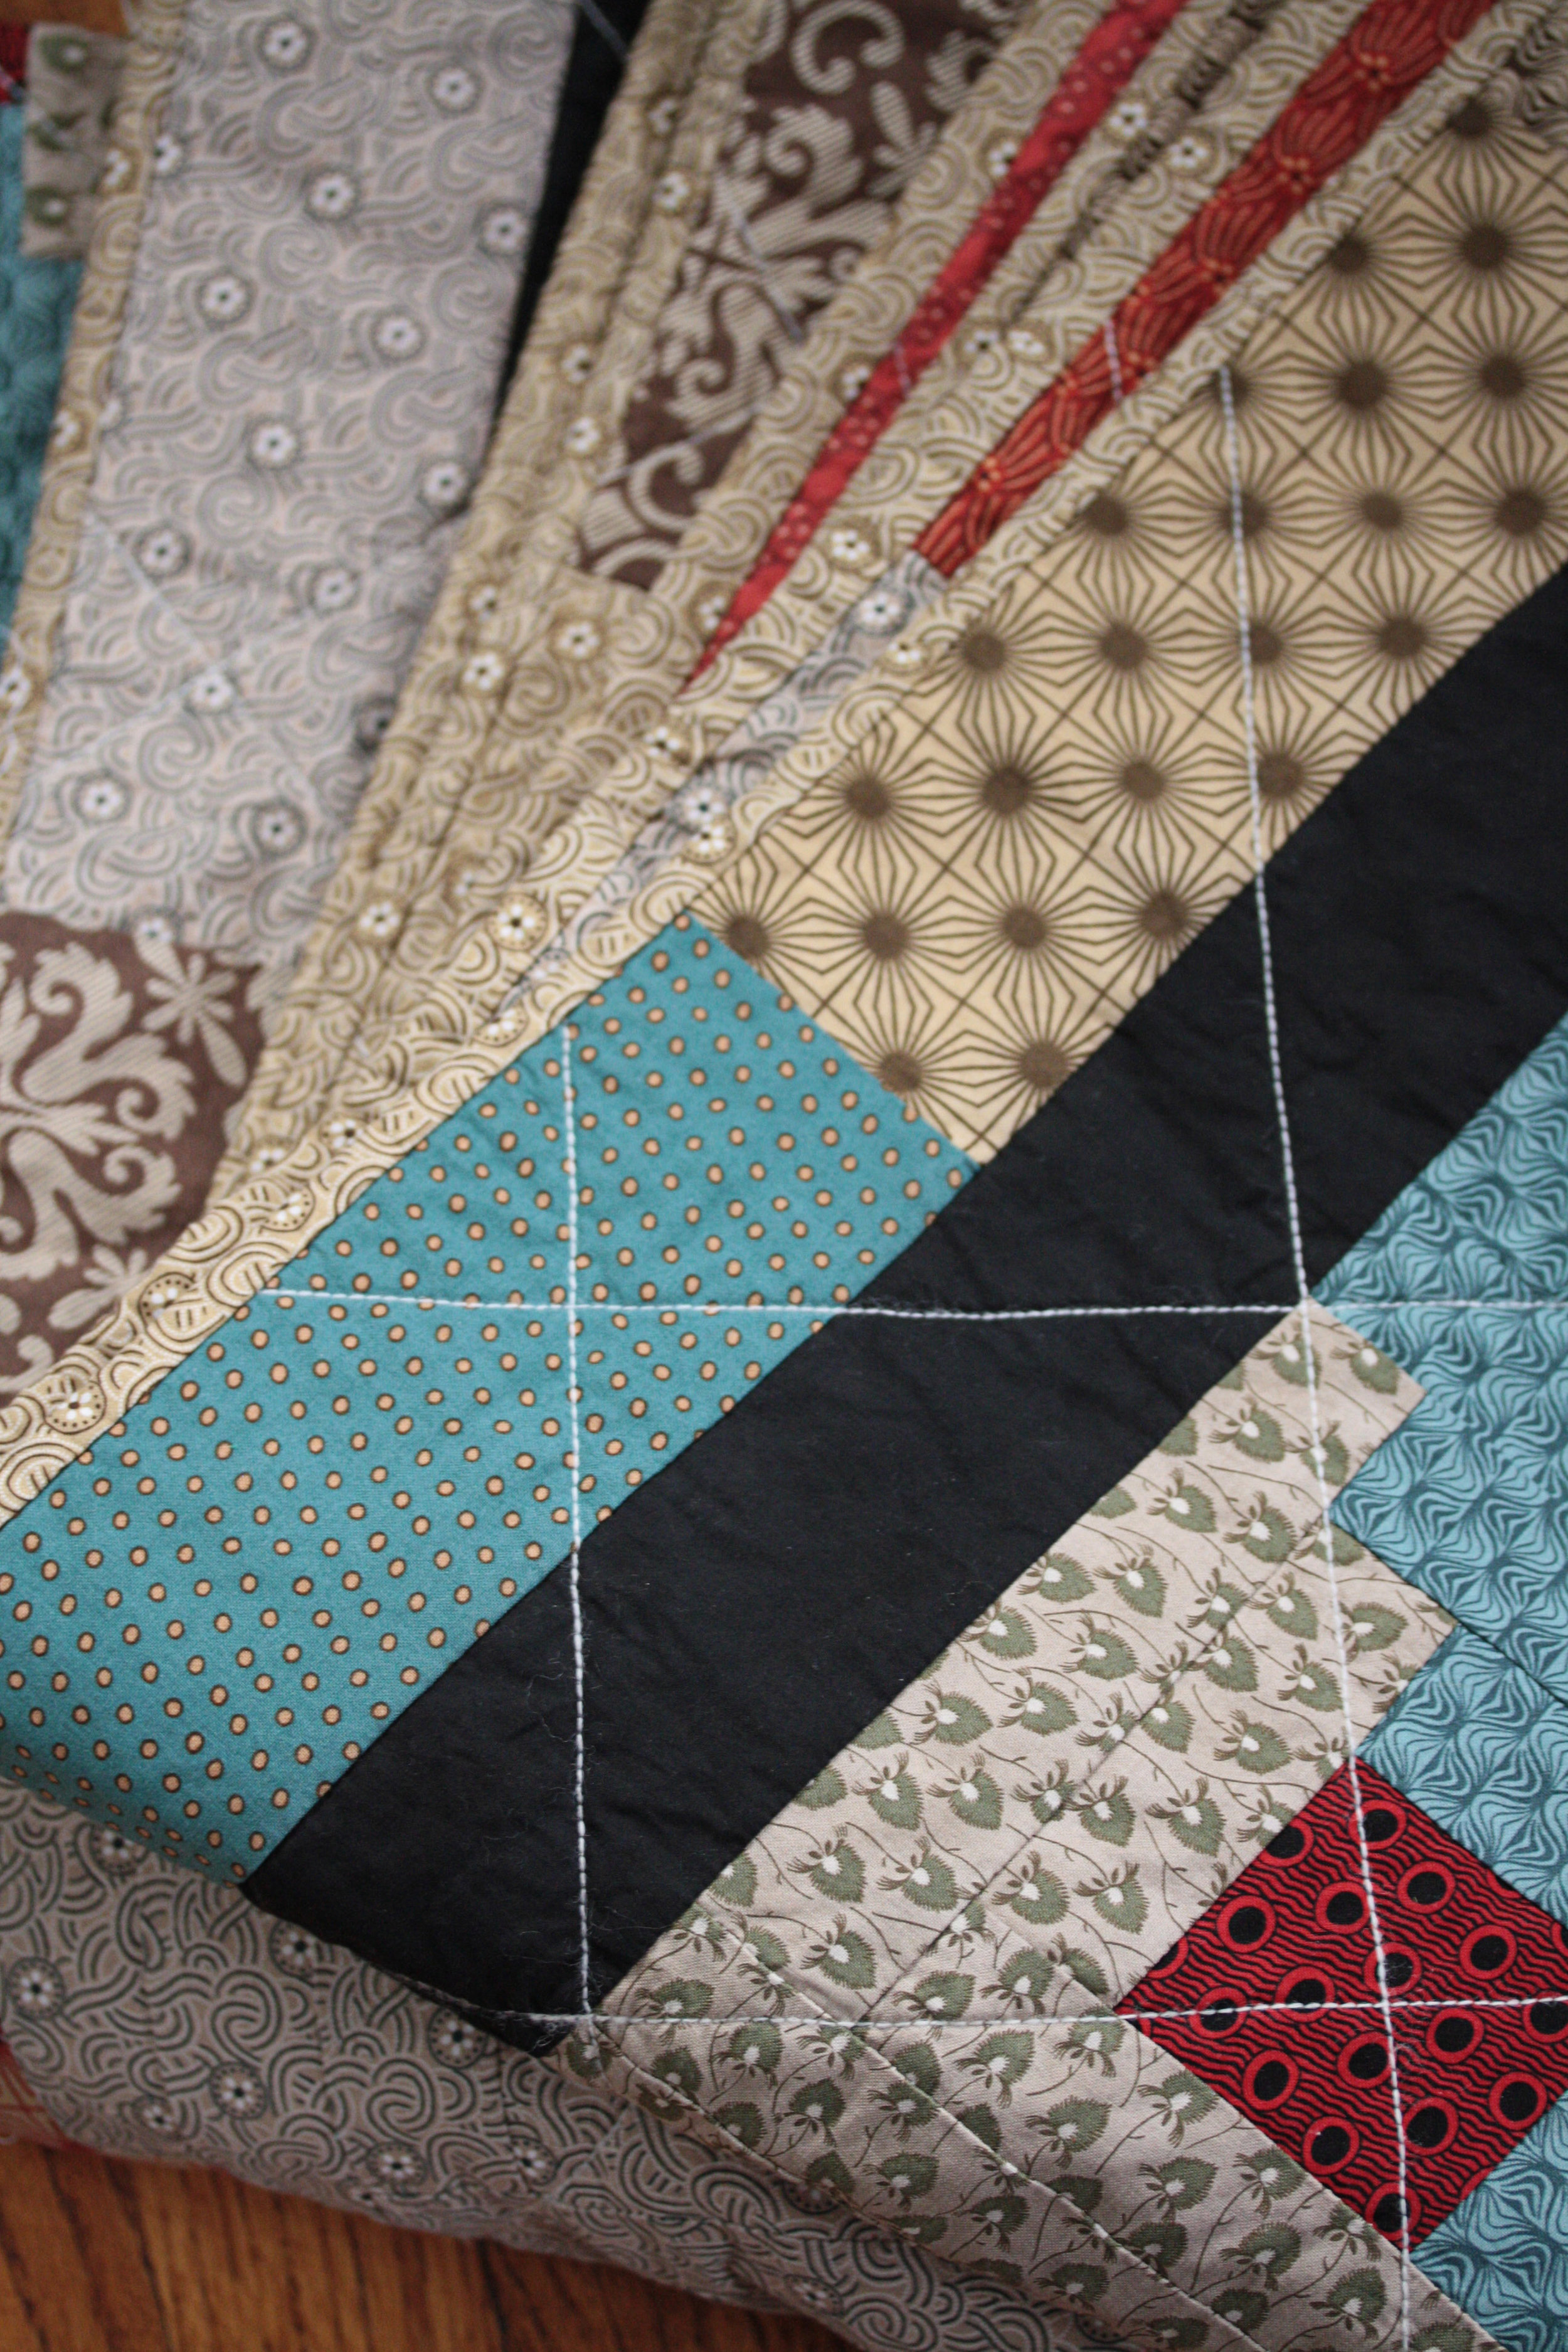
Here's my dad's Christmas present. All of the prints, except for the red center prints are from Windham Fabrics The Brick House line.  The solid black is also from Windham, but it's from the Gee's Bend line.  The red and black print that is at the heart of some of the blocks is something special my mom picked up at the Museum of the Fur Trade's shop.  It's a reproduction of one of the five fabrics that William Clark took with him as presents for the Indian tribes he met on the Lewis and Clark expedition.

I love this quilt - the color, pattern, prints, the wool quilting, the whole thing, love love love!

I chain pieced the log cabin blocks.

Chain piecing sped up the process since there were so many blocks.  The pattern is Straight Furrows, from the book, The Classic American Quilt Collection - Log Cabin.  Yes, the price on that link was right!  I paid a dollar plus shipping for my copy of the book.

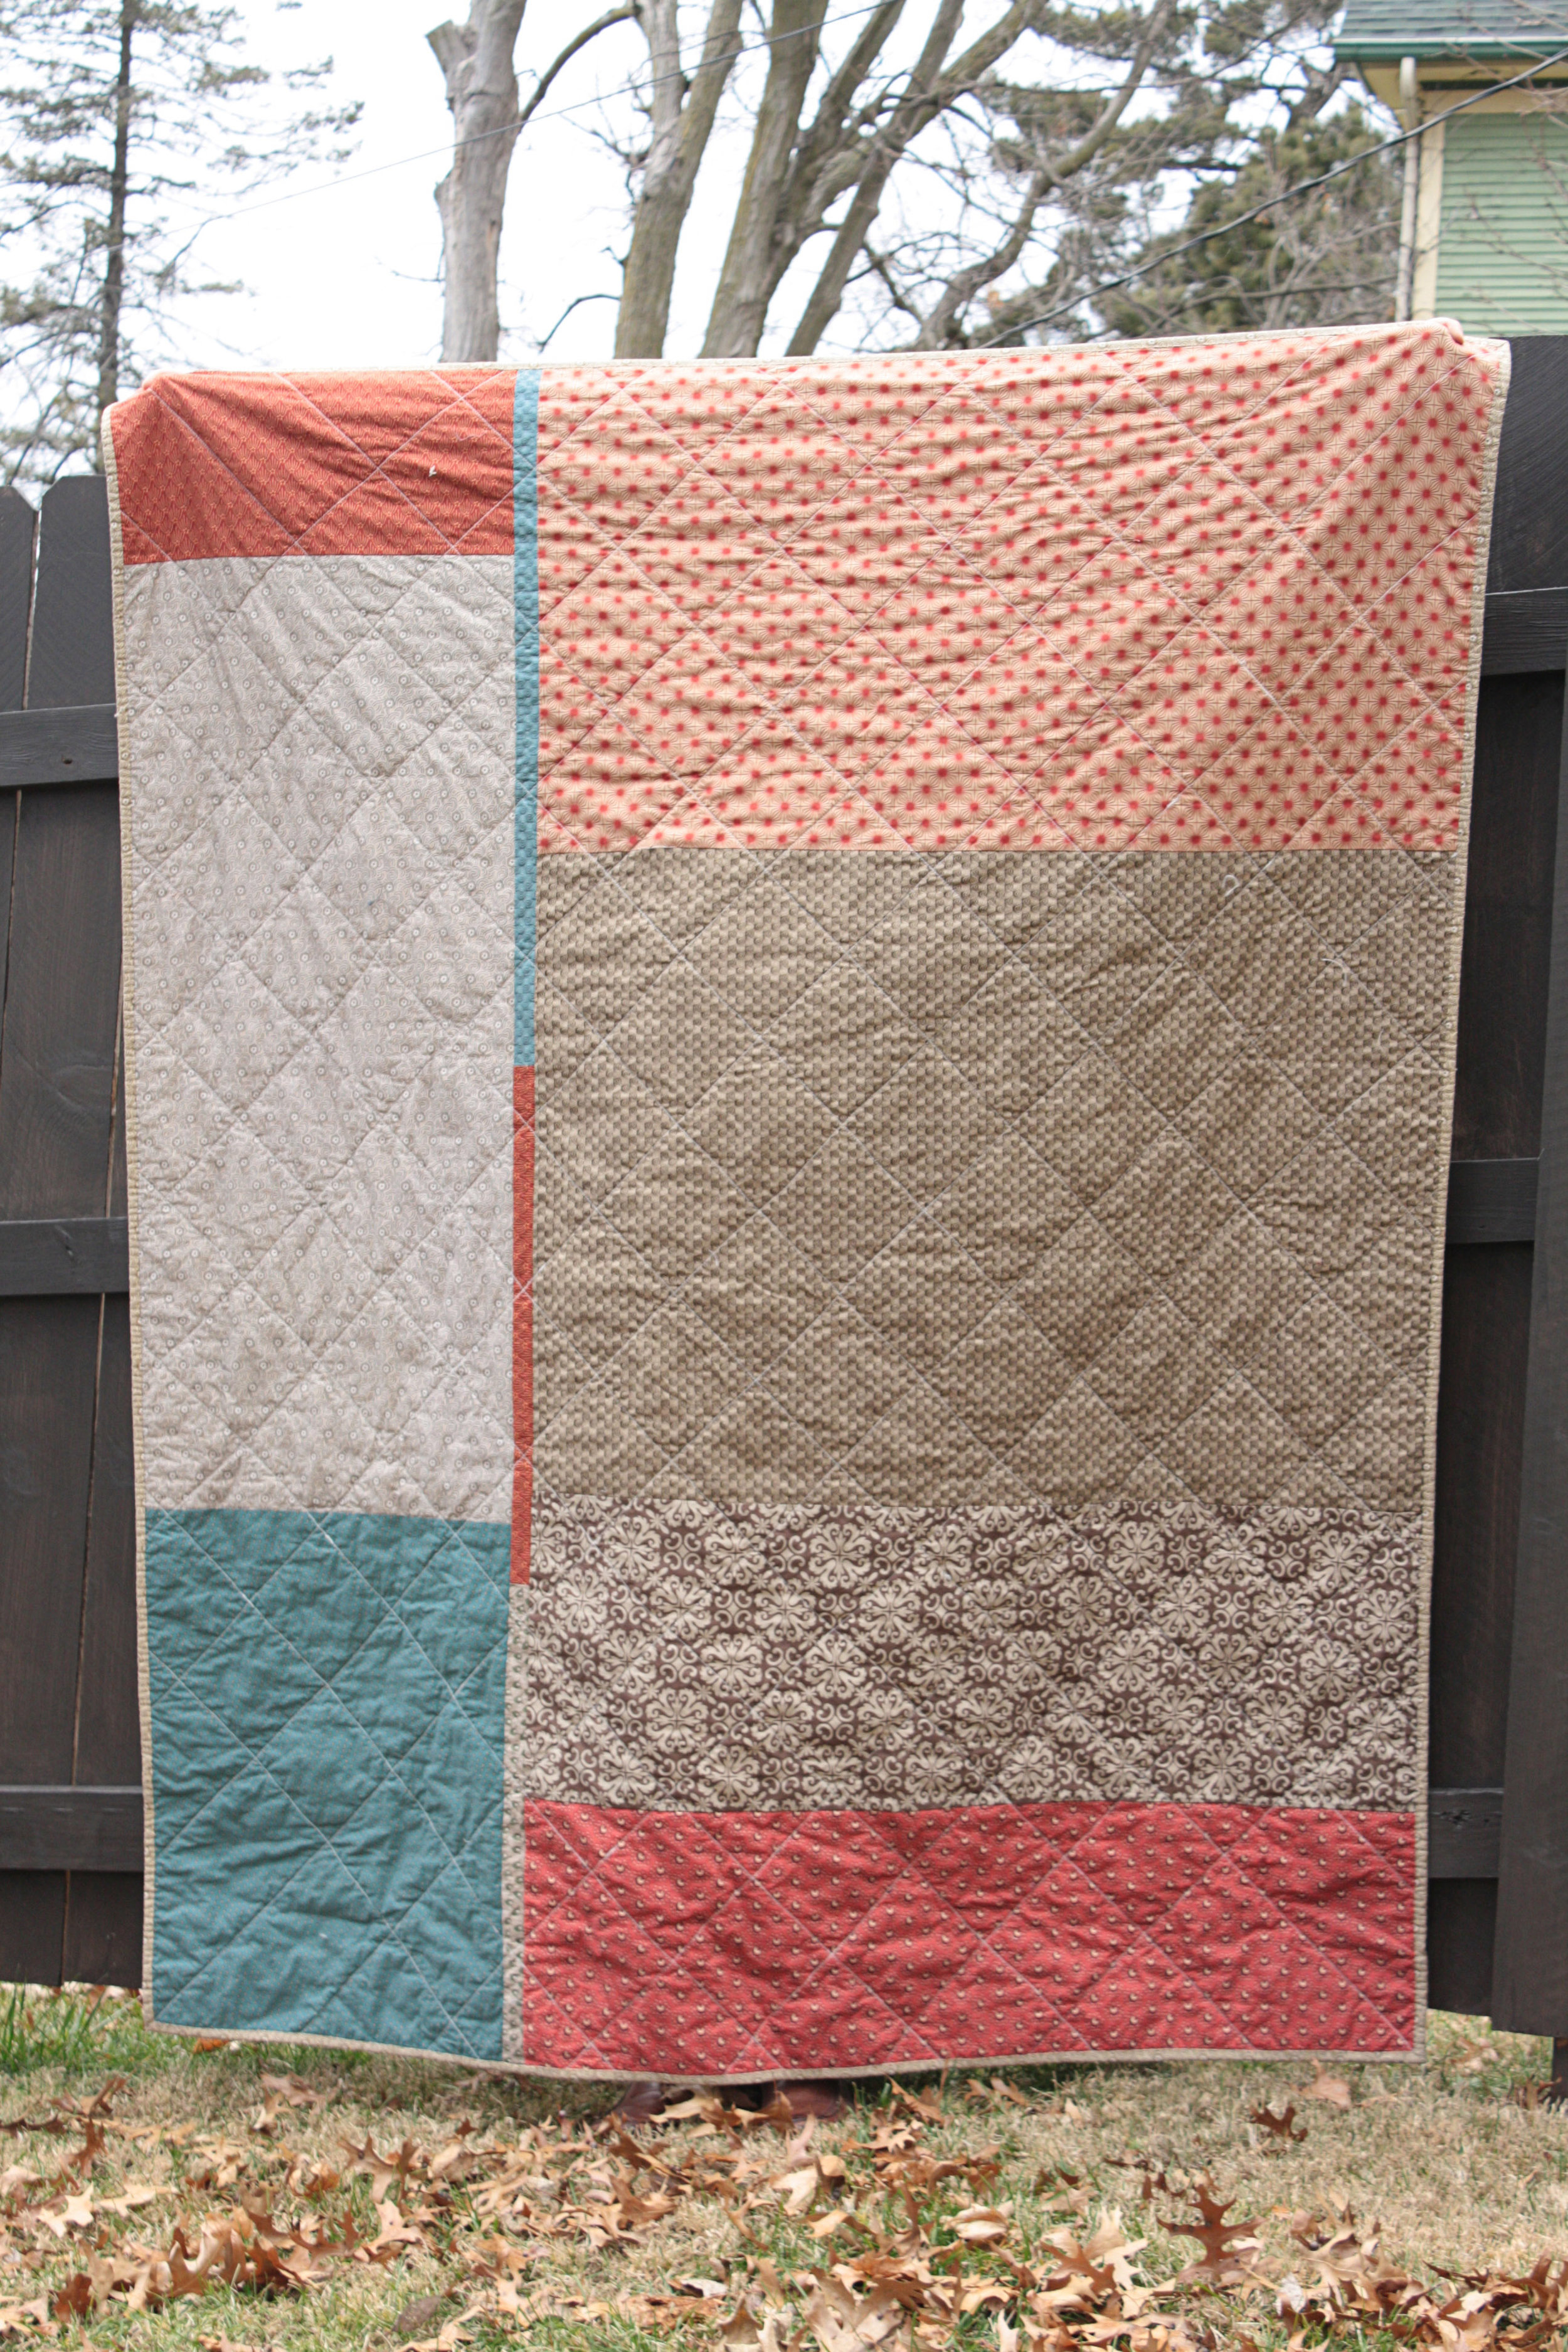
Here's the back of the quilt.  It's pieced with large sections of the fabrics that I used on the front.

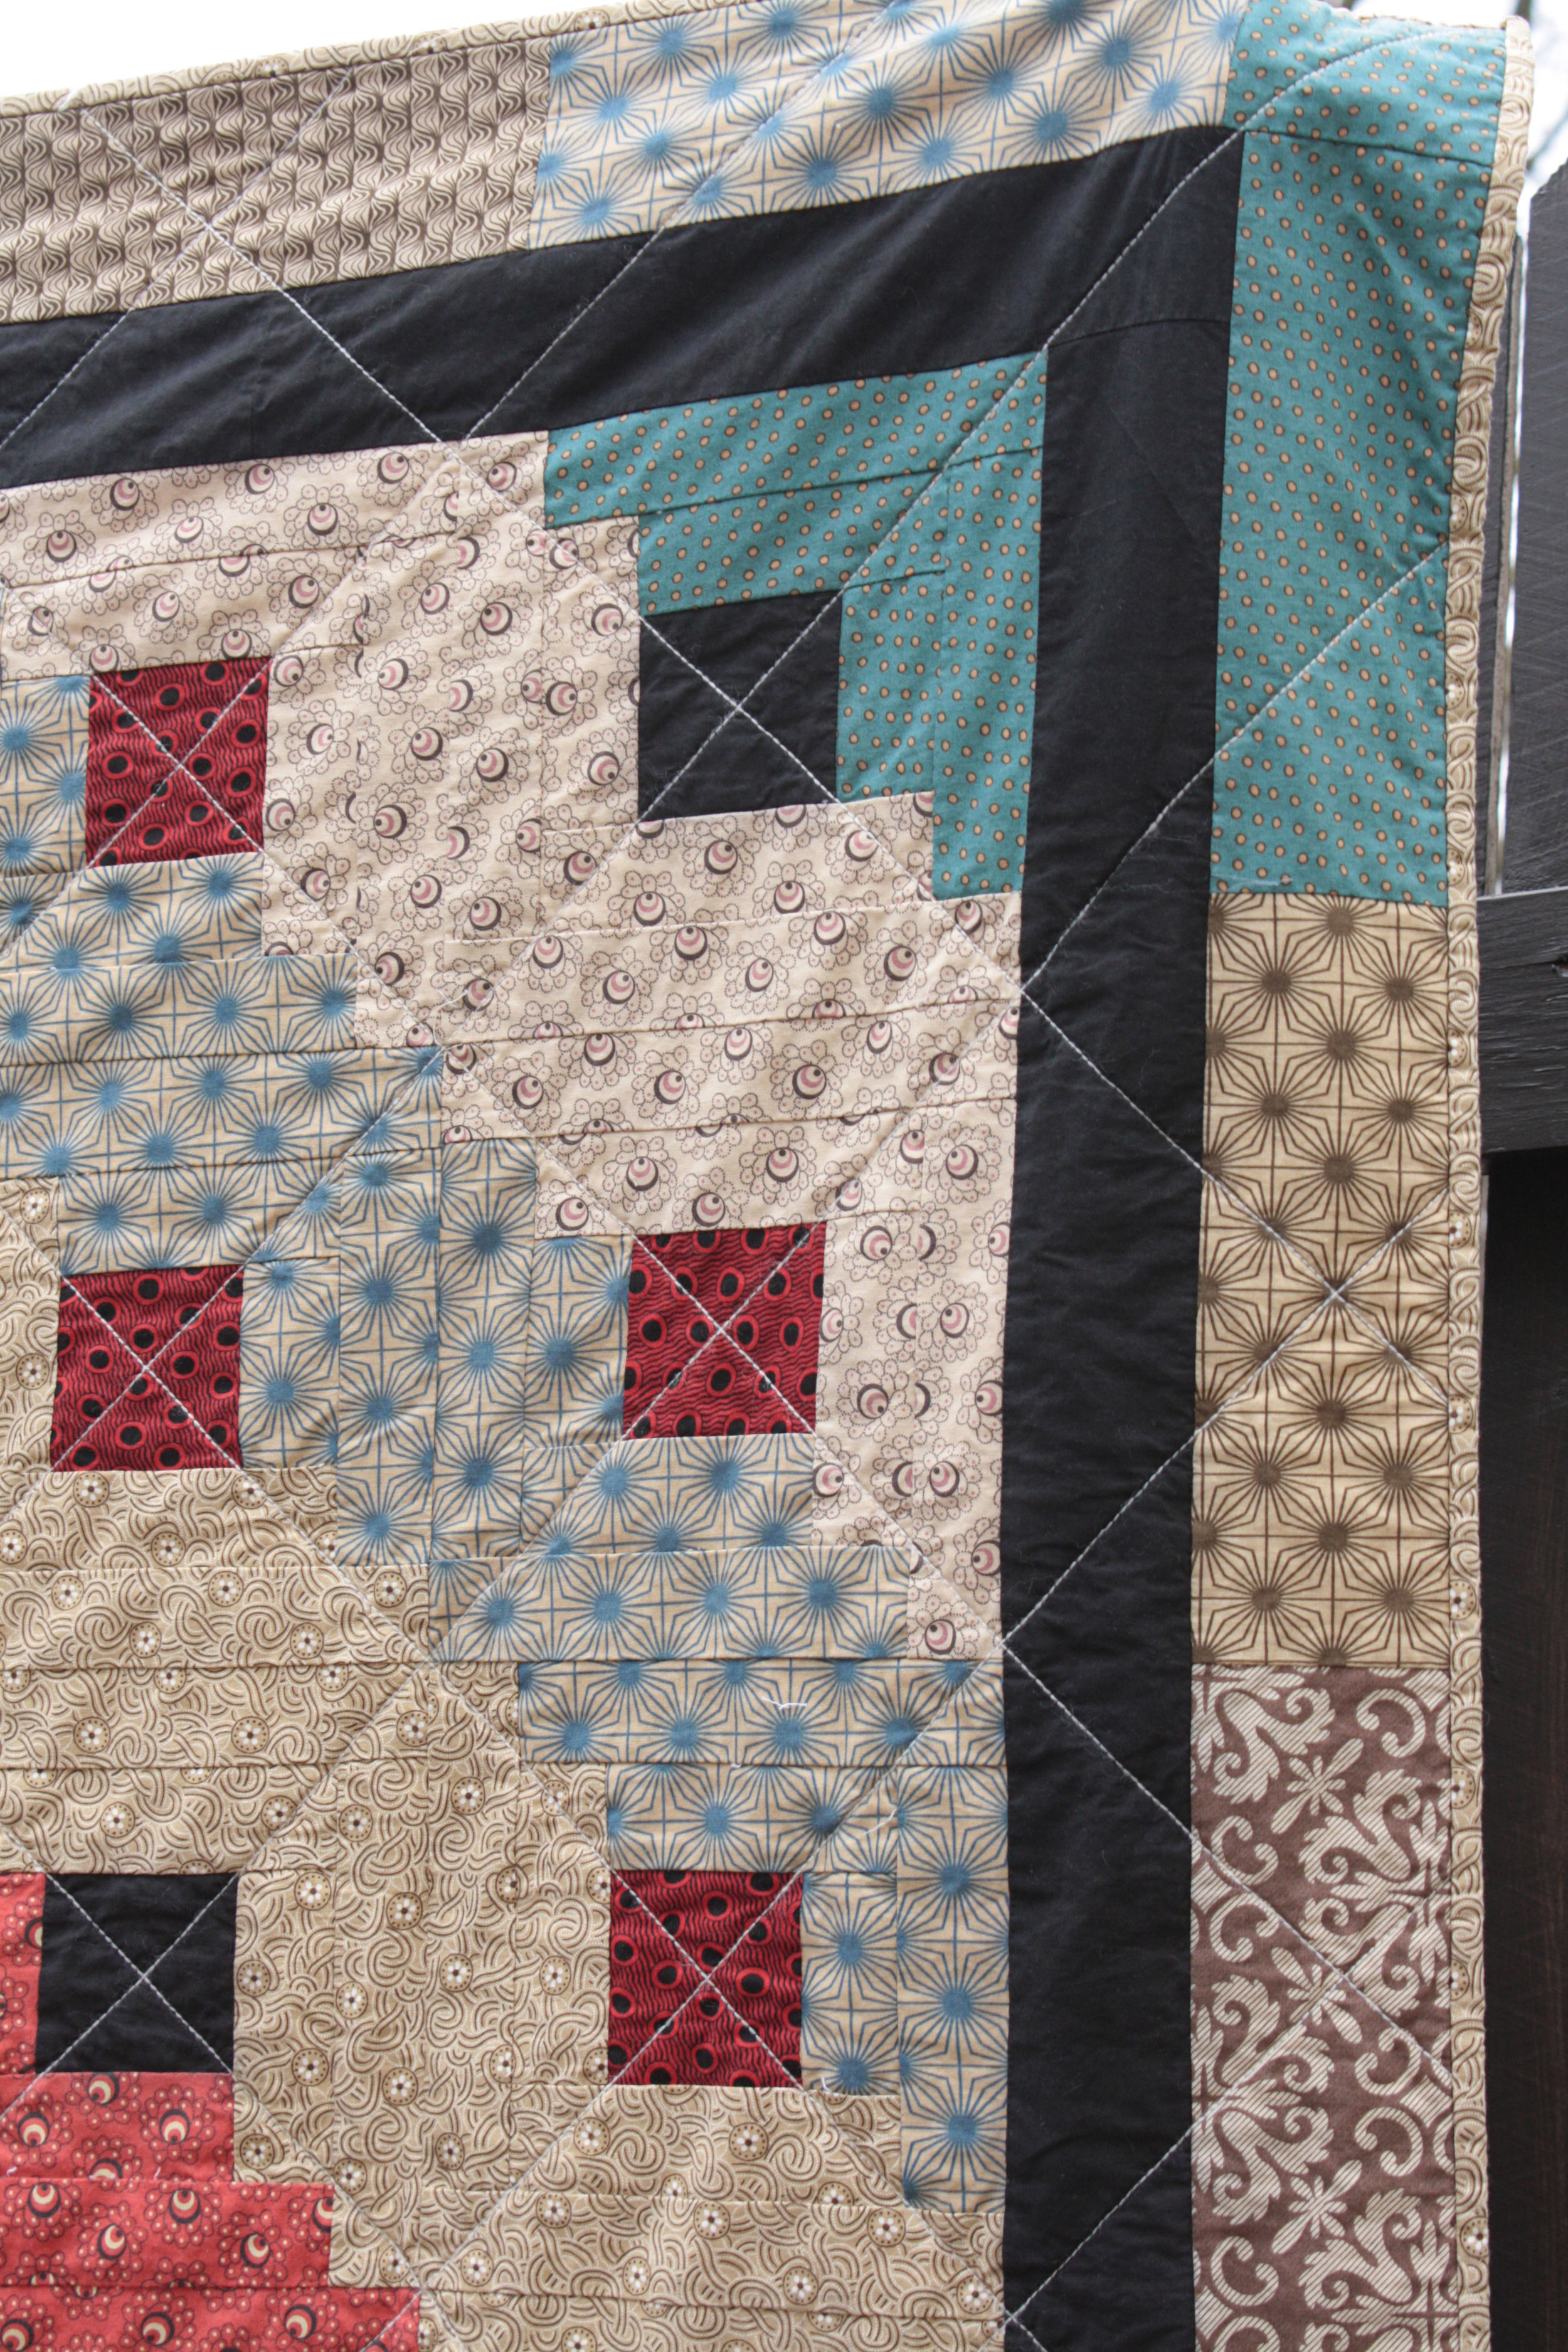
I quilted it in a diagonal pattern through the heart of each block.  I used aurifil 12 wt wool in ivory.  It wasn't trouble free because the thread split on me a few times, but I found if I lengthened the stitches, used a 90/14 quilting needle, and kept a steady speed I had much better luck.

I love the fuzzy look of the wool thread in this quilt.

It adds a sort of homespun feel to the project.

I know some people would probably want to avoid that, but I say enjoy what you are making.  I like fabric - modern, reproduction, print, solid, whatever - I love all of it!


teacher gifts and a tunic and a quilt

It's red bag season, again.

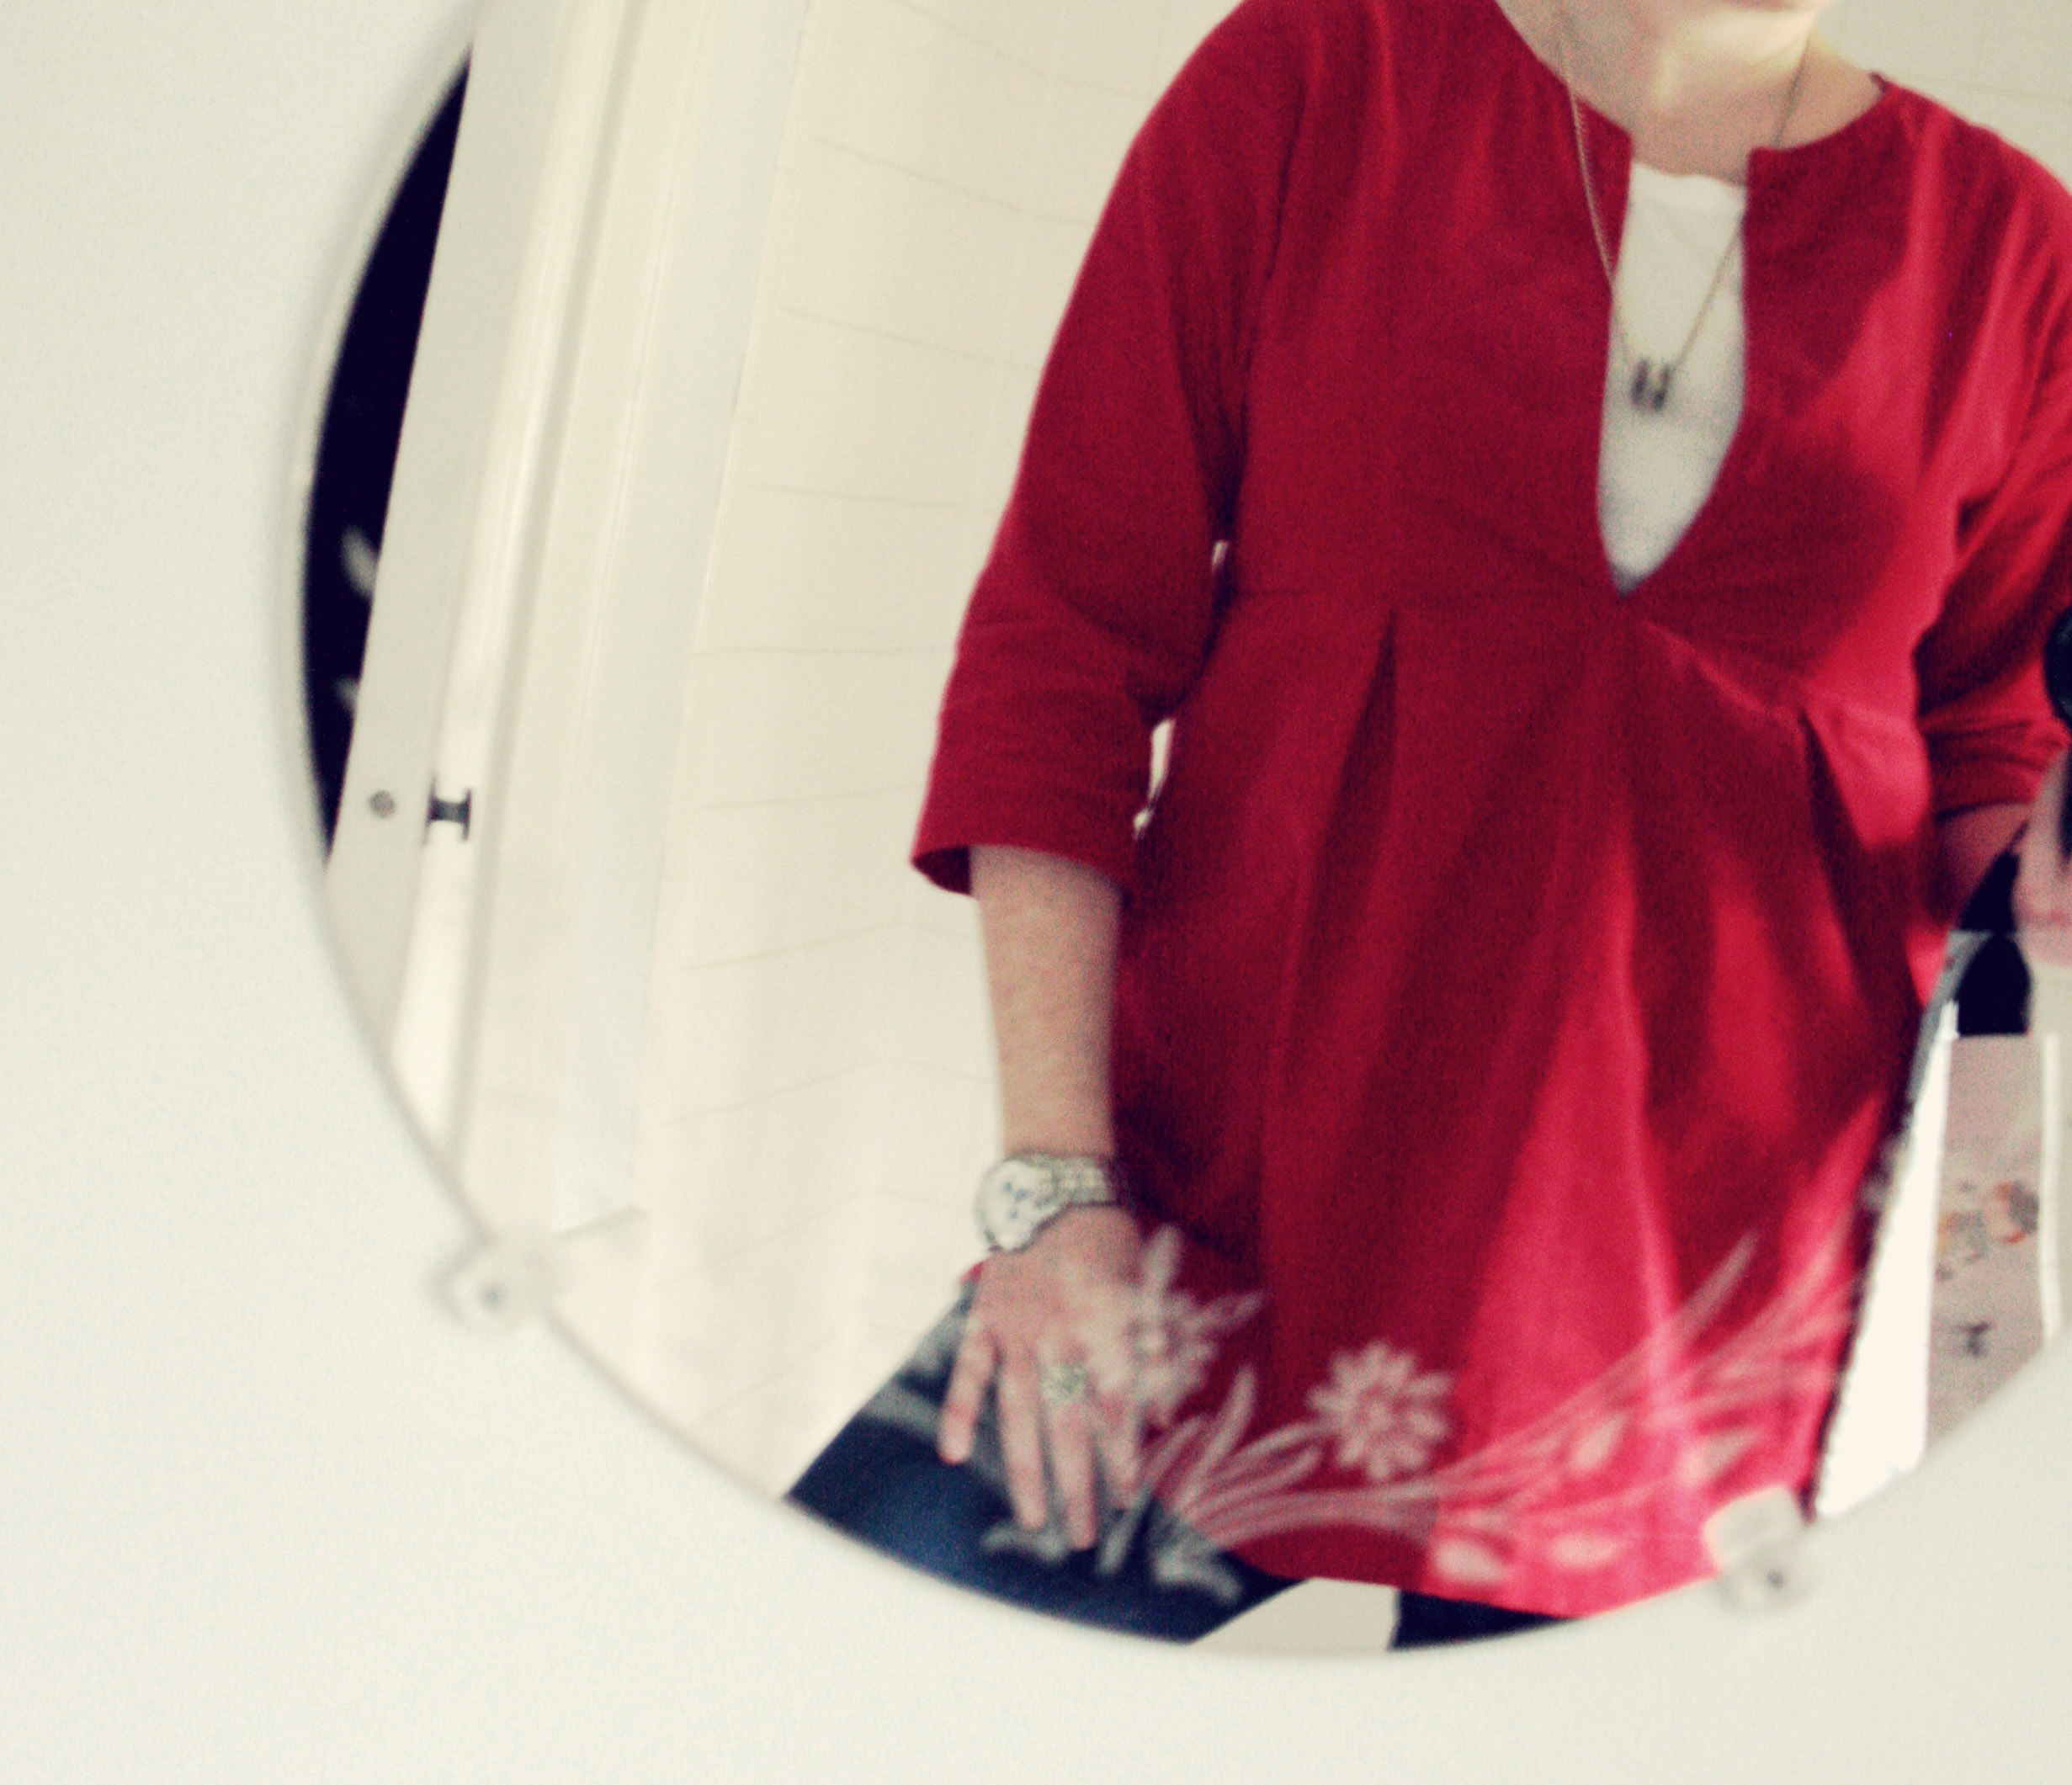
I also finished this tunic over Thanksgiving break.  It's the schoolhouse tunic pattern.

Mine is made out of a fine wale corduroy.  I did the shoulders with a french seam to give it a more finished look and did some extra top stitching along the waist.
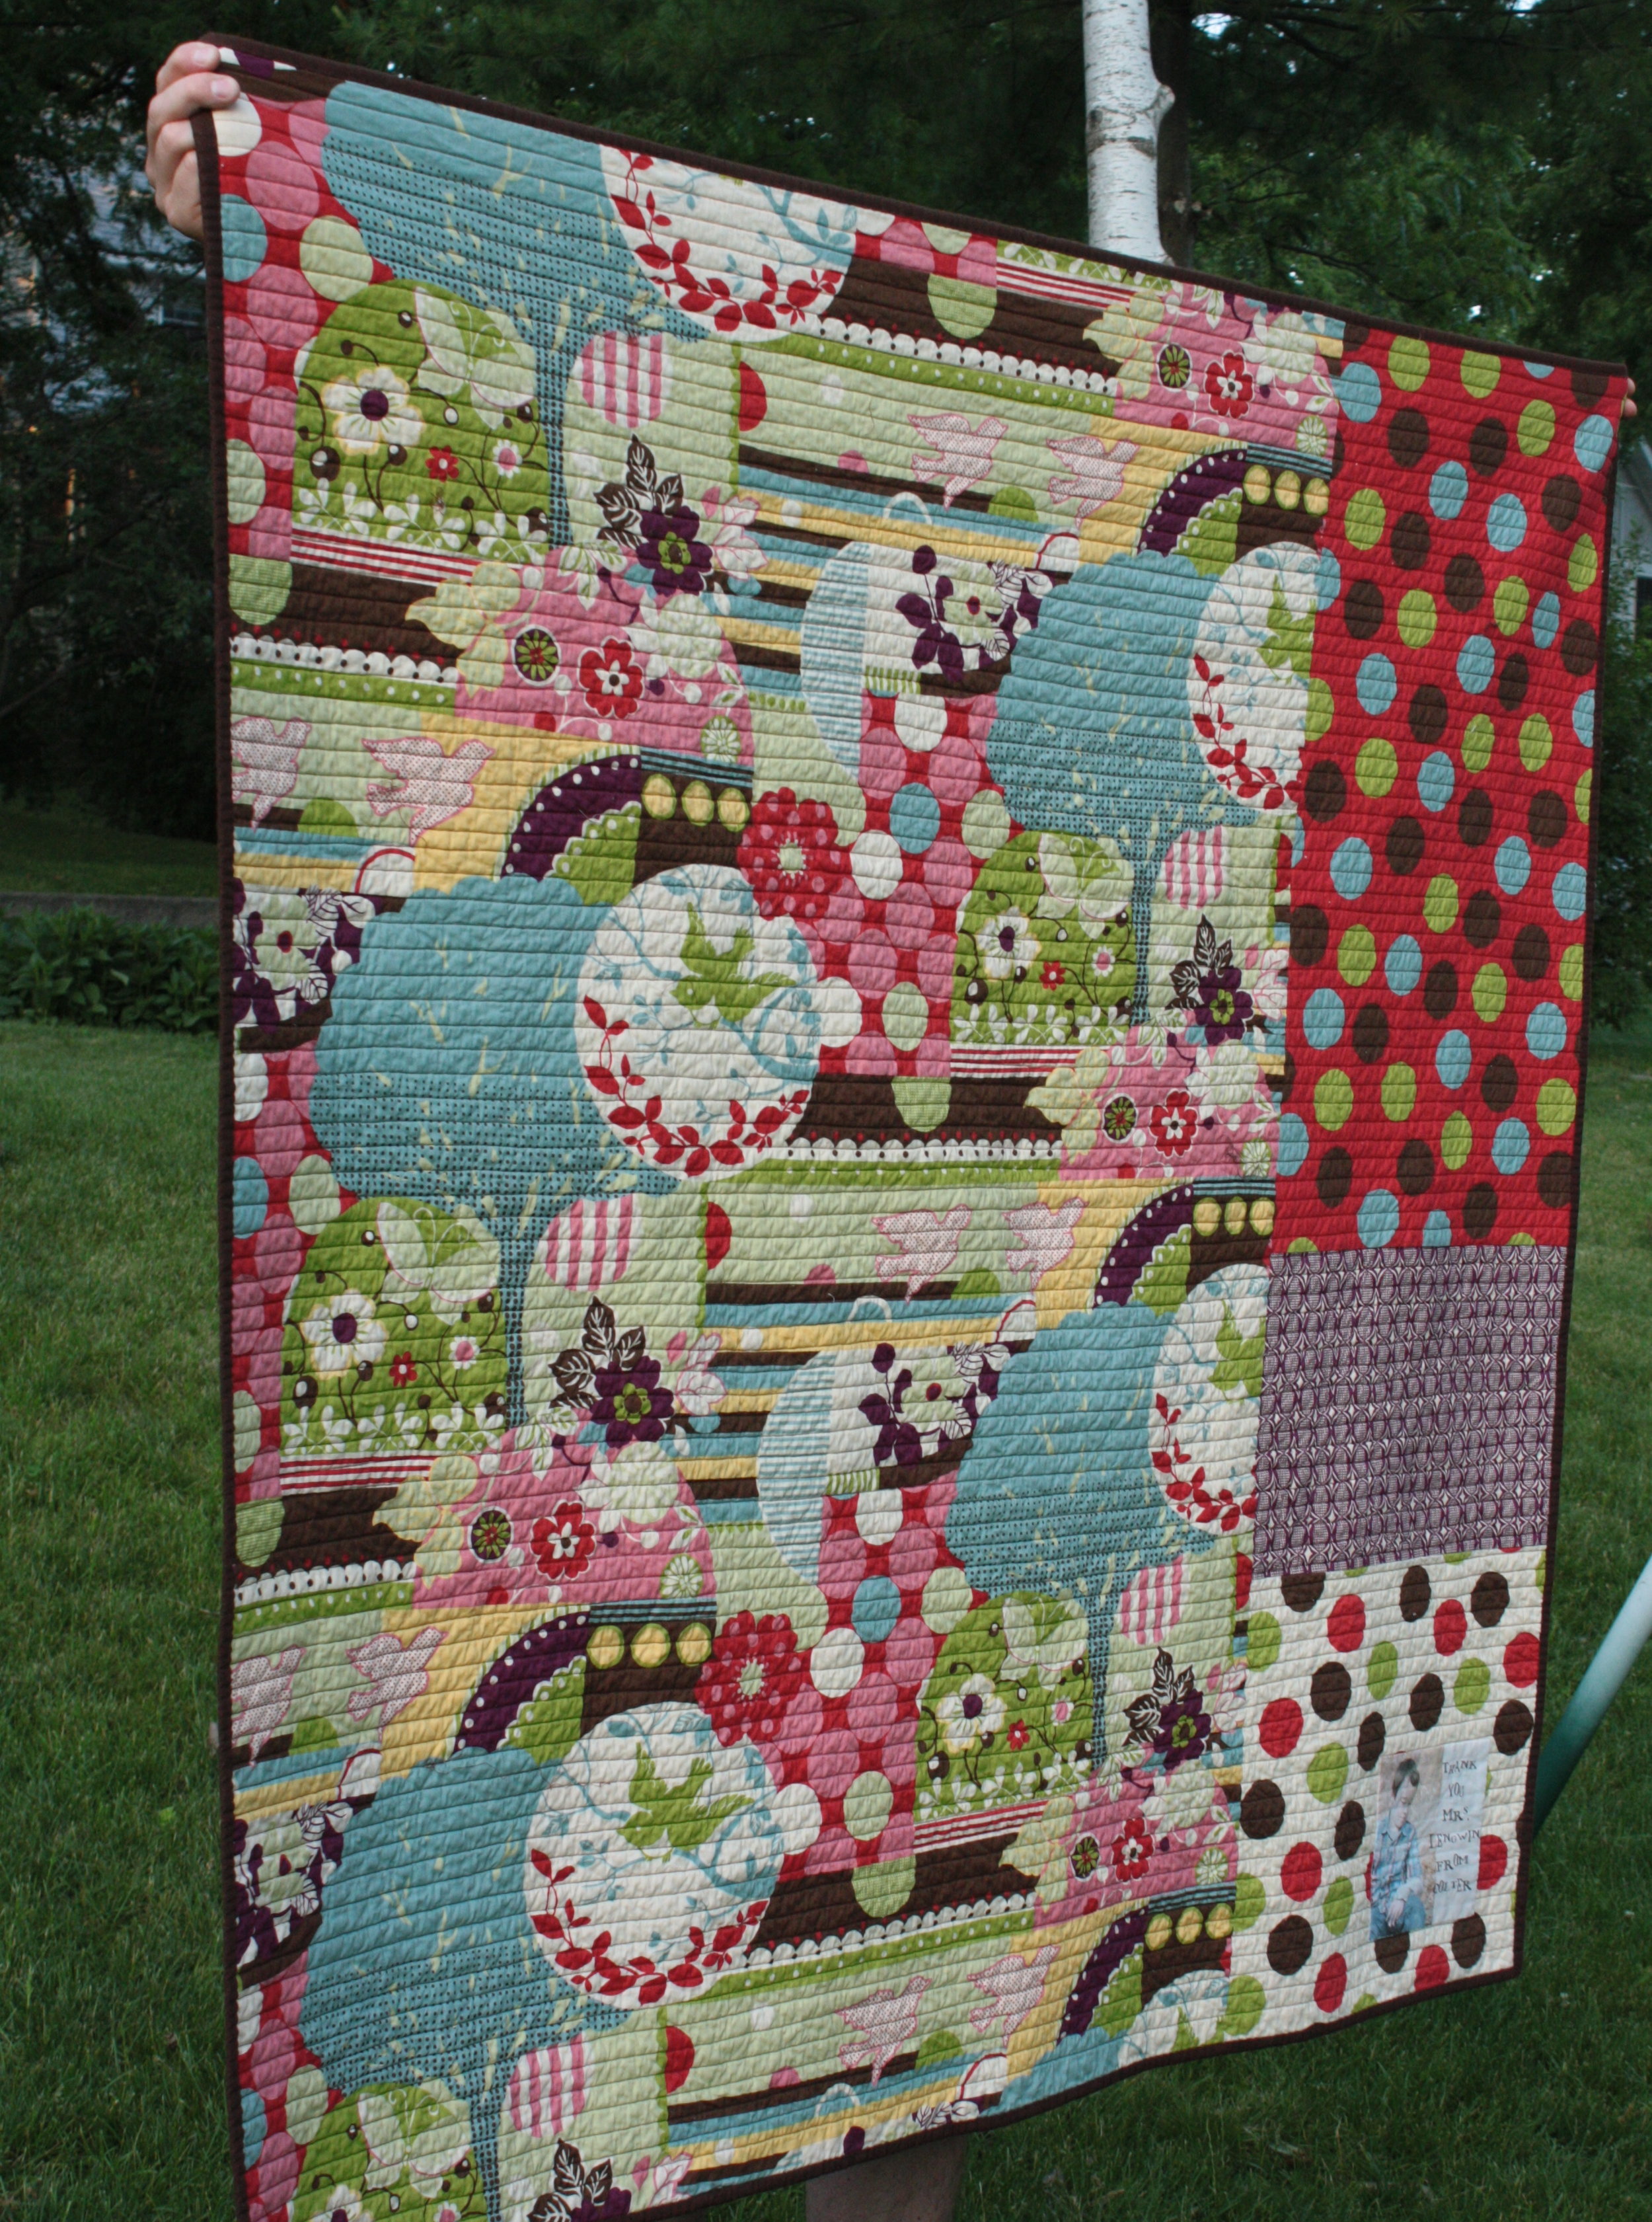
I also finished this honeycomb quilt a couple of weeks ago.  It was so long ago that you can see all the fold lines.

here's the back

The kids start their winter break today.  We are all getting ready for a fun weekend.  This picture was taken this past Tuesday, this lack of snow is very un-Iowa.

poinsettia pillow

Every year my bunco group does one of those gift exchanges where you draw numbers and take turns opening packages.  It's the kind of thing that starts out civil but ends with stealing and fits of laughter.

I made this pillow for the swap.

It's made with a khaki cotton that has a linen look that's on a 12 inch pillow form.  The poinsettia petals are cut out of ivory felt and stitched down with linen floss.  I used buttonhole twist thread to stitch the jingle bells.

Today I'm doing my best to finish up some presents and getting started on this years teacher gifts - hope the oven is ready.


advent

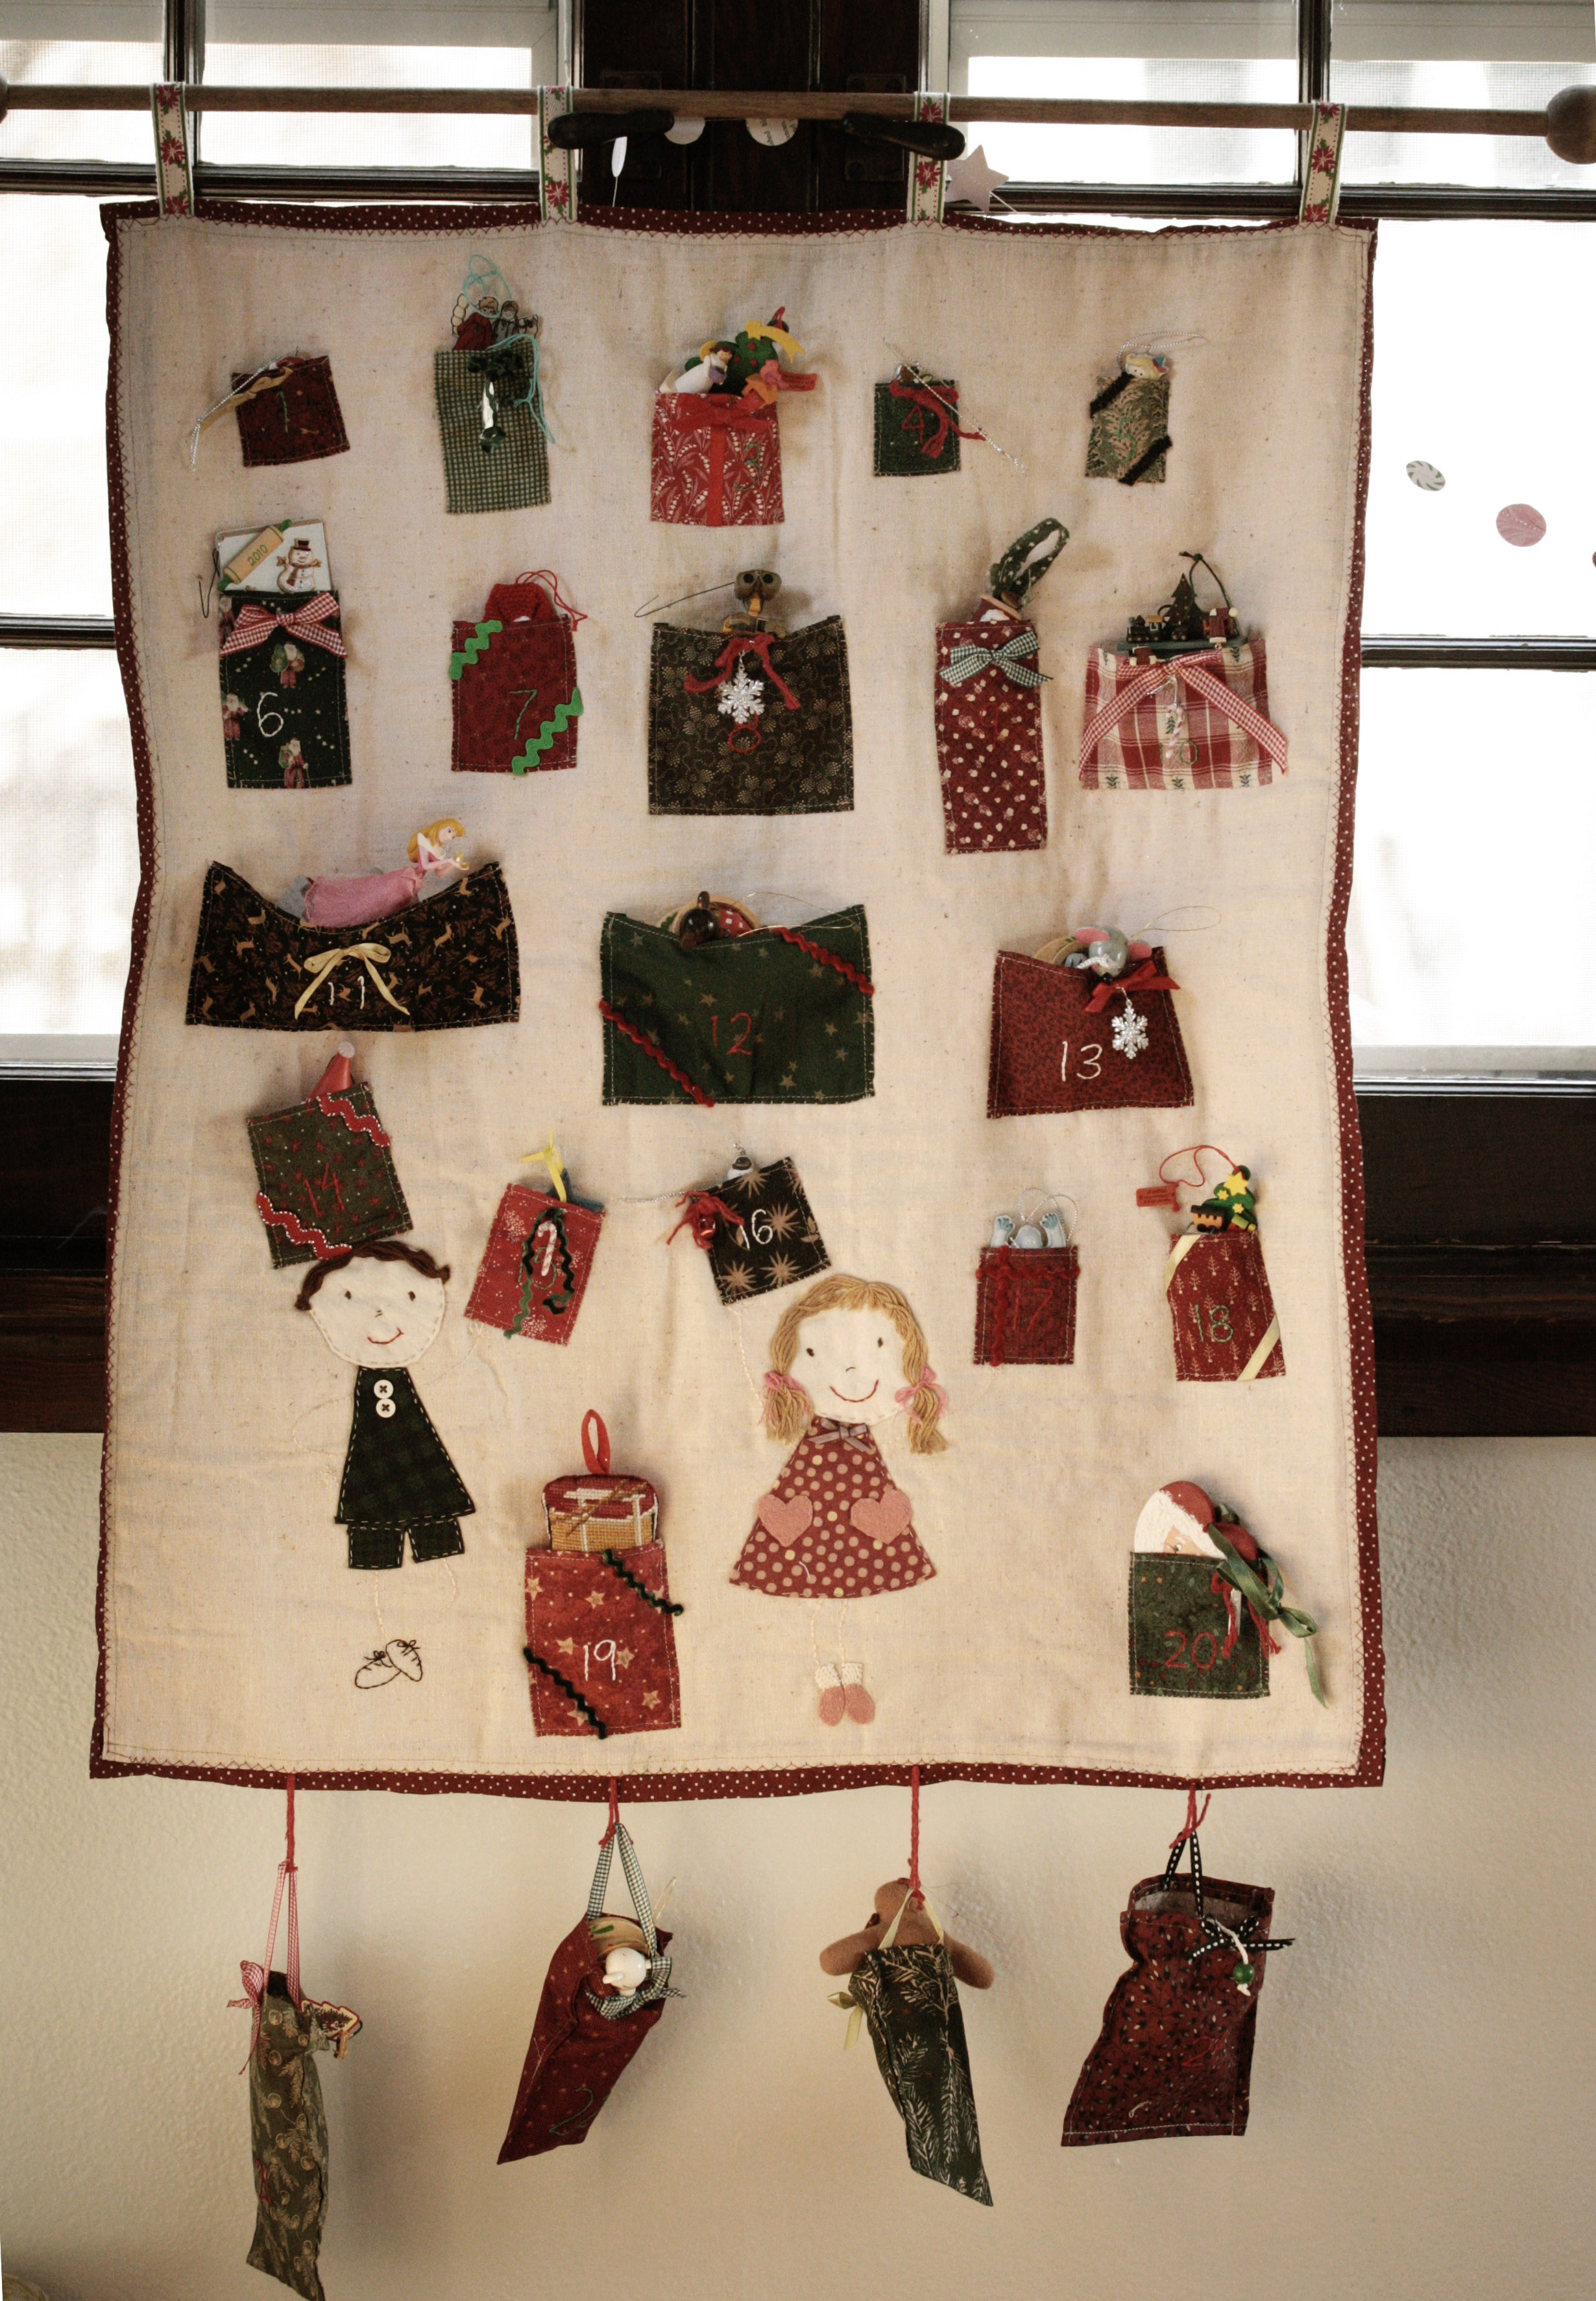
The calendar is ready. The kids were up bright and early and ready to put on the first decoration.  Seriously, cj was up at 5 am.  He came downstairs dressed for the day, asking about getting the house ready for Christmas.  They both love peeking at the days ahead to see what ornament is next.  All the while lulu reminding cj that they have to wait for each day before the ornament goes on the tree.

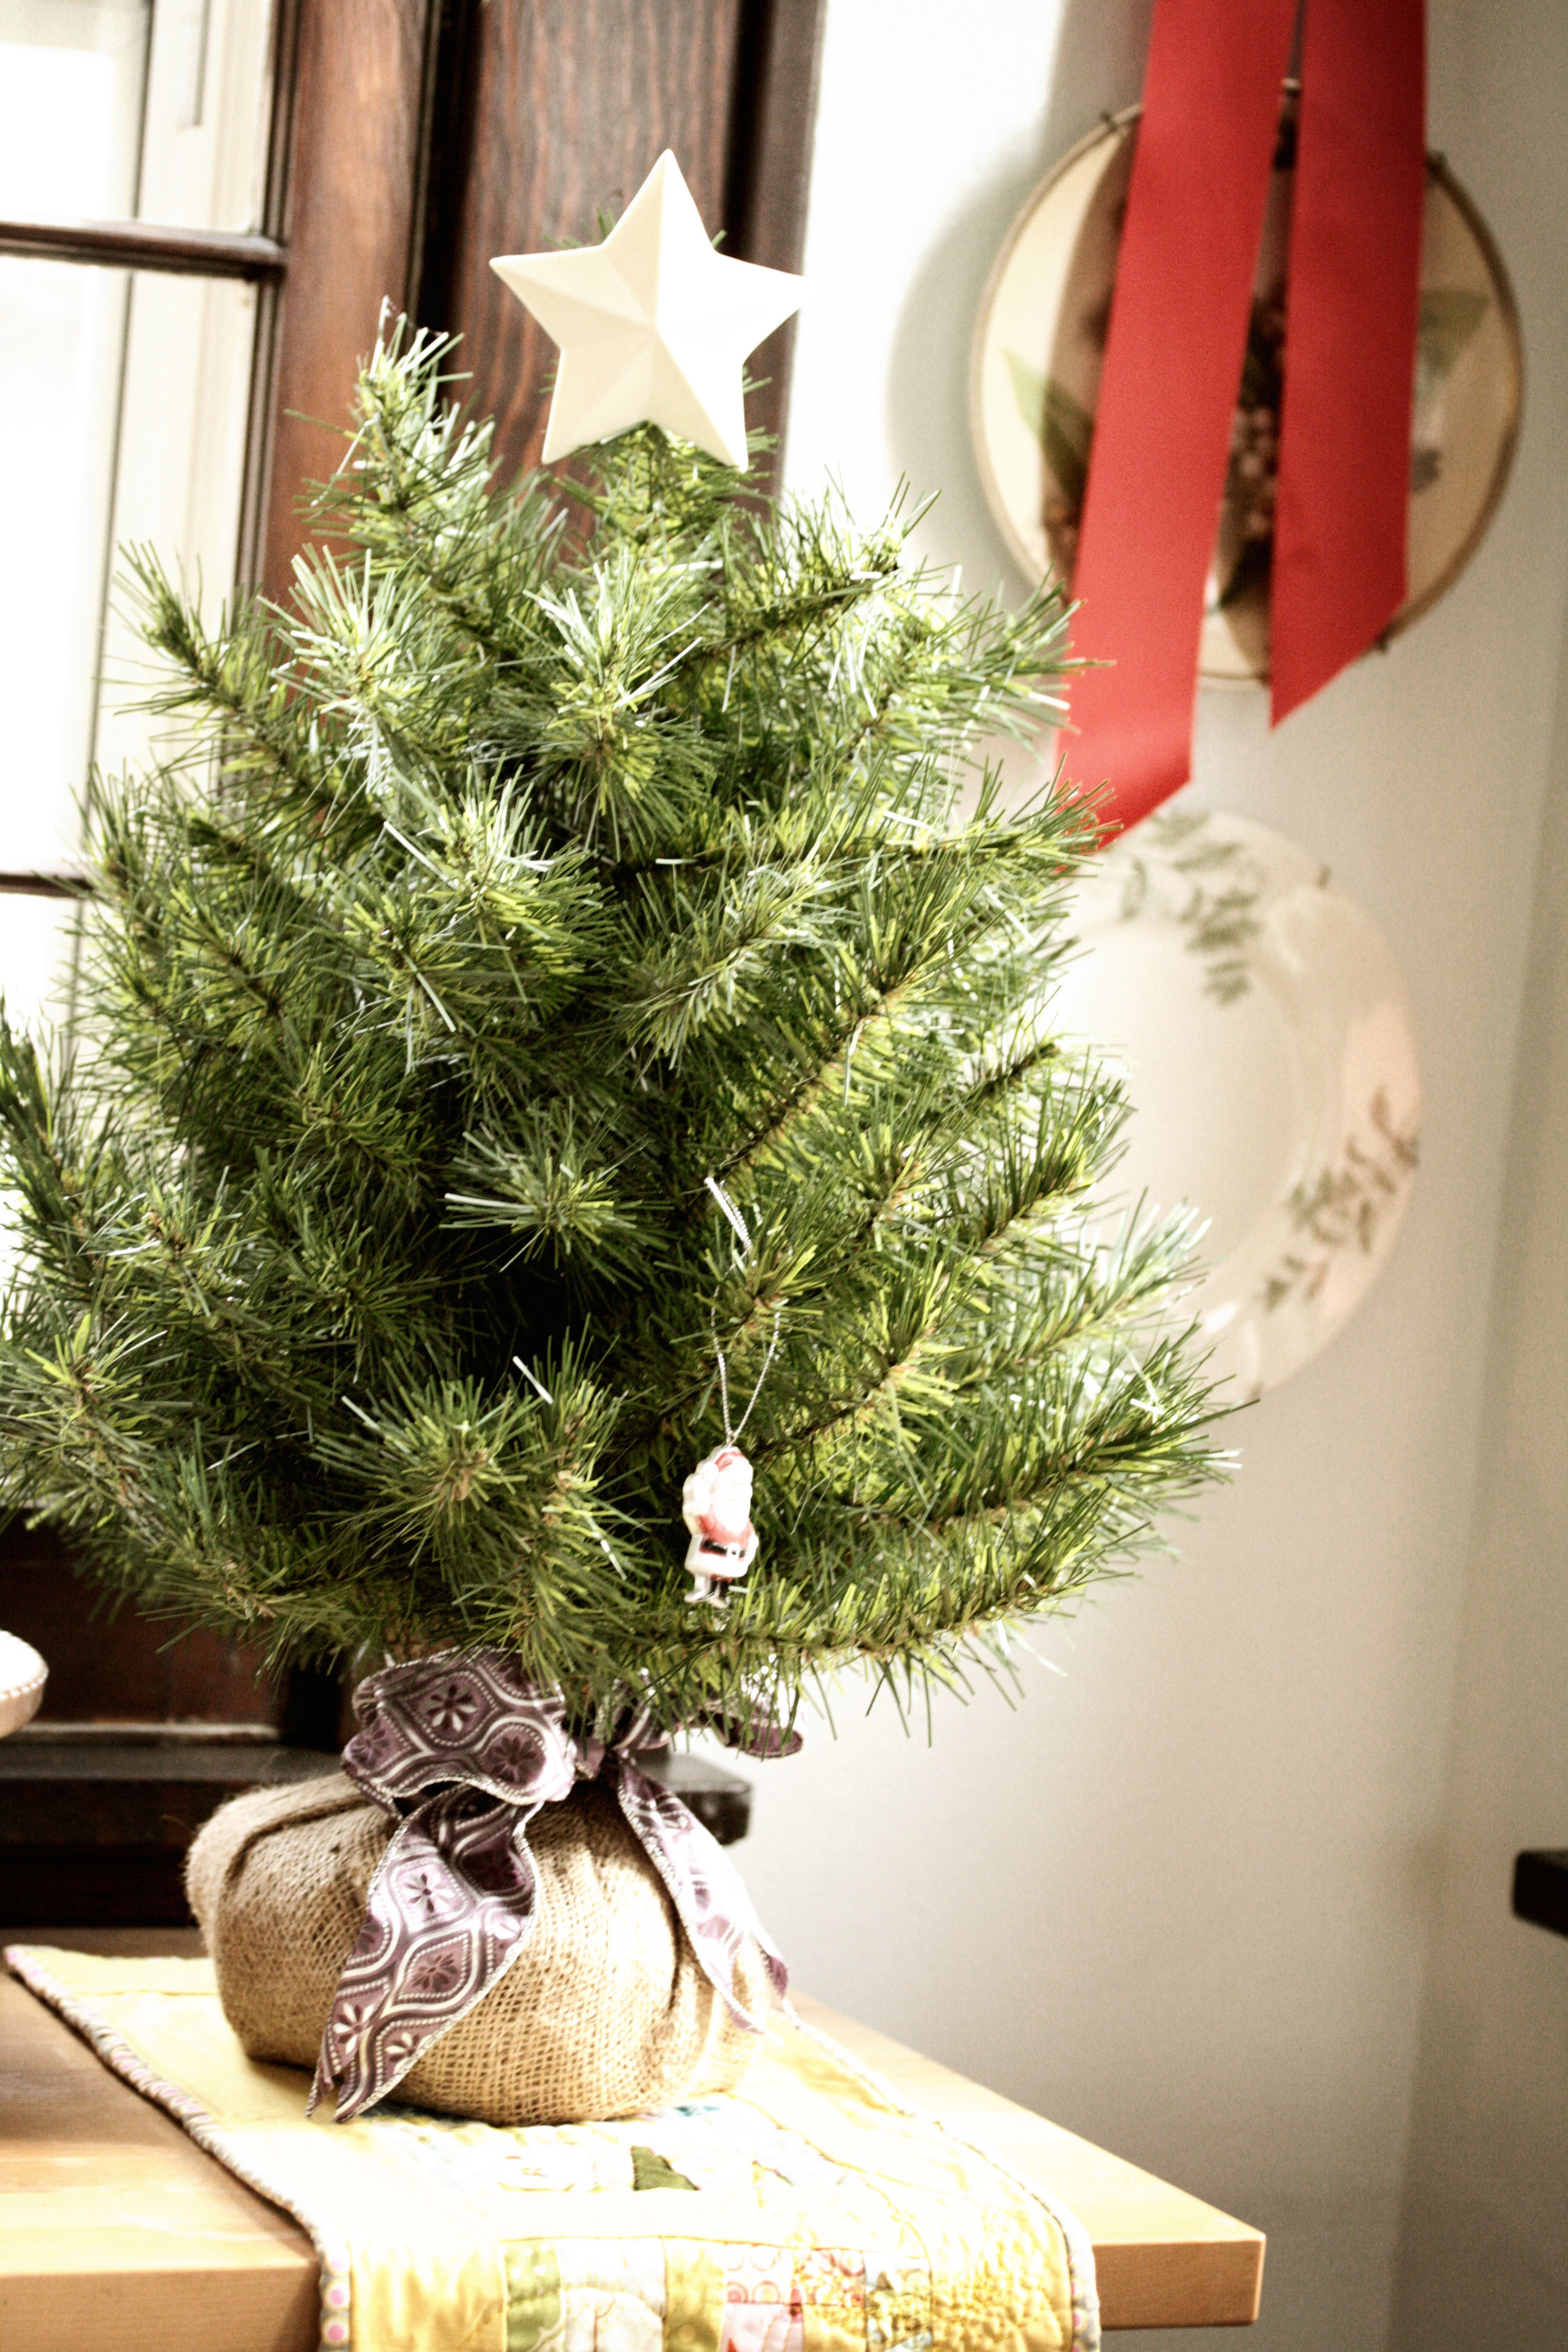
Their tree will be filled before we know it.

kitchy kitchen curtains

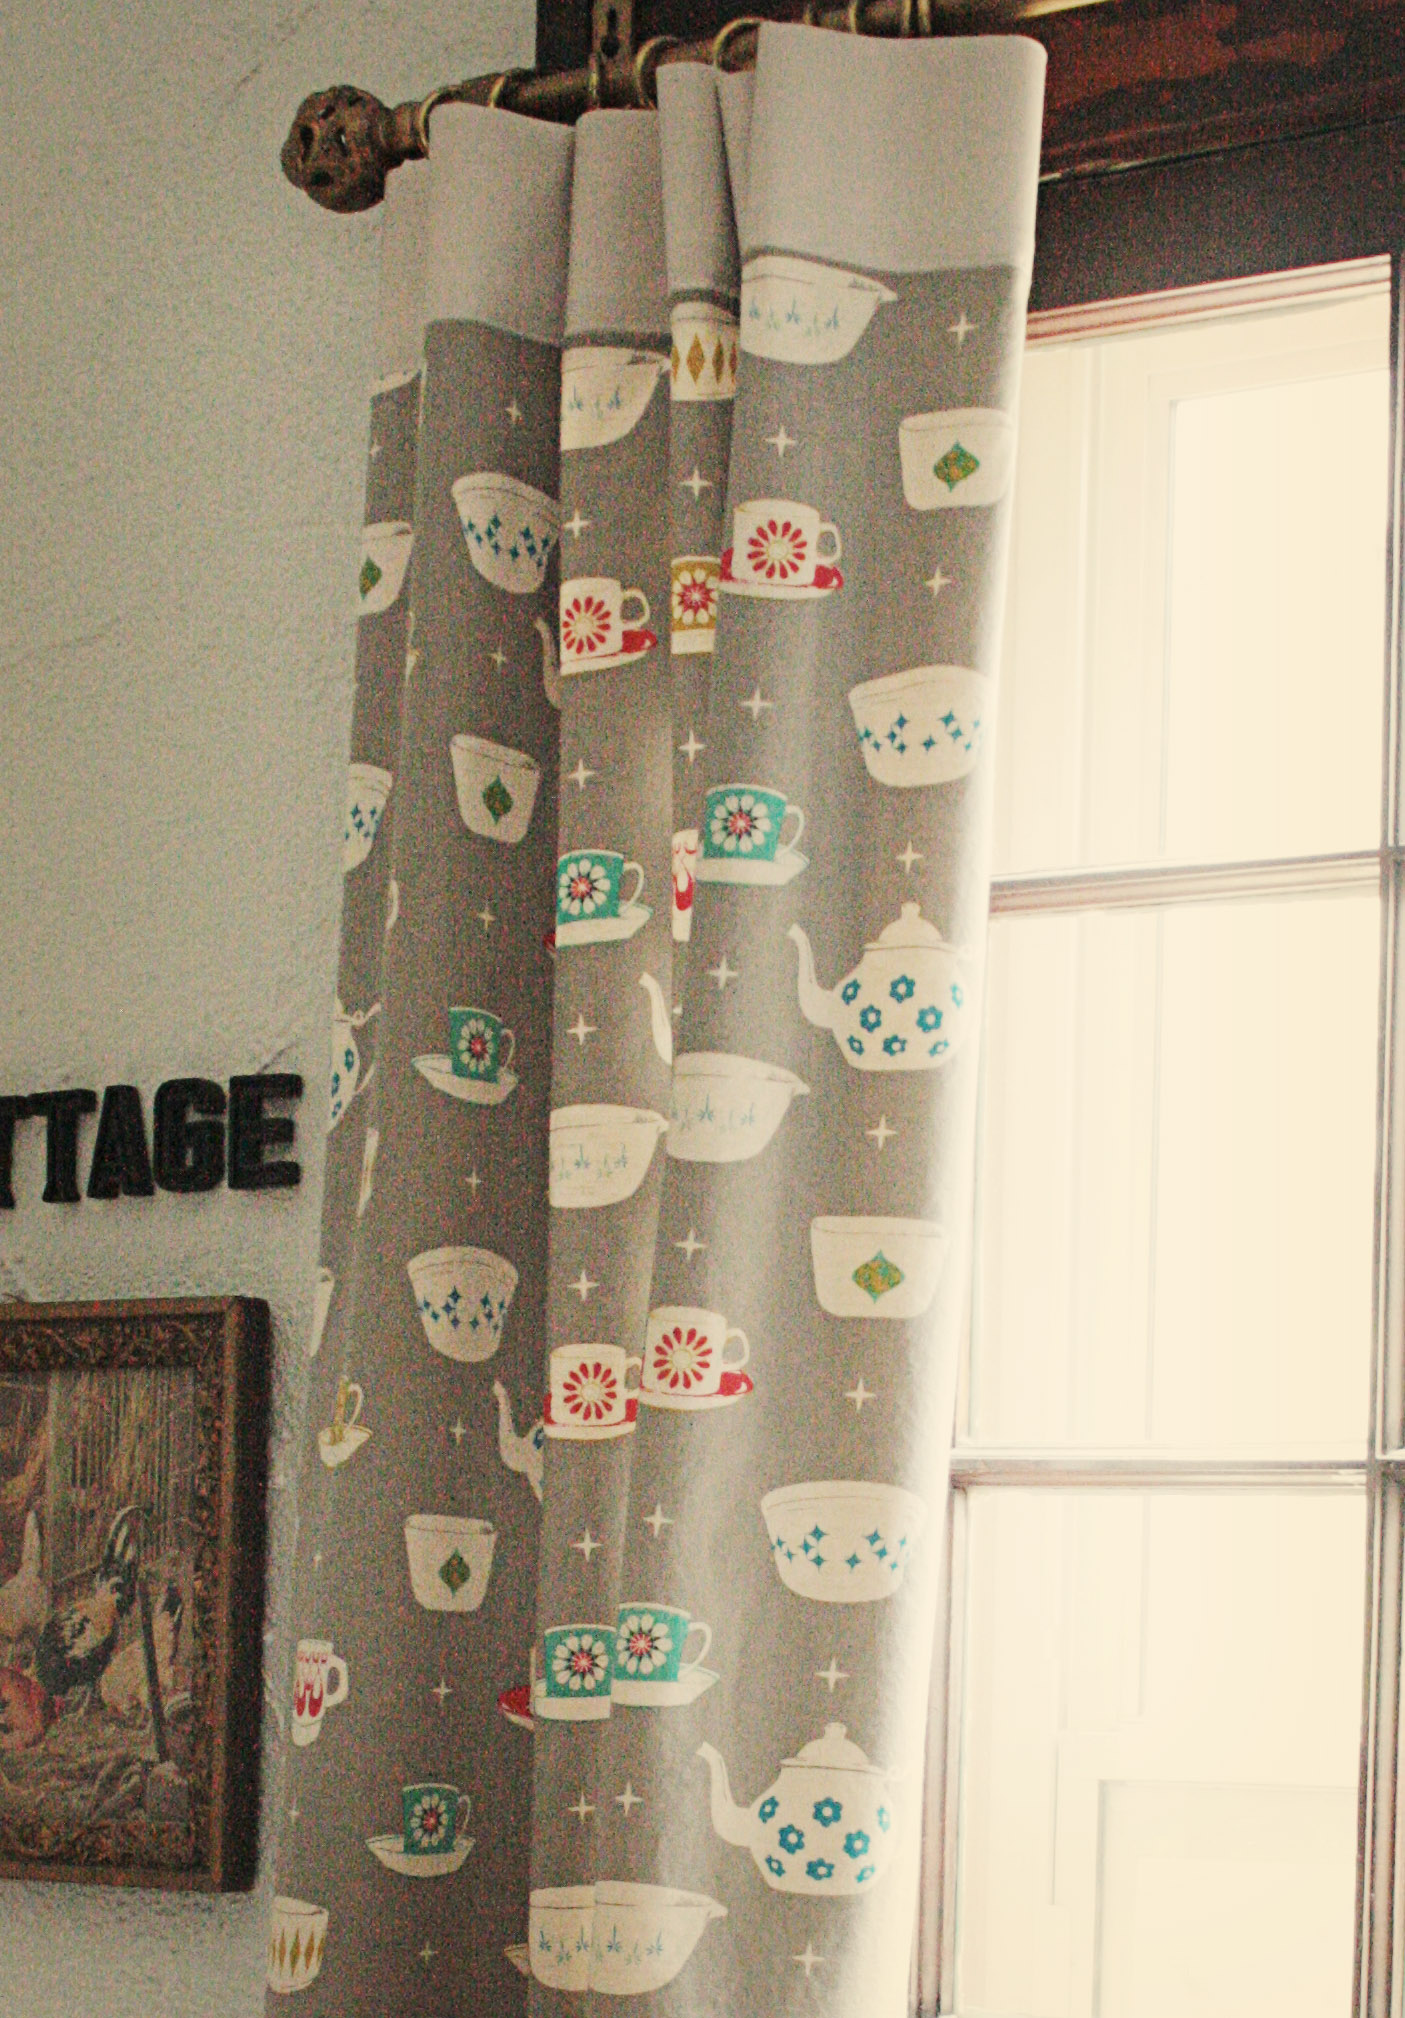
I went on a little fabric expedition with Jeni and Megan last month to Olive Juice.  I grabbed this Melody Miller fabric within seconds of walking in the door. The little stars have that 50's feel that I adore and the little white dishes reminded me of my favorite fire king refrigerator dishes.  I didn't really know what I would do with it, but while standing at the cutting table I knew I came up with a plan for kitchen curtains so I could see the fabric every day.

I love the ease of curtain clips, but don't like the  look of the clips so I stitched a band to the back of the header so the clips aren't as visible.

I also slipped some header tape in the top so the top holds it's shape.

On these curtains the header tape was just stitched and the bottom.  It should have been tucked into the sides, but I forgot.  oops...don't tell my mom.

sewingmybricolecurtain, kitchen
the cottage, stitched

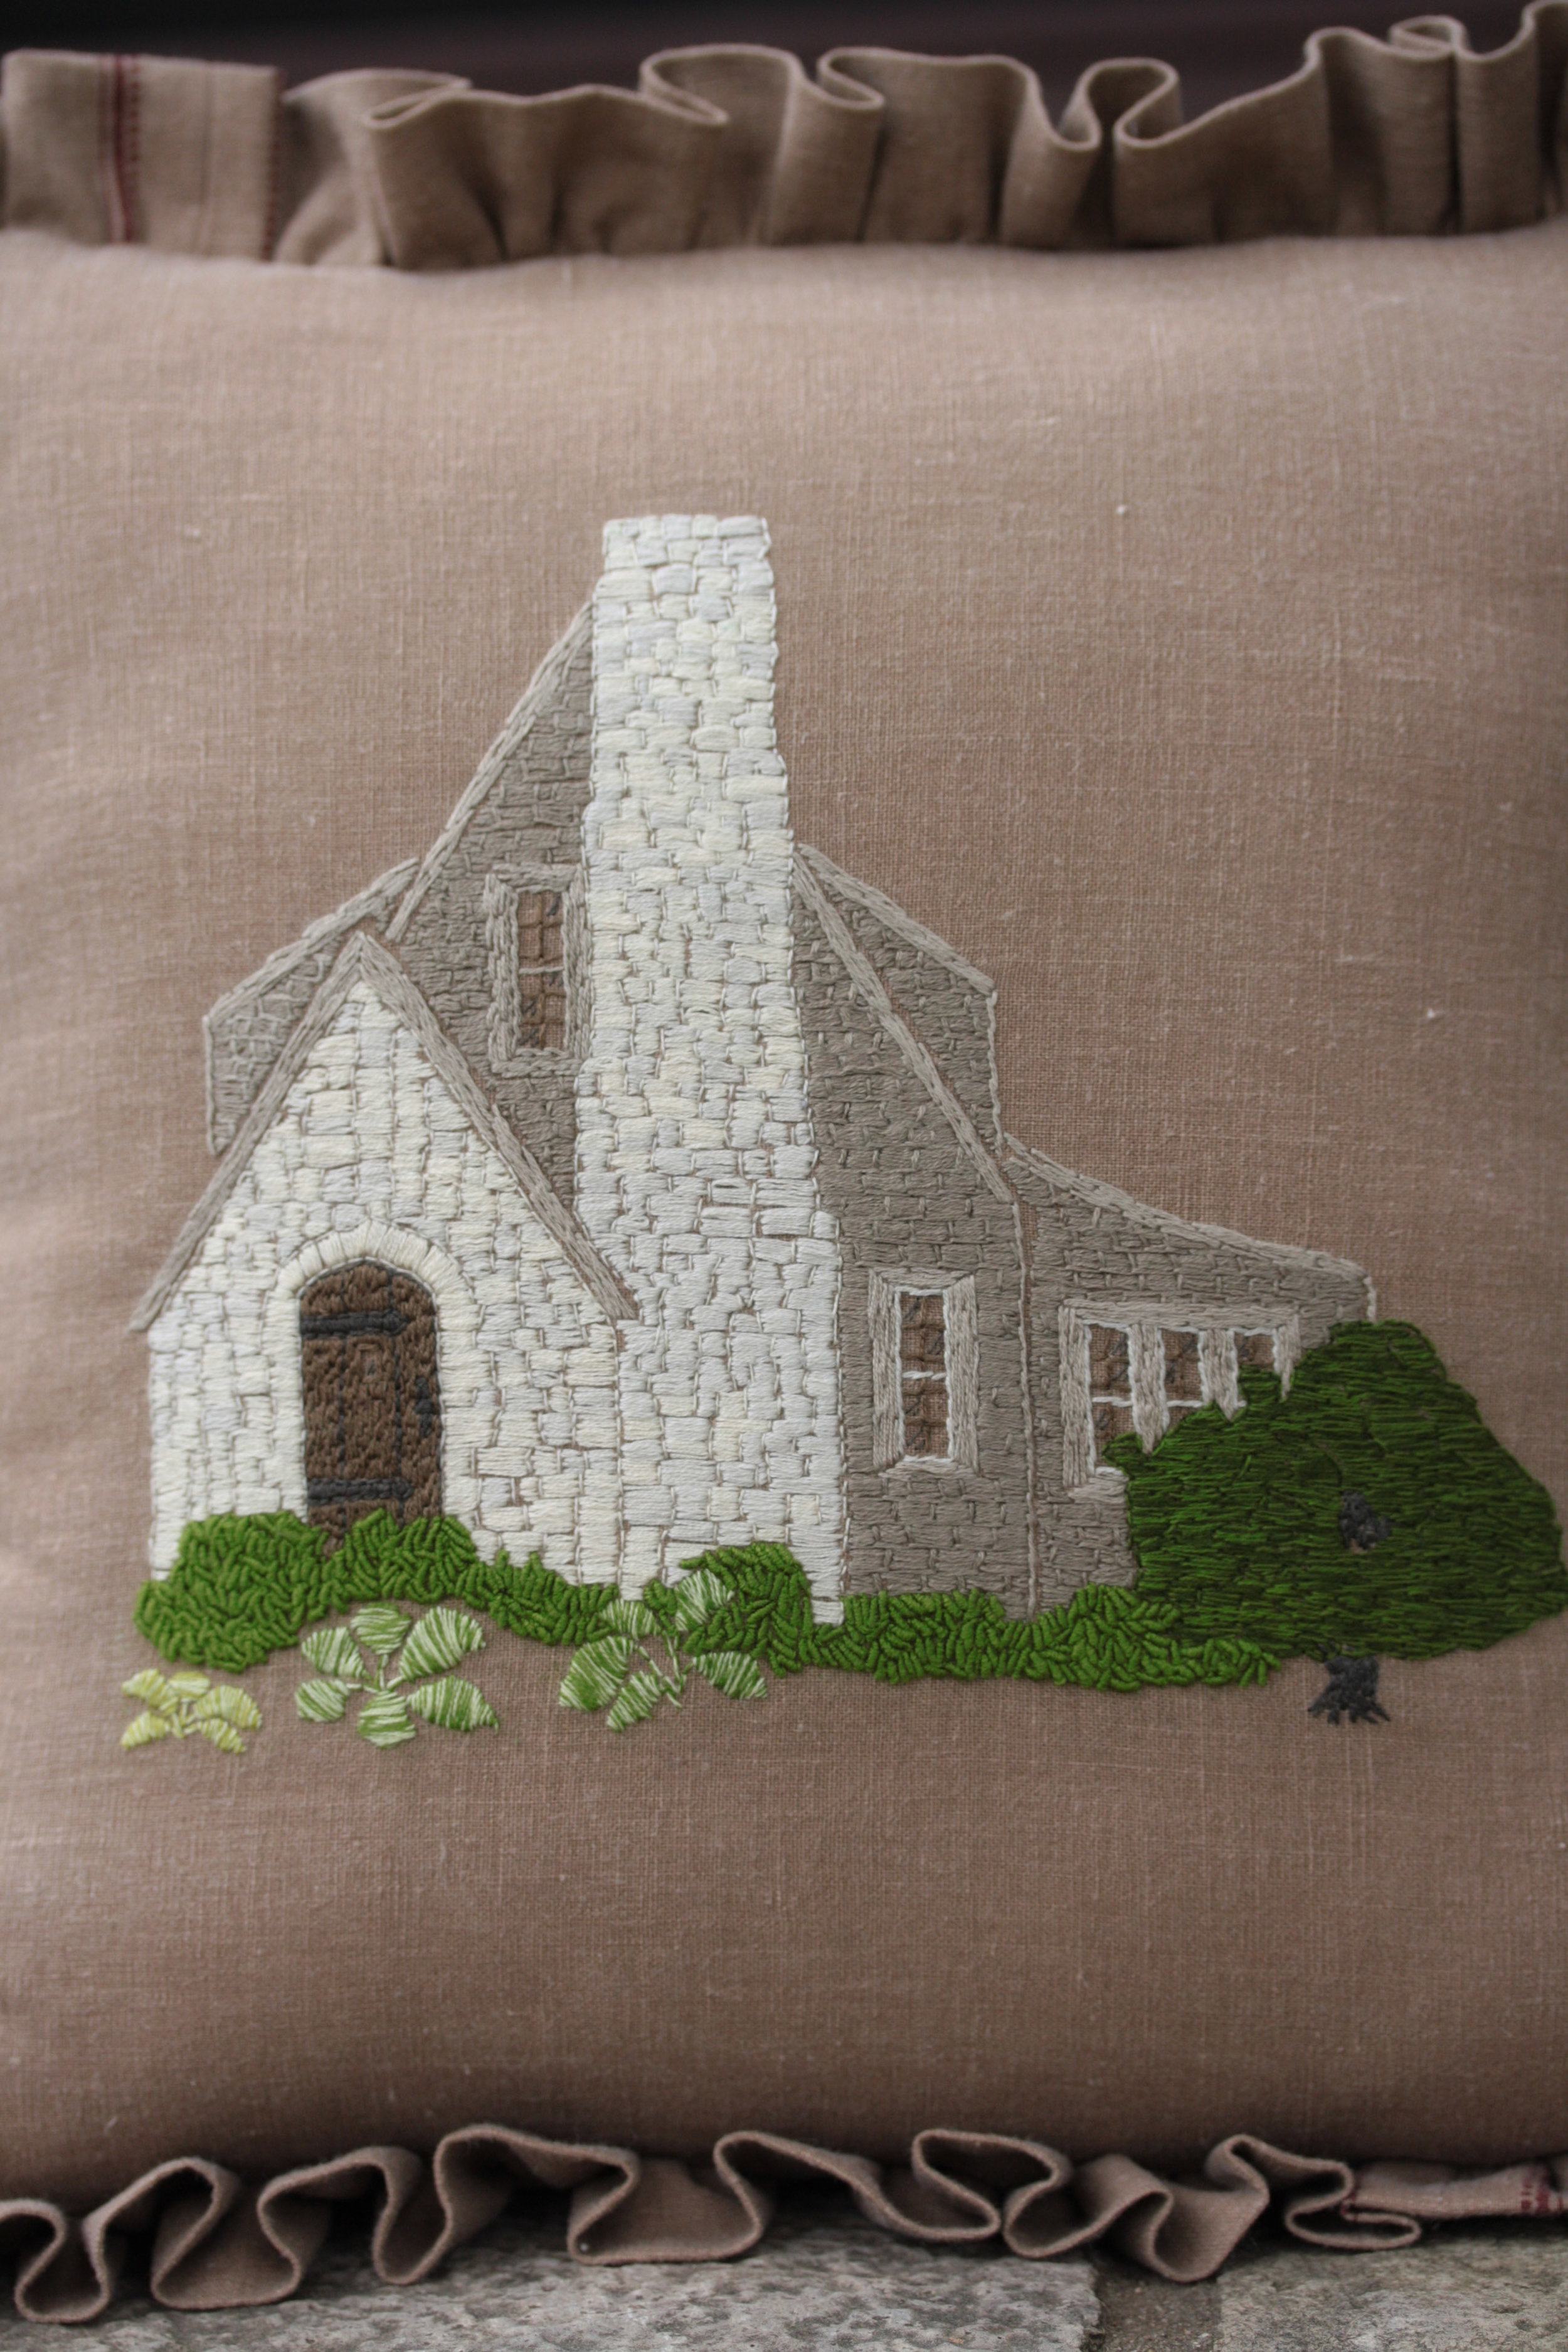
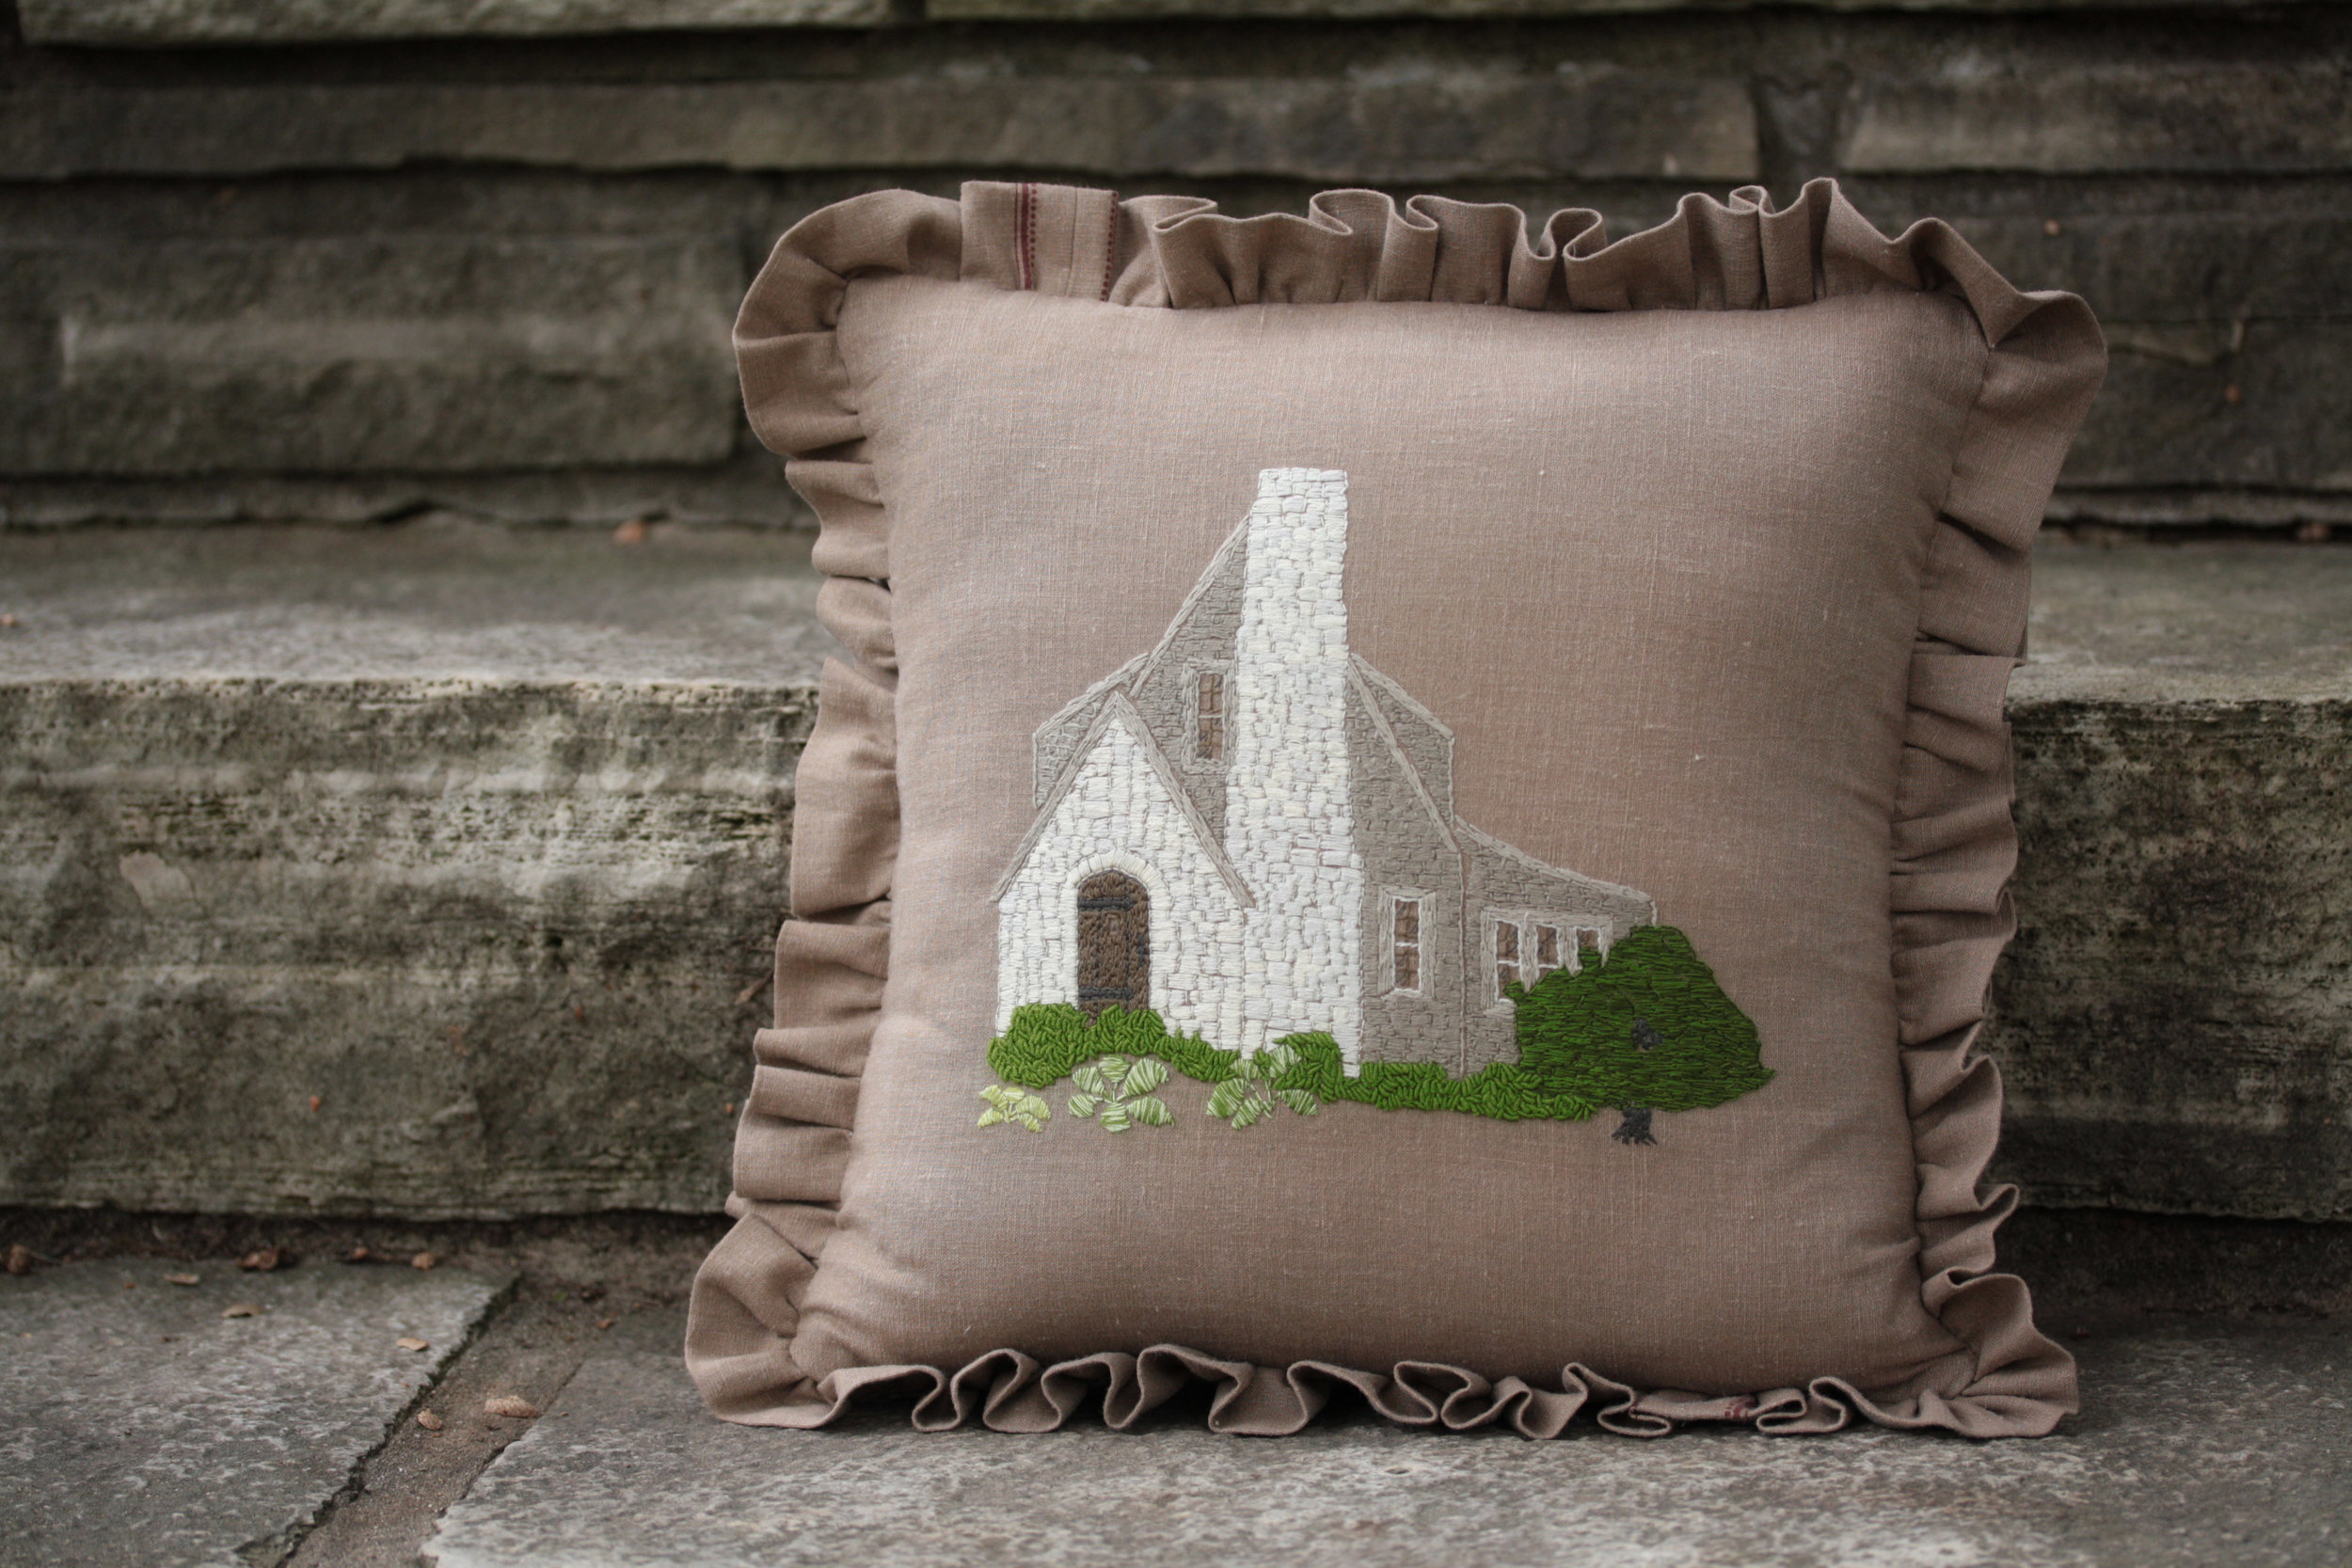
For months now, I've been tossing making throw pillows for the living room to the bottom of the priority project list.  Somehow, this little pillow made it the top of the list this fall, and I'm so happy with how it looks.

I started with a picture of our house in big huge labs color palette generator.

I matched the palette colors with cosmo floss colors over at the workroom.

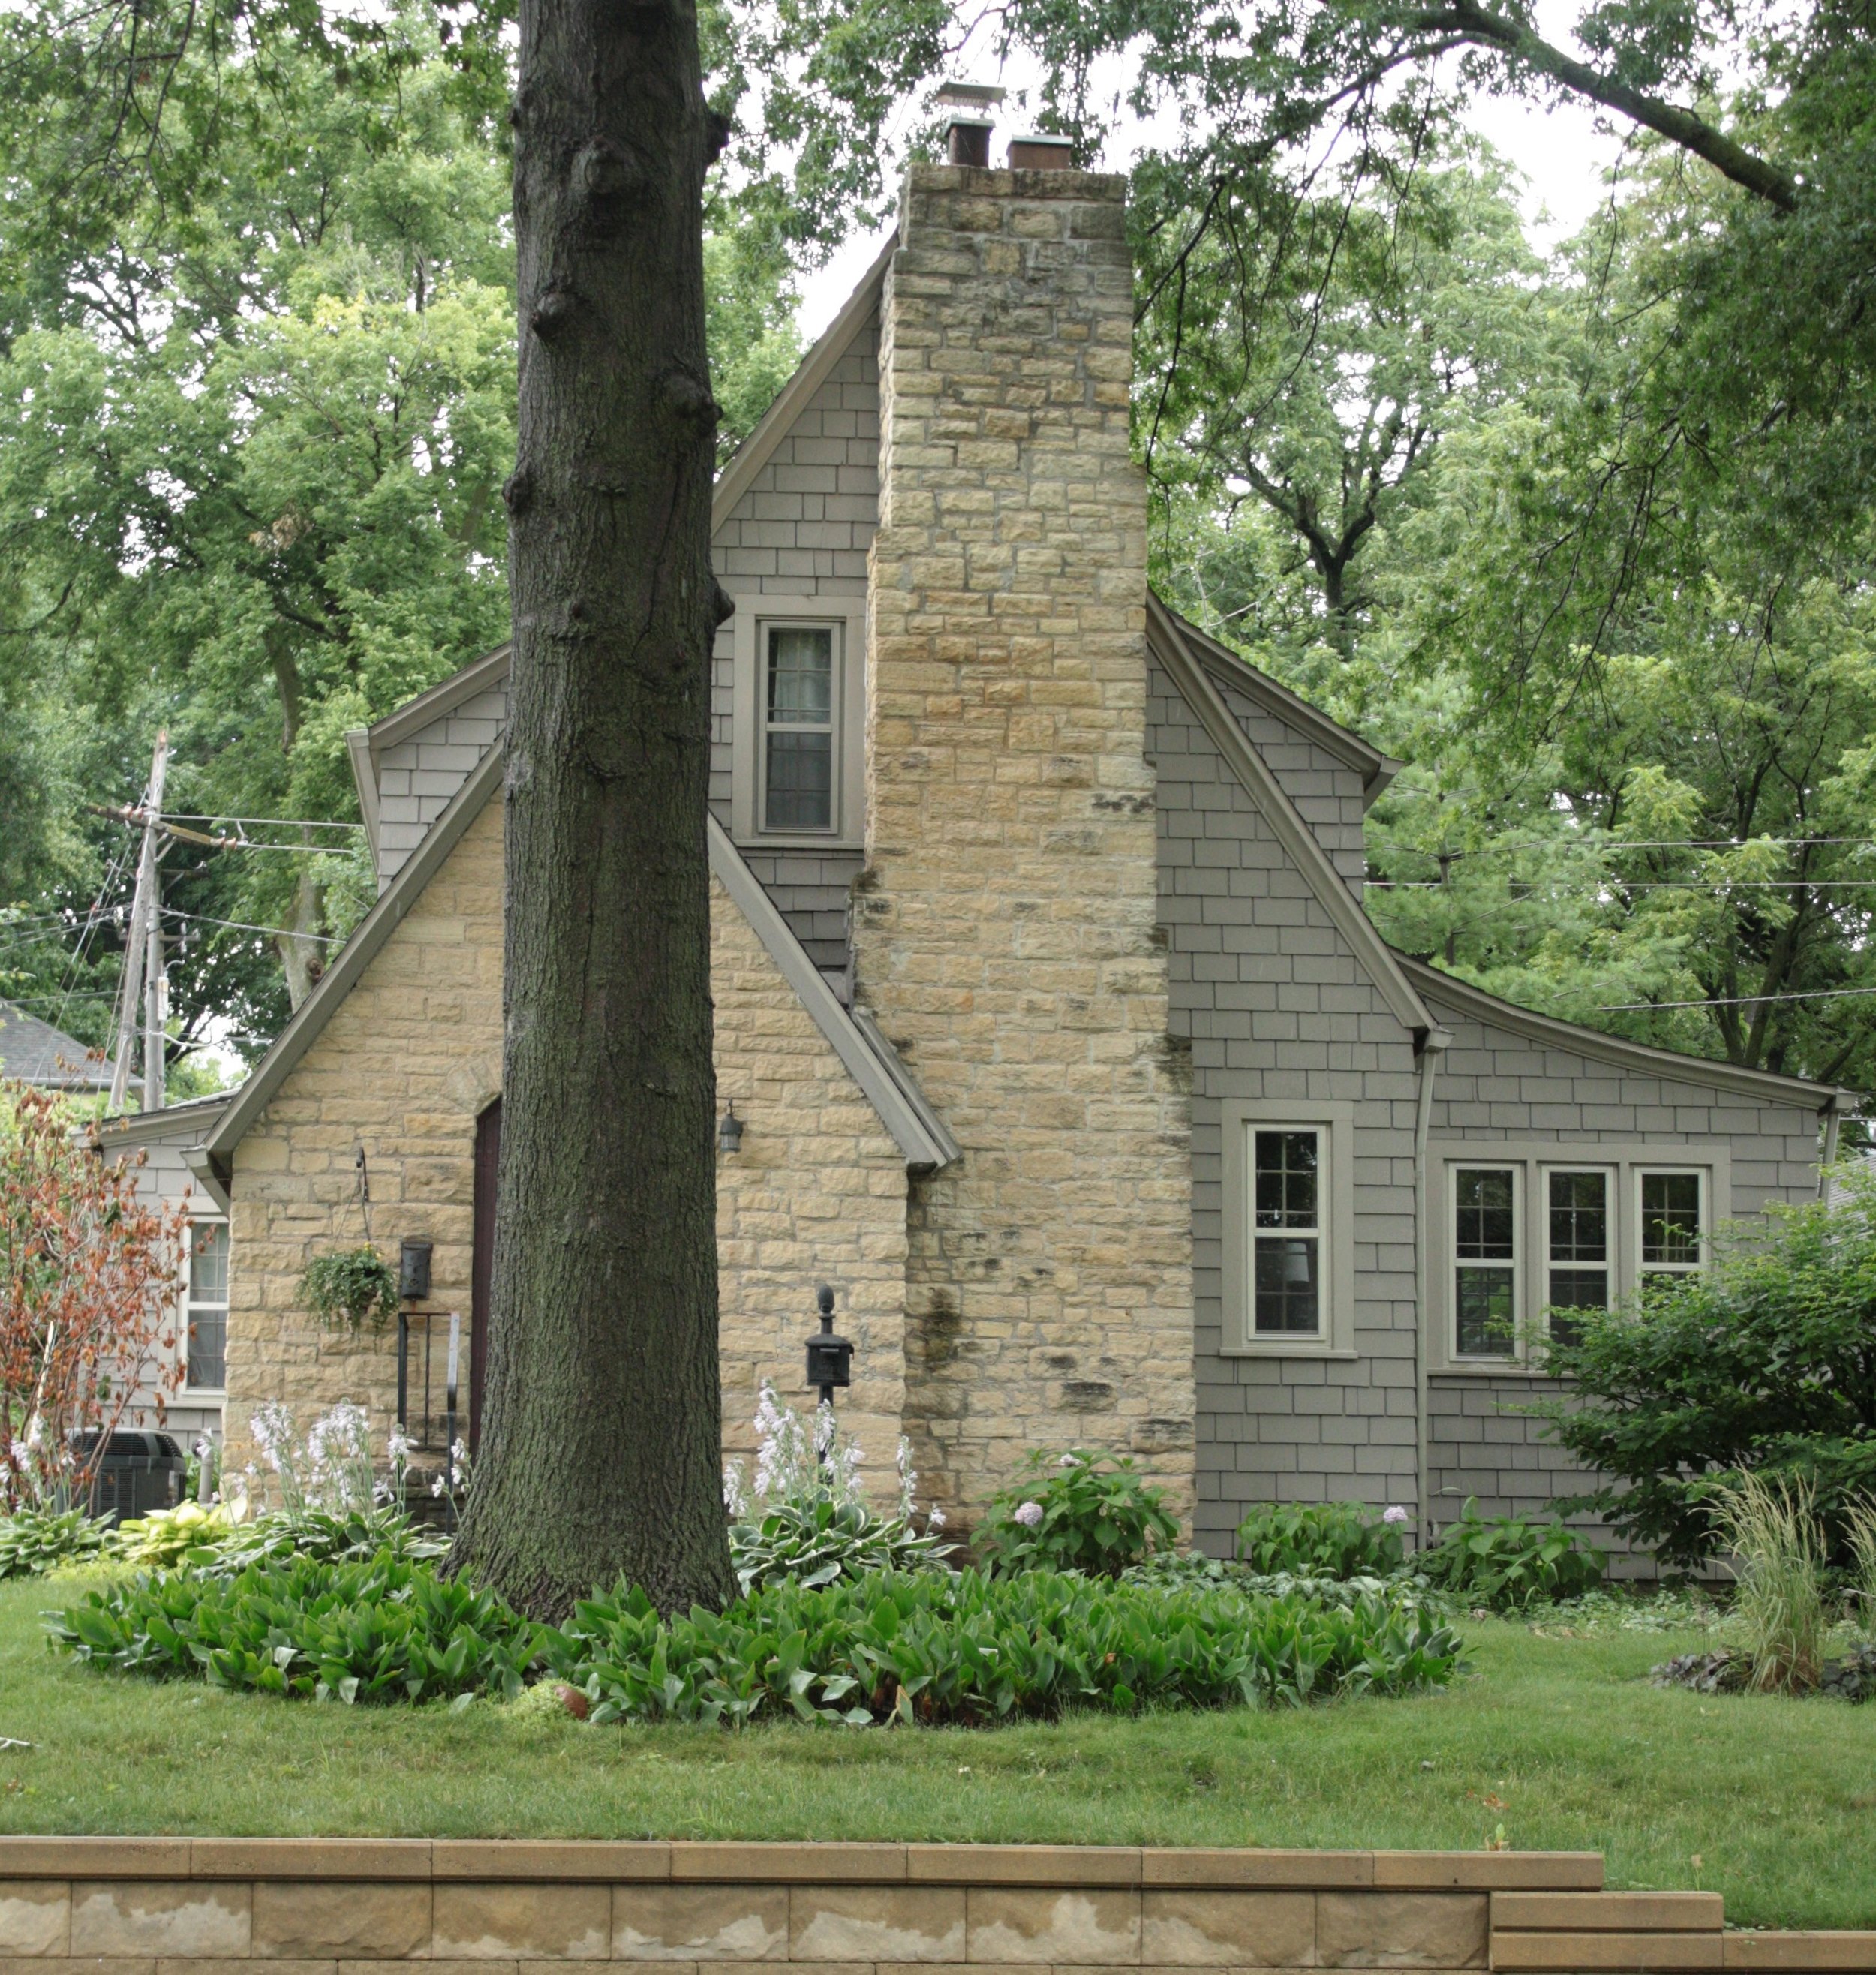
For the pattern, I took two pictures of the cottage.

I love the oak tree in front yard, but I really didn't want a big dark tree trunk in the middle of my pillow so I pulled both shots into photoshop elements and overlapped them to get both sides of the front door in one shot.  In elements, I clicked on image, then to mode and chose grayscale.  Once the picture was converted to grayscale, I chose filter, then stylize, then find edges.  This left me with a line drawing style picture I was able to print onto a sheet of transfer-eze that could be stuck onto my background fabric.

When I was done stitching, it looked like this.

At this point, it's hard to see past the transfer-eze.  Once it was rinsed and pressed I could not wait to get it on the pillow form.

Here it is on the front step

I'm off to make some new kitchen curtains now.
i was a bit preoccupied

The past few weeks I've been getting ready for a trip.  It was a big deal because I haven't travelled solo since the 90's.  I was feeling confident until one night when cj was in tears asking how I could leave when I promised him I would always be there for him.  Talk about some Mom Guilt!  I took a deep breath, had some friends and the spouse promise me that all would be well and... I went to the Sewing Summit...

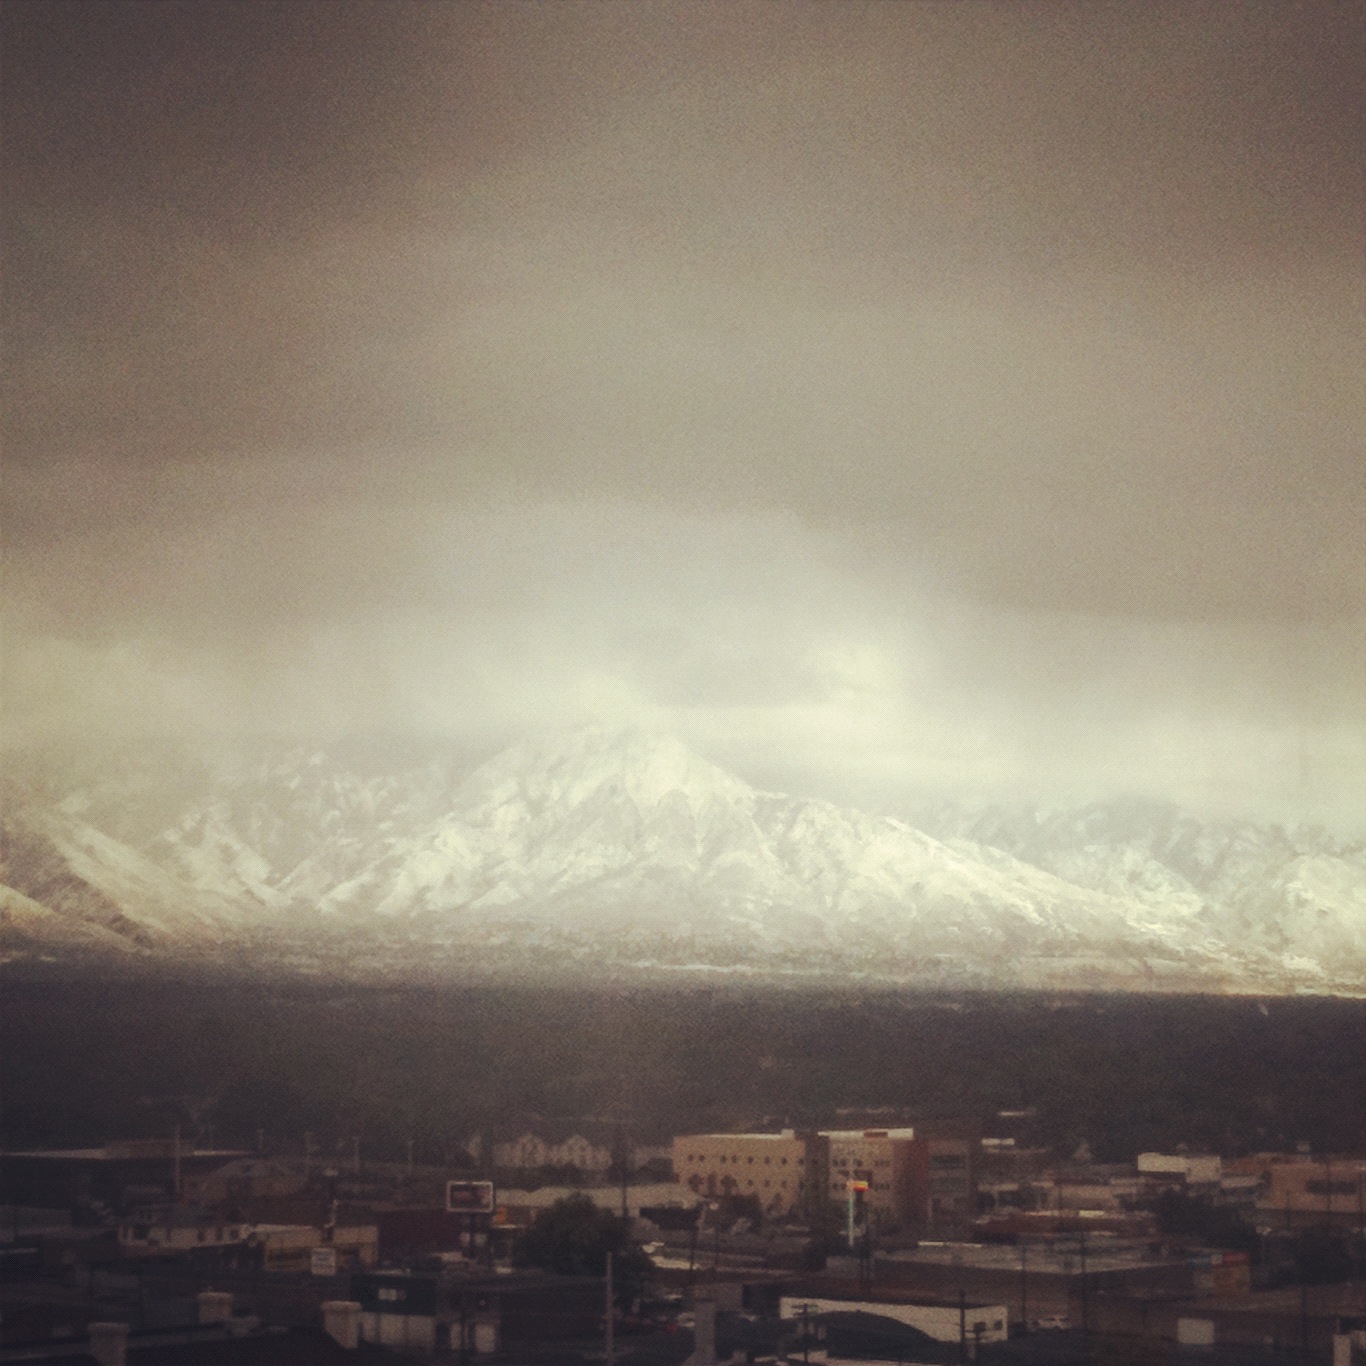
It was cloudy when I arrived, so I was shocked to see the mountains outside my window when I woke up the next day.

All I can say is there are not enough adjectives to describe the trip...amazing, funfilled, overwhelming, thoughtful, kind, inspiring, exhausting, hilarious...

It was lovely to hang out with people who's blogs and tweets I've been following for so long, and also to meet new people {including Megan's awesome Mom & Dad!}

Honestly, it was just great to hang out and instead of typing LOL we could actually just laugh together.

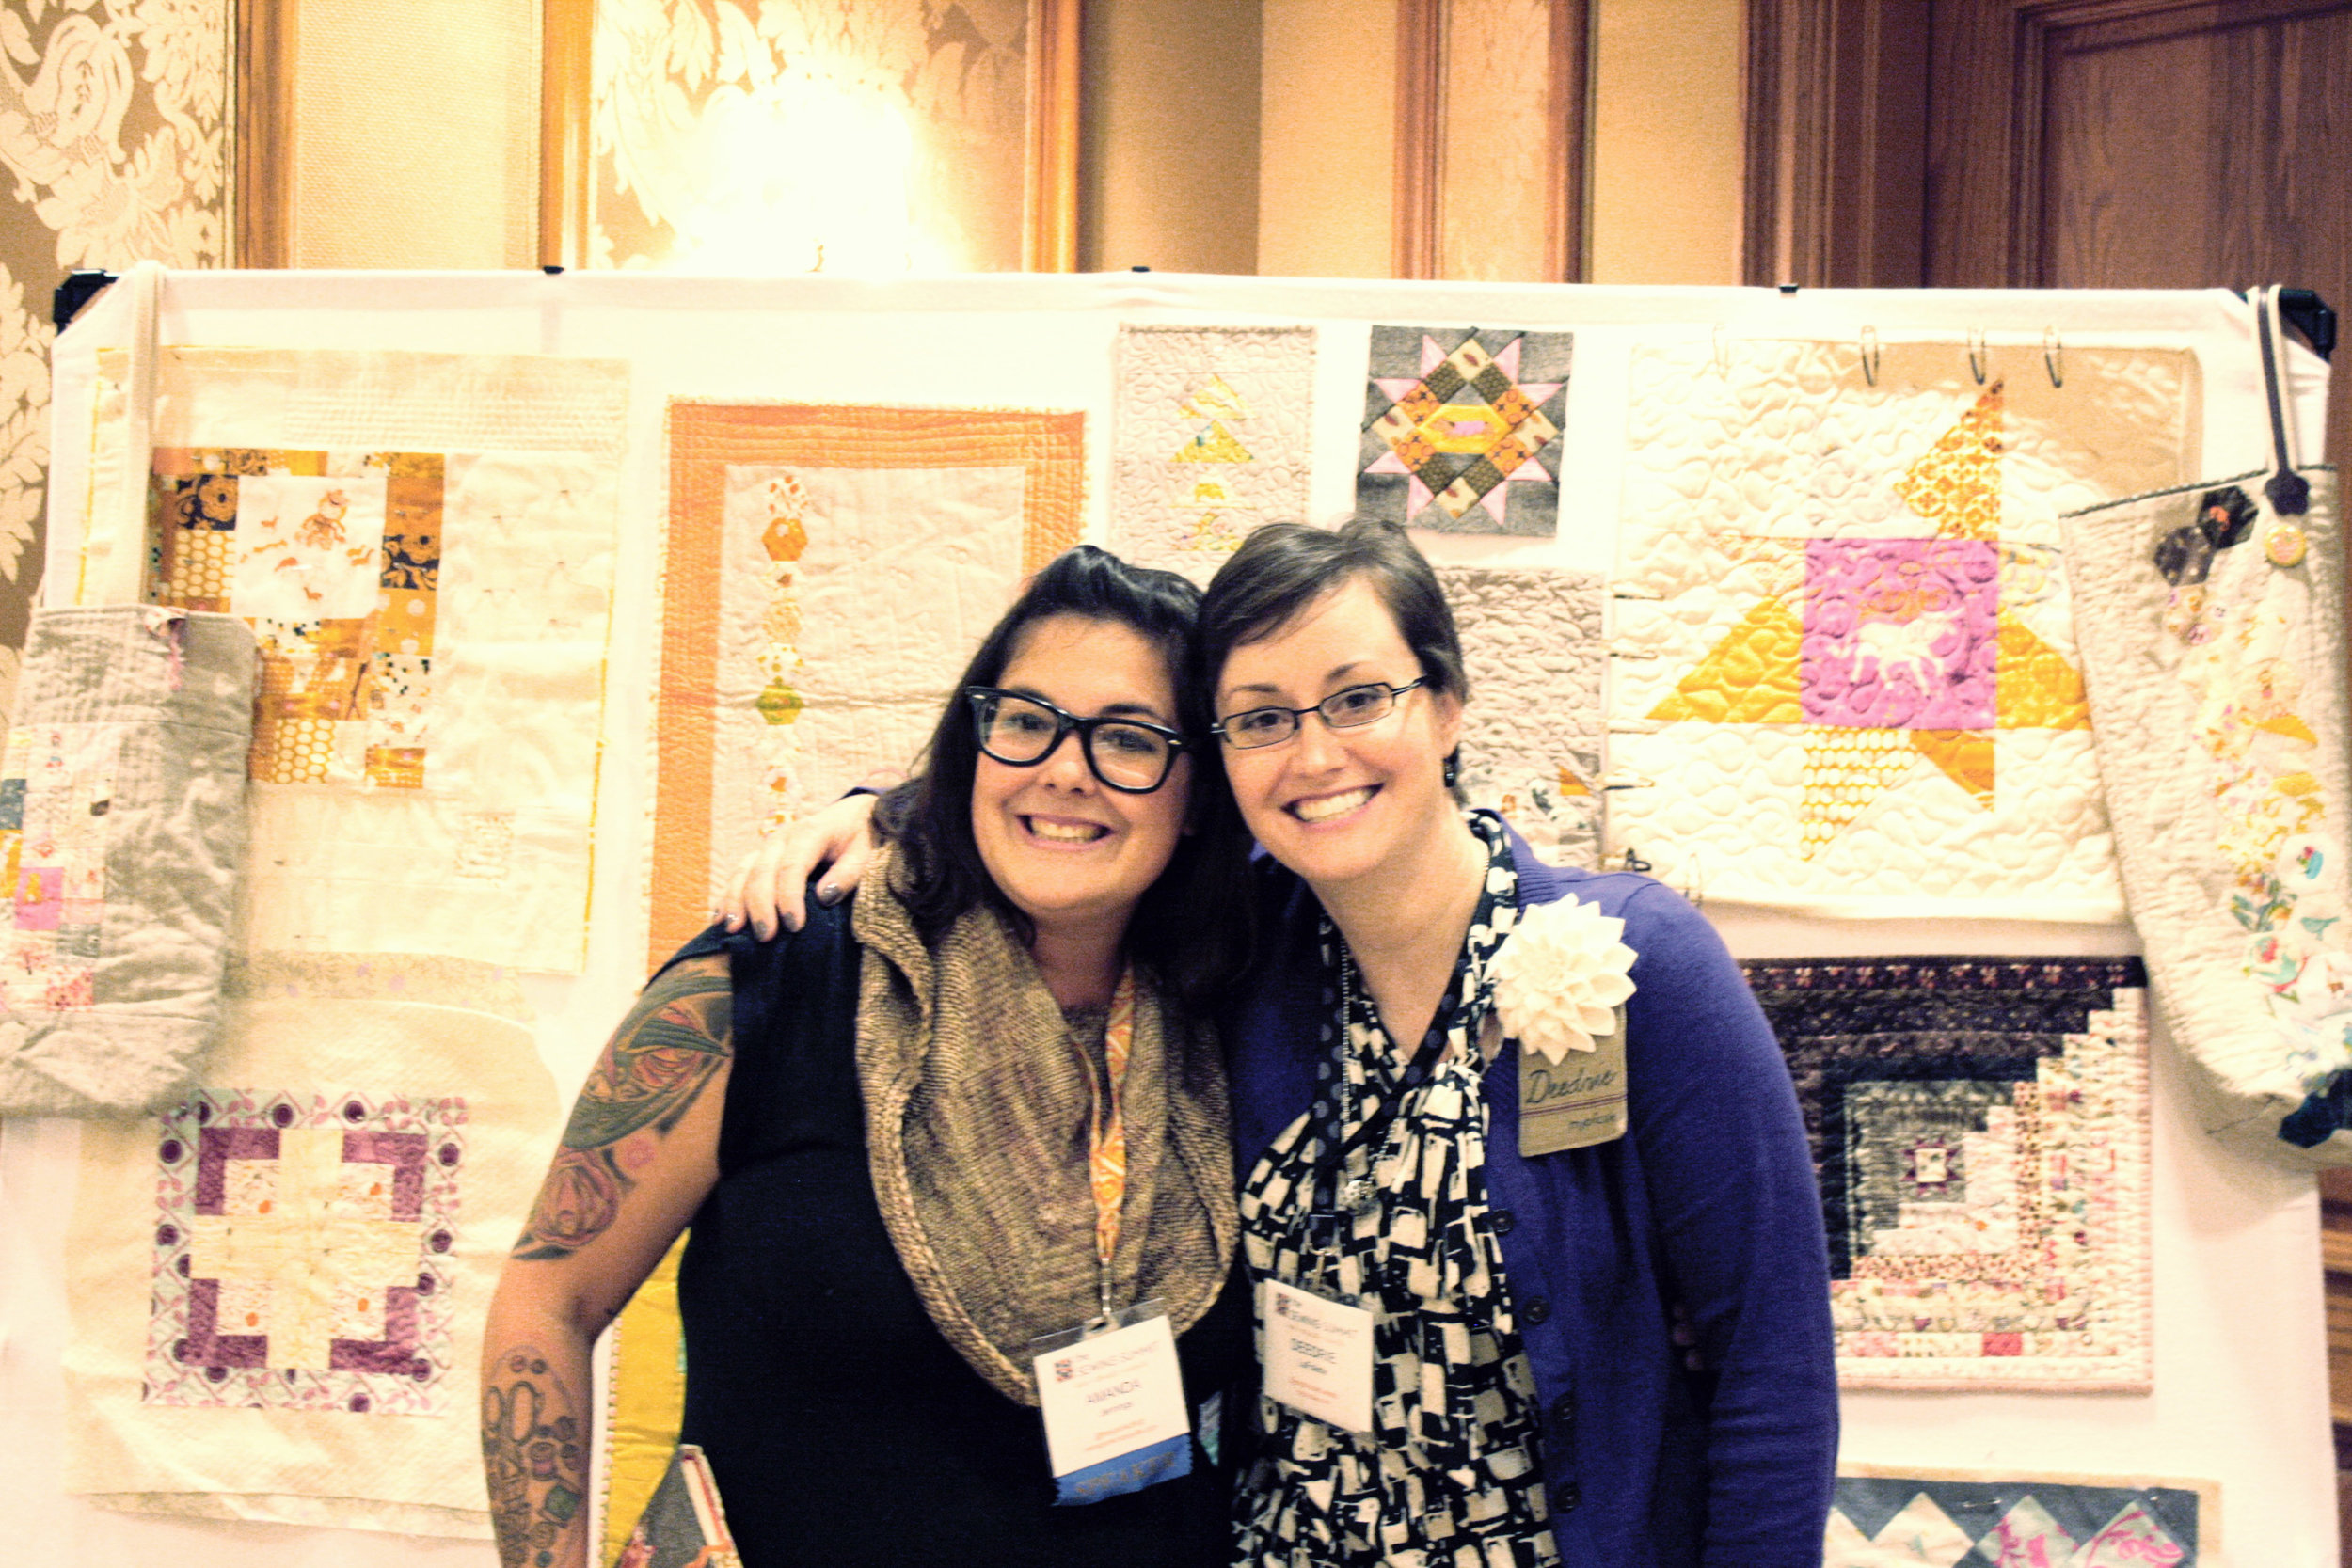
I was lucky enough to be Amanda's teaching assistant.  You can blame the boom of mini quilts that's about to happen all over the internet on her uber-inspiring class.

I got to sit with Claudia during the improve piecing class.

I know what you're thinking a bunch of ladies on the loose, there must of been some crazy nights...

like this, but she's Canadian, and she's awesome...

mostly, this happened...

(thanks for sharing your pic Amanda)

I love this pic too.

All the classes and dinners and chats and stitching flew by and I was heading home before I knew it.  Oh and  I also saved a camera.

Things at the cottage were fine.  The spouse learned how to make tacos, lulu was thrilled I was able to find sock monkey flannel to make her some new pj's, and cj keeps the little owl I found him by his bed at night.  He had some trouble sleeping while I was gone and there were a few extra "NO" and "I don't want to" last week, but he seems to be getting back on track.

I'm doing my best to finish all the projects I've already started before starting anything new.

We'll see how that goes.